






Yanagiba Knife: Sashimi Slicing Guide

Sashimi is one of the purest expressions of Japanese cooking. The fish is served raw, so the cut plays a vital role in how it feels and tastes. A clean, single stroke leaves the cells intact and the surface smooth. This is why many Japanese chefs reach for a yanagiba. This traditional blade is long, slim and sharpened on one side only. It is designed for pulling through the fish in one motion, producing slices that are even, delicate and free of tearing. Whether you are a home cook or a professional, understanding the yanagiba will improve your sashimi work.
The word yanagiba literally translates as willow blade, a reference to the soft curve of the cutting edge. In Japan, this knife has been used for centuries at sushi counters and in home kitchens. It is not a gimmick or a factory novelty. It is a serious tool with a specific purpose. If you are interested in making sashimi at home, or if you simply want to understand why a single bevel knife performs differently, this guide will explain everything you need to know.
What is a yanagiba?
Yanagiba means willow blade, which describes the gentle curve of the cutting edge. It is a single bevel knife, meaning only one side is ground to an edge. This creates a very sharp cut and also helps the slice separate cleanly from the fish. The other side is slightly concave, which allows the knife to release food easily. Traditional yanagiba knives have a long blade, usually over 21 cm, and a handle made from magnolia or other hardwoods. They are used mainly for slicing raw fish, but they are also suitable for other delicate tasks such as portioning fillets.
There are also cheaper versions made from stainless steel with synthetic handles, but the principle remains the same. The single bevel is what defines the knife. Some people confuse yanagiba with the takobiki, which is similar but has a straight edge. For most home cooks, the yanagiba is the more versatile option because the curved tip allows for a smoother slicing motion.
Anatomy of a yanagiba
Understanding the parts of the blade helps you use it correctly. The cutting edge is on the right side of the blade when viewed from the spine, but left handed versions exist. The back side of the blade is slightly hollowed, which is called the ura. This hollow reduces friction and helps the slice fall away from the knife. The spine is thick near the handle and thins towards the tip. The tip itself is sharp and can be used for fine work, though it is rarely needed for sashimi. The handle is usually long and octagonal in cross section, giving the fingers a secure grip. You will find both traditional wooden handles and modern western style handles on contemporary yanagiba knives.
The length of the blade is important. A longer knife means you can slice through a fillet in a single draw, which keeps the surface smooth. If you are buying your first yanagiba, consider the size of your fish and the space in your kitchen. A blade that is too long becomes unwieldy, while a very short one will not cut cleanly.
Why use a yanagiba for sashimi
Using the correct knife for sashimi is not a formality. A western chef's knife has a blade that is sharpened on both sides, which creates a wedge effect as it cuts. This can compress the fish and leave a ragged edge. A yanagiba slices through with a single bevel, so the cut is straight and the surface of the fish remains smooth. The length of the blade also matters. A long knife allows you to draw the entire blade through the fish in one smooth motion, rather than sawing back and forth. This preserves the structure of the flesh and gives you a clean, professional looking slice.
There is also a difference in the way the blade meets the fish. With a double bevel knife, the angle of both sides creates an asymmetrical point that can push the fish apart. A single bevel cuts with a surgical precision, leaving a mirror like surface on the slice. This is why sushi chefs often take great pride in their yanagiba. It is not just about appearance. The clean cut limits oxidation and prevents the fish from becoming mushy, which means your sashimi tastes better. If you have ever noticed that restaurant sashimi feels firmer and cleaner than home made, this is often because of the knife.
How to slice sashimi with a yanagiba
Begin with the fish in front of you. It should be well chilled but not frozen. Place the yanagiba at the tail end of the fillet, with the heel of the knife near you. Draw the blade towards you in a single, smooth stroke. Do not press down or saw. The weight of the knife and the sharpness of the edge should do the work. For a classic hira-zukuri cut, the slice should be about one centimetre thick, but you can adjust depending on the fish and your preference. The angle of the blade should be slight, almost parallel to the cutting board, to give you a wider slice.
You may hear the term sashi-mino or sashi, which refers to the diagonal cut used for tuna and salmon. Start with a fillet that has been skinned and boned. Lay it flat in front of you. With your other hand, gently guide the blade along the grain, not through it. The cut should be a single, continuous motion from the heel to the tip. Do not stop halfway or change your speed. The perfect slice has a smooth surface, a uniform thickness, and no tears or ragged edges. When you have finished, wipe the blade with a damp cloth to remove any residue. This prevents sticking and keeps the next slice clean.
Common mistakes to avoid
A few common mistakes can ruin an otherwise good fillet. Here is what to avoid.
- Do not use a back and forth sawing motion.
- Do not press down hard on the fish.
- Do not cut through the skin in one heavy push.
- Keep the blade wet by wiping it occasionally.
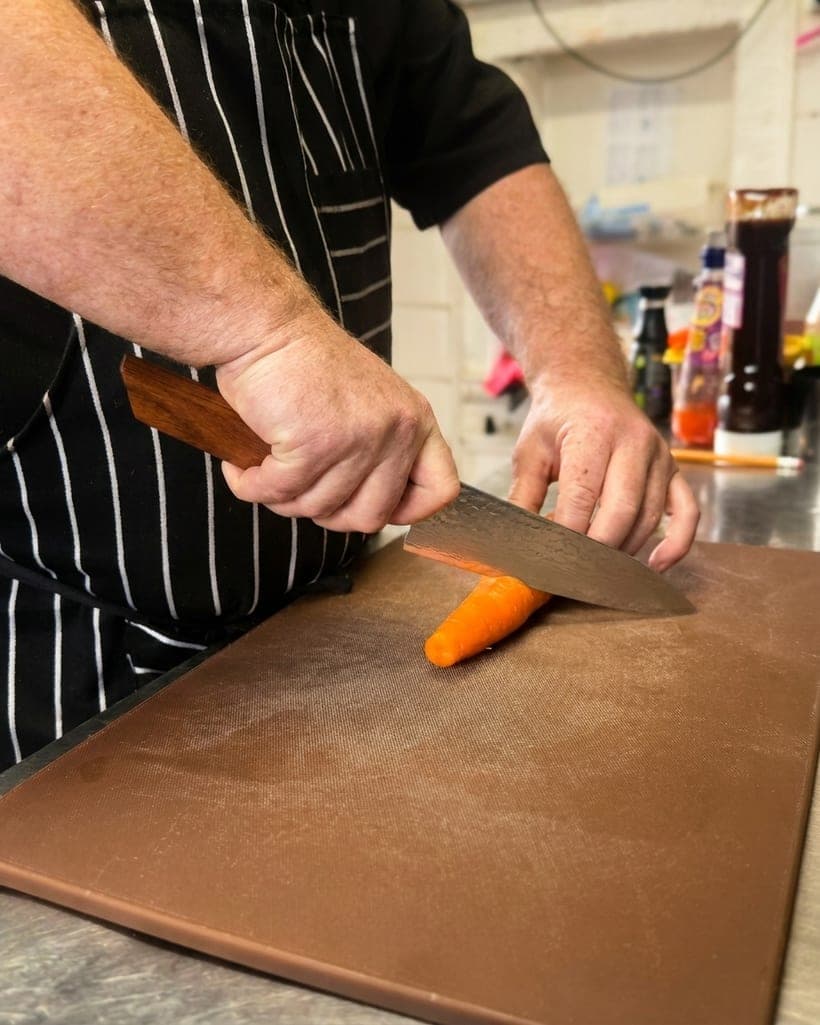
If you are new to yanagiba, practise on inexpensive fish or even a firm vegetable like a carrot. The motion is smooth and committed, not a back and forth saw. You will know you are doing it right when the slice comes away cleanly and the surface looks glossy.

Caring for your yanagiba
Because a yanagiba has a single bevel, it requires a different sharpening routine than a double bevel knife. The flat side should be kept flat against the stone, and the bevel side is sharpened at the correct angle. If you are not confident with a whetstone, a guided sharpener can help. For quick maintenance between full sharpening sessions, a magnetic rolling sharpener is a convenient option. It can realign the edge without removing much metal. We stock a reliable example here: 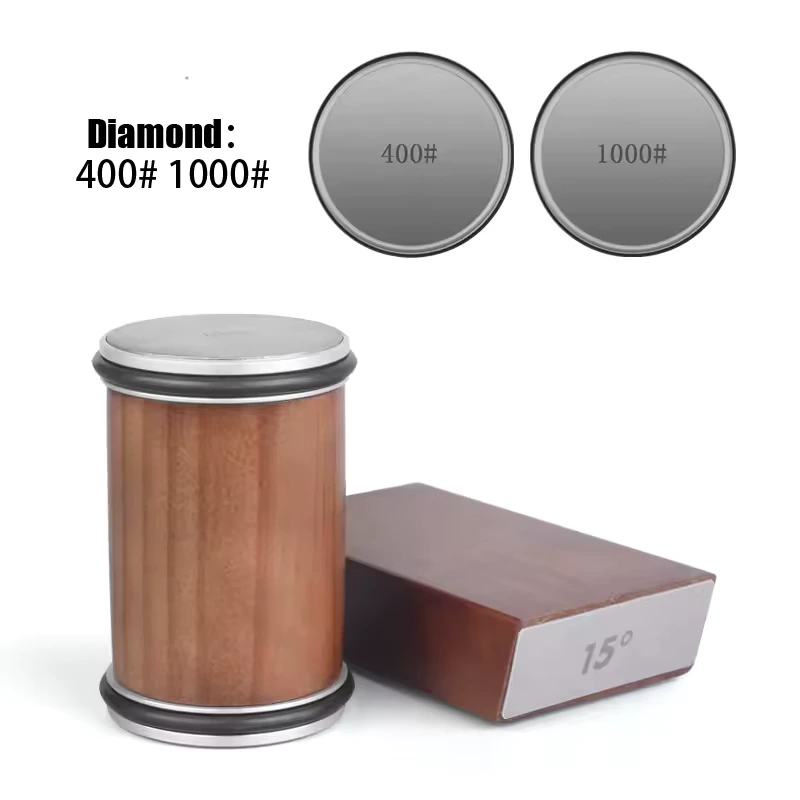 Magnetic Rolling Knife Sharpener£59.99View product →. For more detailed advice on stones and techniques, take a look at our /knife-care guide. Regular honing and proper storage will keep your yanagiba in excellent condition for many years.
It is important to remember that the blade is single sided. This means you do not need to sharpen both sides equally. The flat side is only lightly polished to remove any burr. If you sharpen it the same way as a western knife, you may damage the blade. You should also store the yanagiba away from other utensils. A knife block or a blade guard is ideal. When you wash it, use warm water and a soft cloth. Never put it in the dishwasher. The heat and detergent can warp the wooden handle and dull the edge. With proper care, a good yanagiba will last for decades.
Alternatives to the yanagiba
Not everyone needs a yanagiba straight away. If you mostly cook the same knife for vegetables, meat and fish, a general purpose knife might be more practical. A gyuto is the Japanese version of a chef's knife and can handle almost any task. For example, 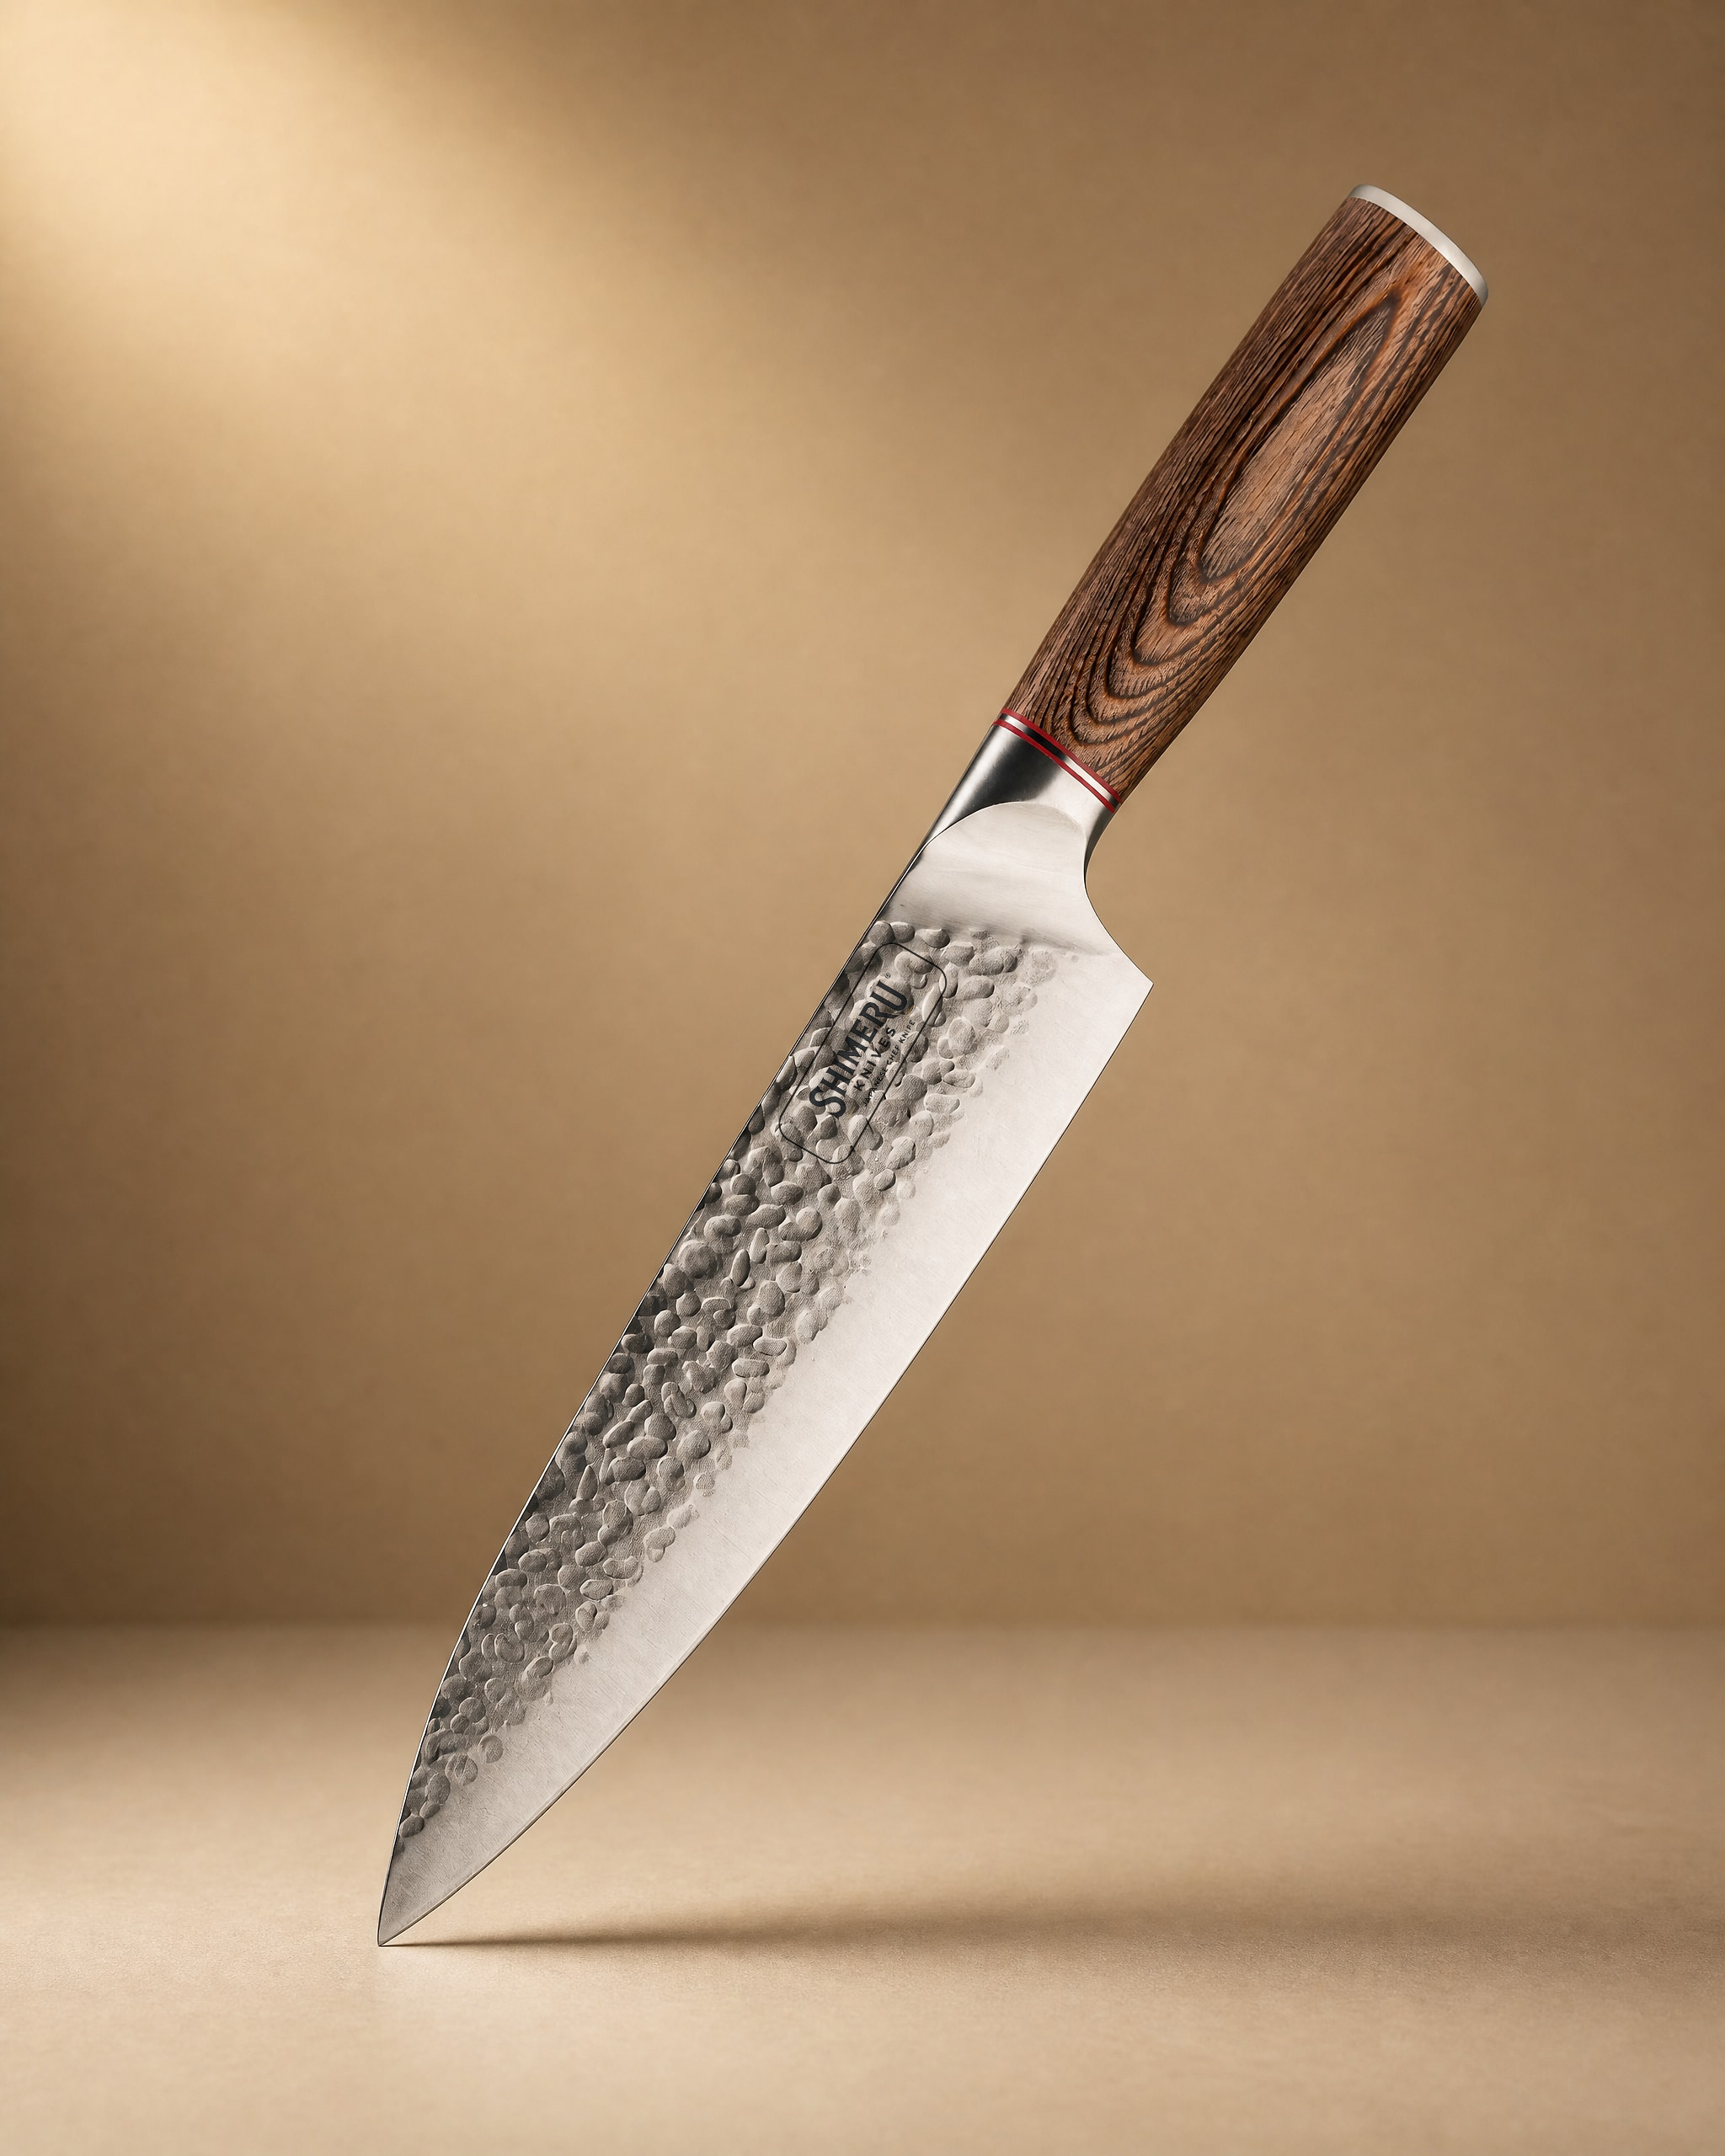 Akan 8'' Gyuto Knife 牛刀£49.99View product → is a versatile choice that many home cooks keep as their main blade. If you prefer a heavier blade for chopping vegetables and cutting through chicken bones, a Chinese cleaver is another option.
 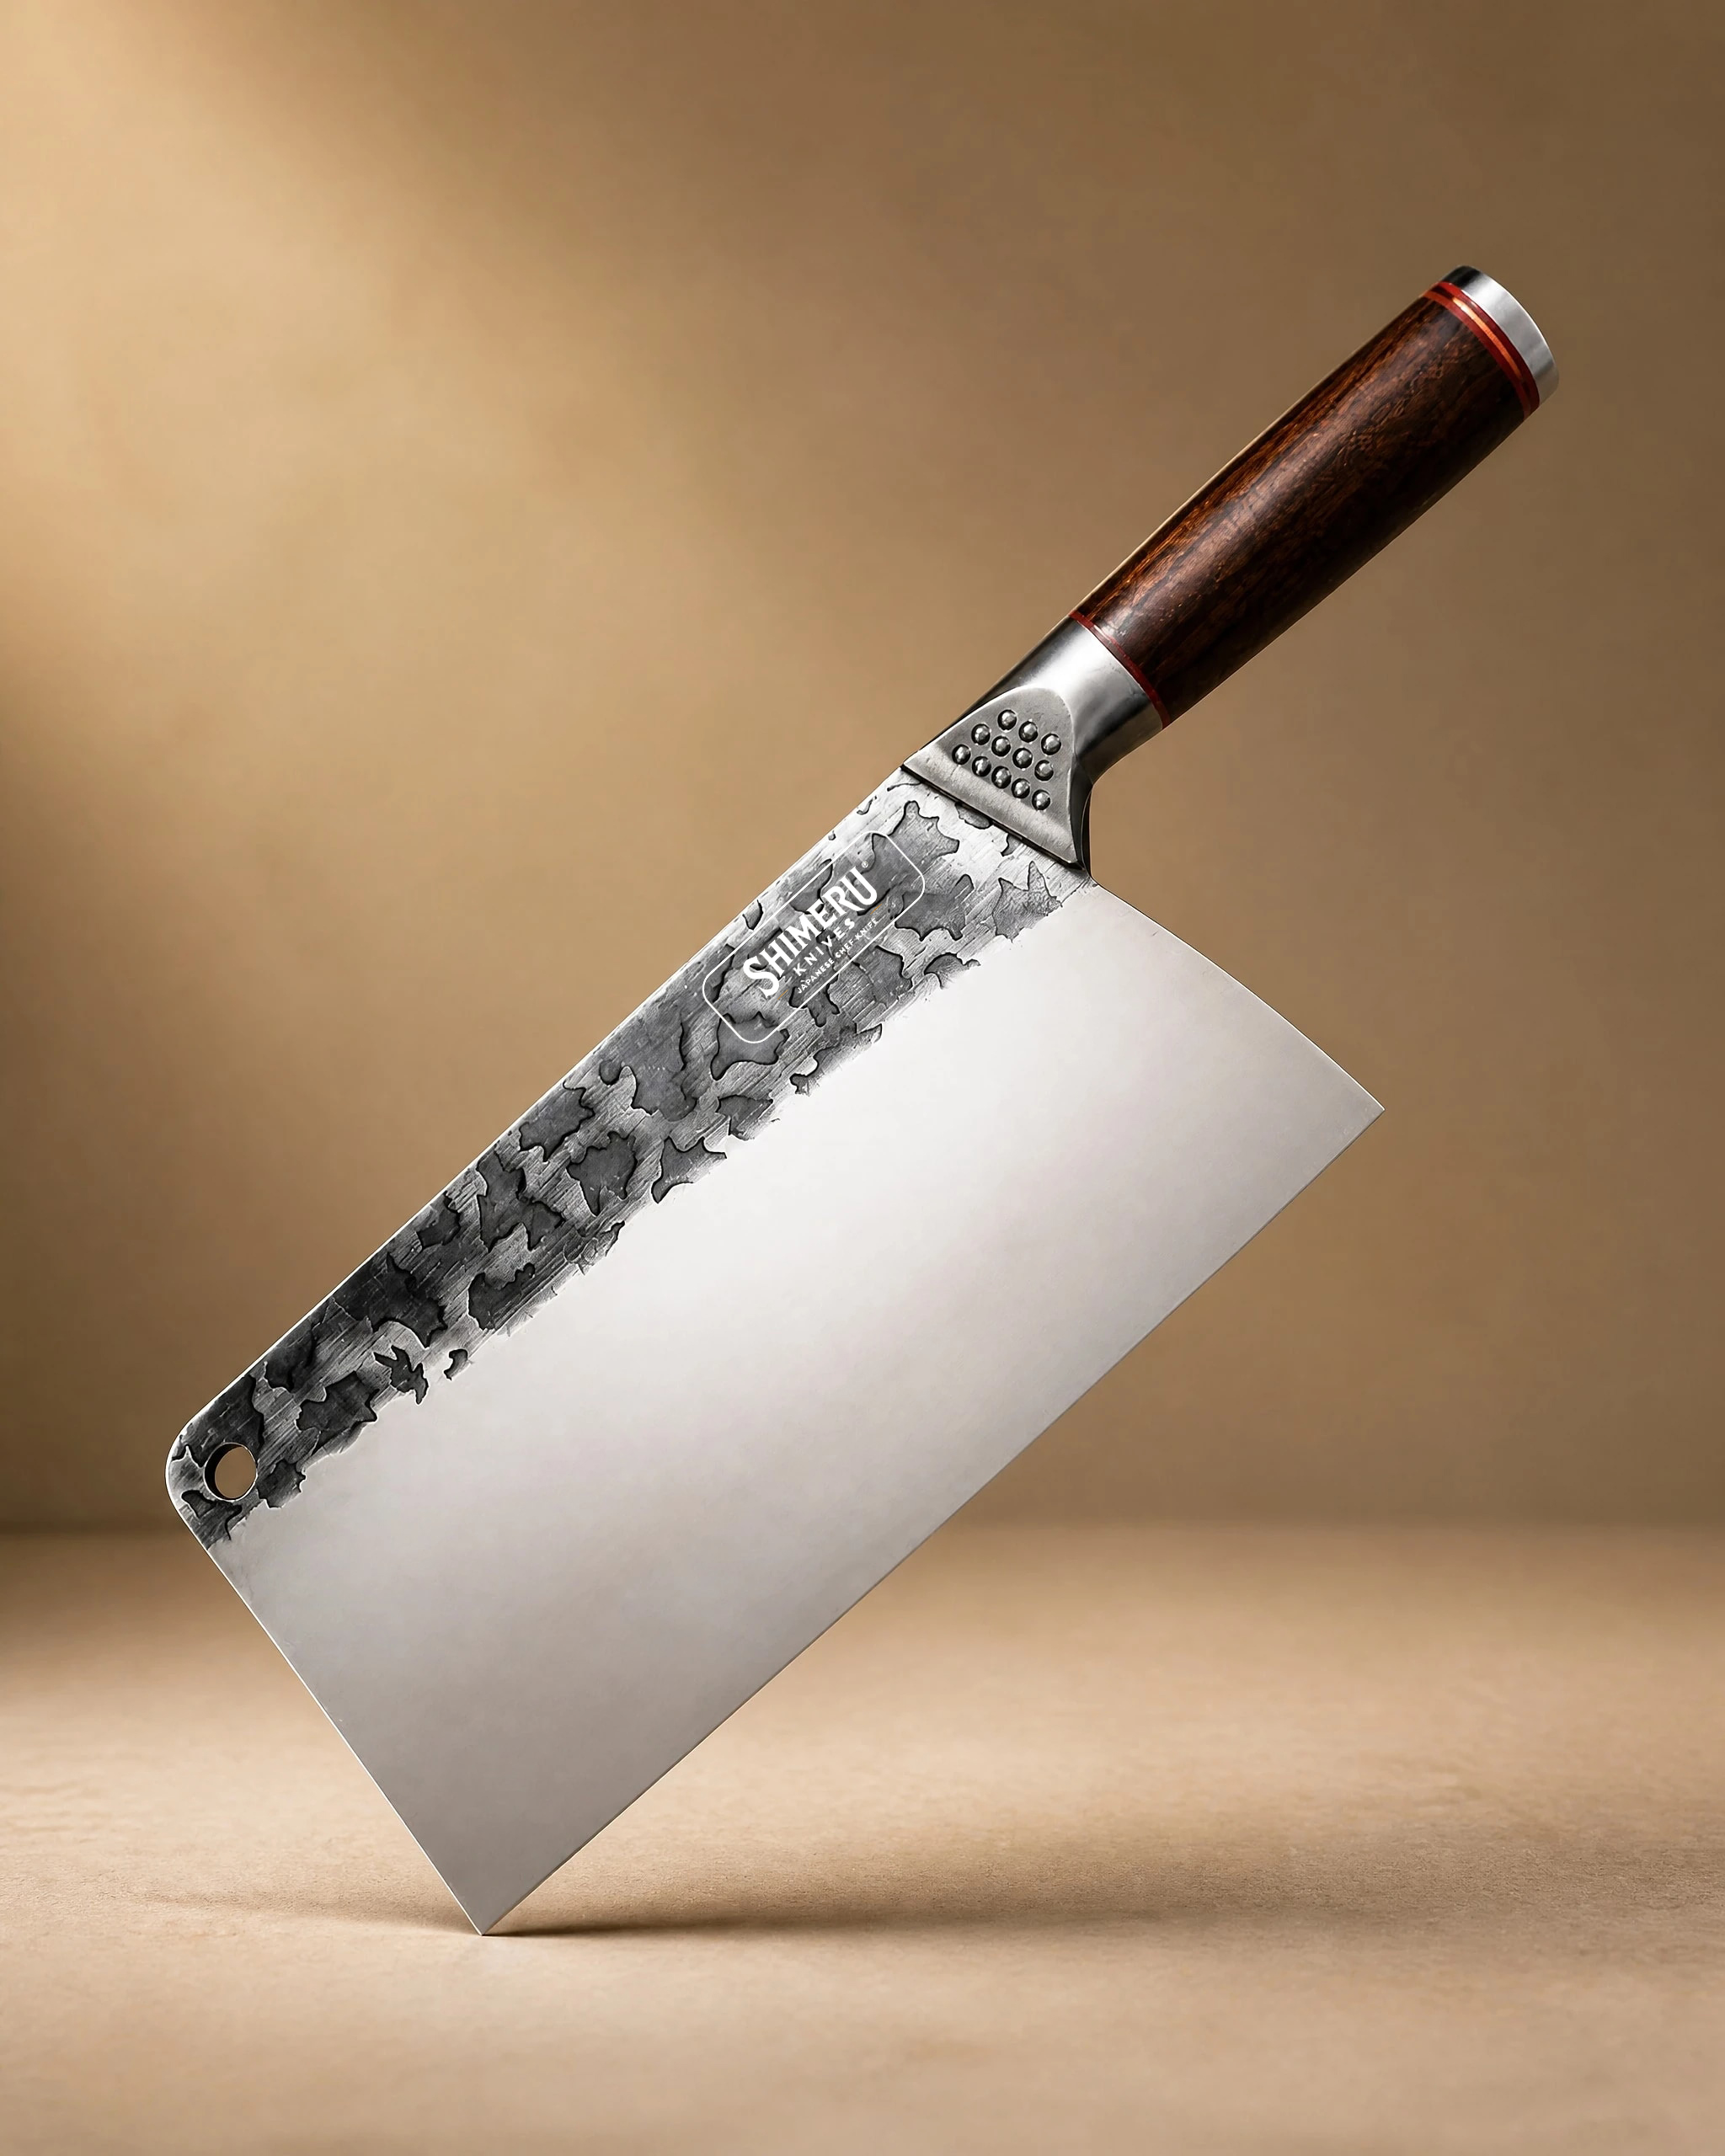 Saba 7" Stainless Steel Cleaver 中華包丁£44.99View product → offers a good balance for meat, vegetables and herbs. And if you are building a complete kit, a set like
 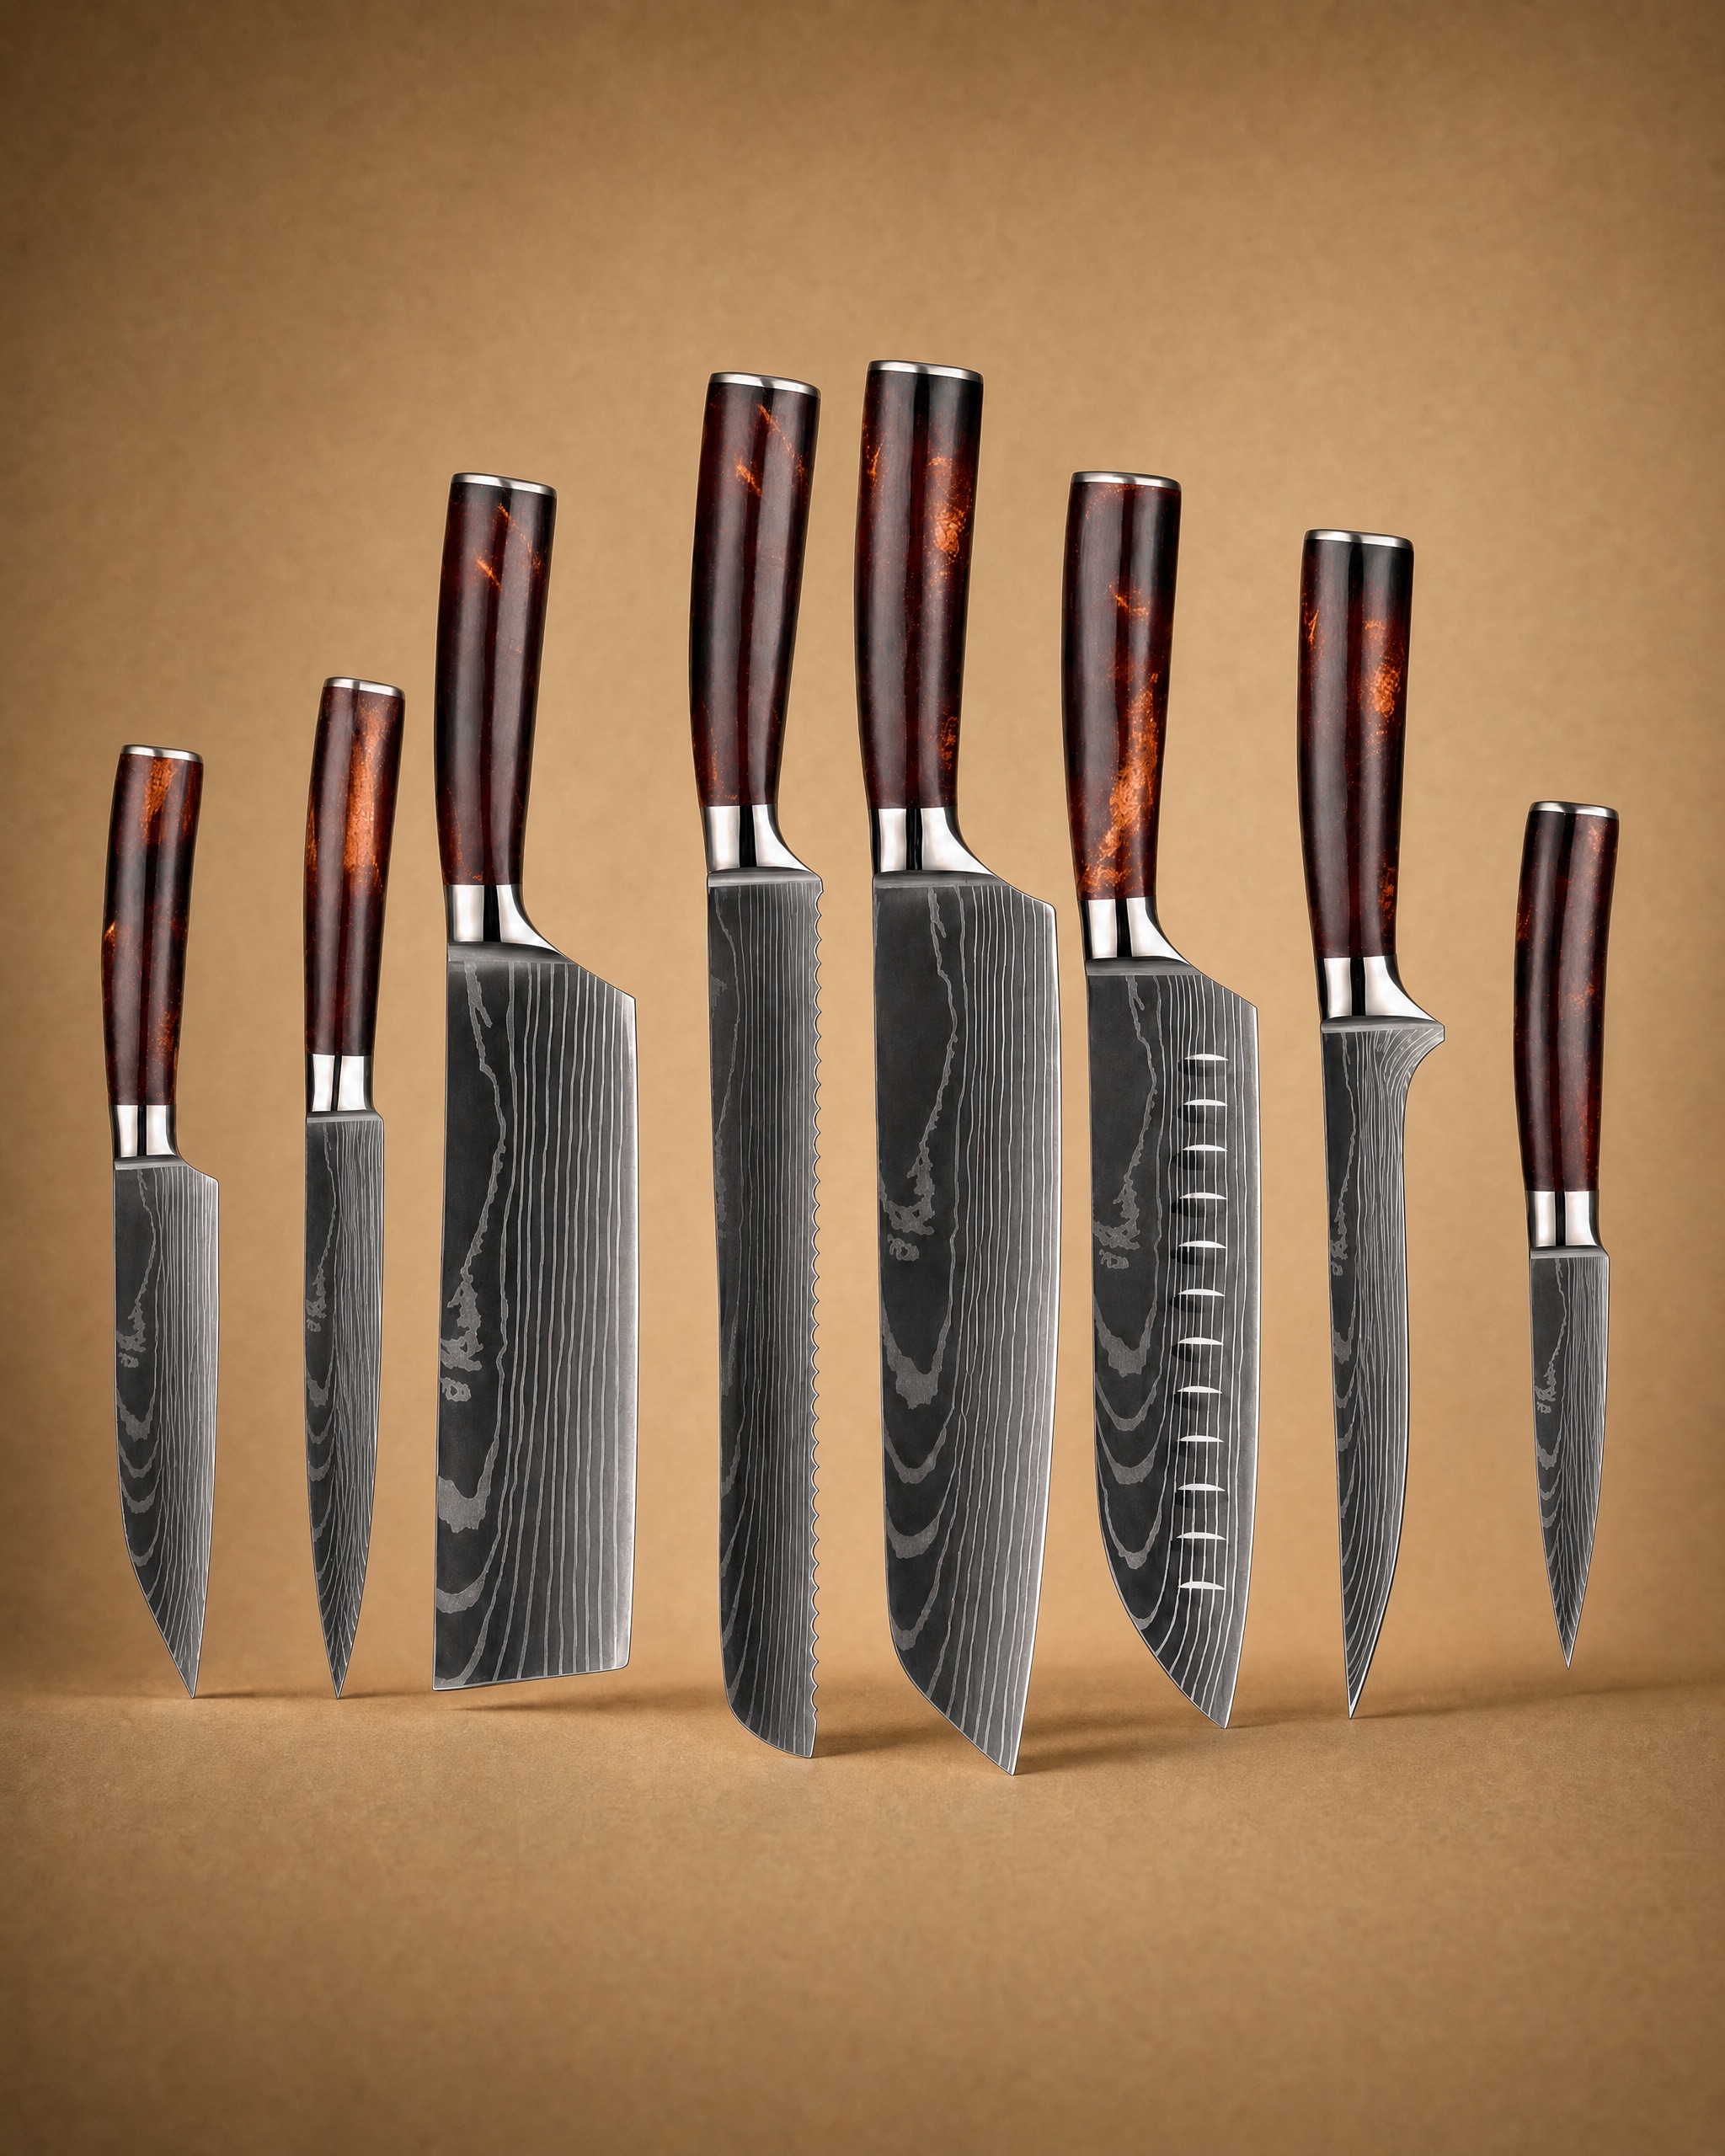 Asahi 朝日川 Damascus Pattern Stainless Steel Kitchen 8 Knife Set£154.99View product → may include several useful knives for different jobs. However, if sashimi is a regular part of your cooking, a yanagiba is the ideal specialist tool. If you are unsure which knife to choose, our /knife-guide compares the most common blade shapes and uses. You can browse the full range on our /product page.
Think about your weekly meals. Do you serve raw fish more than once a fortnight? If so, a yanagiba will pay for itself in the pleasure of easy slicing. But if you only make sashimi on special occasions, a gyuto or a santoku may be enough. We also offer a knife set that covers most kitchen tasks: Asahi 朝日川 Damascus Pattern Stainless Steel Kitchen 8 Knife Set£154.99View product →. That set includes a range of blades, so you can learn which one suits your style before investing in a dedicated sashimi knife.
Final thoughts
Mastering the yanagiba takes practice. The technique is simple in principle, but it requires a steady hand, a sharp blade and respect for the fish. Start with a forgiving fillet such as salmon or a firm white fish. Work slowly and pay attention to the angle of the blade. Over time, you will develop a feel for the right pressure and speed. A well made yanagiba is an investment that will reward you with years of beautiful sashimi.
We hope this guide has given you a clear understanding of what a yanagiba does and how to use it. Whether you choose a traditional single bevel or a more general knife, the most important thing is to keep your blade sharp and treat it with care. The fish will tell you the difference.
Photography: Richard Iwaki via Unsplash.


