

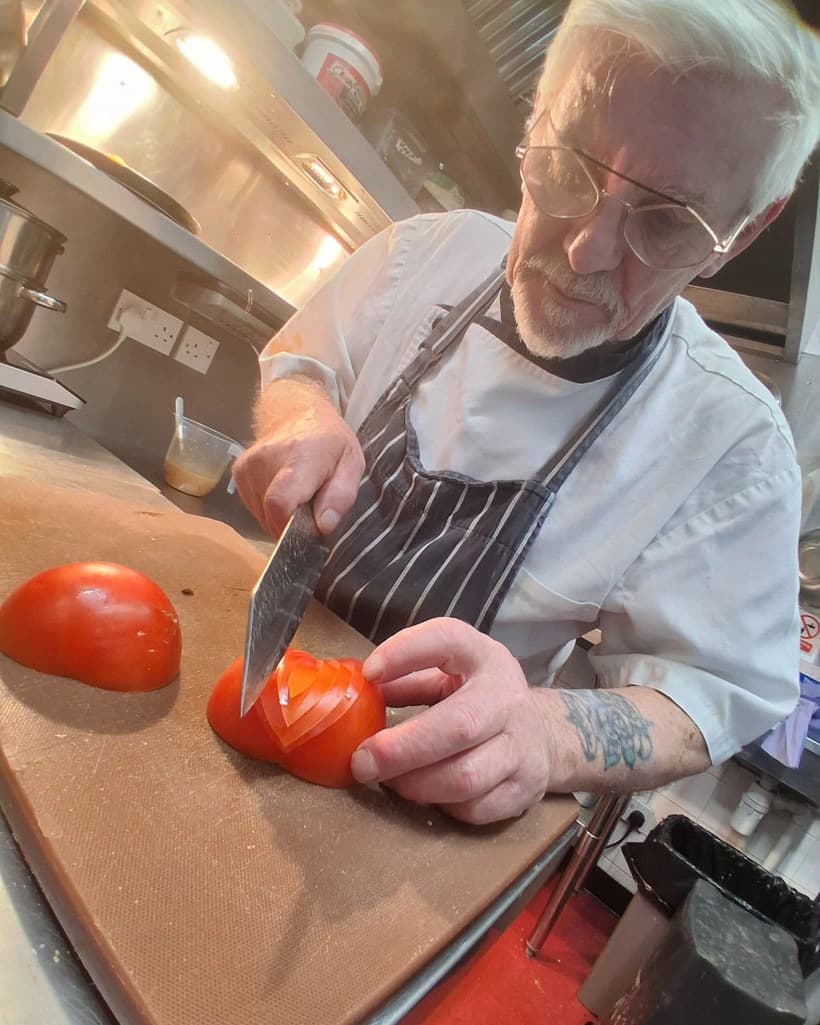
How to Sharpen a Kitchen Knife with a Stone

A blunt knife is more dangerous than a sharp one. It skids off tomato skin, it crushes rather than cuts, and it needs more force than the job deserves. Learning to sharpen a knife with a stone gives you control over that edge for the rest of the knife's life, and it is a skill most people can pick up in an afternoon.
This guide covers the whole process: choosing a stone, holding a consistent angle, raising a burr and finishing the edge. It is written for the home cook with one or two good knives, not for a professional sharpener with a bench full of equipment.
Why a stone rather than a pull-through sharpener
A pull-through sharpener drags your edge through two fixed carbide blades. It removes a lot of steel in a hurry and leaves a slightly ragged edge that feels sharp for a week or two. A stone does something different. It abrades a controlled bevel at an angle you choose, so the edge you end up with is clean, and repeated sharpening takes off far less metal.
The trade-off is time and technique. A stone takes ten minutes and a little patience. That is the whole cost.
What you actually need
You do not need much. One stone, water and something to stop the stone sliding will get you started.
- A whetstone, ideally a combination stone with a coarse side around 400 grit and a finer side around 1000 grit.
- A bowl or sink deep enough to soak the stone.
- A damp tea towel or a stone holder to keep it steady.
- A marker pen for checking your angle.
- Ten minutes and a little patience.
Understanding grit
Grit numbers describe the size of the abrasive particles, so a lower number is coarser. A 400 grit stone cuts quickly and is used for repairing small chips or setting a completely new bevel. A 1000 grit stone is the workhorse: it produces the slightly toothy edge that most kitchen work wants. Stones above 3000 grit polish rather than shape, and they are a refinement rather than a necessity.
If you buy one stone, buy a 1000 grit or a 400/1000 combination. Learn on that before spending money on anything finer.
Finding your angle
Japanese knives are usually sharpened at roughly 15 degrees per side, and most European knives at roughly 20. That difference matters, but consistency matters far more than the exact number. An edge held at a steady 18 degrees will cut better than one that wobbles between 12 and 25.
To find the angle, lay the blade flat on the stone and lift the spine until you can just slide two stacked coins underneath, or use the marker trick: colour the bevel with a pen, take three light strokes, then look at where the ink has worn away. If the wear is only at the very edge, you are too steep. If it sits high up the bevel, you are too shallow.
How to sharpen a knife with a stone, step by step
Soak the stone first. Most water stones need ten to fifteen minutes in water, until the bubbles stop rising. Splash-and-go stones need only a wet surface, so check what you have before assuming.
Set the stone on a damp towel with the coarse side up if it is a combination stone. Place the knife on the stone at your chosen angle, with the edge facing away from you. Put the fingers of one hand lightly on the blade, spread across the flat, and hold the handle with the other. The fingers on the blade control the angle; the hand on the handle only guides.
Work in sections rather than sweeping the whole length at once. Start at the heel, use moderate pressure, and push the edge forward and slightly across the stone, or use edge-trailing strokes pulling the edge towards you. Either method works, as long as you keep the angle steady and cover the full length of the blade, including the curve towards the tip, where you lift the handle slightly to hold the angle constant.
After perhaps twenty strokes, check for a burr. This is a thin ridge of steel that forms on the opposite side of the edge when the two bevels meet. Run a fingertip lightly across the edge, from the spine towards the edge, never along it. If you feel a slight catch along the whole length, that side is done. If you feel it only near the heel, keep working there.
Flip the knife and repeat on the other side until a burr forms there too. Then move to the finer side of the stone, if you have one, and repeat with much lighter pressure, alternating sides every few strokes to remove the burr. Five or six light alternating strokes per side is usually enough.
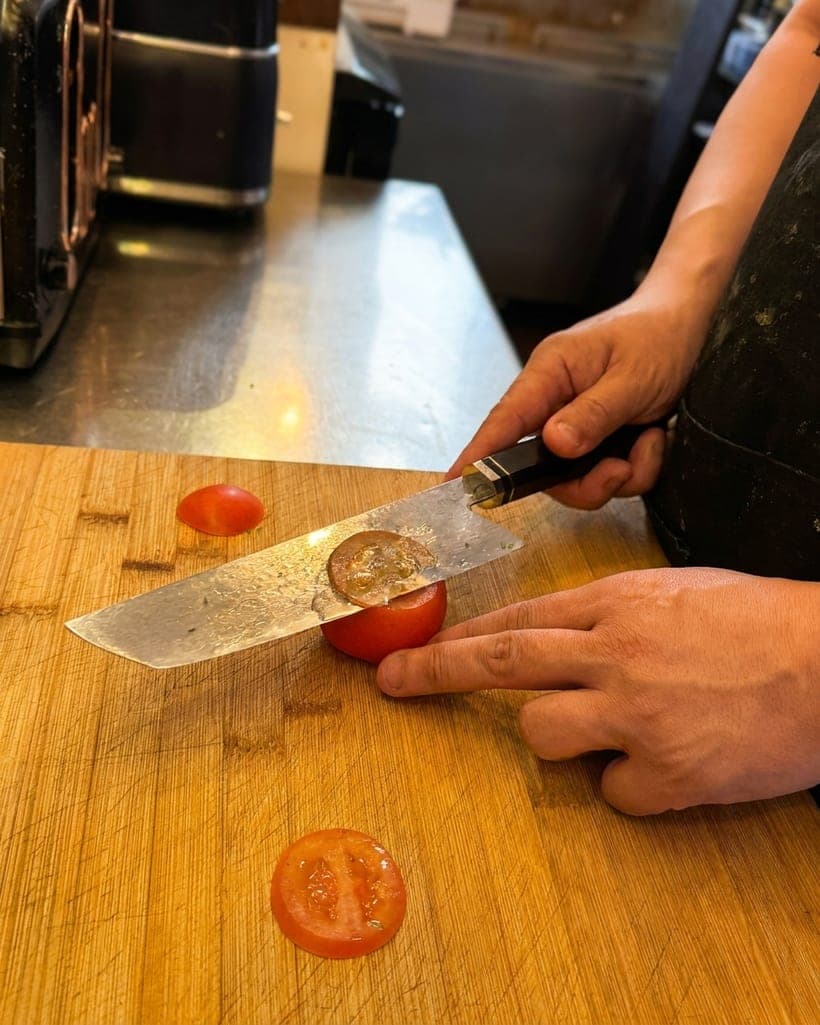
Rinse the blade, dry it properly, and test the edge on a tomato or a sheet of paper. A properly sharpened knife bites into the skin without pressure.
The mistakes that matter most
Pressing hard is the most common error. Pressure does not sharpen faster; it gouges the stone and makes the angle harder to hold. Let the abrasive do the work.
The second is rushing a worn edge onto a fine stone. A 6000 grit stone cannot repair a rolled edge, and using one too early simply wastes time.
Third, skipping the burr. If you flip the knife before the burr has formed along the whole edge, you are polishing a blunt edge rather than sharpening it. The burr is the signal that the two bevels have actually met.
Finally, never put a serrated knife on a stone in the ordinary way. Serrations need a tapered rod, one scallop at a time.
Which knives benefit most
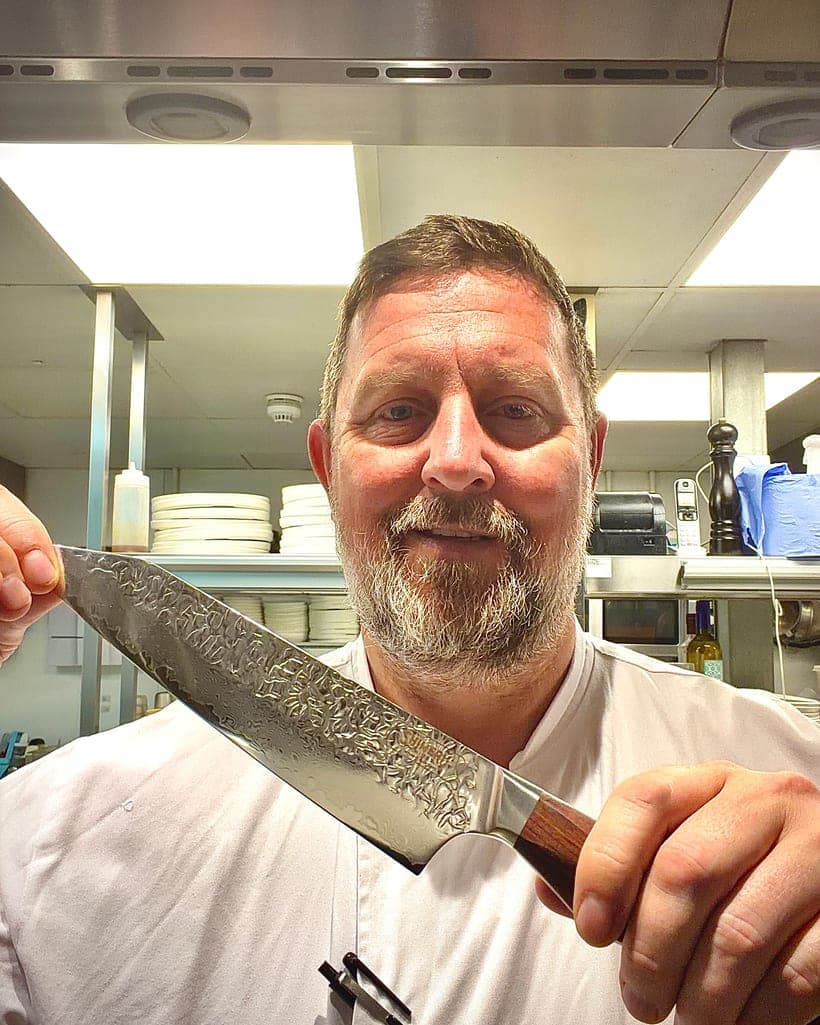
Thin, hard Japanese blades respond beautifully to a stone. The 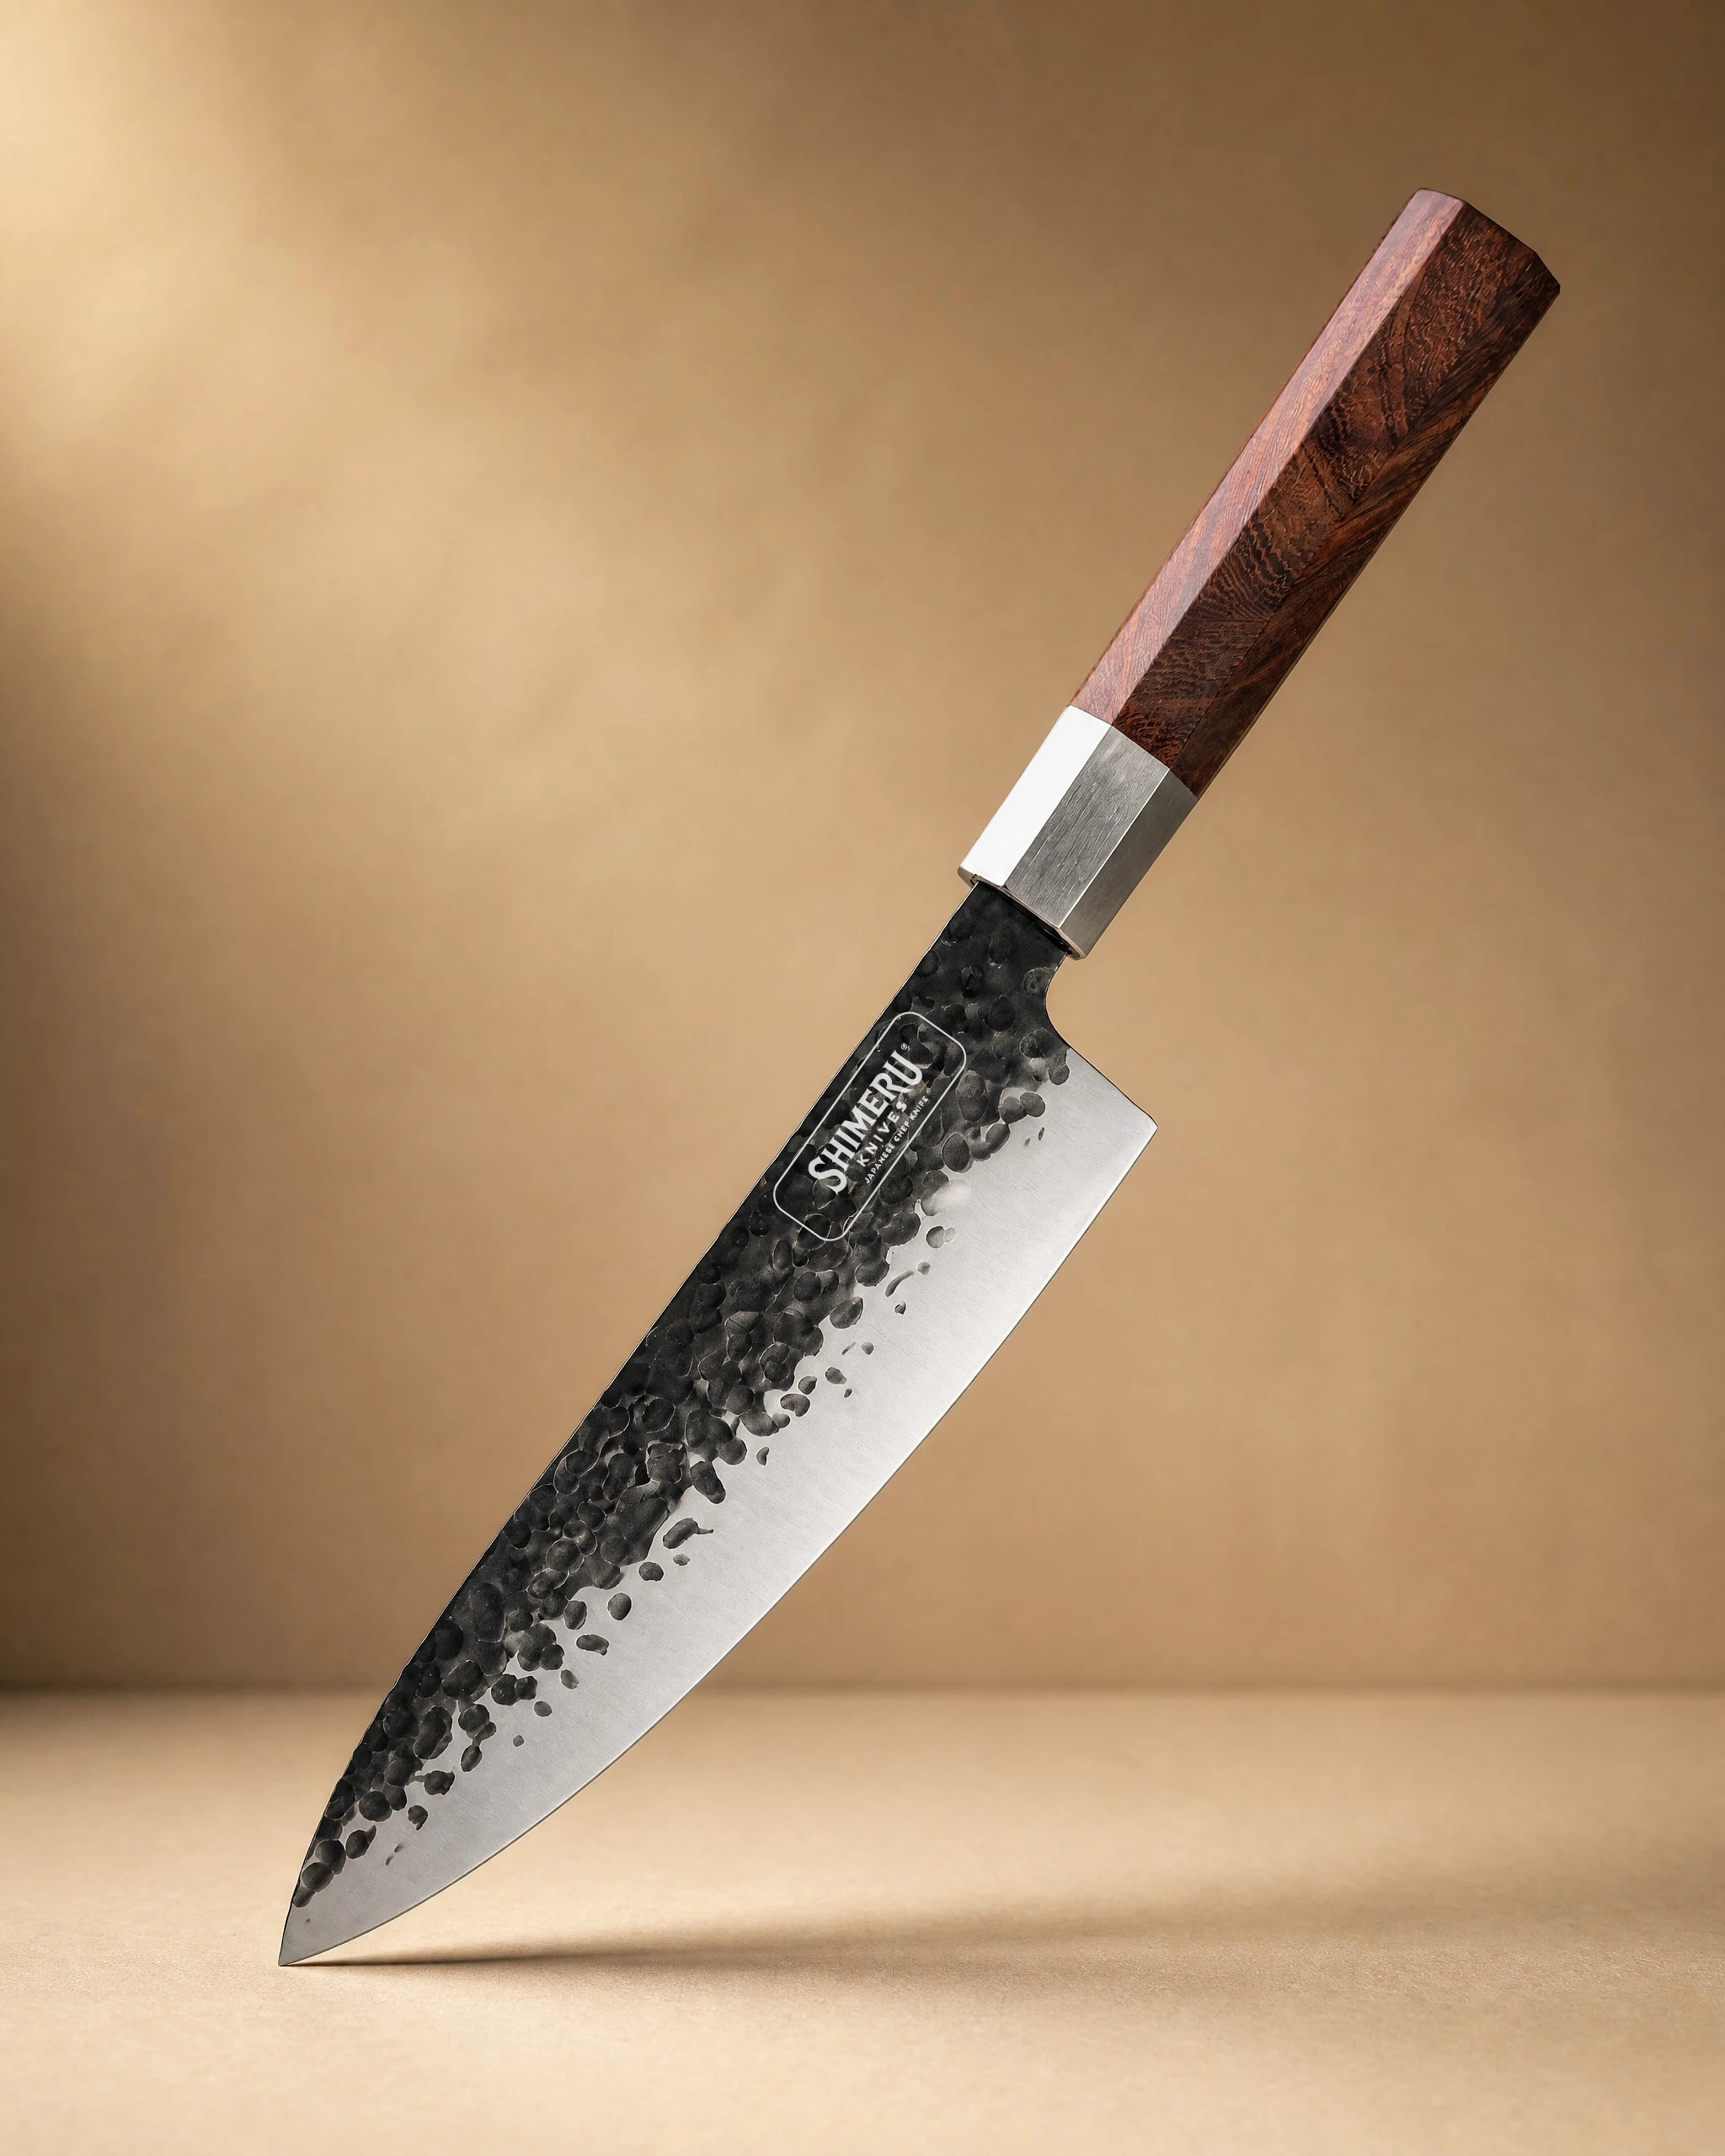 Sendai 8" Steel Gyuto Knife 牛刀£49.99View product → is a good example: an eight inch gyuto with a stainless steel blade and a Mkuruti wood handle, suited to vegetables, herbs, meat and fish. Its geometry rewards a clean 15 degree bevel, and it will feel transformed after even a modest session on a 1000 grit stone.
The 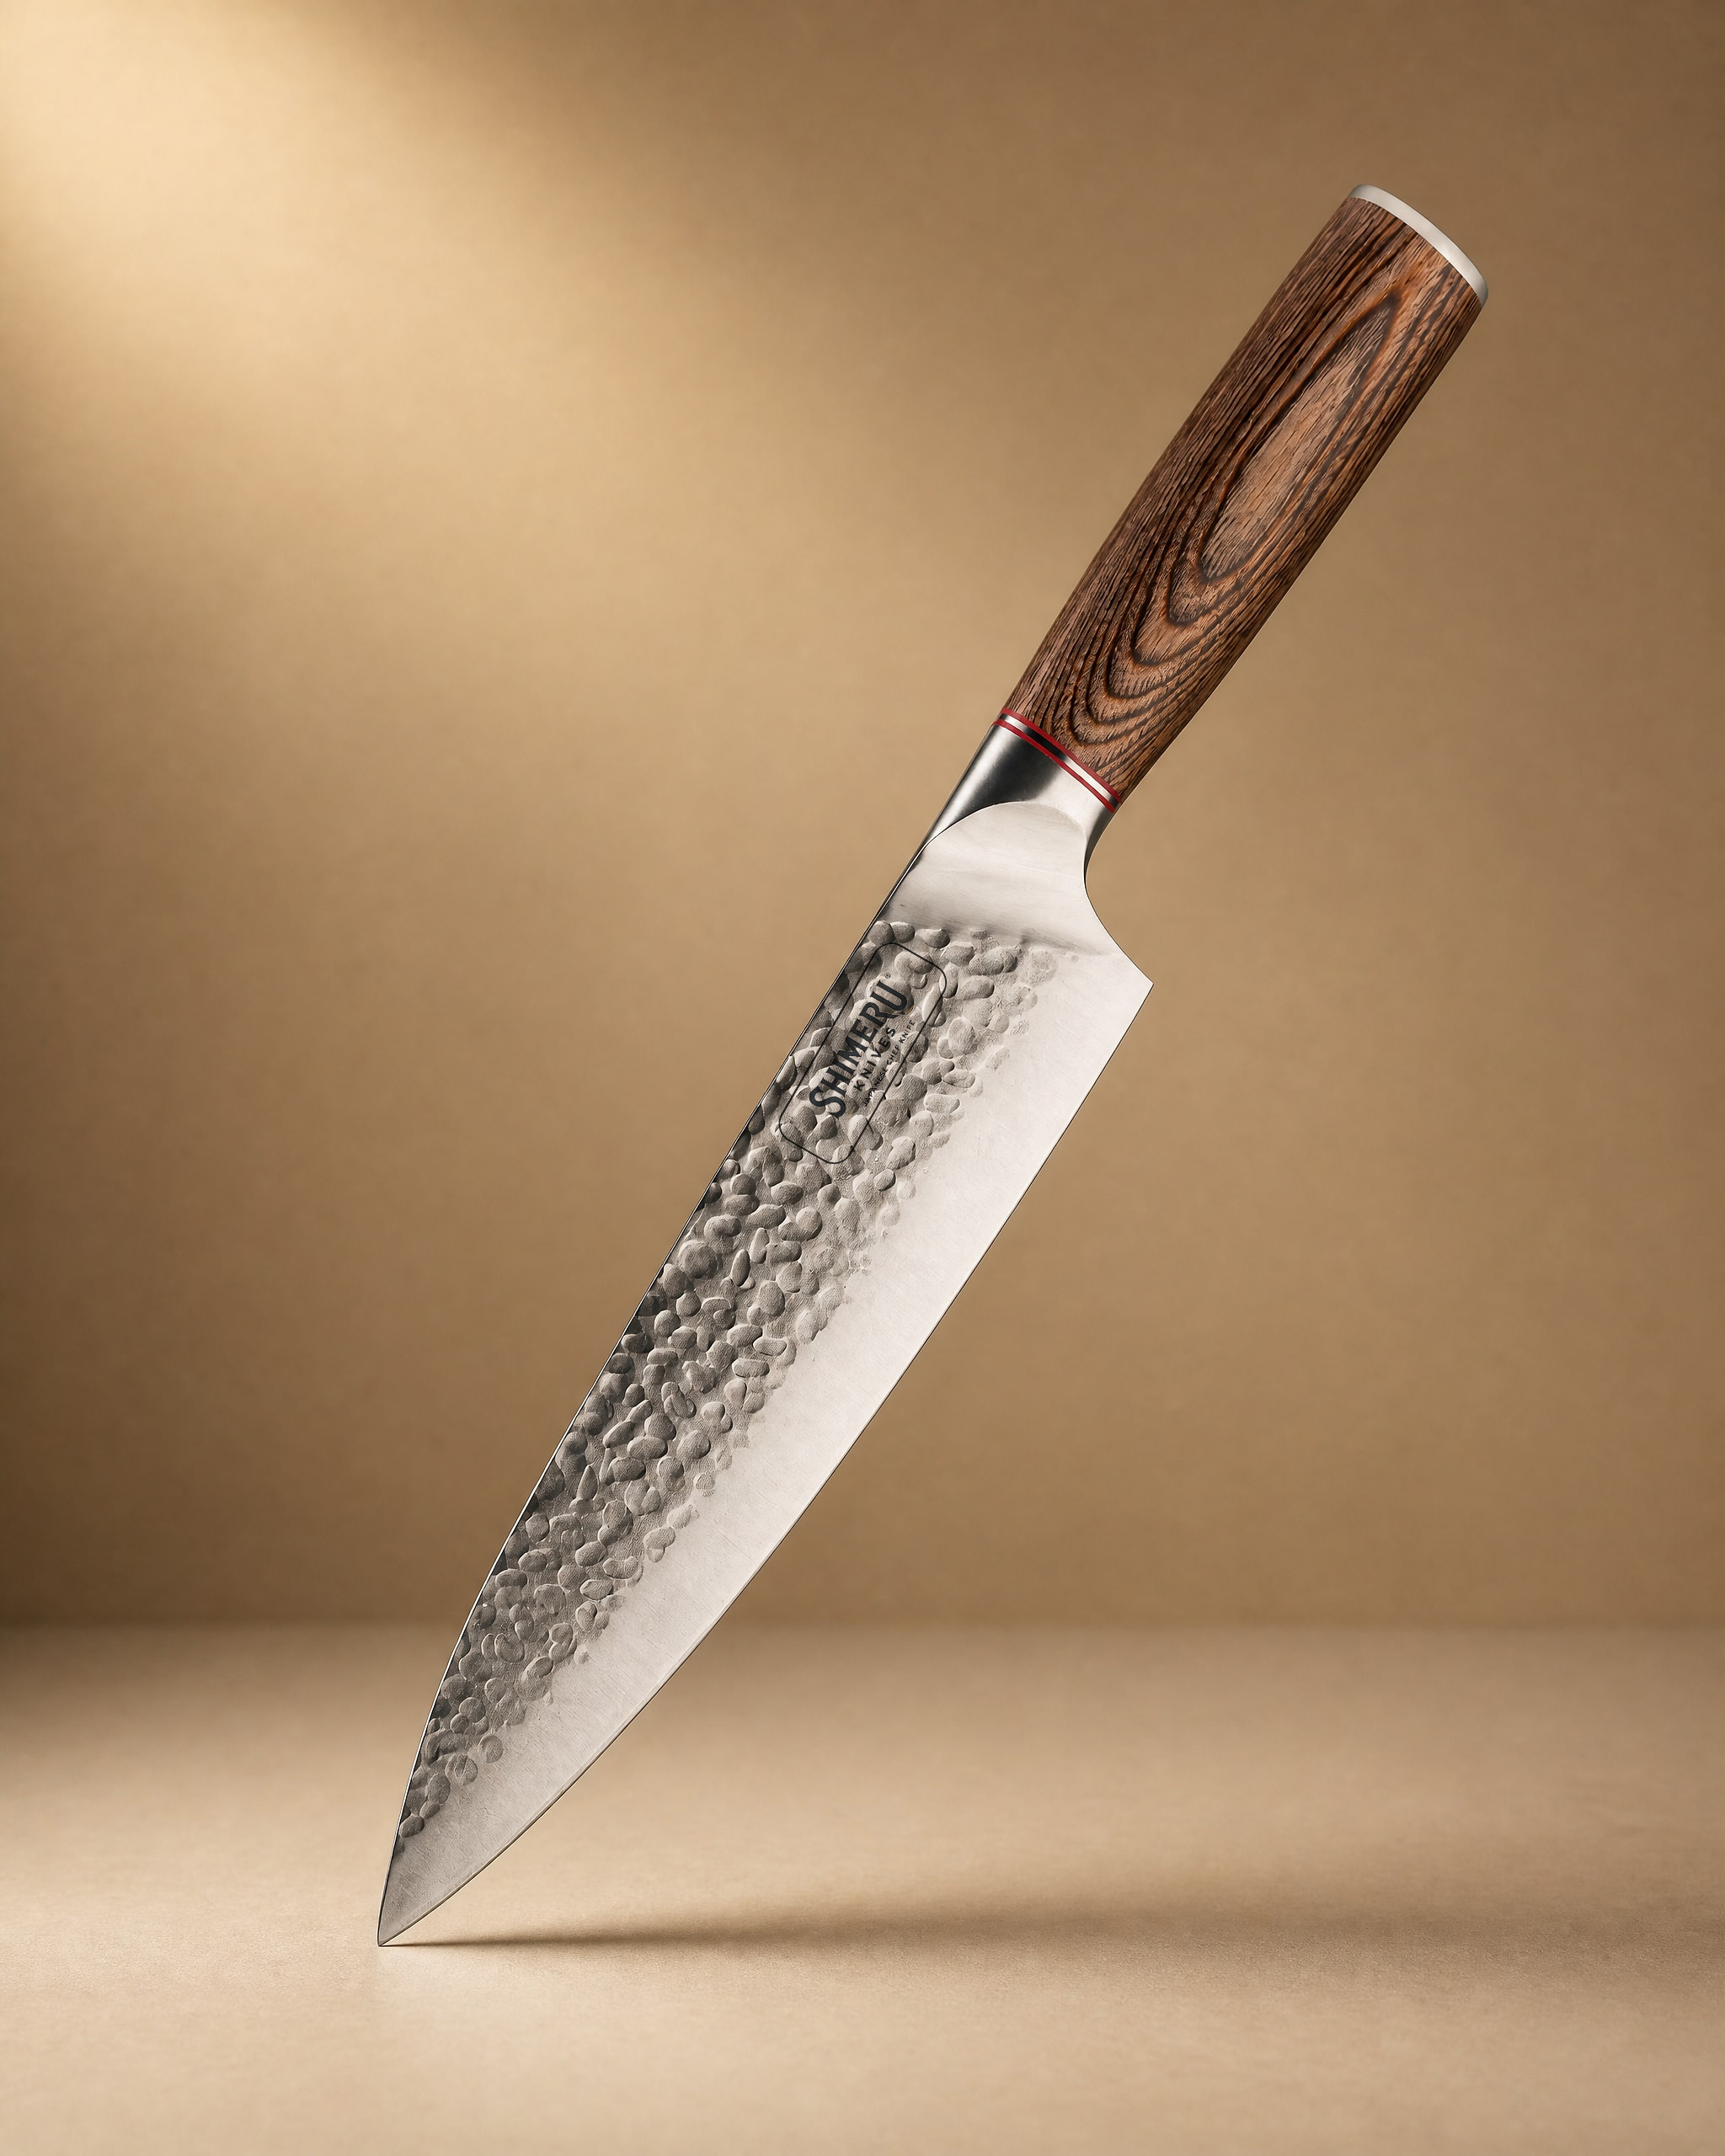 Akan 8'' Gyuto Knife 牛刀£49.99View product → is another eight inch gyuto, this one with a pakkawood handle and a broad remit across meat, fish, vegetables and fruit. If you are learning to sharpen, a knife like this is forgiving: there is plenty of blade to practise on, and the flat section near the heel makes it easy to feel the angle.
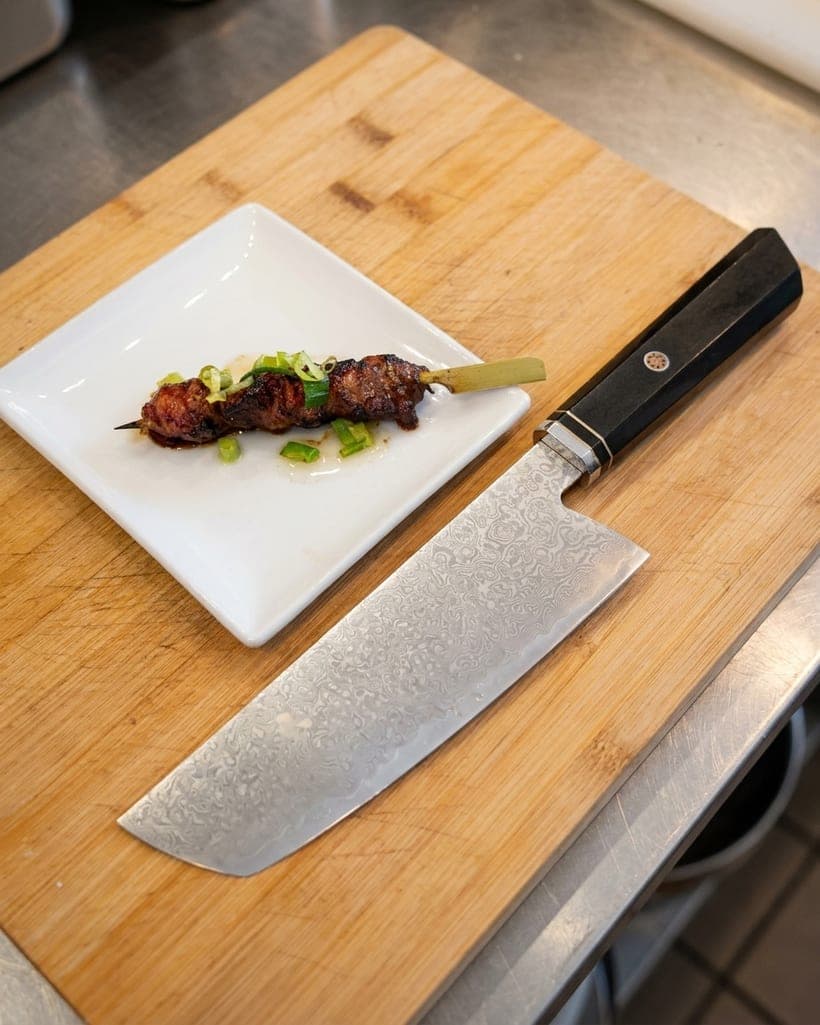
A cleaver needs a slightly different touch. The 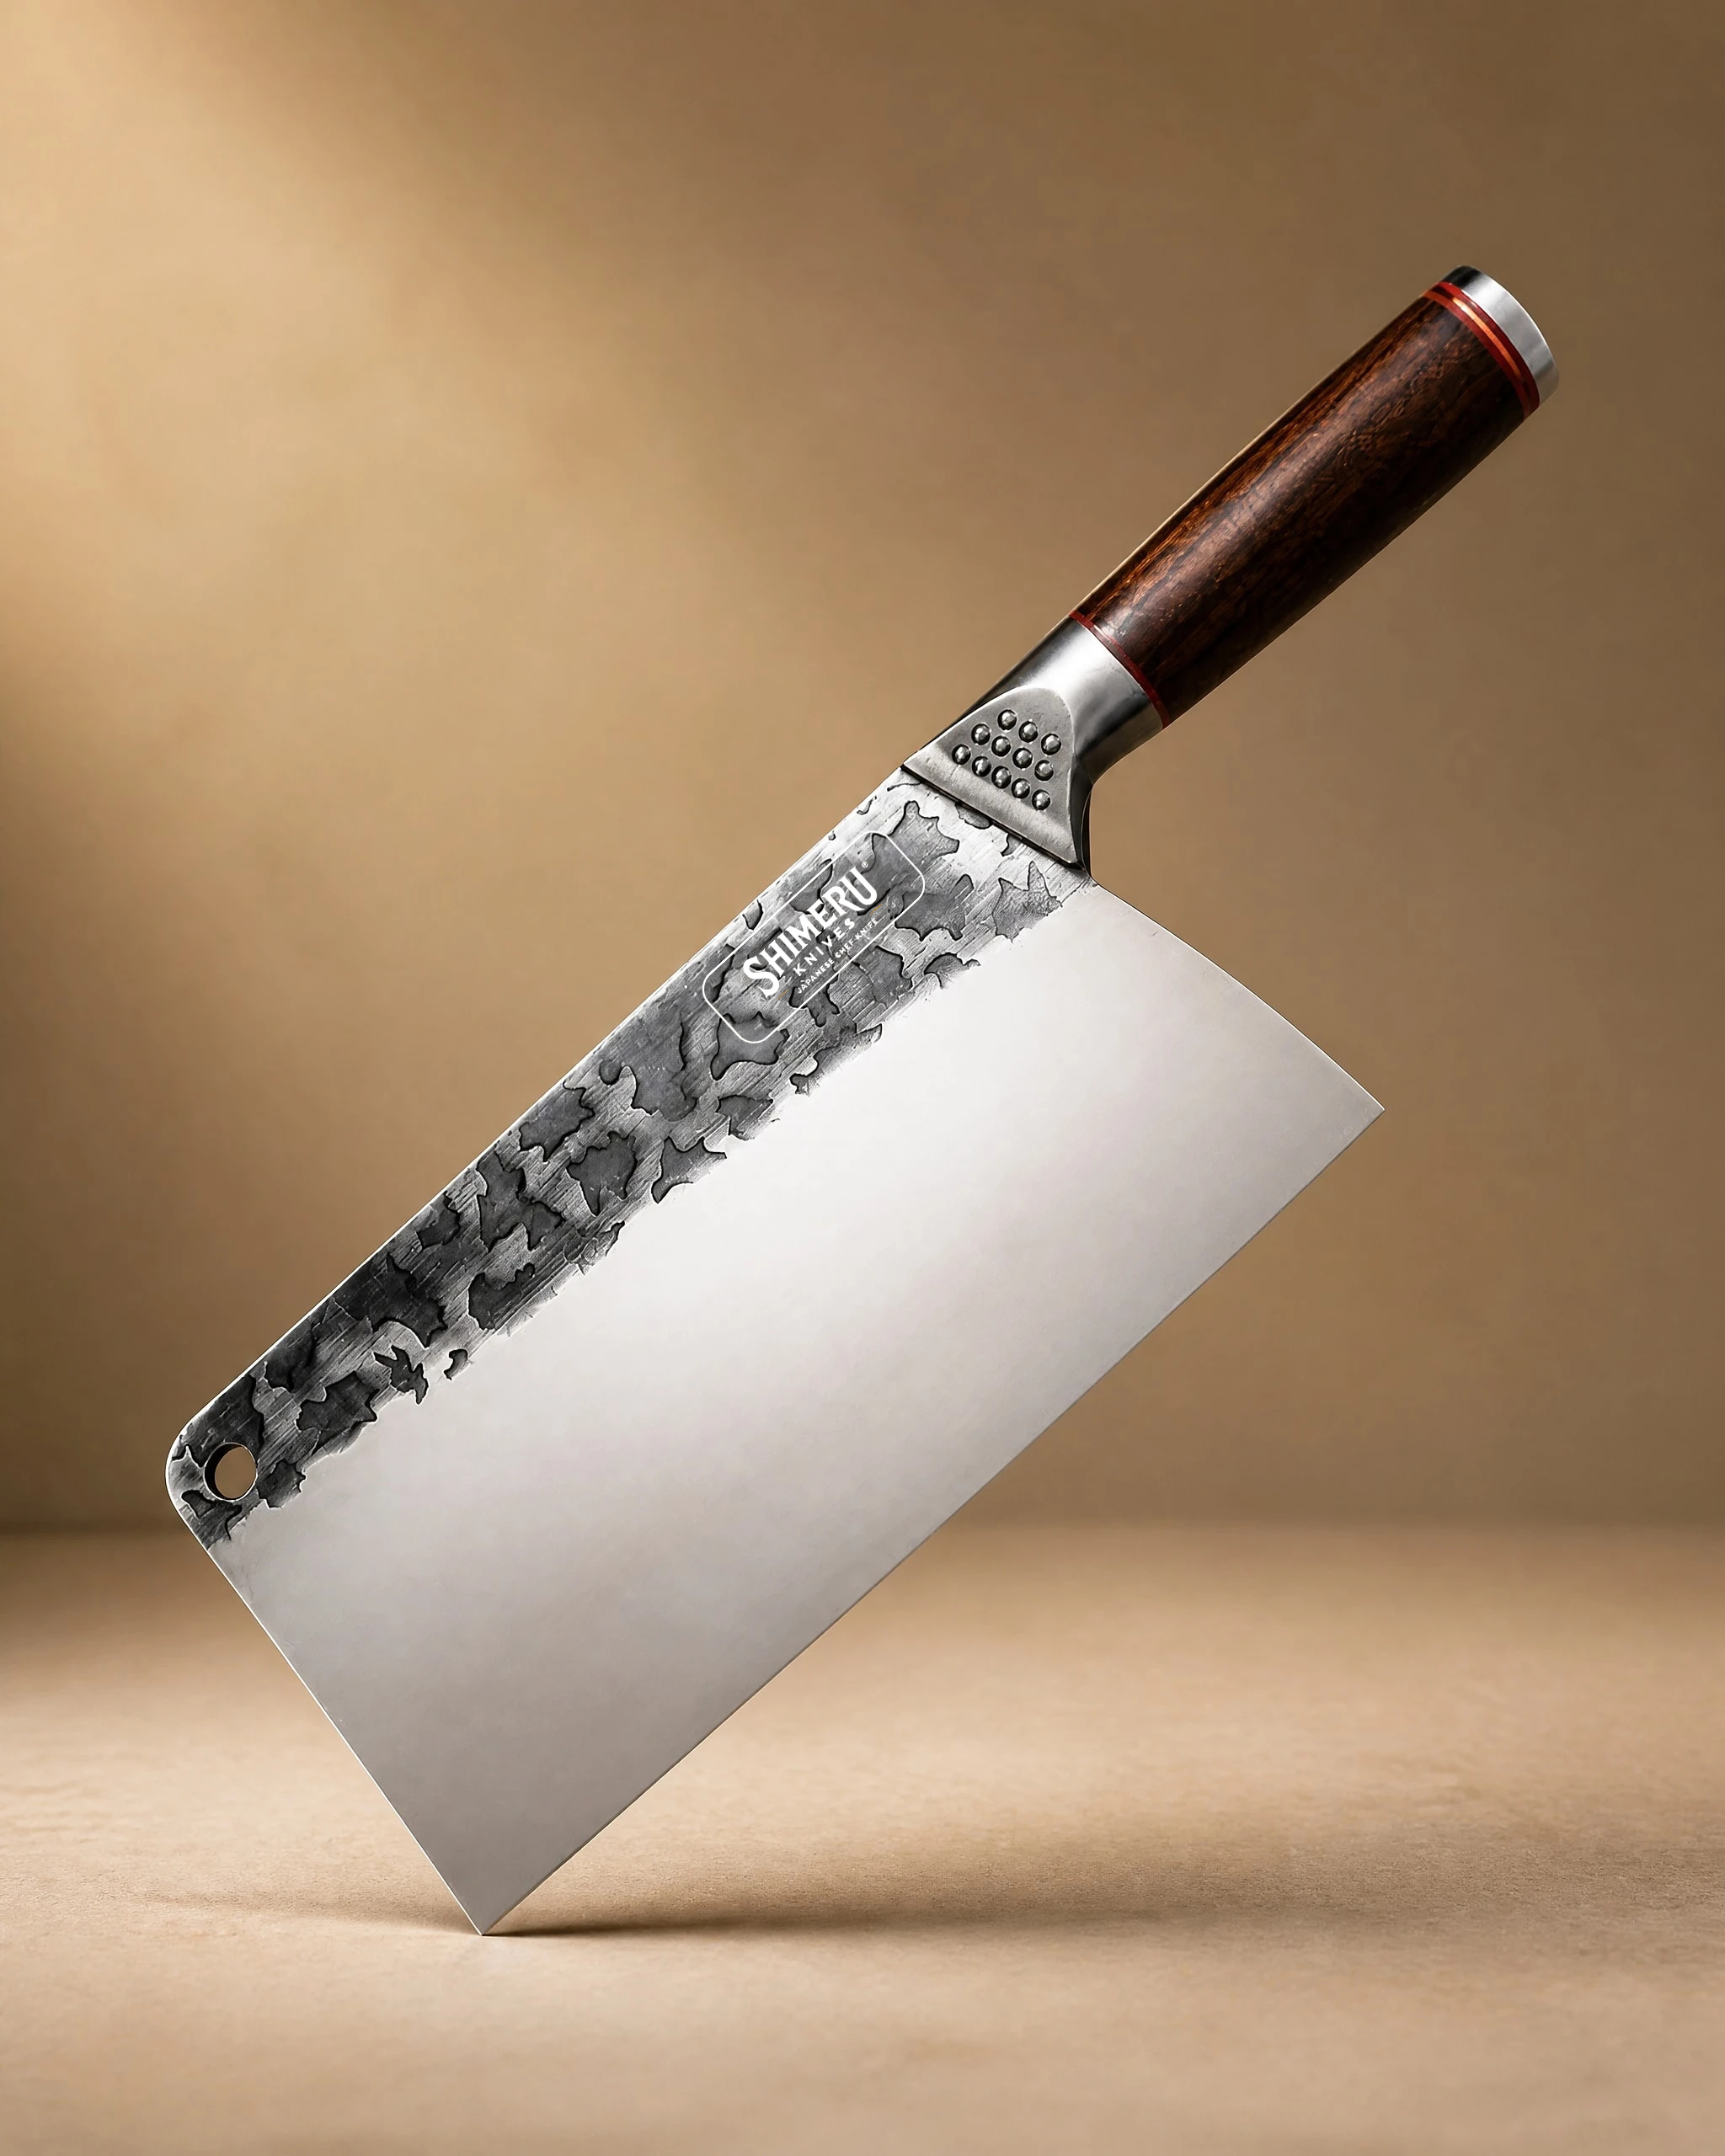 Saba 7" Stainless Steel Cleaver 中華包丁£44.99View product → is a Chinese style cleaver in Japanese stainless steel with an African wedge hardwood handle, and blades of this shape are often thicker behind the edge, so they can take a little more work on the coarse side before the bevel is properly set.
If you would rather keep a whole set in condition together, the 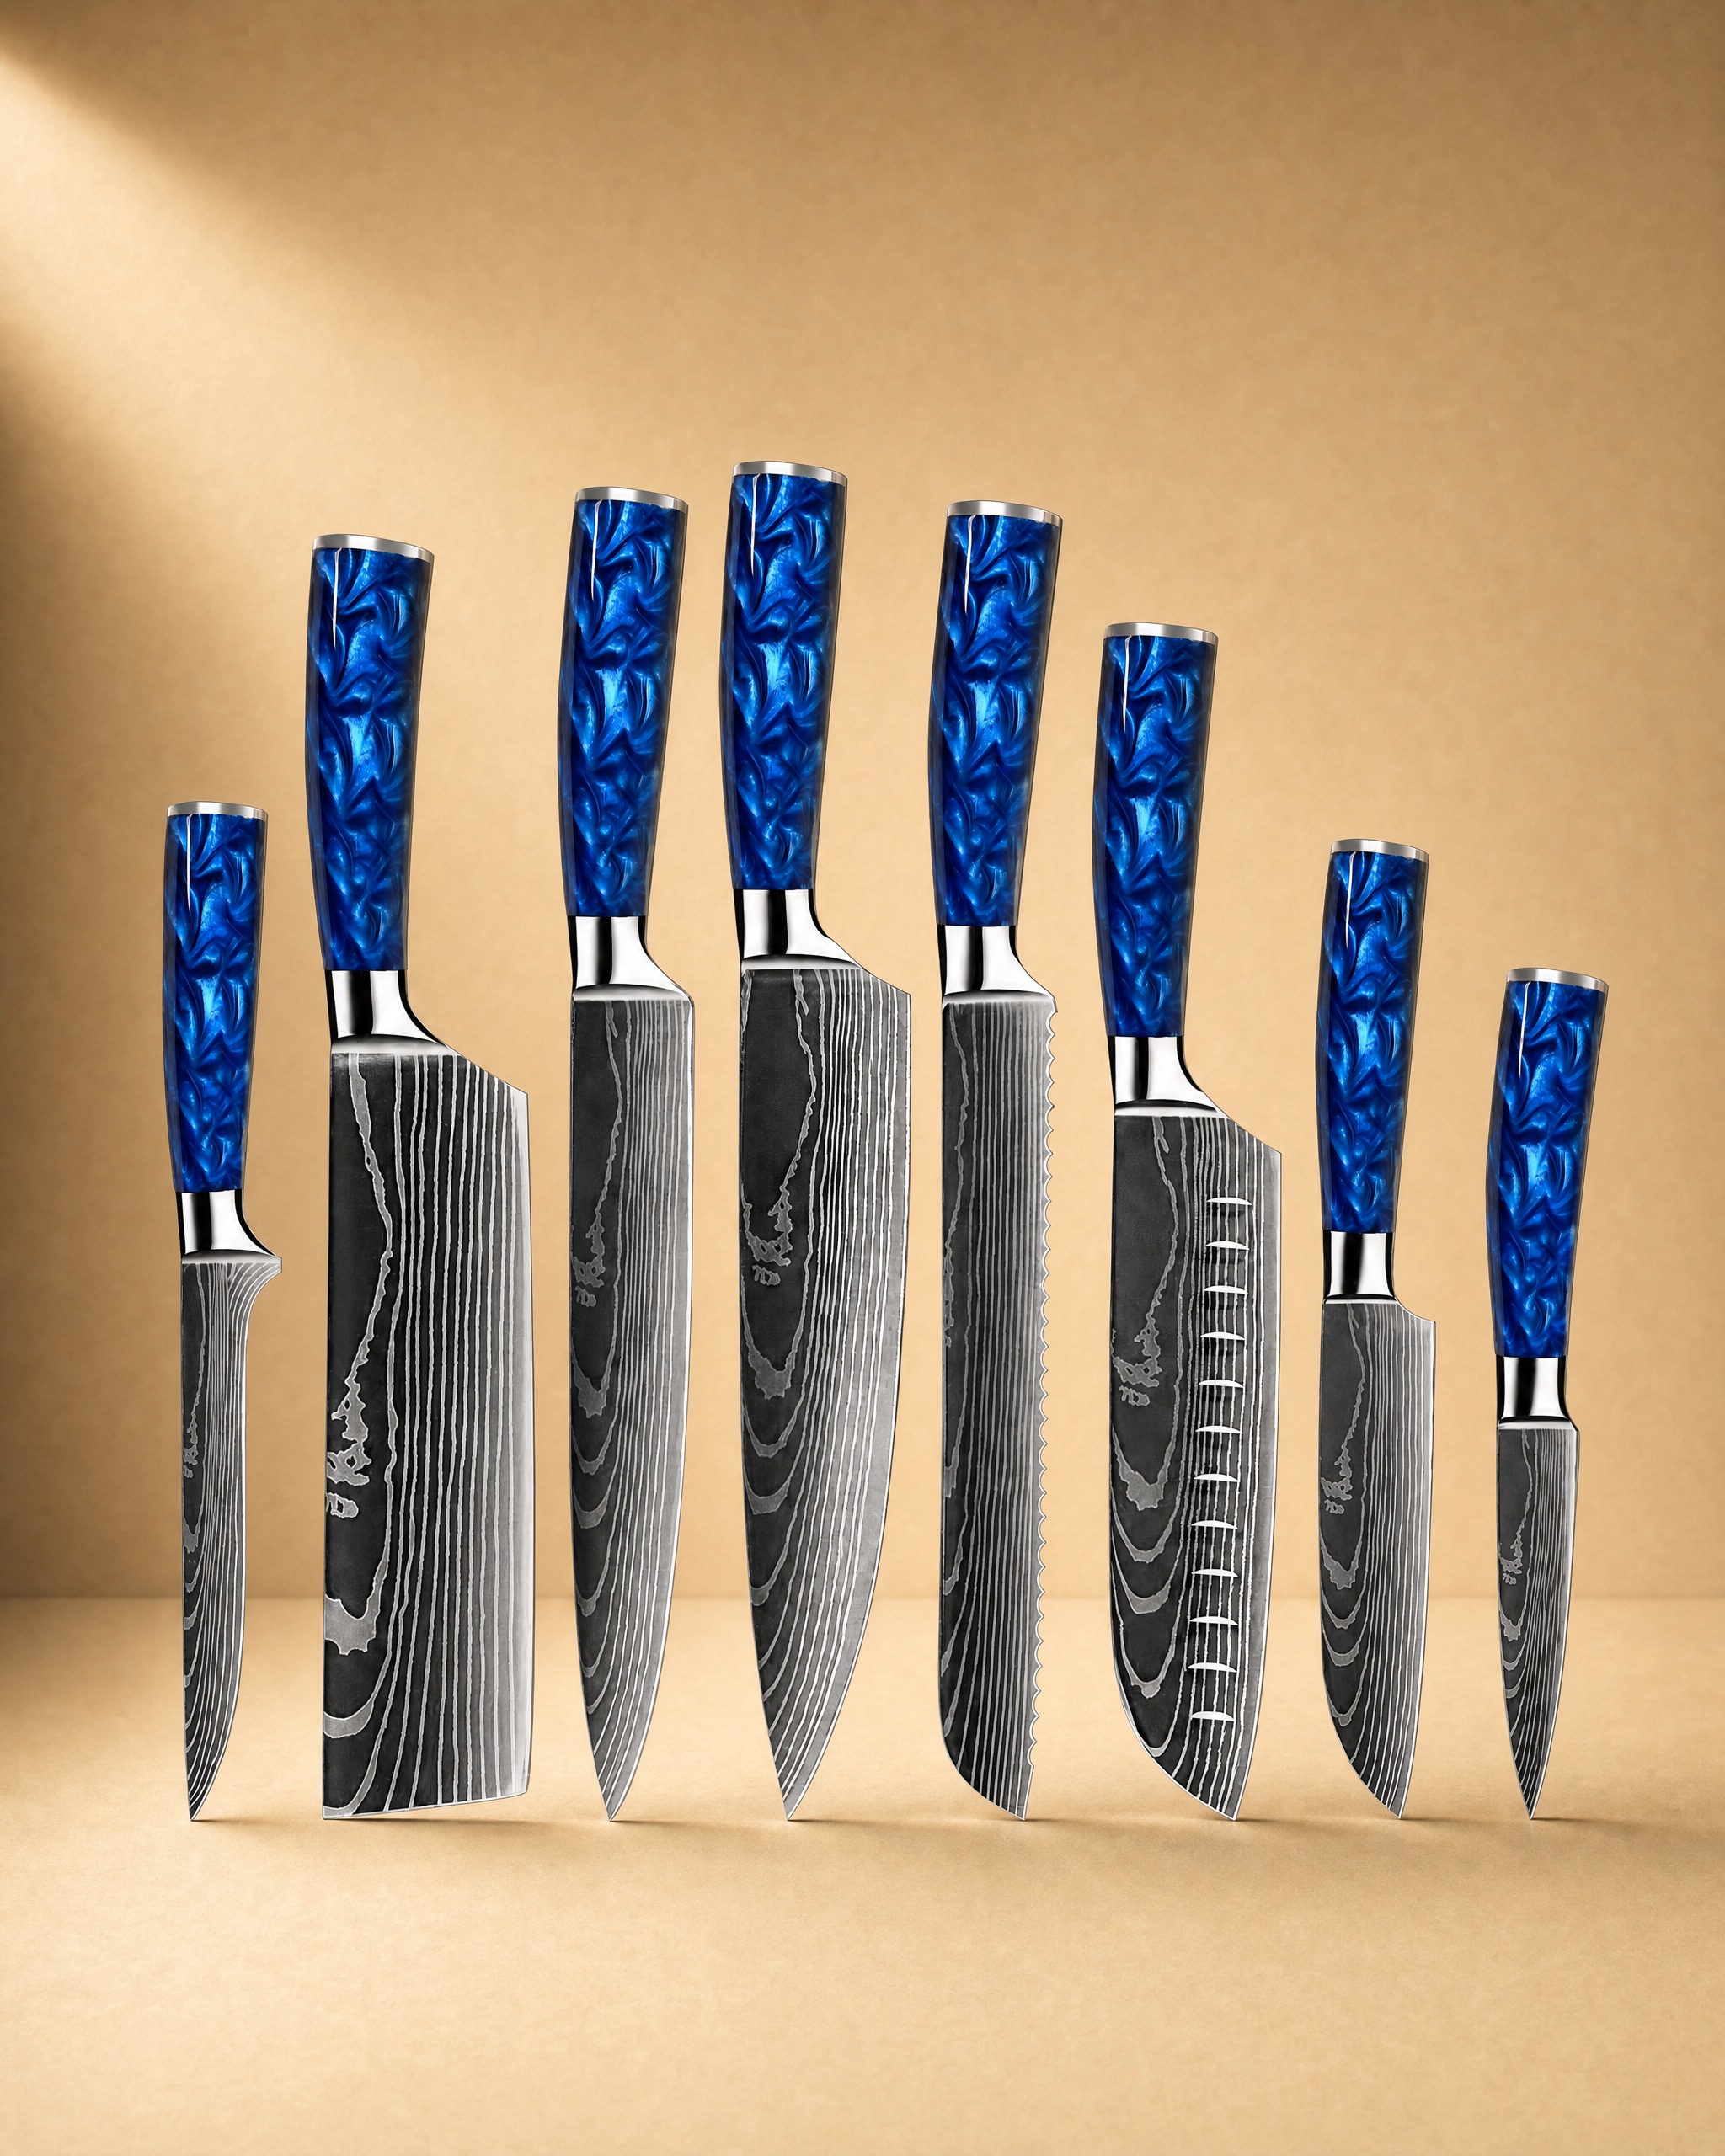 Shinano 信濃川 Damascus Pattern Stainless Steel Kitchen 8 Knife Set£149.99View product → Damascus pattern set gives you several blades to work through, which is honest practice. Sharpening four knives in one sitting teaches more than sharpening one.
Keeping the edge between sharpenings
A stone is for restoring an edge, not for weekly maintenance. Between sessions, use a honing rod or a leather strop to realign the edge, which is enough for most home kitchens. Sharpen properly two to four times a year for a home cook, and more often if you cook daily or work with a lot of fish.
Wash and dry your knife by hand after every use, keep it away from the dishwasher, and store it so the edge does not knock against anything. Our knife care guide covers storage, board choice and daily habits in more detail.
If you are still deciding which blade to learn on, the knife guide explains the main shapes and what each is for, and you can browse the full range in the knife shop.
A final word on practice
Expect your first attempt to feel clumsy and your second to be better. Sharpening is a physical skill, and the feedback is immediate: a knife that glides through an onion tells you that you held the angle. Start on an inexpensive knife if you have one, use light pressure, and check the bevel with a marker until the angle becomes automatic.
A stone that sharpens knives properly will outlast several knives. Learn it once, and every blade in your kitchen gets better.
Photography: Zhao Wenjie via Unsplash.

