







How to Sharpen a Pizza Cutter (and When to Replace It)

A pizza cutter works quietly for months and then, one evening, stops. The wheel skids across the crust, the cheese stretches into strings and the base tears instead of separating. Most people assume the tool is finished. In reality the blade is almost certainly blunt rather than broken, and a blunt wheel can be brought back using the same thinking you would apply to any kitchen knife. This guide covers the practical methods, the honest limits of each one, and how to keep the wheel cutting cleanly afterwards.
Why a pizza cutter goes blunt
Two things wear a pizza cutter down. The first is the cutting surface. A wheel that runs across a ceramic plate, a glass board or a stone worktop is meeting something harder than the steel, and a fine edge rolls over or chips within a few uses. Wood or soft plastic is far kinder. The second is the shape of the blade itself. Most pizza wheels carry a narrow bevel on steel that is thin and not especially hard, because the tool is built to be light and inexpensive rather than to hold an edge for years. Thin steel at a shallow angle cuts beautifully when new and fades quickly once it meets abrasive surfaces.
Add regular washing, a central screw that slowly works loose, and small dents picked up from being dropped in a drawer, and the decline is predictable. None of this means the cutter is beyond saving.
Work out which cutter you have
Before sharpening anything, look at how the wheel is held. There are three common arrangements and they behave differently on a stone.
A wheel fixed by a central screw can be taken apart with a small screwdriver, which makes it by far the easiest to sharpen because you can work on the blade as a free disc. A riveted wheel does not come apart without damaging the tool, so you sharpen it in place, rotating the wheel as you go, which takes longer and demands more care around the guard. A rocking cutter with a curved blade is sharpened like a small knife, running the curved edge along the stone in a sweeping motion rather than turning a disc.
Check also whether the wheel still spins freely. A wheel that drags or squeaks has a problem at the axle, not at the edge, and no amount of sharpening will fix it.
What you actually need
Nothing exotic. A medium whetstone around 1000 grit is the main tool, with a finer stone or a diamond rod if you already own one. If you do not have a stone, the wet and dry paper method below costs very little and will handle a domestic cutter perfectly well.
- A 1000 grit whetstone, soaked if it is a water stone
- A fine diamond rod or honing steel for quick touch ups
- A small screwdriver that fits the axle screw
- A cloth and a bowl of water
- A marker pen, optional, for checking the bevel angle
Sharpening a pizza cutter on a whetstone
Take the wheel off if the design allows it. Clean away any dried cheese or flour, dry it properly, and lay the stone on a stable surface. Soak a water stone for the time its maker recommends, or splash water on a stone that does not need soaking.
If you want to know exactly where the edge sits, colour the bevel with the marker pen and take two or three light passes. The bright metal will show you the contact point.
Now hold the wheel between finger and thumb with the bevel flat against the stone, at the angle the maker ground. That angle is usually one you can feel rather than one you need to measure. The wheel is small, so use light pressure and rotate it slowly as you push it along the stone. Think of rolling the edge across the surface rather than scrubbing it. Ten to fifteen slow rotations on one side is enough for a touch up, then turn the wheel over and repeat, matching the number of passes so the edge stays centred.
If the wheel is deeply worn, start on a coarser stone around 400 grit and work up to the 1000. Change grade rather than pressing harder on a fine stone.
Keeping the wheel round
A common mistake is to hold the wheel still and drag it, which flattens one section and leaves the rest untouched. Keep it turning. If the wheel has picked up a flat spot, that spot needs more work than the rest and you can bias your passes towards it, but check the shape often. A wheel that is no longer round will skip against the blade guard and leave uncut patches of crust. Once both sides feel consistently sharp, make a few very light passes at a slightly raised angle to remove the burr, then rinse and dry.
The quicker methods: honing rod and wet and dry paper
A honing steel or fine diamond rod is not a sharpener in the strict sense. It realigns a rolled edge rather than removing metal, which makes it the right tool for a weekly touch up and the wrong one for a genuinely blunt wheel. Hold the rod upright and draw the wheel down and across it at the existing bevel angle, rotating the wheel a little with each pass. Use light strokes; heavy pressure on a steel does nothing useful and can roll a thin edge over.
Wet and dry paper on a flat surface is the budget option and it works surprisingly well. Wrap 600 grit paper around a flat block or a piece of glass, then work up to 1200 grit. Hold the wheel at the bevel angle, rotate as you push, and finish with a few light strokes on the finer paper. The principle is the same each time: the paper must be flat, the angle consistent and the wheel turning.
Reassembly and testing
Refit the wheel and tighten the screw until it is snug, not clamped. The wheel should spin with a flick of the finger and show no wobble. A screw that is too tight will drag, and one that is too loose lets the wheel wander and skip.
Test on a sheet of kitchen paper. A properly sharpened wheel will slice cleanly from one edge to the other with light pressure. If it snags, go back to the stone for a few more passes on each side. A tomato makes a fair second test, since the skin is a reasonable stand in for a crisp base.
When to stop and buy a new one
Sharpening cannot fix a wheel that has lost its shape. If the edge is visibly chipped, if there is a deep flat spot, if the blade has worn down until it no longer clears the guard, or if the axle is bent or seized, replace the cutter. The same applies to very cheap pressed steel wheels with a plastic hub, where the metal is soft enough that a new edge disappears within a couple of pizzas. Replacing a tired cutter is honest economy rather than defeat. A solid stainless wheel with a proper screw fitting will usually take several sharpenings across its life.
Keeping the edge between sharpenings
Most of the work is prevention. Cut on wood or a soft plastic board rather than directly on a stone worktop, a glass board or a plate. Wash by hand and dry straight away, since a cutter left wet in a sink or run through a dishwasher cycle picks up moisture around the axle and dulls faster. Store it where the wheel is not resting against other metal. A light pass on a honing steel every few weeks keeps the edge aligned without removing material, and five minutes on the stone once or twice a year is usually all a domestic cutter needs. The same habits apply to your knives, and our knife care guide covers them in more detail.
The knives that do the rest of the work
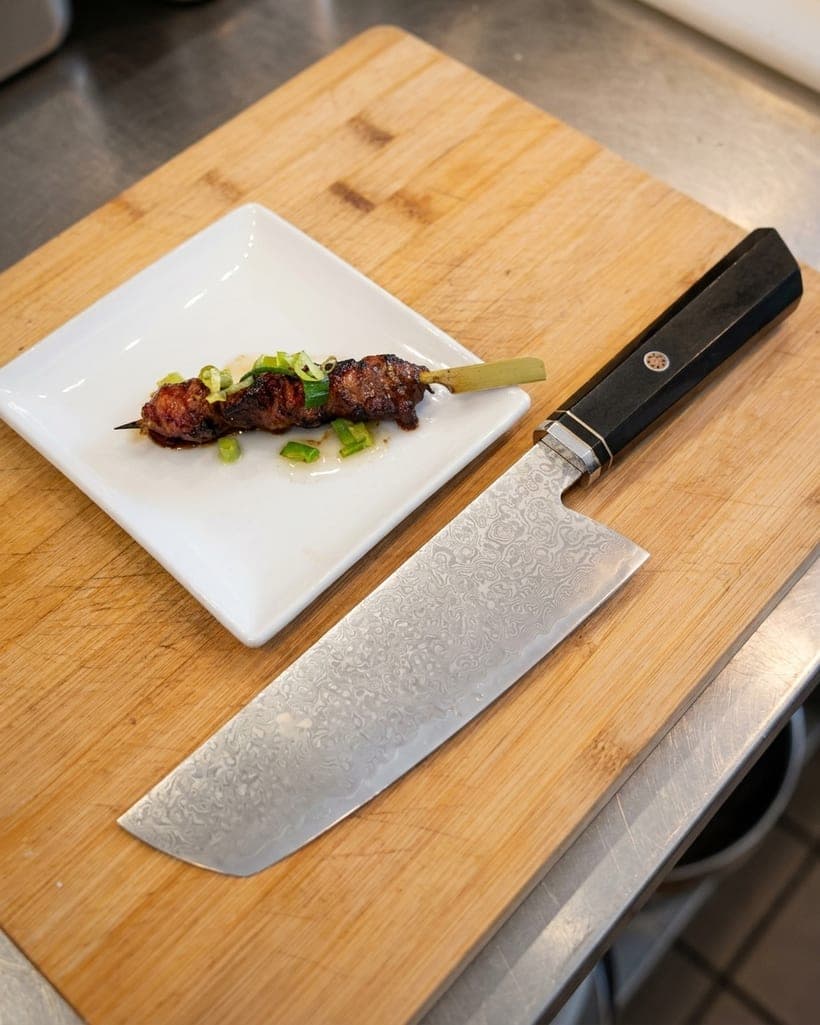
A pizza cutter handles one job. Everything before it, the onions, the peppers, the herbs, the cured meat, is knife work, and a sharp gyuto will do more for your pizza than any wheel. The 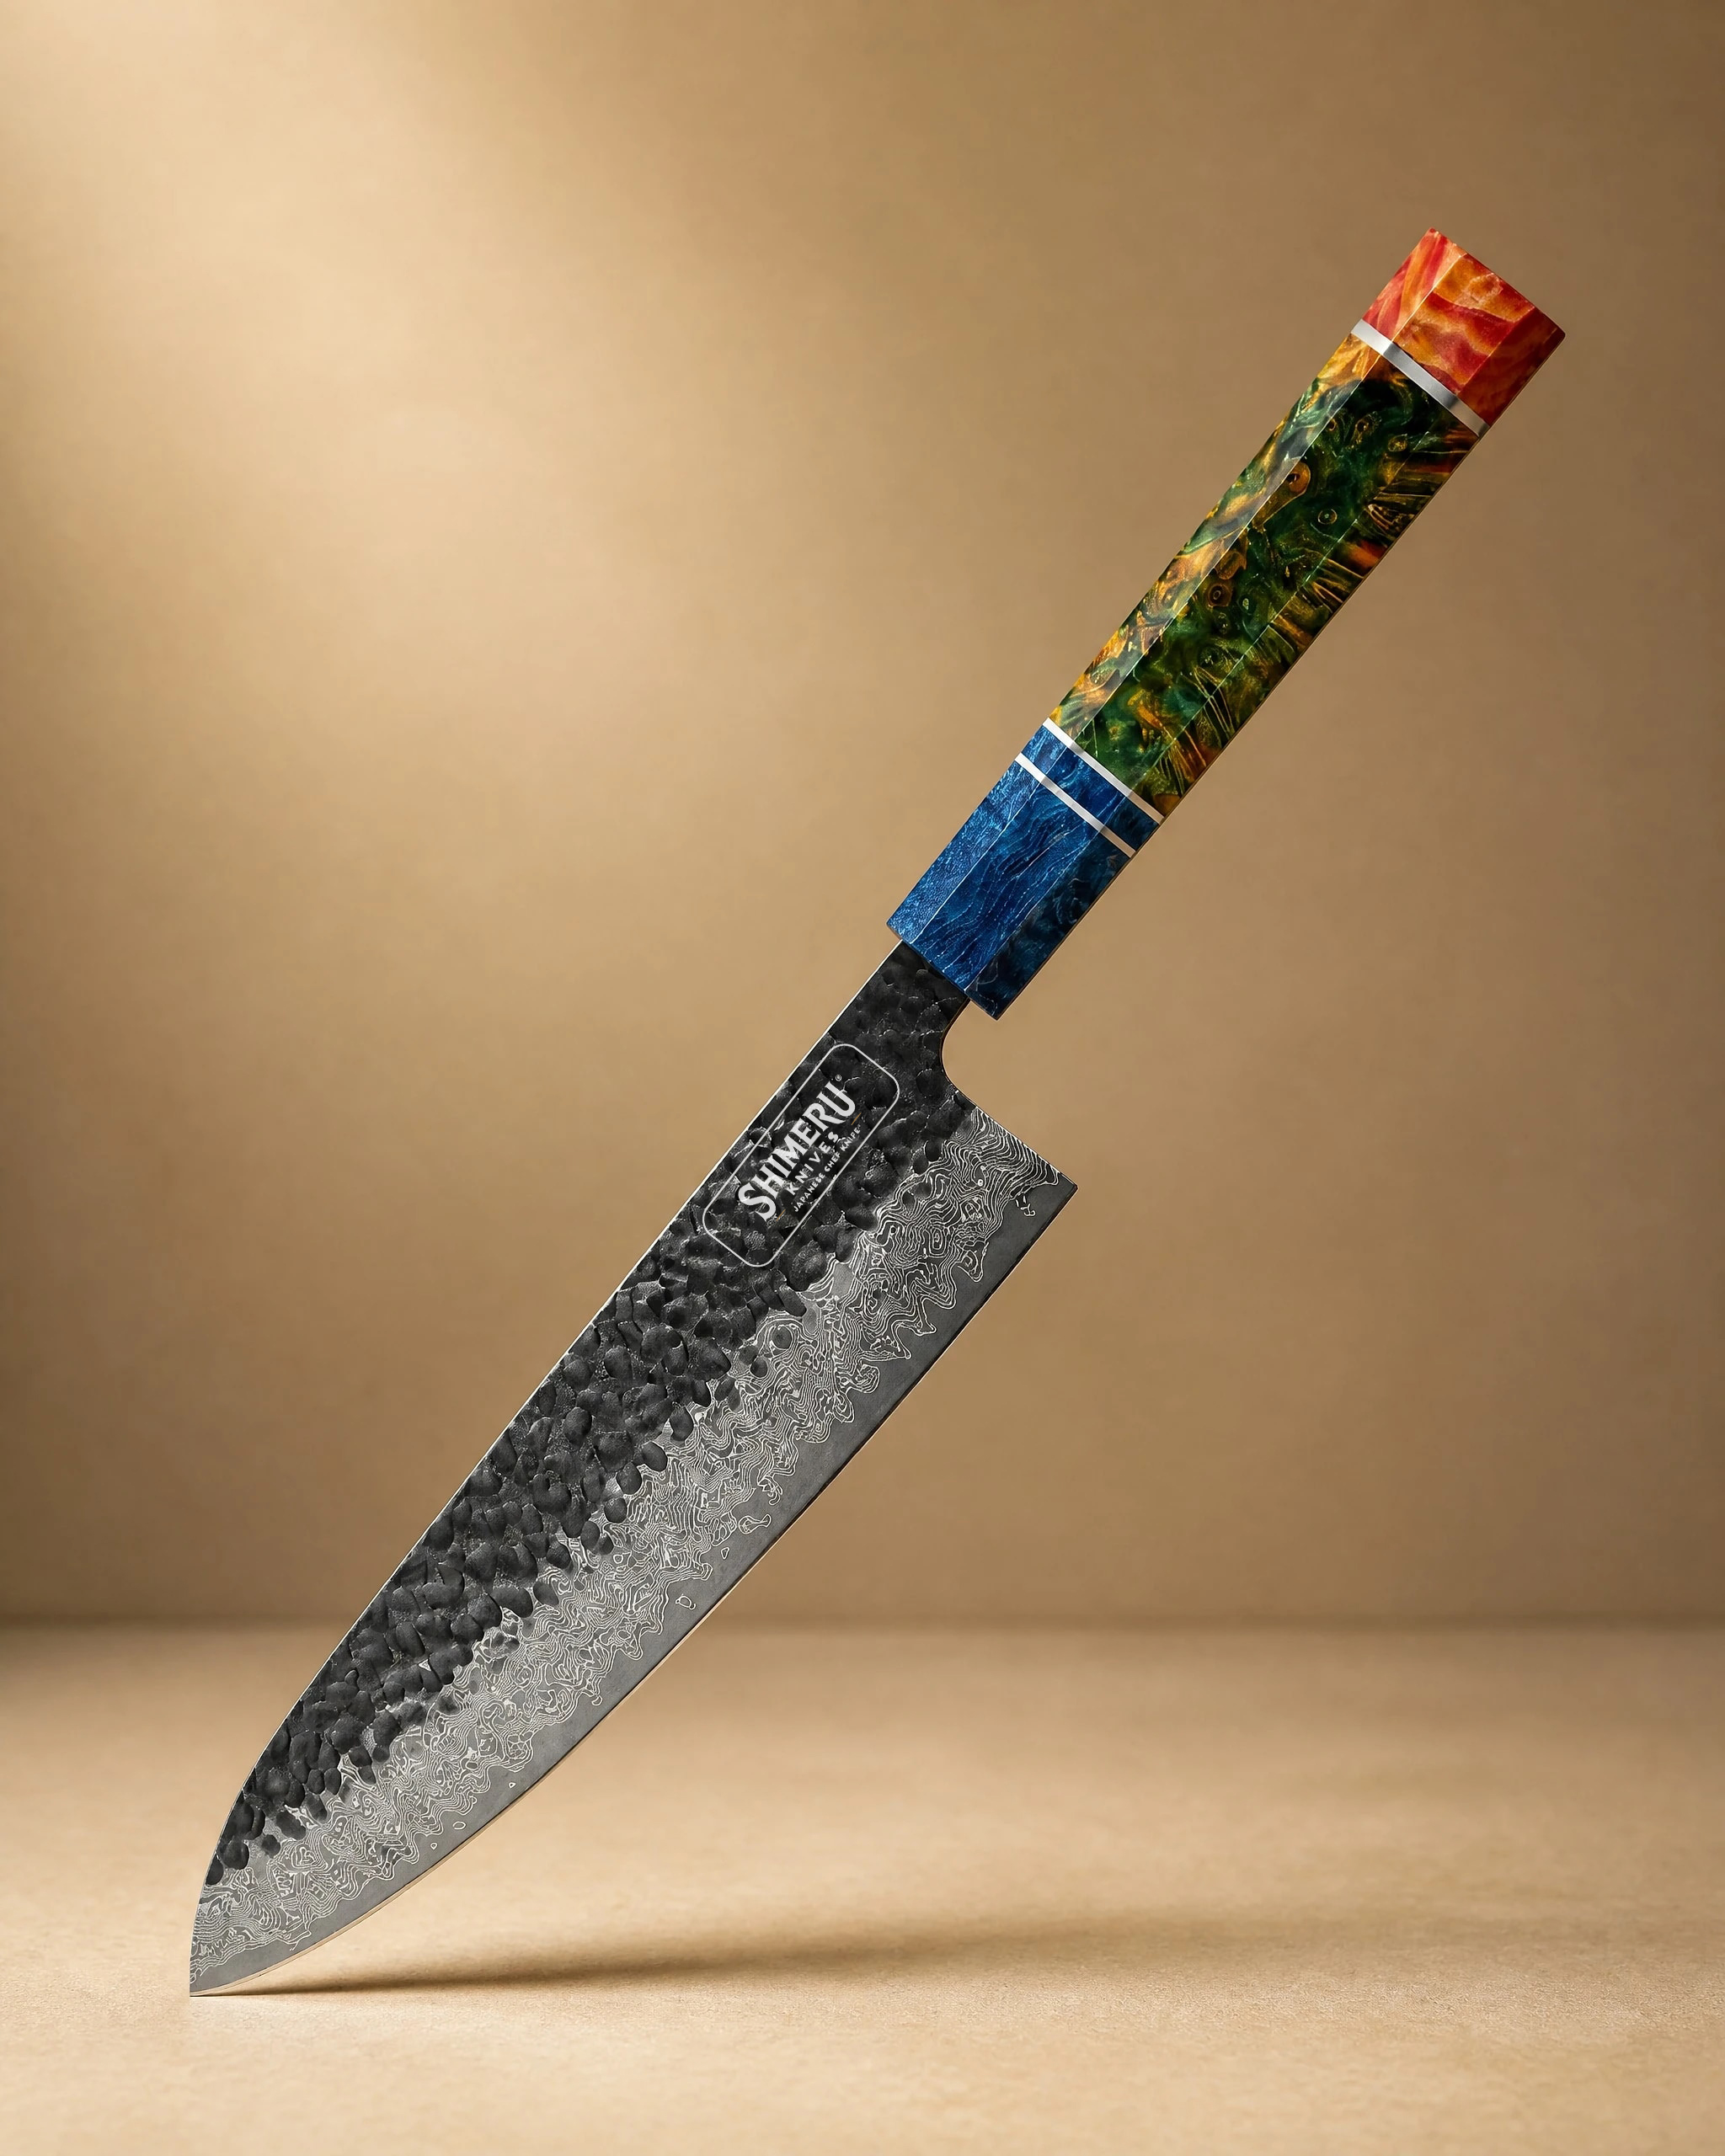 Yoshii 8″ Damascus Steel Gyuto Knife 牛刀£79.99View product → suits anyone who wants a single dependable blade, built from 67 layer Damascus steel with a wood and copper handle and intended for slicing, dicing and chopping. The
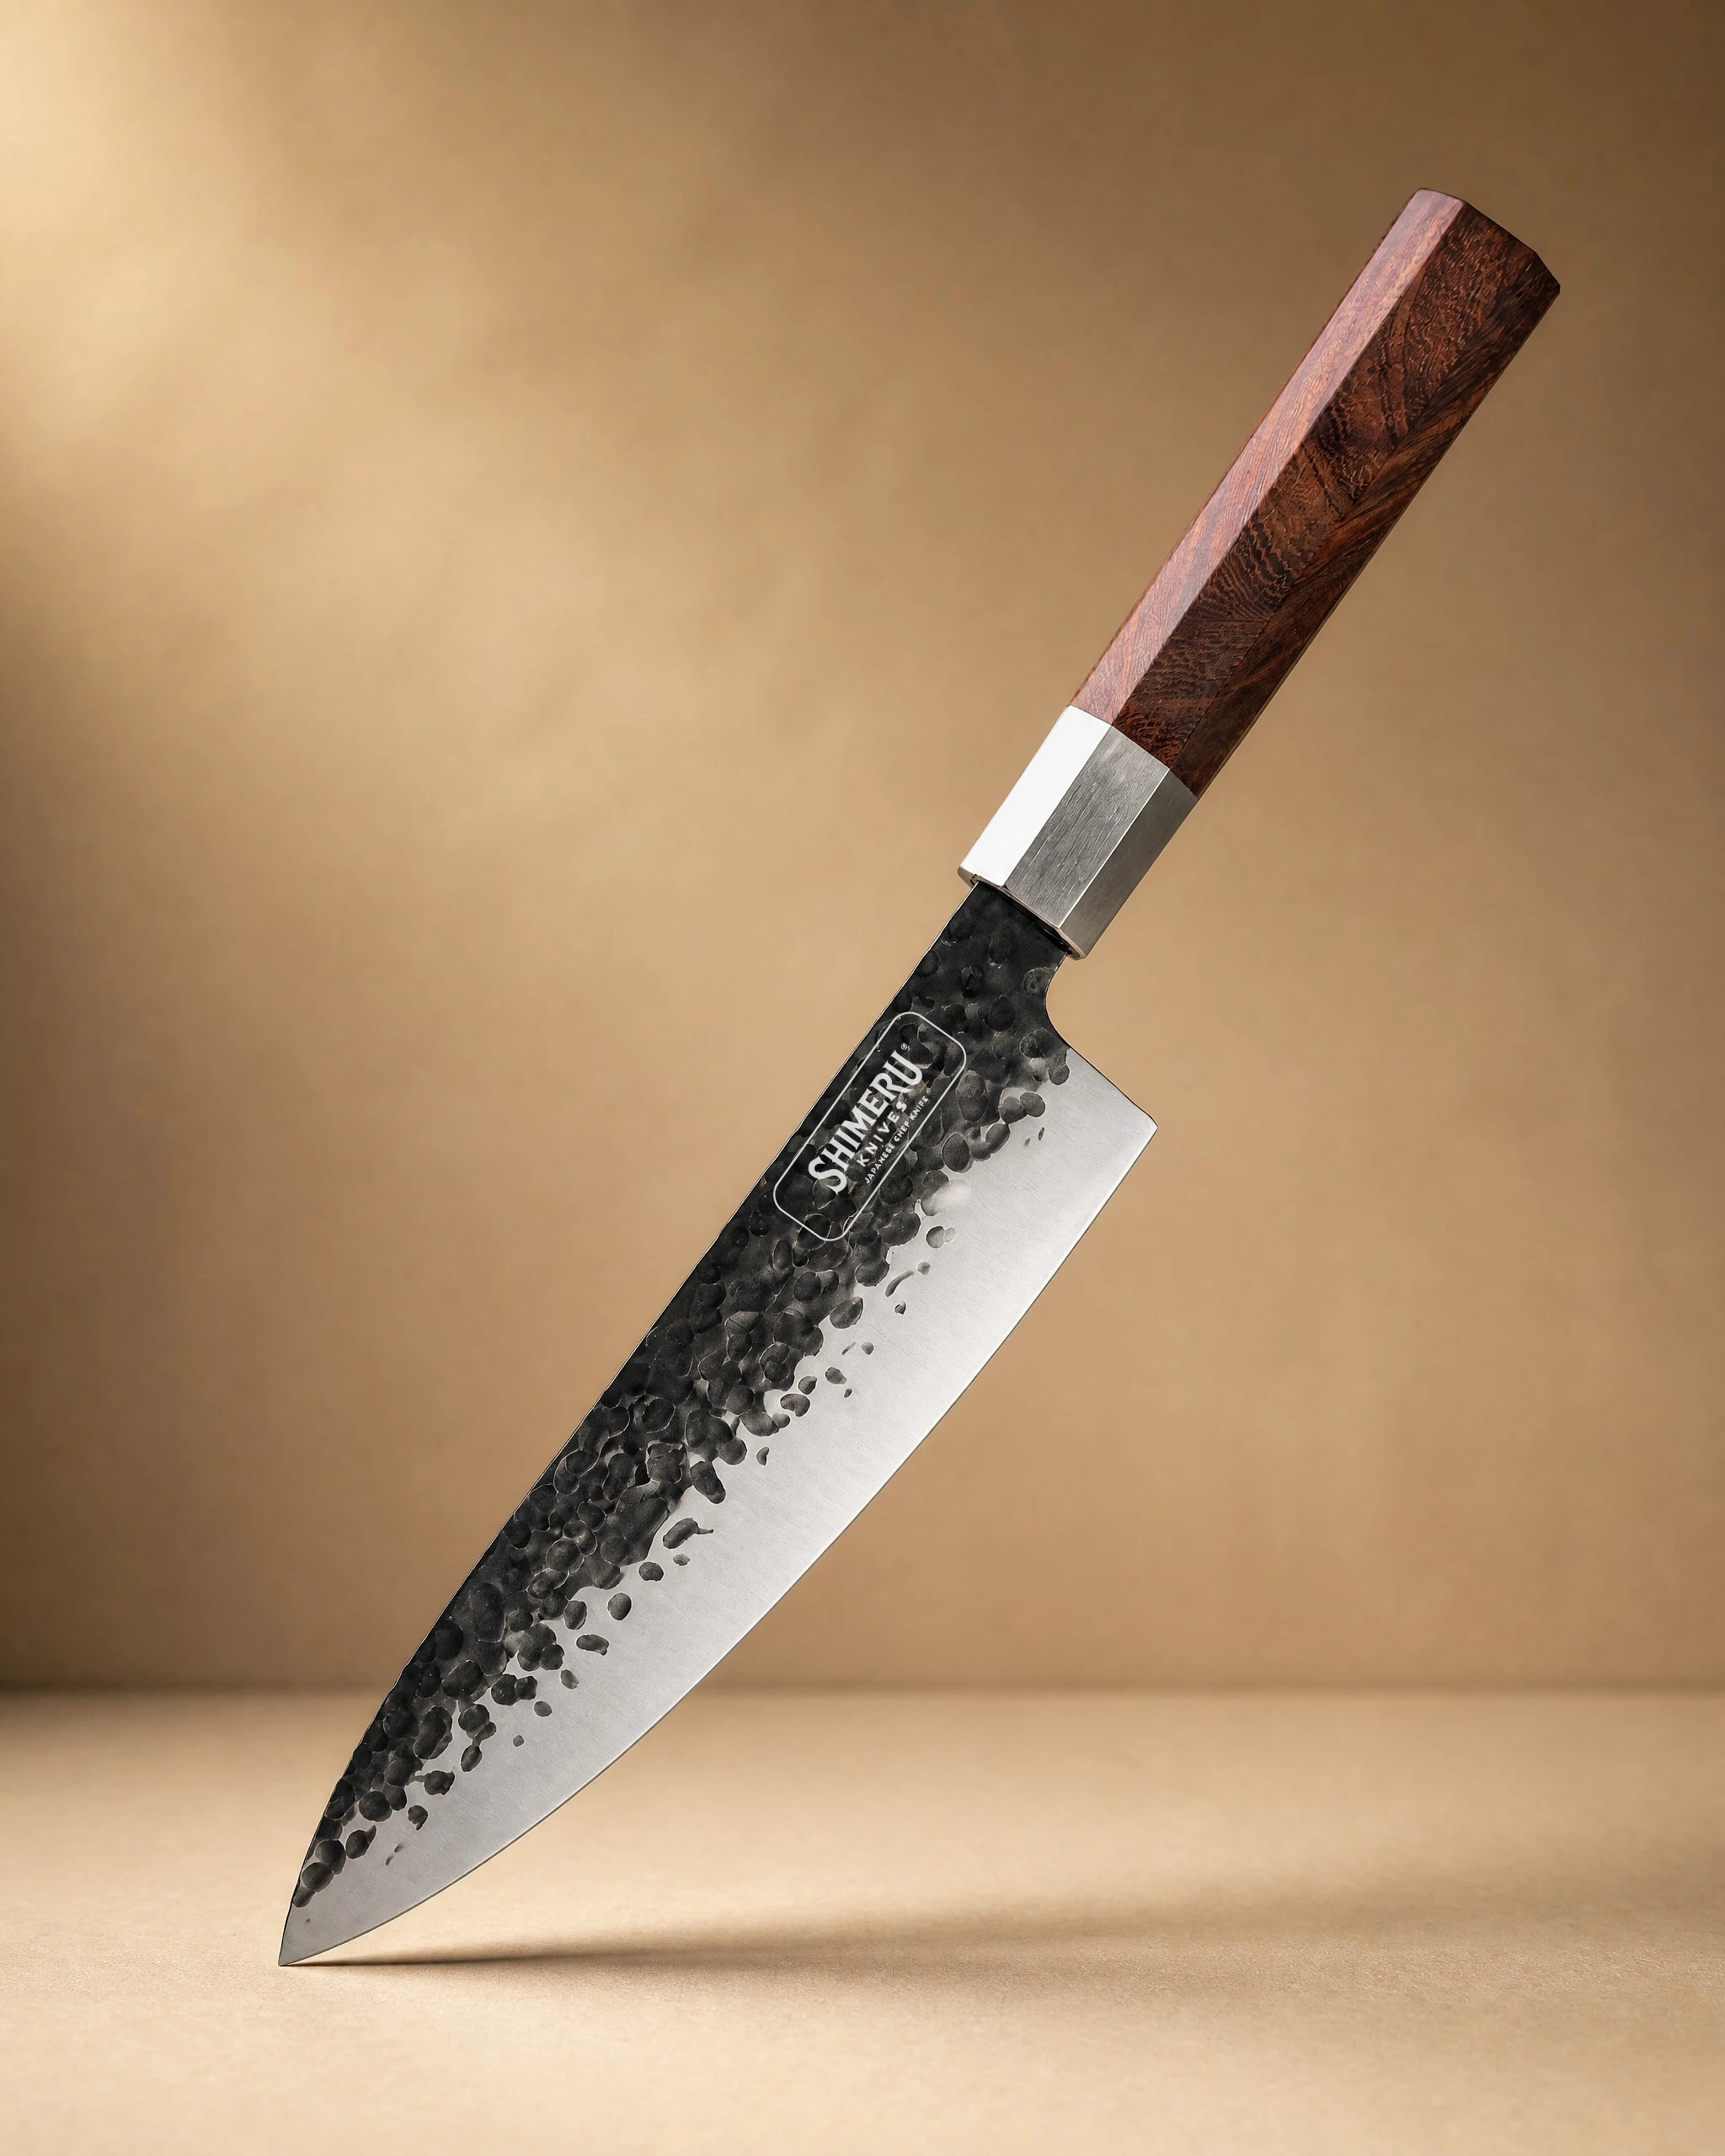 Sendai 8" Steel Gyuto Knife 牛刀£49.99View product → keeps things simpler, an 8 inch stainless blade with a Mkuruti wood handle that covers vegetables, herbs, meat and fish. The
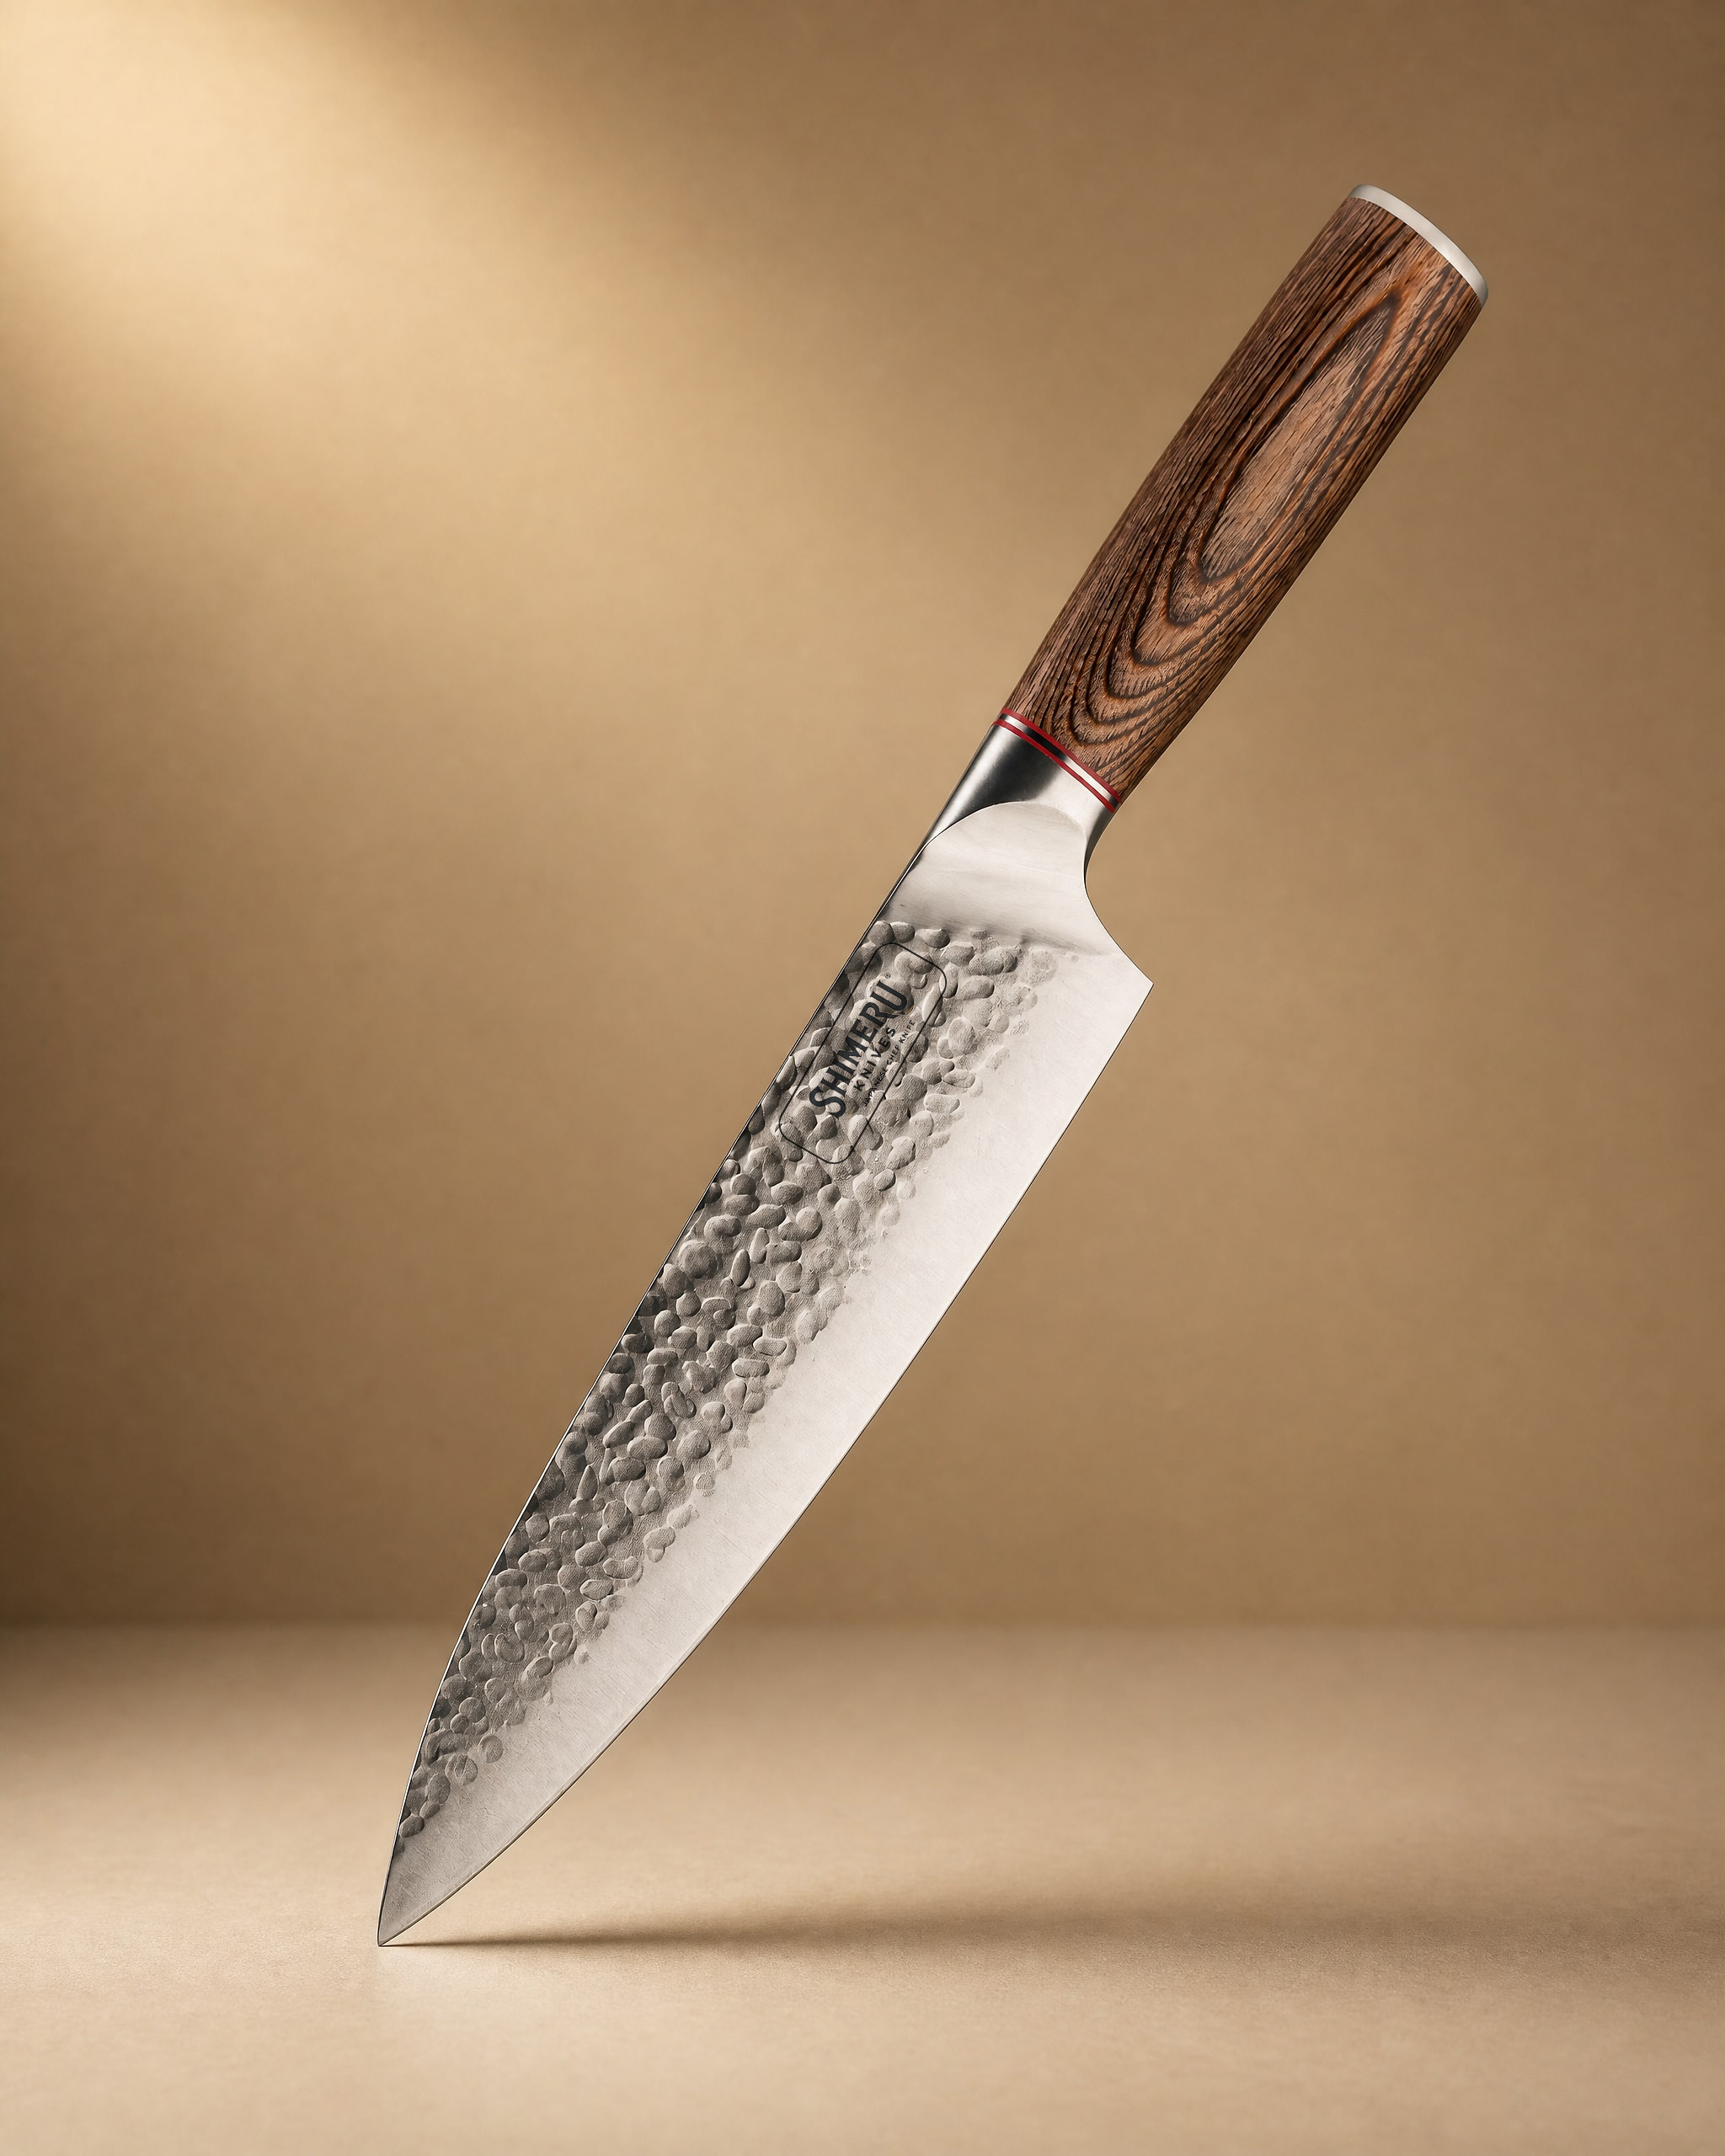 Akan 8'' Gyuto Knife 牛刀£49.99View product → is the most straightforward of the three, stainless steel with a pakkawood handle and a profile suited to meats, fish, vegetables and fruit. If you would rather set up a whole kitchen at once, the
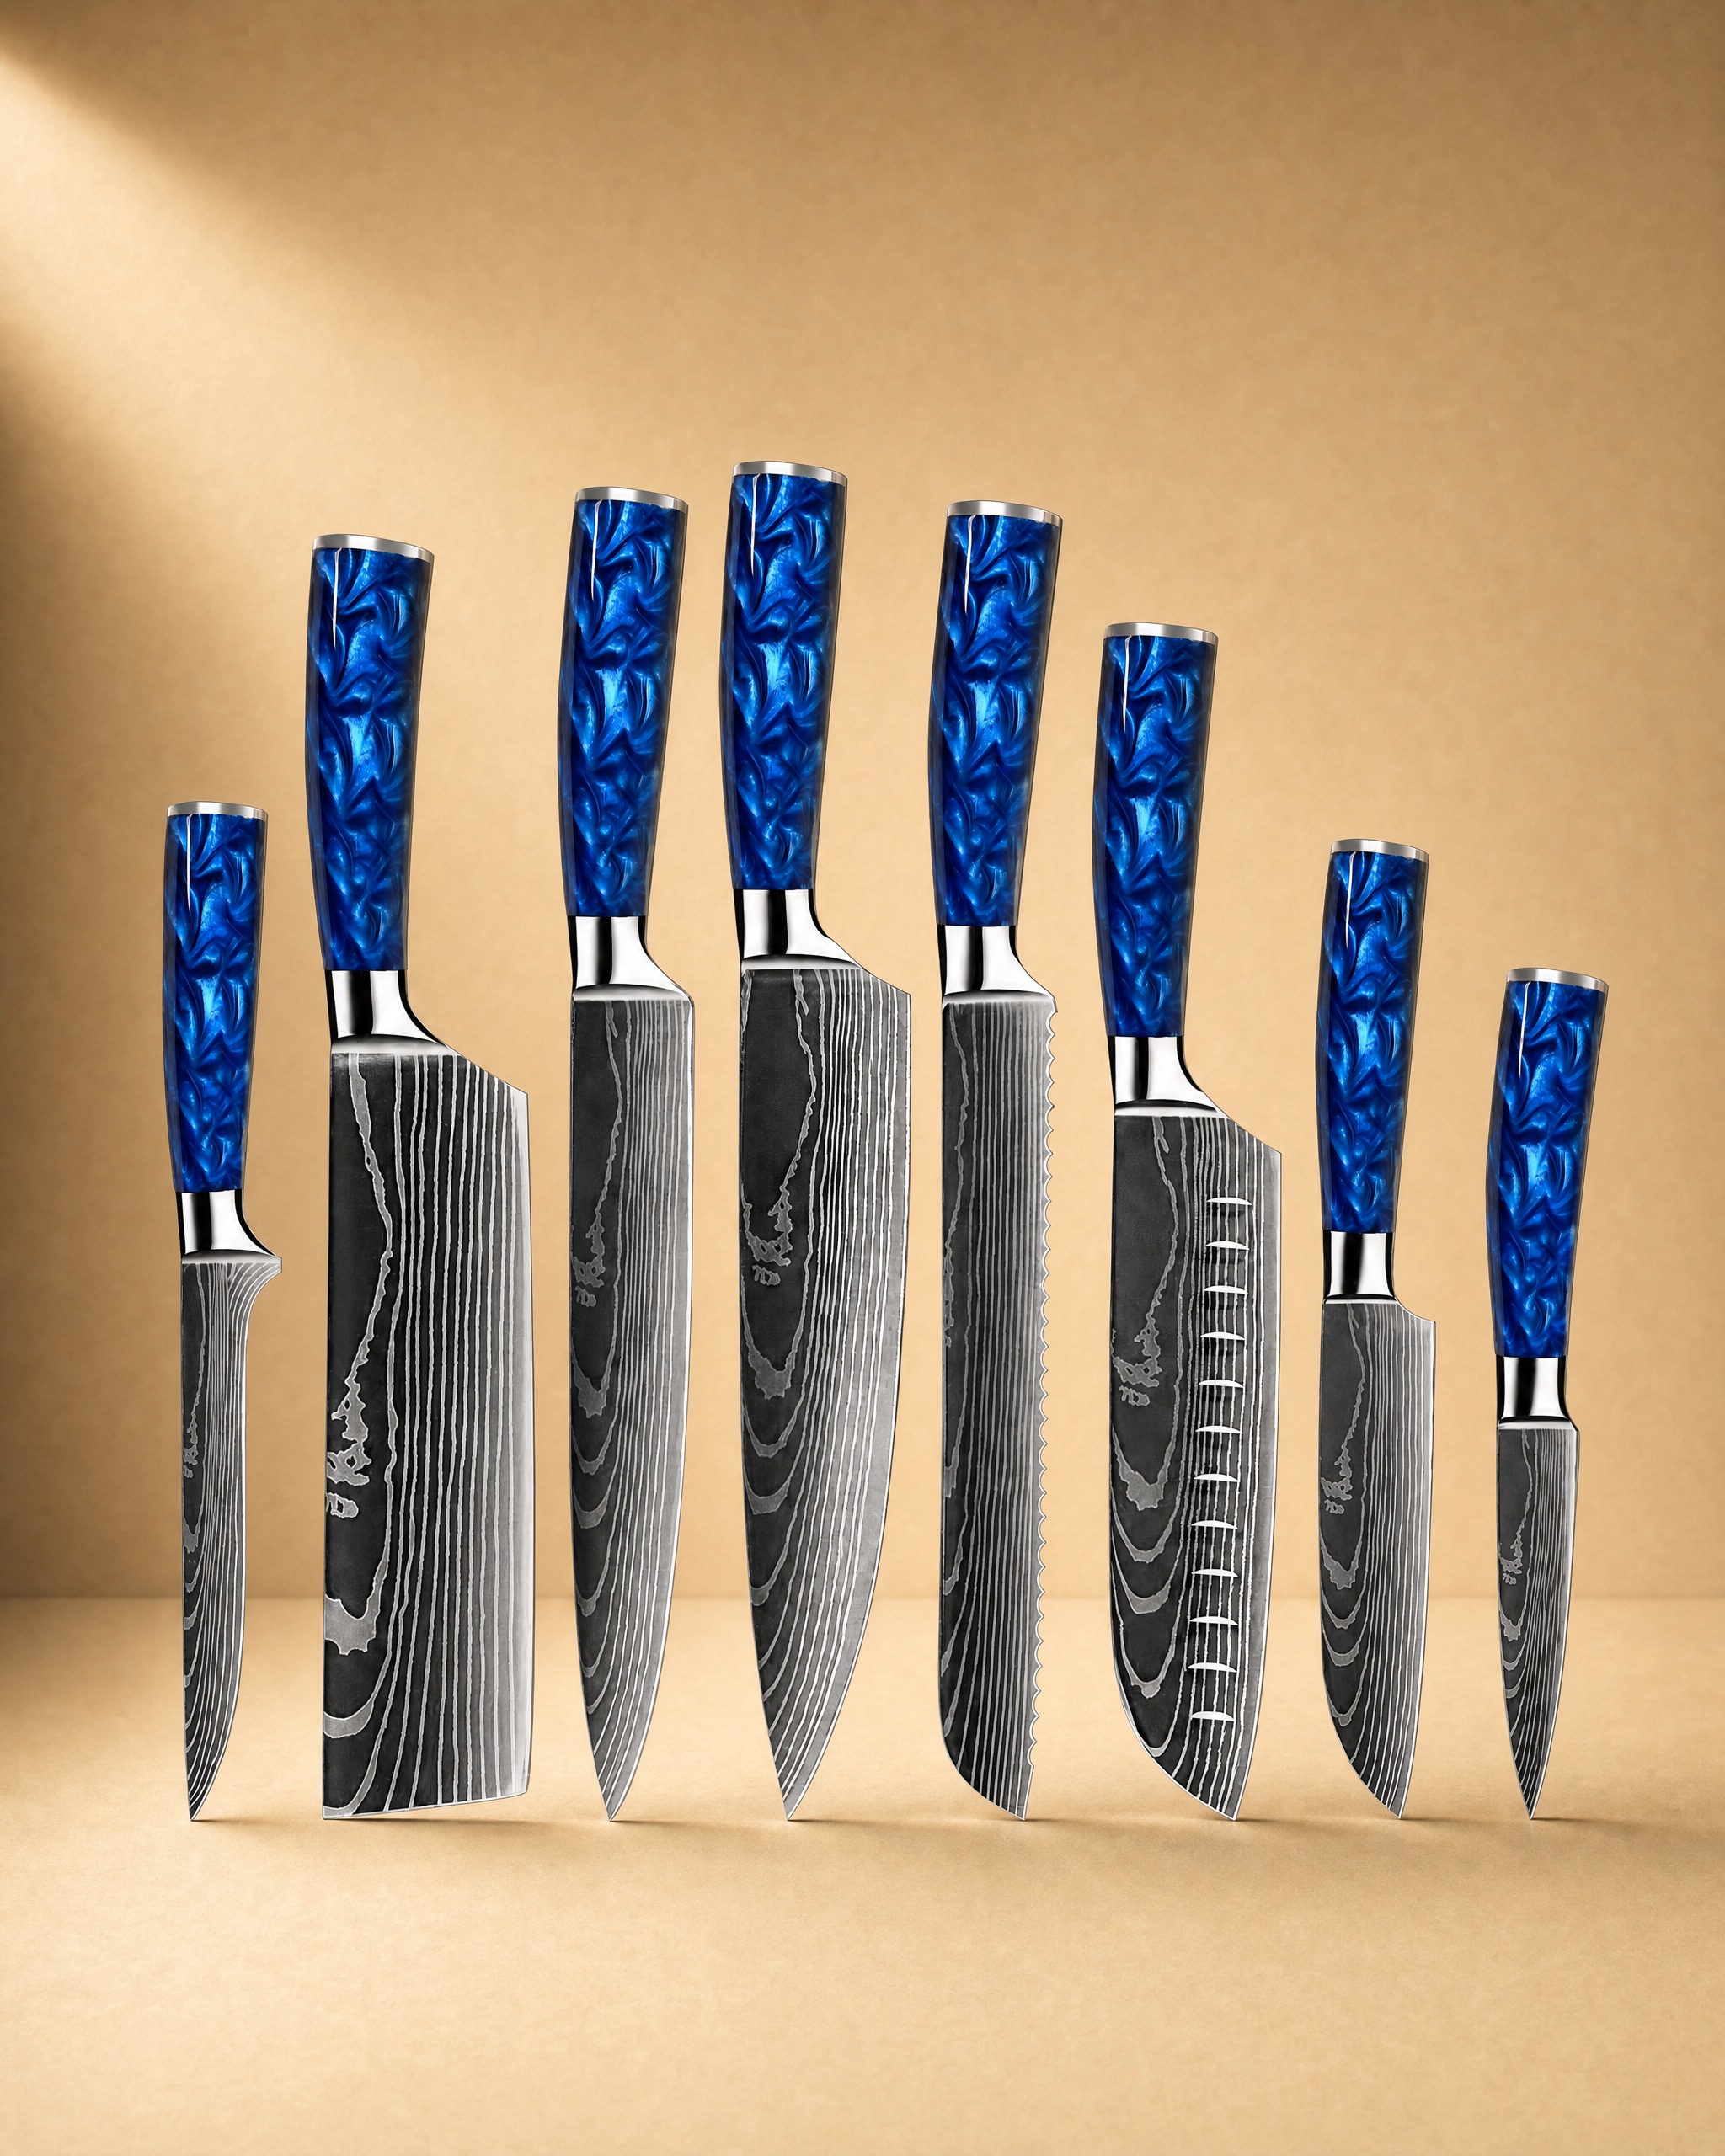 Shinano 信濃川 Damascus Pattern Stainless Steel Kitchen 8 Knife Set£149.99View product → bundles eight high carbon steel knives with blue resin handles.
You can see the full range in our knife shop, and if you are still deciding what suits your cooking, our knife buying guide sets out the shapes and sizes worth considering.
Photography: Amadeus Moga via Unsplash.

