



How to Use a Whetstone: A Beginner's Guide

A sharp knife is not a luxury. It is the difference between cooking that feels calm and cooking that feels like a fight with a tomato. Most dull knives are not worn out, they are simply neglected, and the fix is a whetstone, a little water and about fifteen minutes of your attention. Using a whetstone is a skill, but it is not a mysterious one. It is a physical process with clear feedback, and once you understand what the stone is doing to the edge, the rest follows.
This guide covers the whole process from choosing a stone to testing the finished edge. It assumes no prior experience.
What a whetstone actually does
A knife edge, under a microscope, is a meeting point of two planes of steel. Sharpening is the act of grinding both planes back until they meet in a clean line again. A whetstone does this by being harder than the steel and abrasive enough to cut it, slowly and evenly, when the blade is drawn across the surface at a consistent angle.
The water is not a lubricant in the way oil is in a car engine. On a water stone it does two jobs: it carries away the fine steel particles that would otherwise clog the surface, and it helps the stone release fresh abrasive as it works. This is why a water stone gradually dishes and why you keep it wet.
Choosing a first stone: grits explained
Grit is a measure of abrasive particle size, and lower numbers mean faster cutting with a coarser finish. A 400 grit stone removes metal quickly and is used for repairing chips or resetting a very blunt edge. A 1000 grit stone is the workhorse: fast enough to make progress, fine enough to leave a usable edge. A 3000 to 6000 grit stone polishes and refines.
If you are buying one stone, buy a 1000 grit. It will handle a dull knife in a few minutes and it teaches you the most. If you are buying two, a 1000 and a 3000 covers everything a home cook needs. Do not start with a very fine stone. It is slow, it gives poor feedback and it will not fix a blunt edge.
What you need before you start
Set up properly and sharpening becomes easy.
- A whetstone, 1000 grit to begin with
- A container of water deep enough to soak the stone
- A stable surface, ideally a stone holder or a damp cloth under the stone
- A towel for your hands and the bench
- A marker pen for checking your angle
The marker pen is the most underrated item on that list. Colour the edge bevel black, take a few strokes, then look. If the marker is gone along the whole bevel, your angle matches the existing one. If it is only gone at the top, you are too shallow. Only gone at the bottom means you are too steep. Adjust and try again.

How to use a whetstone, step by step
Soak the stone first. Traditional water stones need ten to fifteen minutes, until the bubbles stop rising. Splash and go stones only need a sprinkle of water on the surface. If you are unsure which you have, wet the surface and watch: a stone that drinks the water quickly wants soaking. Keep a small cup of water nearby and top up as you work. The surface should always look wet, never dry and never swimming.
Finding and holding the angle
Japanese kitchen knives are usually sharpened at roughly 15 degrees per side. Western style knives often sit closer to 20 degrees. Rather than guessing, use the marker pen and the existing bevel as your guide. The angle you want is the one that puts the whole bevel flat on the stone.
A practical way to set it: lay the blade flat, then lift the spine until you can just feel the bevel sit down. That felt change is your angle. Keep your wrist locked and let your whole forearm move, not just the hand. Consistency matters far more than the exact number. Ten degrees held steady beats fifteen degrees wobbling.
Raising a burr on both sides
Place the blade on the stone, edge facing you, with your fingers spread along the blade and light pressure near the edge. Push the blade away and across the stone in a diagonal stroke that covers the whole length of the edge, tip to heel. Use moderate pressure, perhaps the weight of your hand and a little more. Work in sections if the knife is long, or in one sweeping motion if you can keep the angle.
After ten or so strokes, look at the edge. You are looking for a fine, even burr, a thin line of steel folded over to the opposite side. Run a fingertip from the spine towards the edge, never along the edge, and you will feel it catch. The burr is the signal that you have reached the apex along the whole length. Do not skip this check.
Now turn the knife over. The burr is on the far side, so your first strokes knock it off and begin forming a new one. Use the same angle, the same pressure and a similar number of strokes. Try to keep the two sides balanced. If you spend twice as long on one side, the edge shifts off centre and the knife will steer as it cuts.
Refining, cleaning and testing
Once you have a clean burr along the whole edge, move to a finer stone if you have one. Reduce pressure noticeably. You are no longer shaping the edge, you are polishing it. Ten to fifteen light, alternating strokes per side is plenty. Finish with a handful of very light strokes, alternating sides each time, to remove the last of the burr.
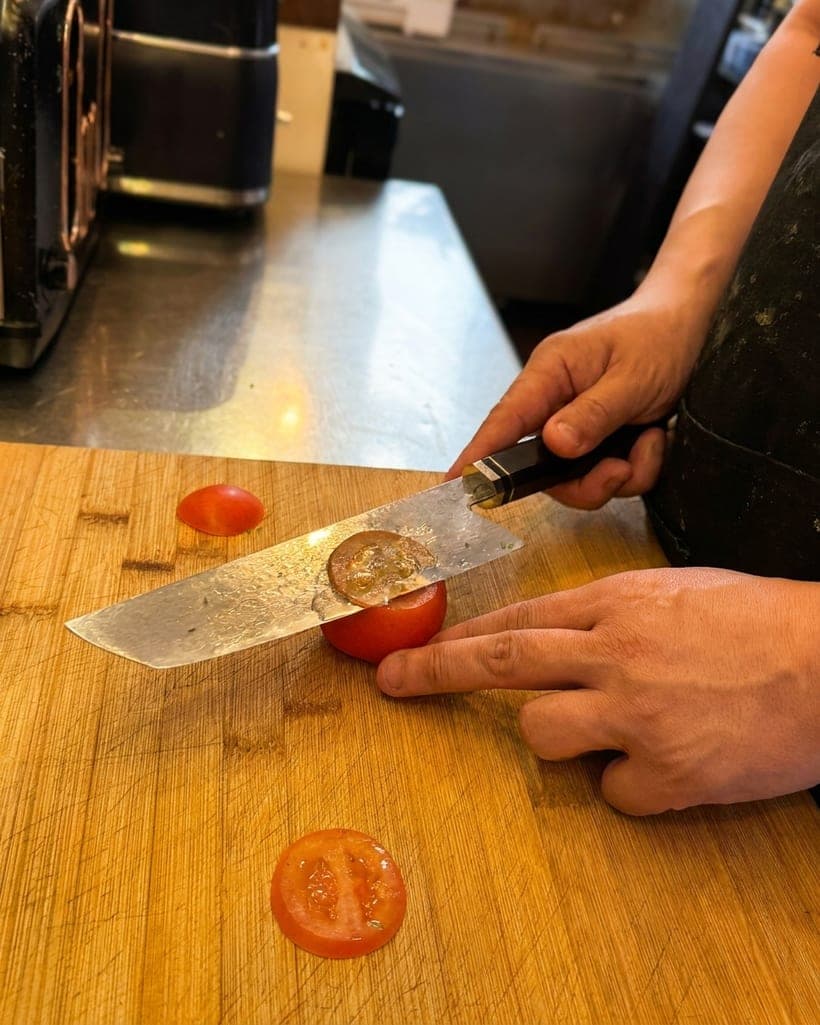
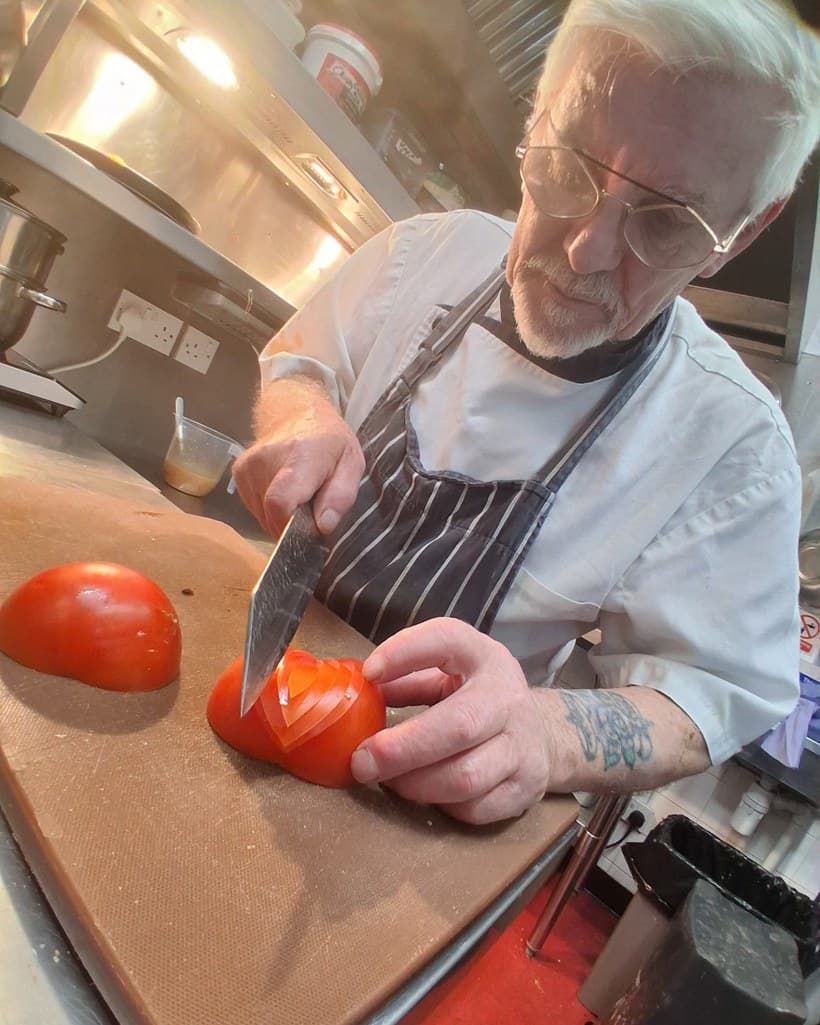
Wash the blade and dry it thoroughly. Test the edge on a tomato, or on paper held vertically. A well sharpened knife will bite into the skin of a tomato under its own weight and slice cleanly rather than crushing. If it struggles, go back to the 1000 grit for a few more strokes and repeat the finer work.
How often should you sharpen?
For most home cooks, a full sharpening every two to three months is realistic, with regular honing or stropping in between. Professional kitchens sharpen far more often because they cut far more. Judge by performance rather than by calendar: when tomatoes start to squash and onions make you cry for the wrong reason, it is time.
Which knives to sharpen, and which to leave alone
Any decent steel knife will benefit from a whetstone. Single bevel knives, such as a traditional yanagiba, need a different approach because the whole back face is ground flat, so if you own one, learn that method separately or have it sharpened professionally.
Your everyday gyuto is the natural place to start. The 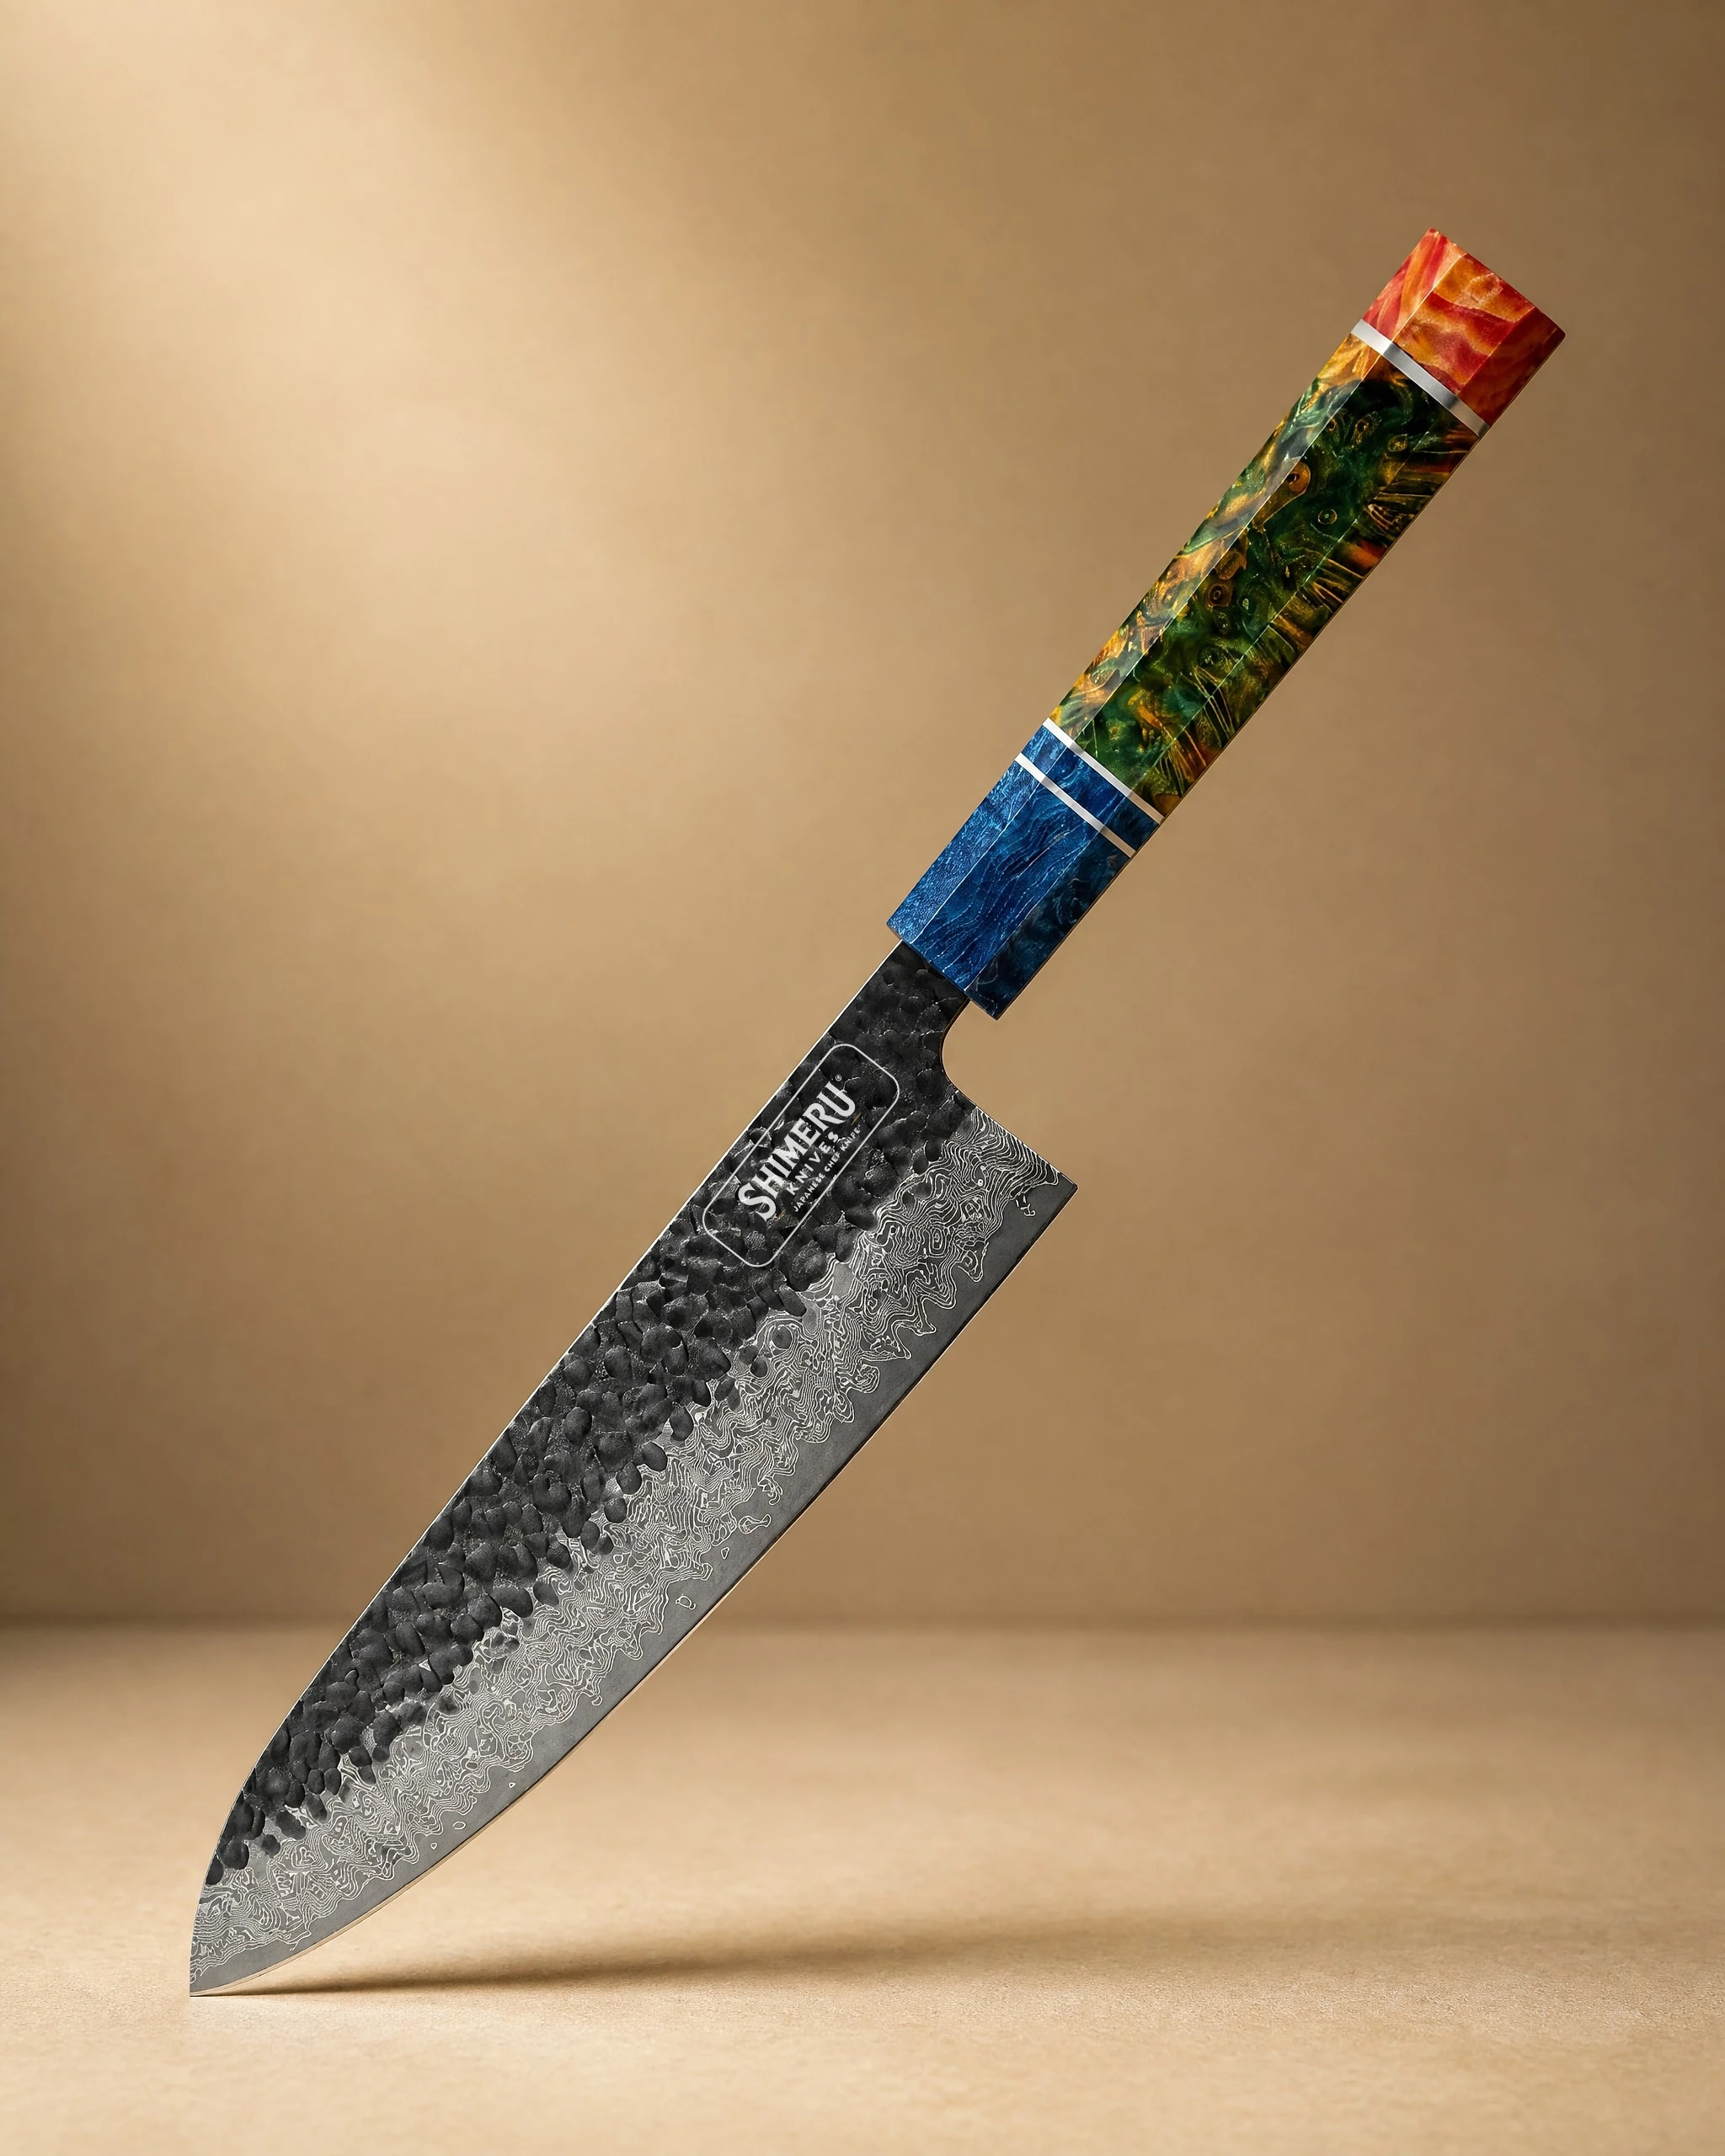 Yoshii 8″ Damascus Steel Gyuto Knife 牛刀£84.99View product → is used for slicing, dicing and chopping, so it will see enough work to justify learning on it. If you would rather begin on something more forgiving, the
 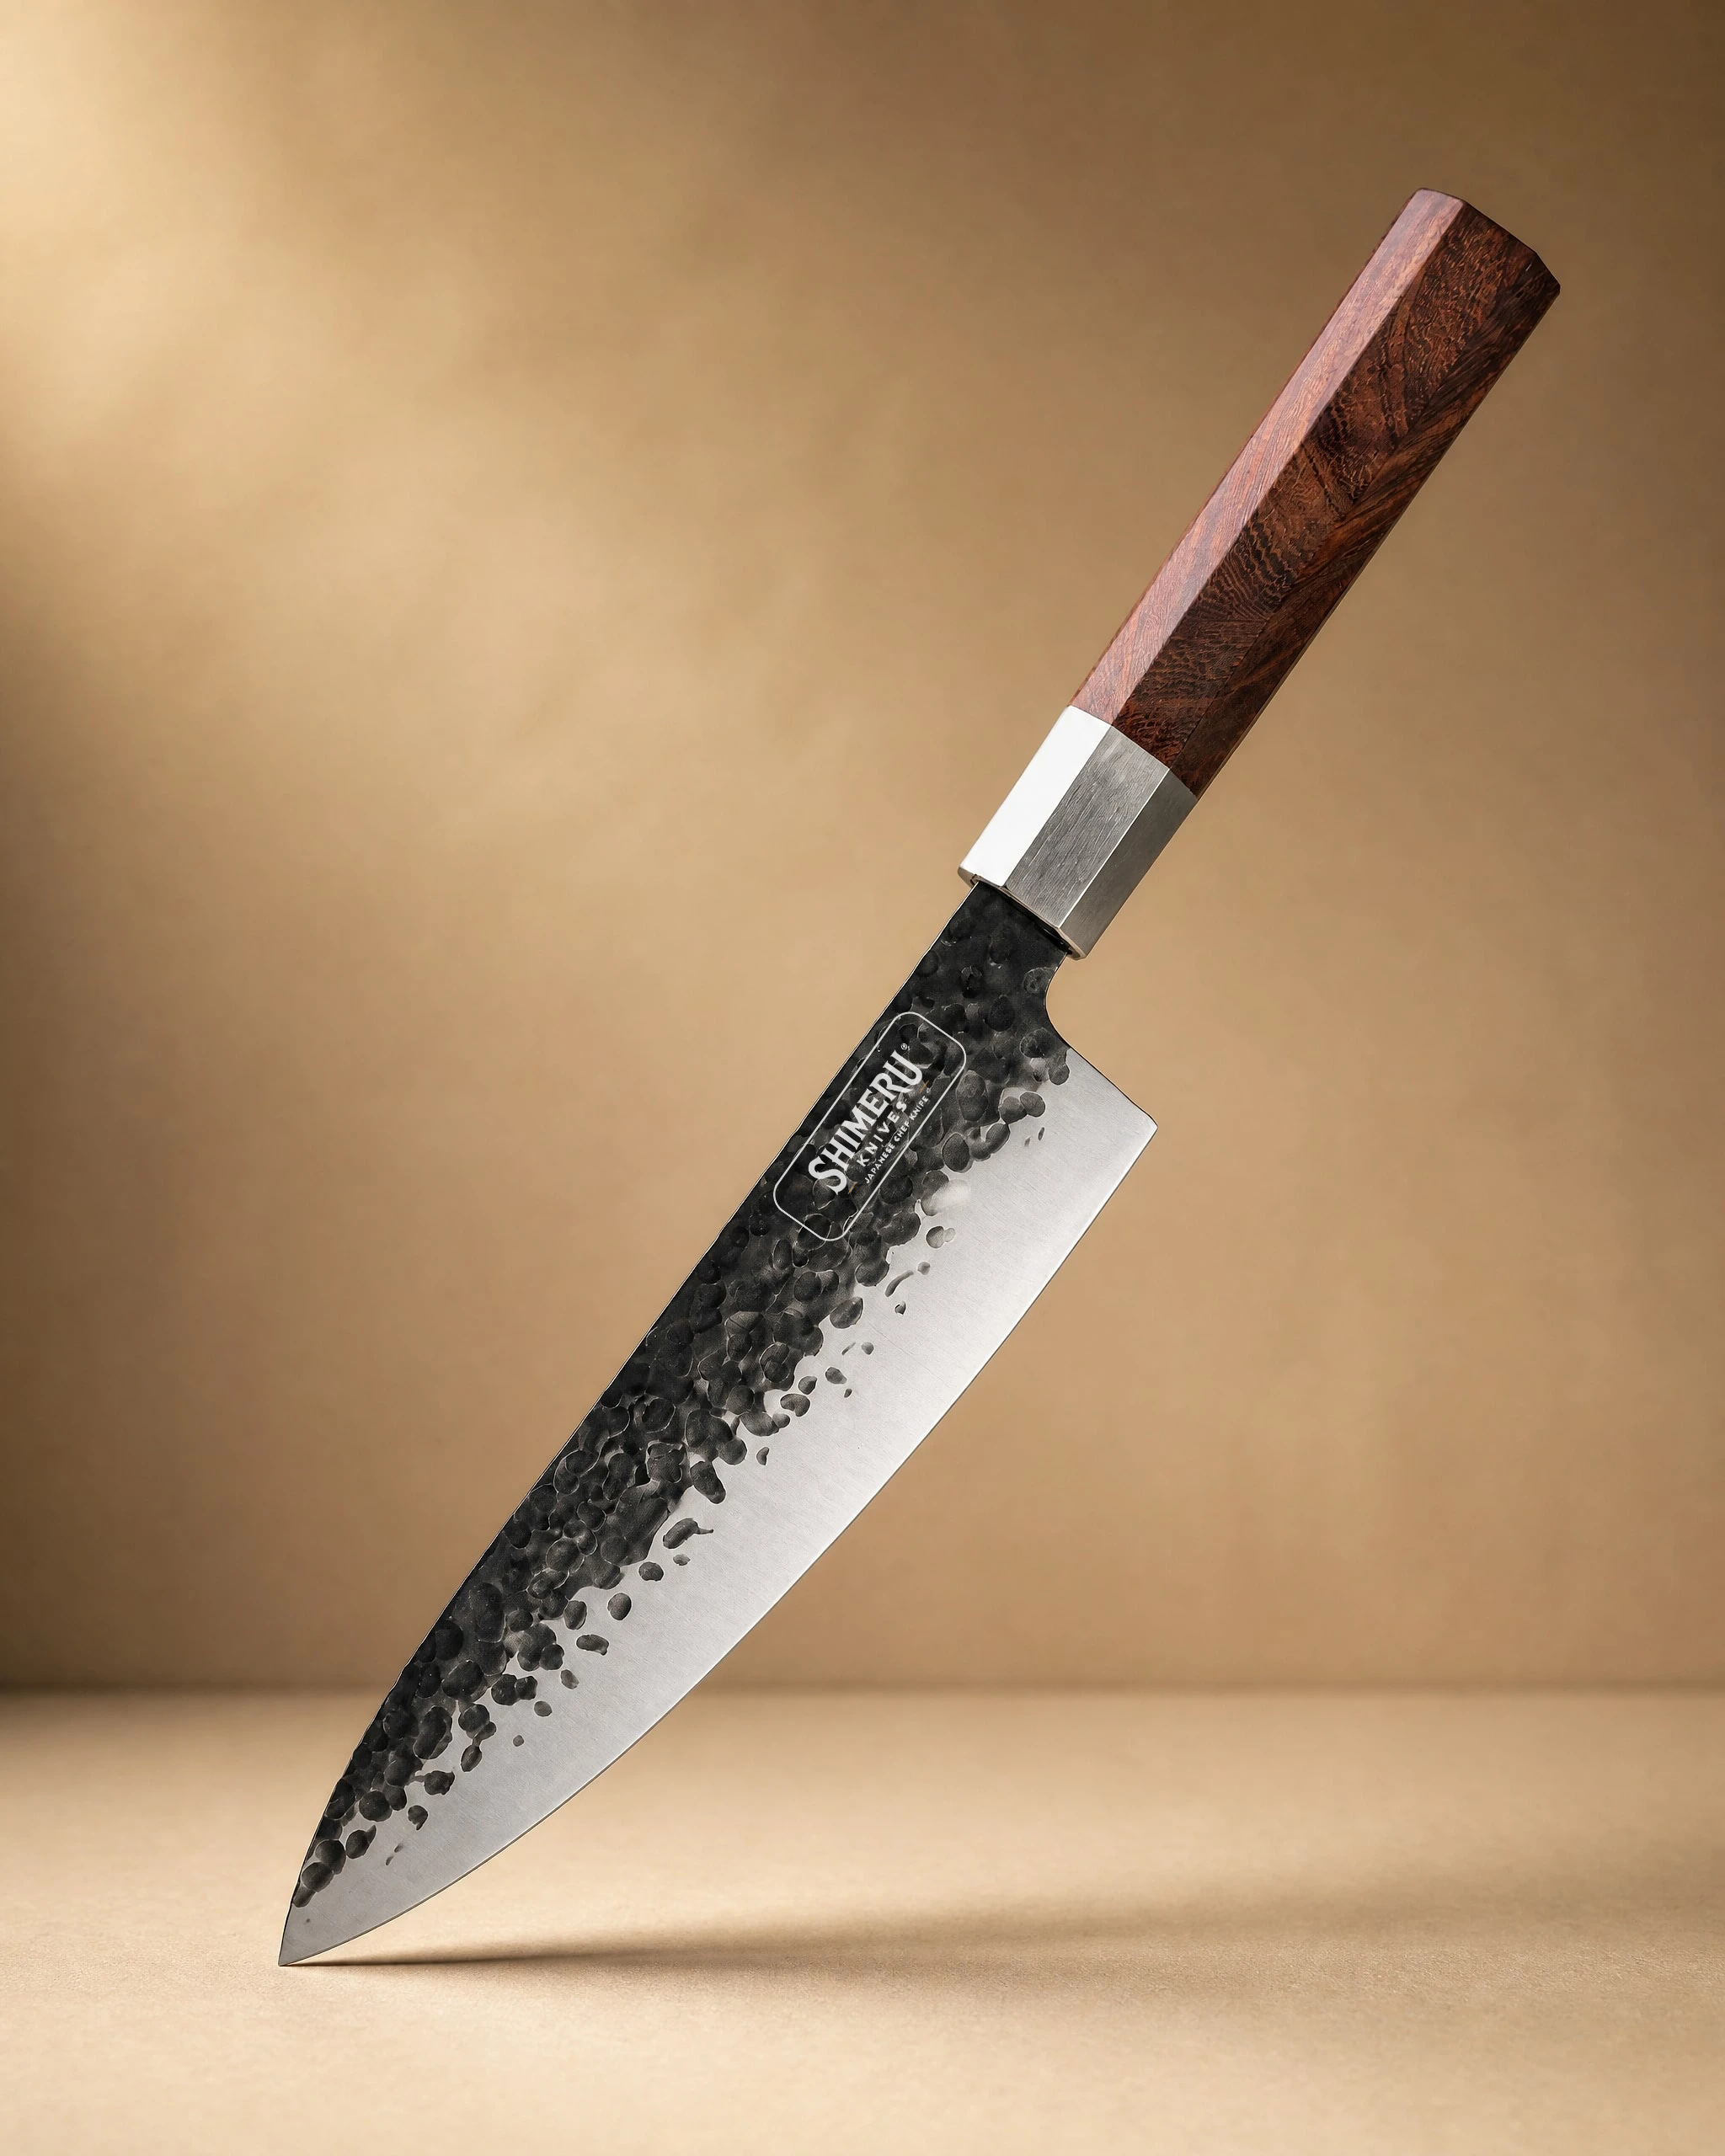 Sendai 8" Steel Gyuto Knife 牛刀£54.99 · currently out of stockView product → is a versatile gyuto for vegetables, herbs, meat and fish, and its stainless steel is a patient place to practise your angle control.
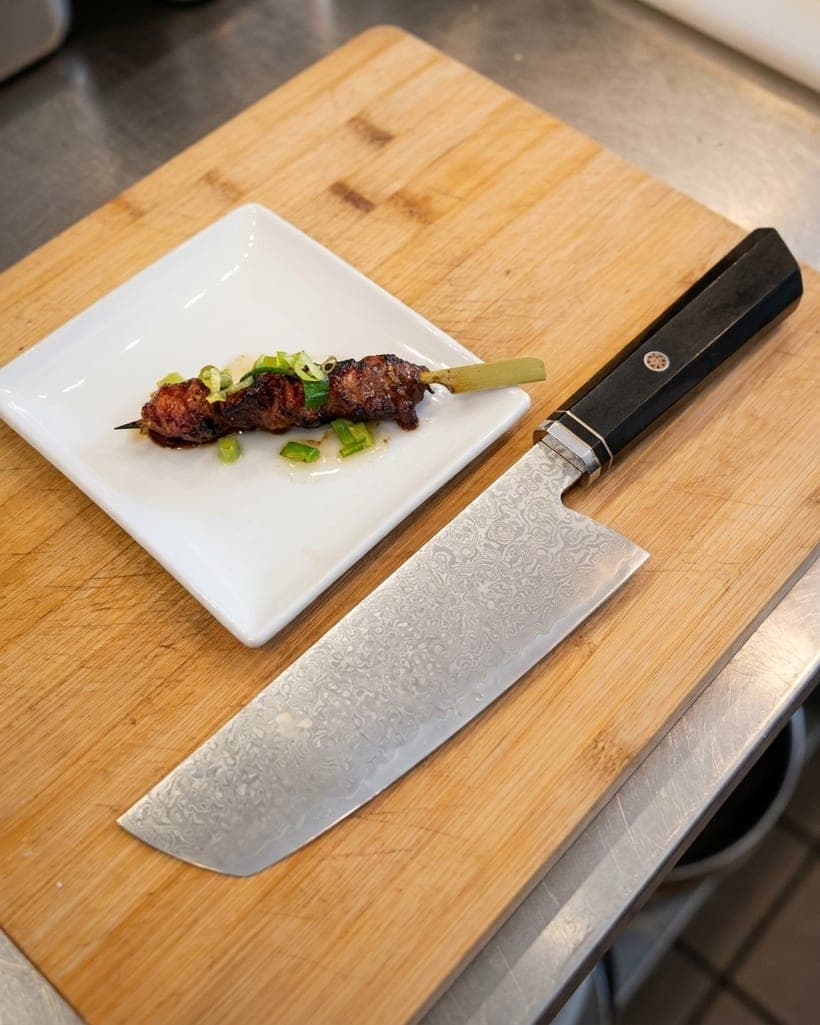
Cleavers reward a steady hand and a lighter grip than you expect. The 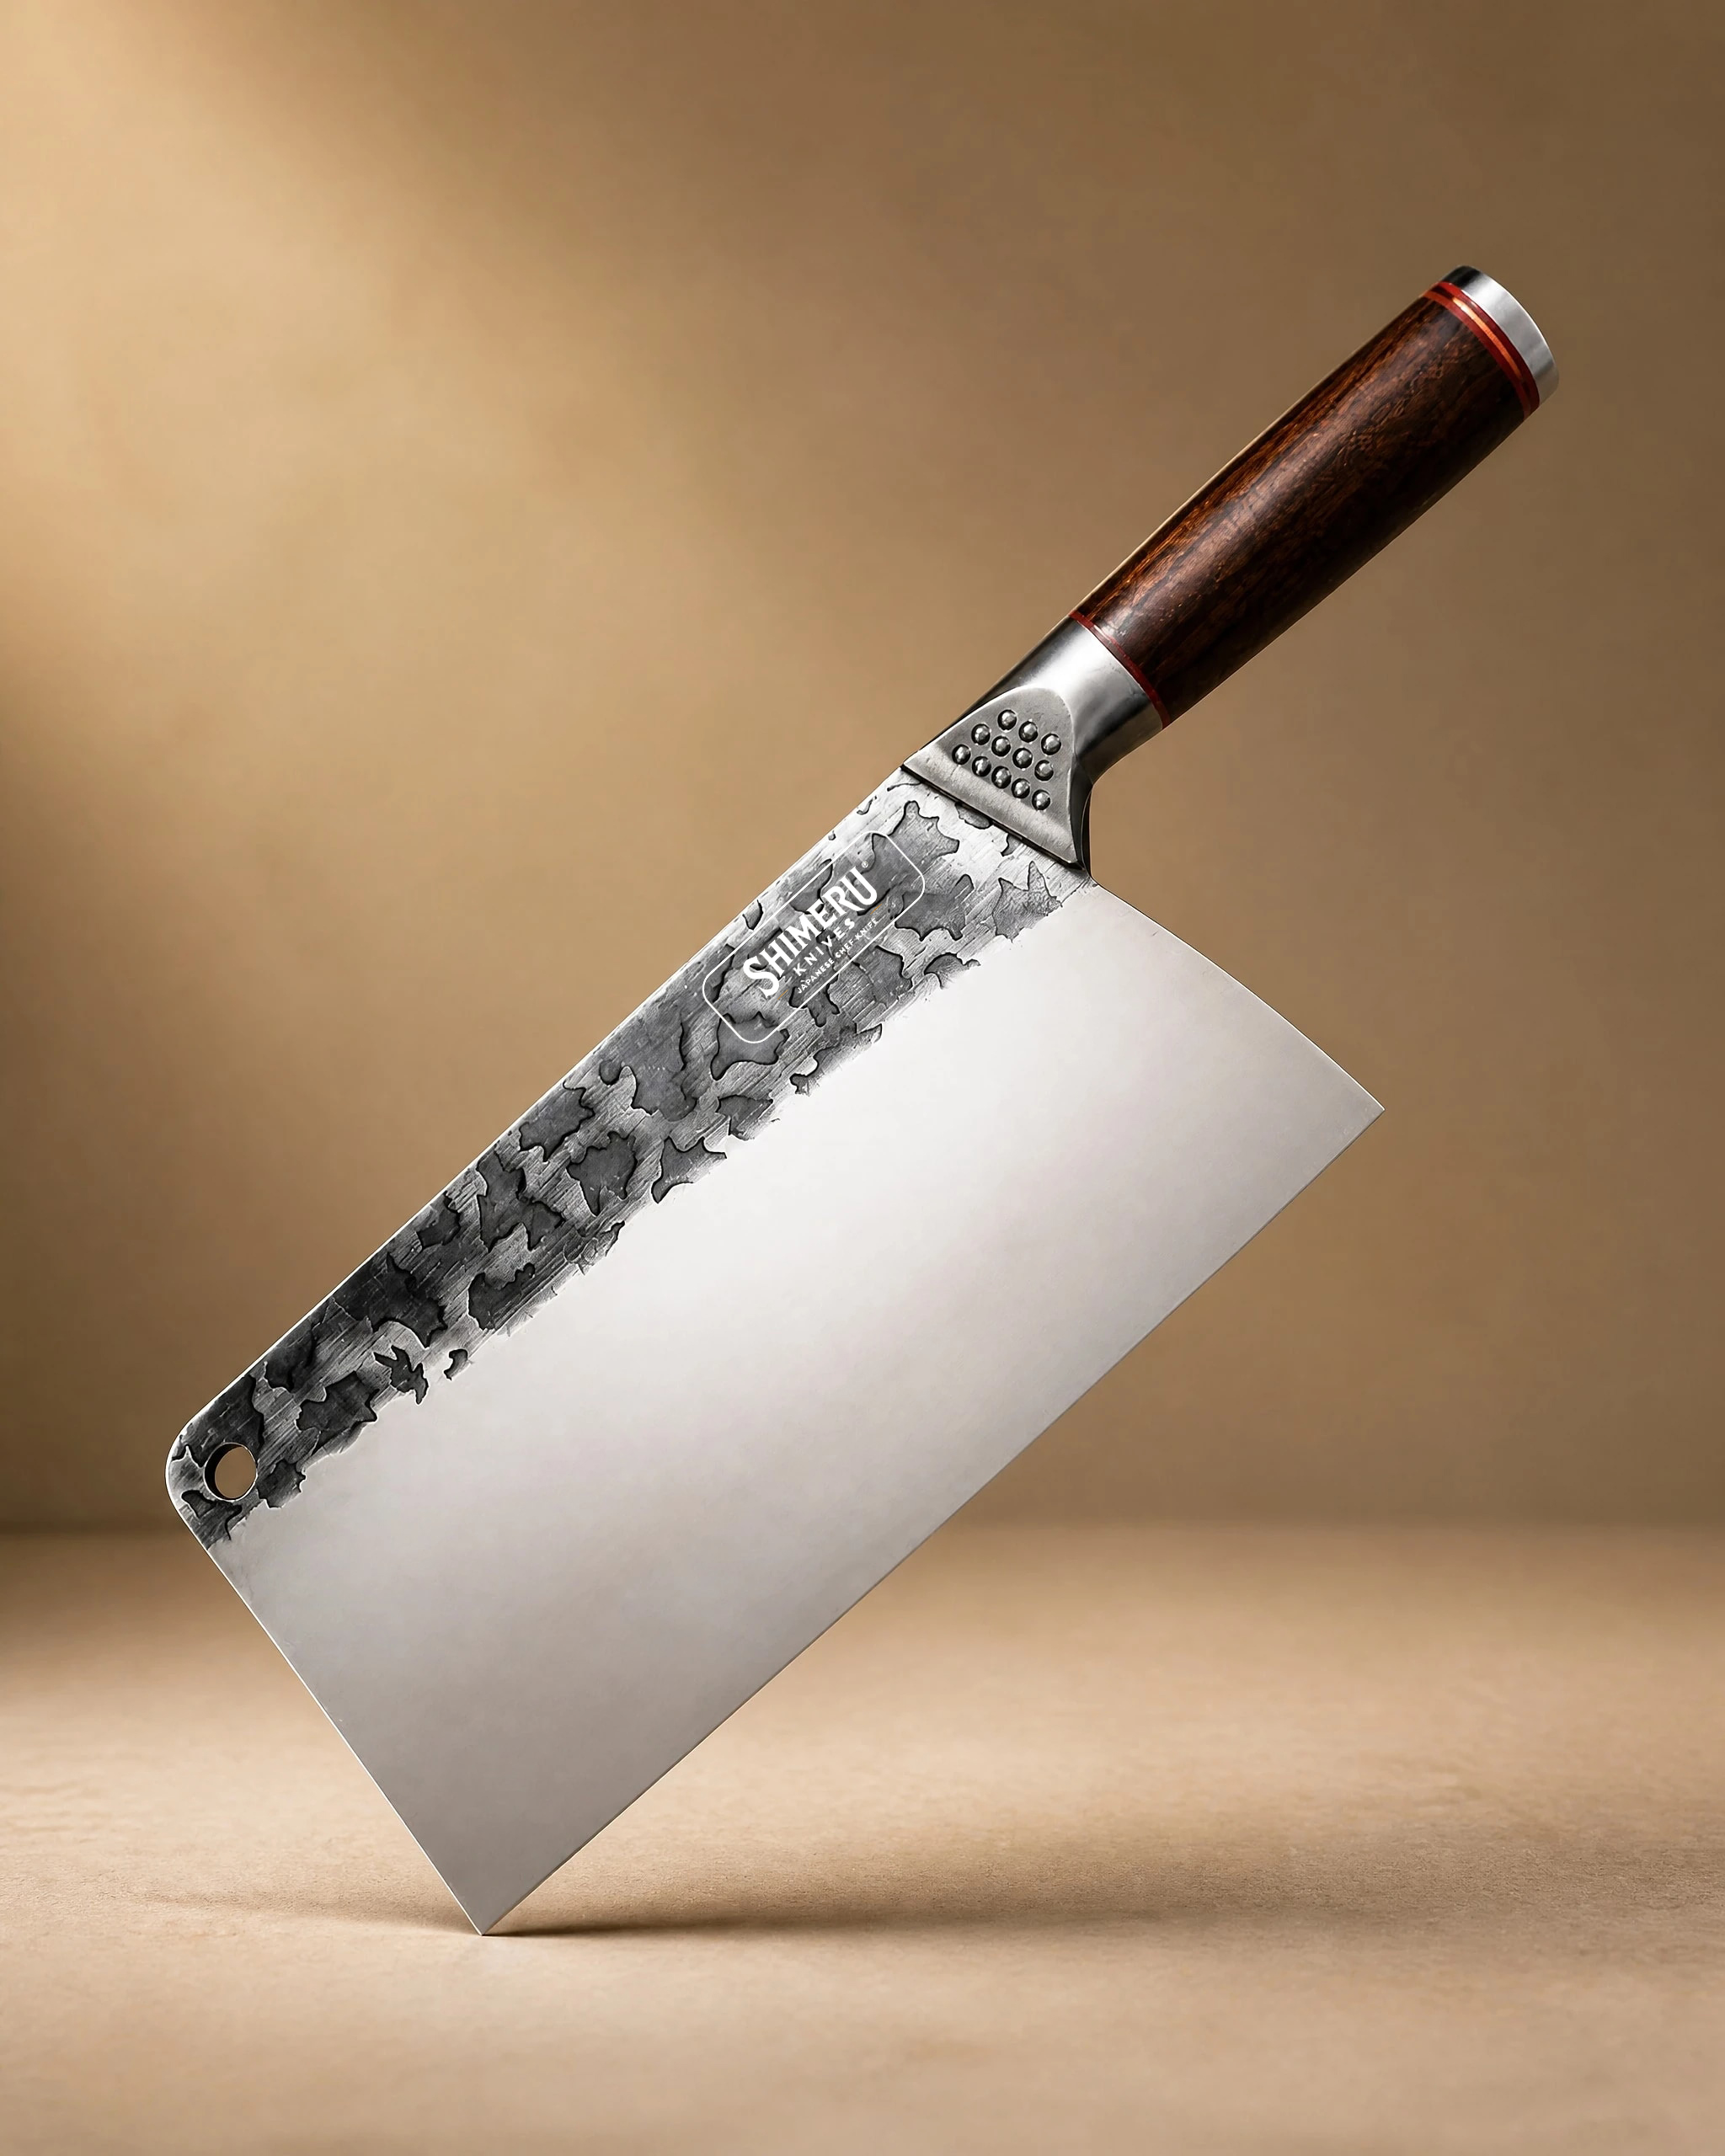 Saba 7" Stainless Steel Cleaver 中華包丁£49.99View product → is a cleaver for meat, vegetables and herbs. Its broad blade makes it easy to keep flat and stable on the stone, but the weight behind it means you should press gently.
Once your technique is reliable, the 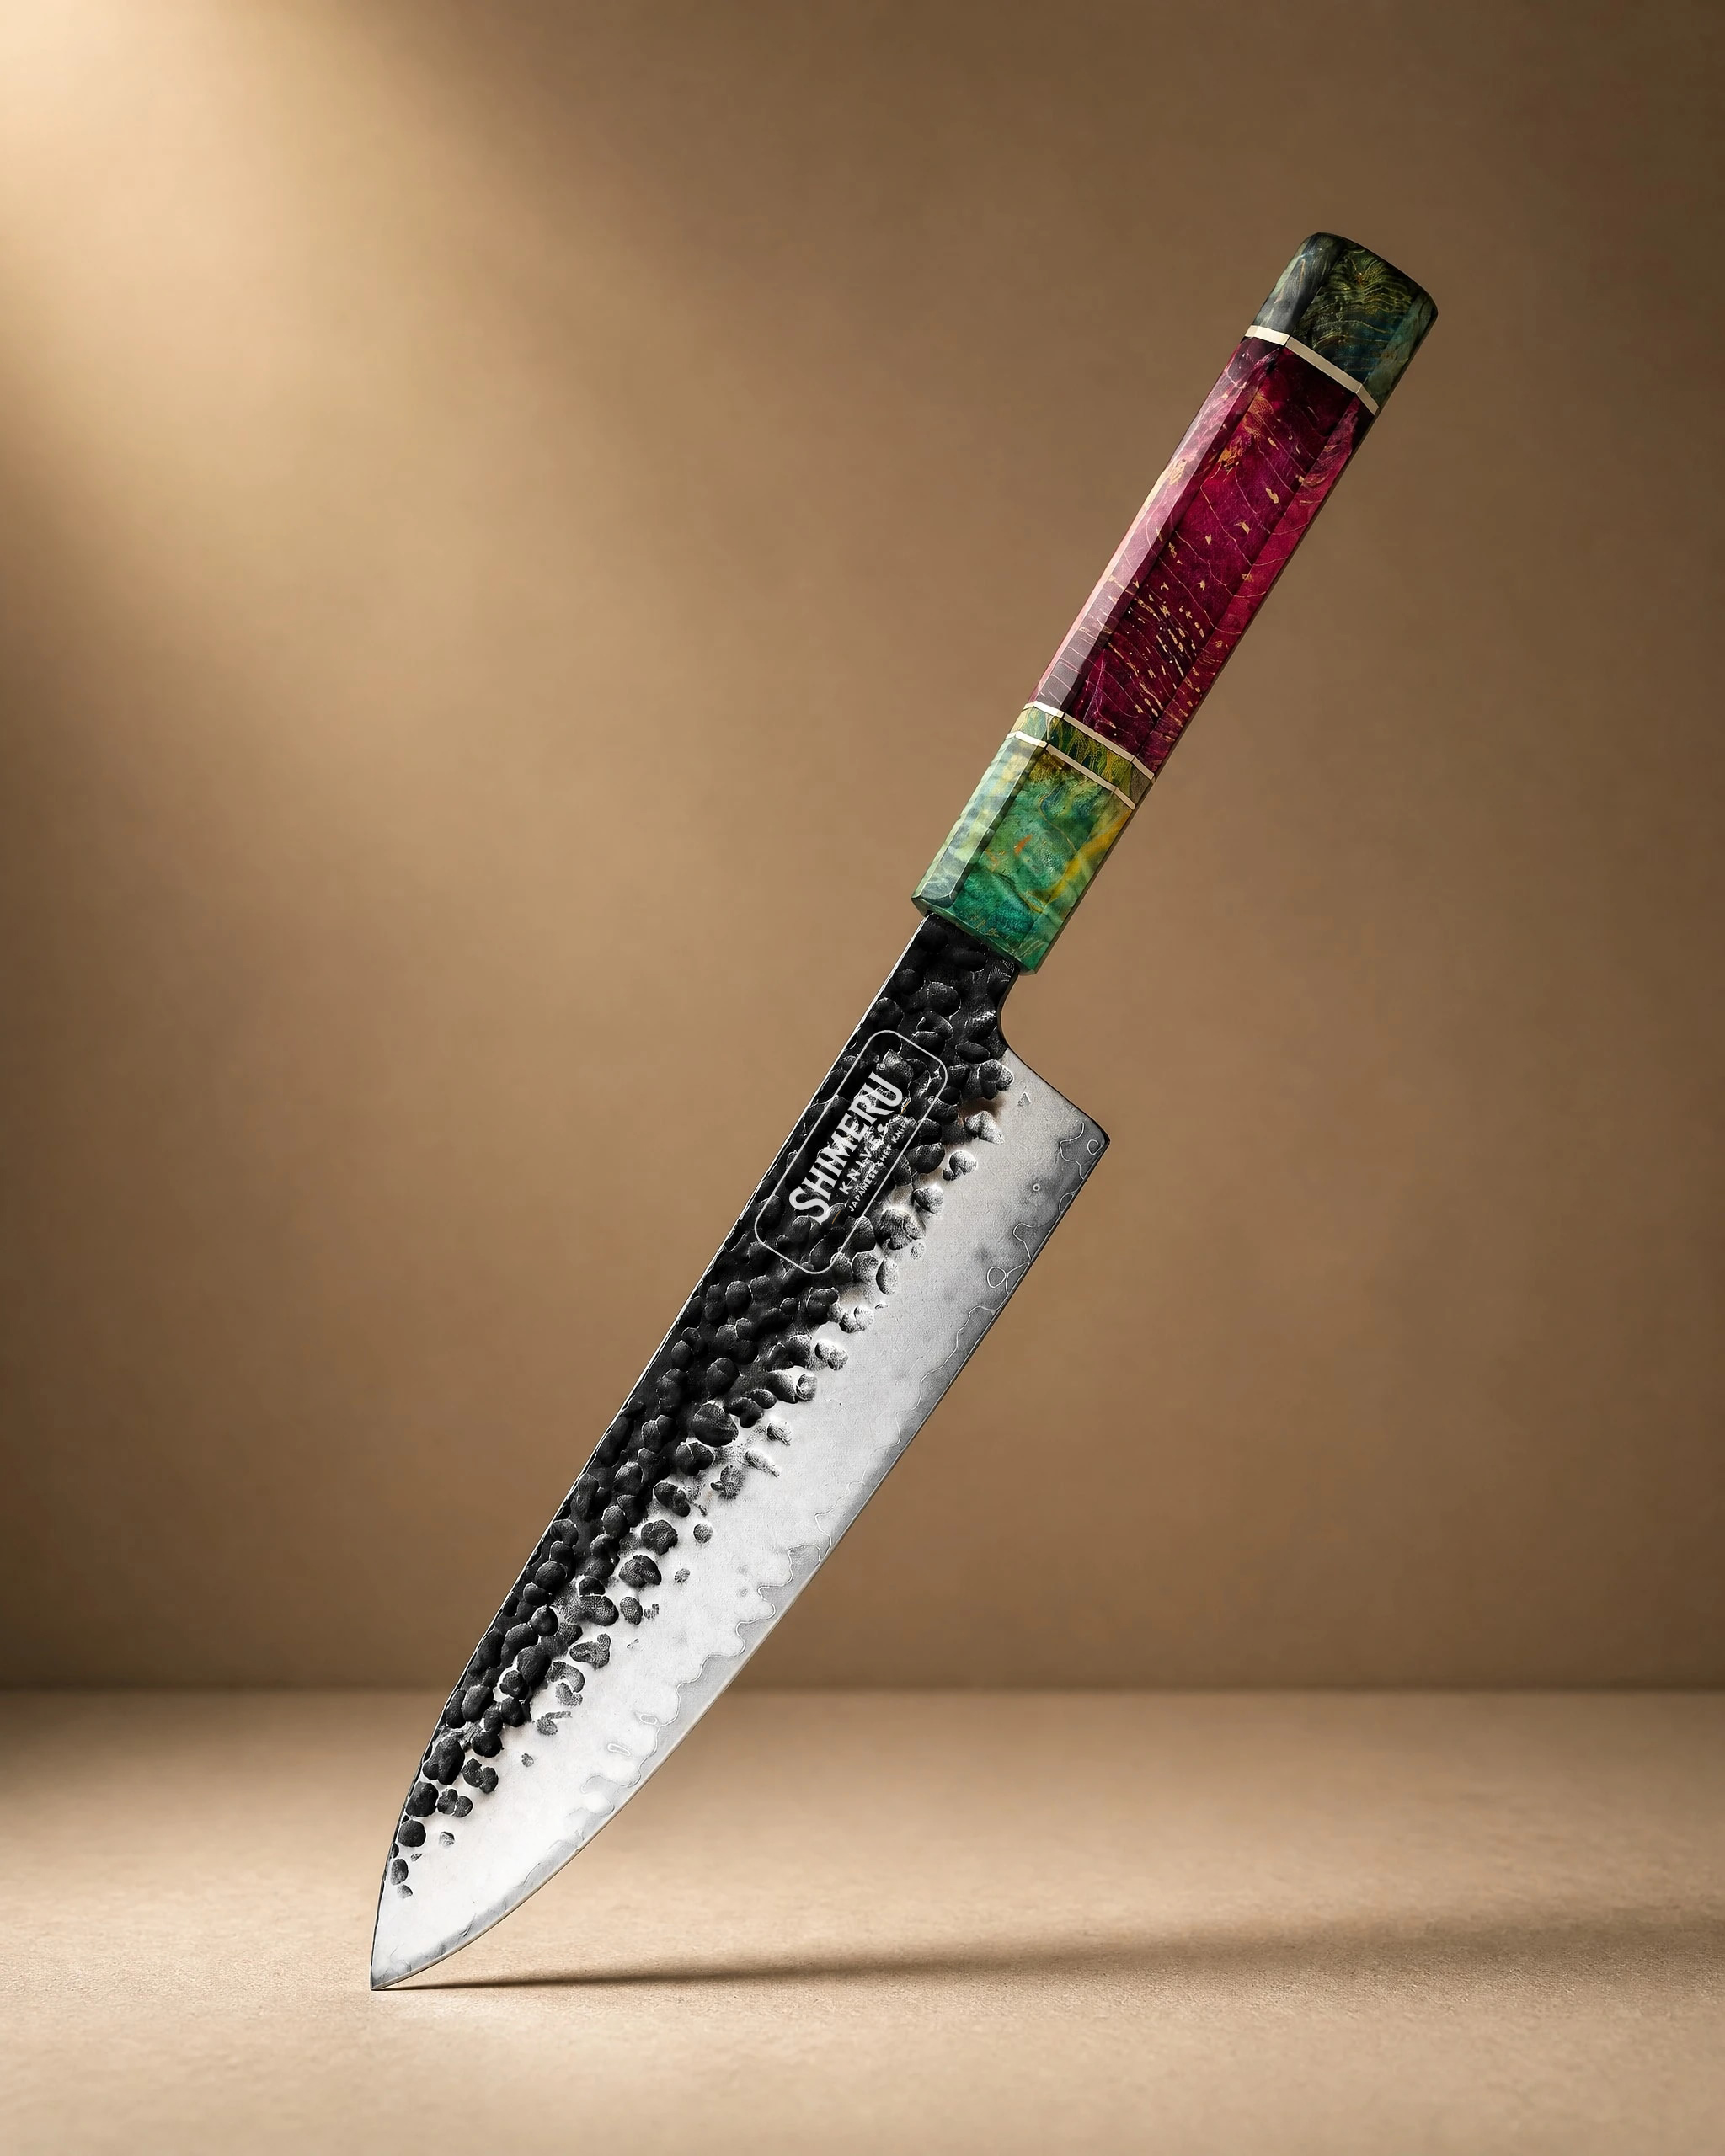 Natori 8" Gyuto Knife 牛刀£74.99View product → is a good next step, a gyuto for slicing, dicing and chopping. Take your time with it. A sharp knife is a pleasure; a knife sharpened badly and repeatedly becomes a thin, badly angled blade that no stone can rescue.
Common mistakes worth avoiding
The most common error is an inconsistent angle, usually caused by moving the wrist rather than the arm. The second is not raising a burr on the first side before switching, which means the edge never actually reaches the apex. The third is pressing too hard on a fine stone, which rounds the edge rather than refining it. The fourth is forgetting to soak a stone that needs it, which glazes the surface and stops it cutting.
Caring for your stone
Rinse the stone after use and let it dry slowly, away from direct heat. Because a stone wears unevenly, check it periodically with a straight edge. If it is dished, flatten it with a flattening plate or coarse wet abrasive paper on glass. A flat stone is not a detail, it is the foundation of a consistent angle. More on keeping blades in condition is in our knife care guide.
Where to start
Buy one 1000 grit stone, a holder and a marker pen. Practise on your least precious knife until the burr arrives predictably and the bevel looks even. That single skill will do more for your cooking than almost any other purchase. If you are still deciding which blade deserves your attention first, our knife buying guide sets out the shapes and what they are for, and you can browse the full range in the knife shop.
Sharpen little and often, keep the stone flat and wet, and let the burr tell you when to move on. Sharpening using a whetstone is a straightforward craft once you stop treating it as a mystery.
Photography: Richard Iwaki via Unsplash.

