



How Do I Use a Knife Sharpener Correctly?

Start With an Honest Question
Most kitchens have a sharpener somewhere, bought with good intentions and used twice. The reason it gets abandoned is usually the same: the knife came out duller than it went in, or the edge disappeared again within a week. Learning how to use a knife sharpener correctly is not difficult, but it does require you to understand what the tool is doing and to accept that a sharpener is a maintenance device, not a magic wand.
This guide covers the three types most people own, plus when to sharpen and when to stop. There is also a short section on the knives themselves, because a sharpener can only work with the steel it is given.
What a Sharpener Actually Does to the Edge
An edge is a very thin wedge of steel. Sharpening means grinding away metal on both sides of that wedge until the two faces meet in a line so narrow that it parts food instead of crushing it. Every sharpener, whether it costs a few pounds or a few hundred, does the same job: it holds an abrasive at a consistent angle against the bevel and removes steel.
Two things follow from that. First, sharpening is always subtractive. You cannot add an edge, only reveal a new one. Second, consistency matters far more than force. A steady angle at light pressure removes less metal and produces a cleaner apex than a wobbling angle pressed hard.
Match the Tool to the Edge You Own
Pull through sharpeners use two crossed carbide or ceramic slots. They are fast and forgiving, and they suit softer stainless blades from the high street. On a hard, thin Japanese blade they can be crude, because the fixed slot angle may not match the bevel. Use them for the beater knife, not for anything you care about.
Rolling sharpeners hold the blade flat on a magnetic bed and roll an abrasive disc along the bevel. The angle is set by the bed, so your hands only have to roll straight. This suits anyone who struggles to hold a freehand angle.
Electric sharpeners draw the blade through powered abrasives, staged coarse to fine. They are convenient, they remove steel quickly, and they reward a light touch and short passes.
Whetstones are the fourth option and the one that gives the most control, but they need practice. If you want a knife that lasts decades and you are willing to learn, stones repay the effort. If you want a sharp knife tonight, one of the three above will do it.
Three Rules That Decide the Result
Angle
Follow the angle your knife was made with. Western knives are commonly ground around 20 degrees per side, Japanese knives often nearer 15, and some are asymmetric. If you do not know, use the maker's guidance or match the existing bevel by eye. A sharpener that forces a much steeper angle will still cut, but it will remove a lot of steel to get there.
Pressure
Light pressure is not timid, it is efficient. Heavy pressure flexes the thin metal at the edge, rounds the apex and takes off more steel than you wanted. Let the abrasive cut. If nothing is happening, you need more passes, not more force.
Consistency
Keep the number of strokes even on each side. Count them. Three or four passes per side, then check, then repeat, is a far better habit than twenty strokes on one side and a guess on the other.
How to Use a Pull Through Sharpener
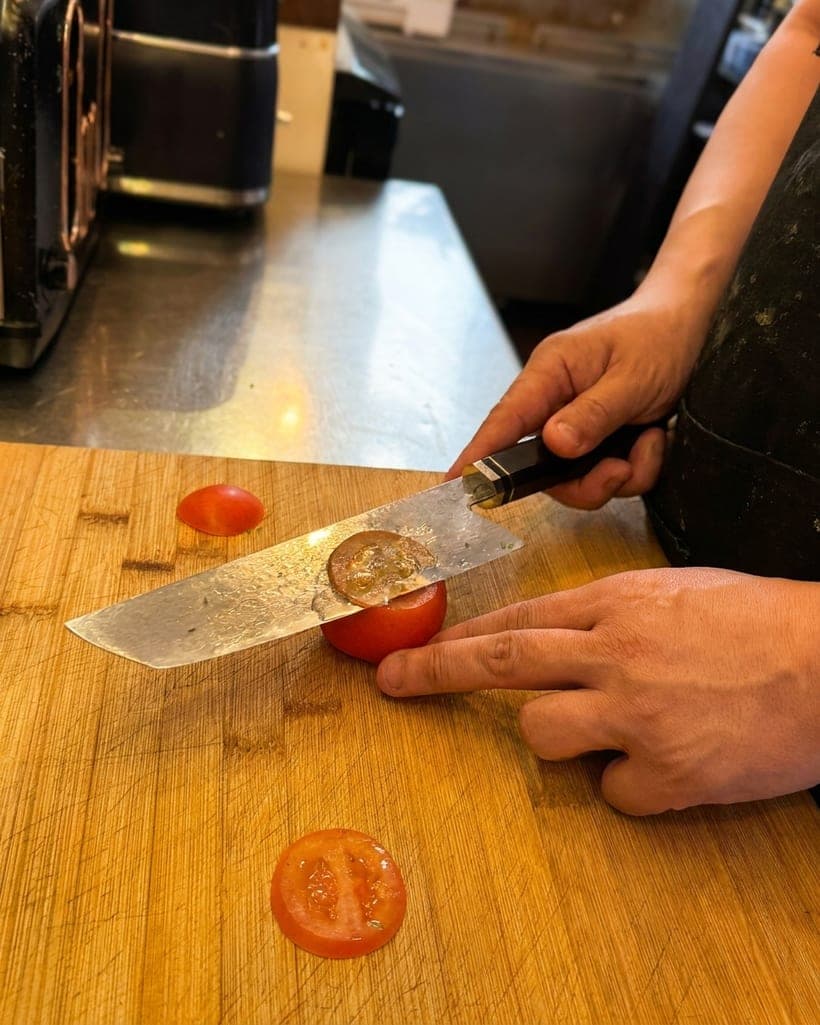
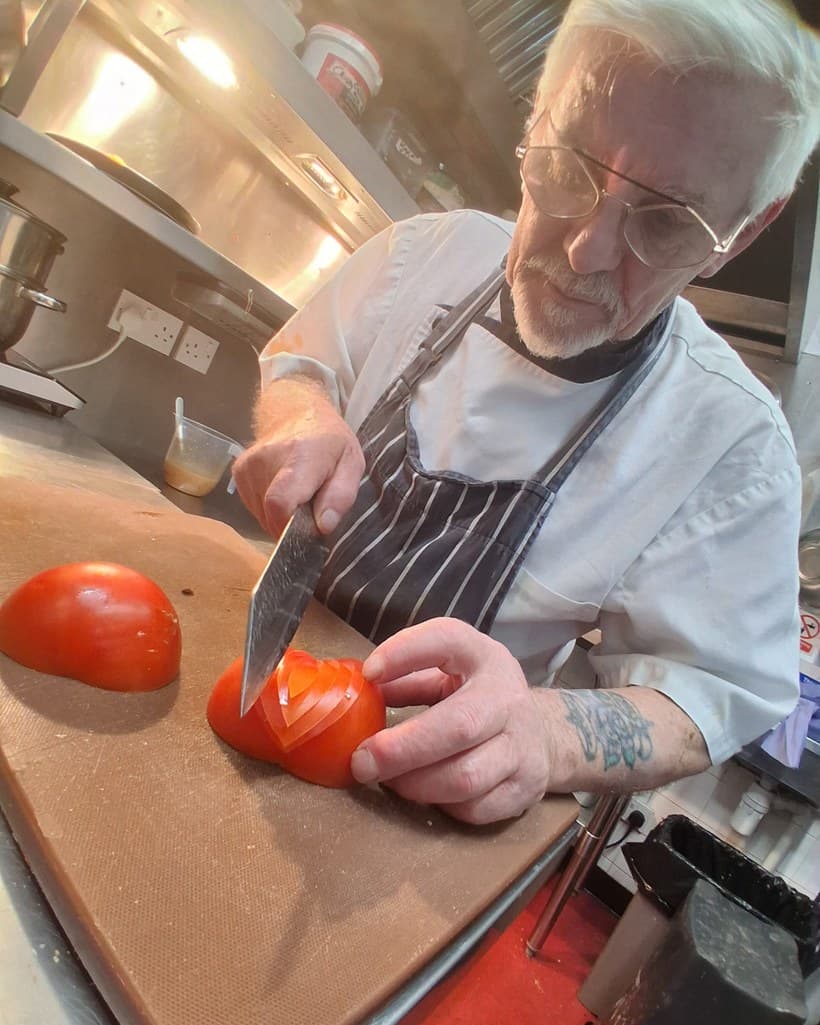
Place the sharpener on a stable surface at chest height if you can, or hold it firmly on a worktop with the slot facing away from you. Draw the blade through from heel to tip in one smooth movement, keeping the blade vertical and letting the slot guide the angle. Do not saw back and forth, and do not stop halfway with the tip still inside the slot. Three or four passes is usually enough. Wipe the blade, then test on a tomato or a sheet of paper.
If the sharpener has a coarse side and a fine side, use coarse only when the edge is genuinely blunt or chipped, then finish on fine. Weekly maintenance usually needs only the fine slot.

How to Use a Rolling Sharpener
A rolling sharpener is the easiest type to use well, because the angle is decided by the device rather than your wrist. A magnetic bed holds the blade flat, and you roll the abrasive disc along the bevel from heel to tip, then flip the knife and repeat on the other side. Keep the roll steady, keep the pressure light, count your passes, and wipe the blade between stages if the device has more than one grit.
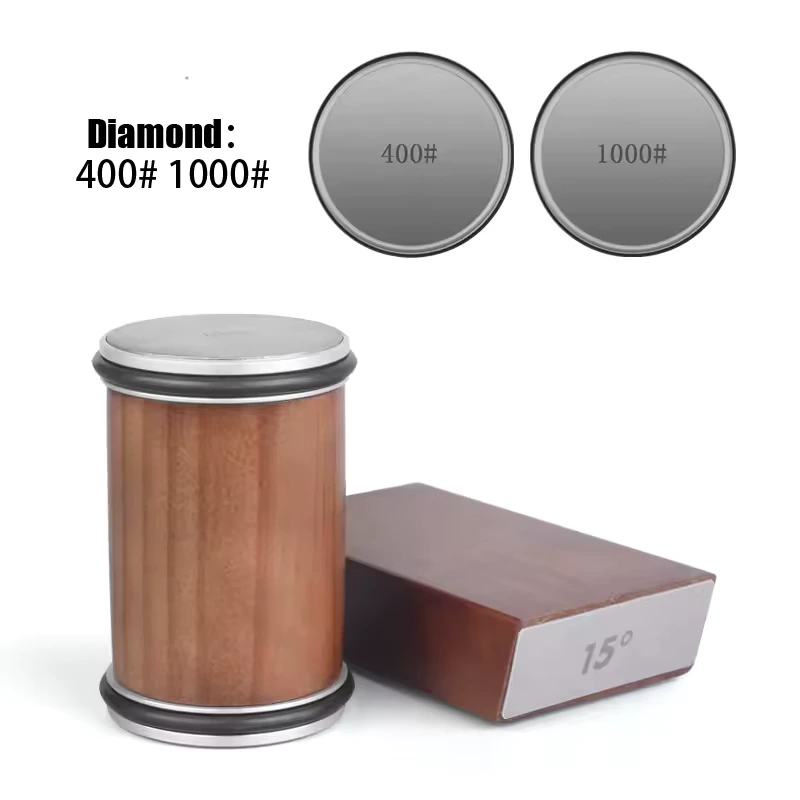 Magnetic Rolling Knife Sharpener£59.99View product → works on exactly that principle: a magnetic bed holds the blade while the disc rolls along the bevel, so the angle stays consistent even if your hands are not. It suits anyone who has given up on freehand sharpening.
How to Use an Electric Knife Sharpener
Electric sharpeners are the ones people most often misuse. The motor makes it tempting to press, and pressing is precisely what you should not do.
Set the machine on a dry, stable surface. Select the coarsest stage only if the knife is blunt or damaged; otherwise start at the medium or fine stage. Switch on, then draw the blade through slowly and evenly, heel to tip, at the pace the machine allows. Do not stop in the middle and do not reverse. One or two passes per side per stage is normally plenty. Between passes, check the edge in good light. When you feel a burr, a fine, slightly rough line of metal along one side, move to the finer stage to remove it, then make a couple of light passes to finish.
Clean the abrasive slots as the maker advises. Clogged abrasives heat the edge, and heat is the enemy of a thin, hard blade.
How Often Should You Sharpen?
Sharpen when the knife stops doing its job, not on a fixed calendar. A home cook using one knife daily will usually need a light touch up every few weeks and a proper sharpen every few months. A knife used once a week may go a year between sharpenings if it is honed and cared for.
Two signals mean it is time. The first is sliding on a tomato skin rather than biting in. The second is a blade that reflects light along its edge when you look straight at it; a truly sharp edge has no visible bright line.
If the knife is only slightly off, do not sharpen at all. Ten strokes on a honing rod or a few passes on a fine ceramic will realign the edge without removing metal. Save sharpening for when honing stops working.
What Happens Between Sharpenings
Sharpening is the last ten per cent of edge care. The rest is handling and cleaning. Cut on wood or soft plastic, never on glass or stone. Wash by hand and dry immediately rather than leaving a blade in the sink or the dishwasher. Store knives so the edge touches nothing hard.
Our knife care guide goes through the daily routine in detail, including why a magnetic strip or a drawer insert beats a loose cutlery tray.
The Knife Matters as Much as the Sharpener
A good sharpener on a cheap, soft blade gives you a sharp knife for a week. A good sharpener on a well made blade gives you a sharp knife for months. If you are sharpening very often, that is usually a sign the steel or the heat treatment is not holding up.
For a general purpose knife that takes an edge easily and holds it through a long prep session, 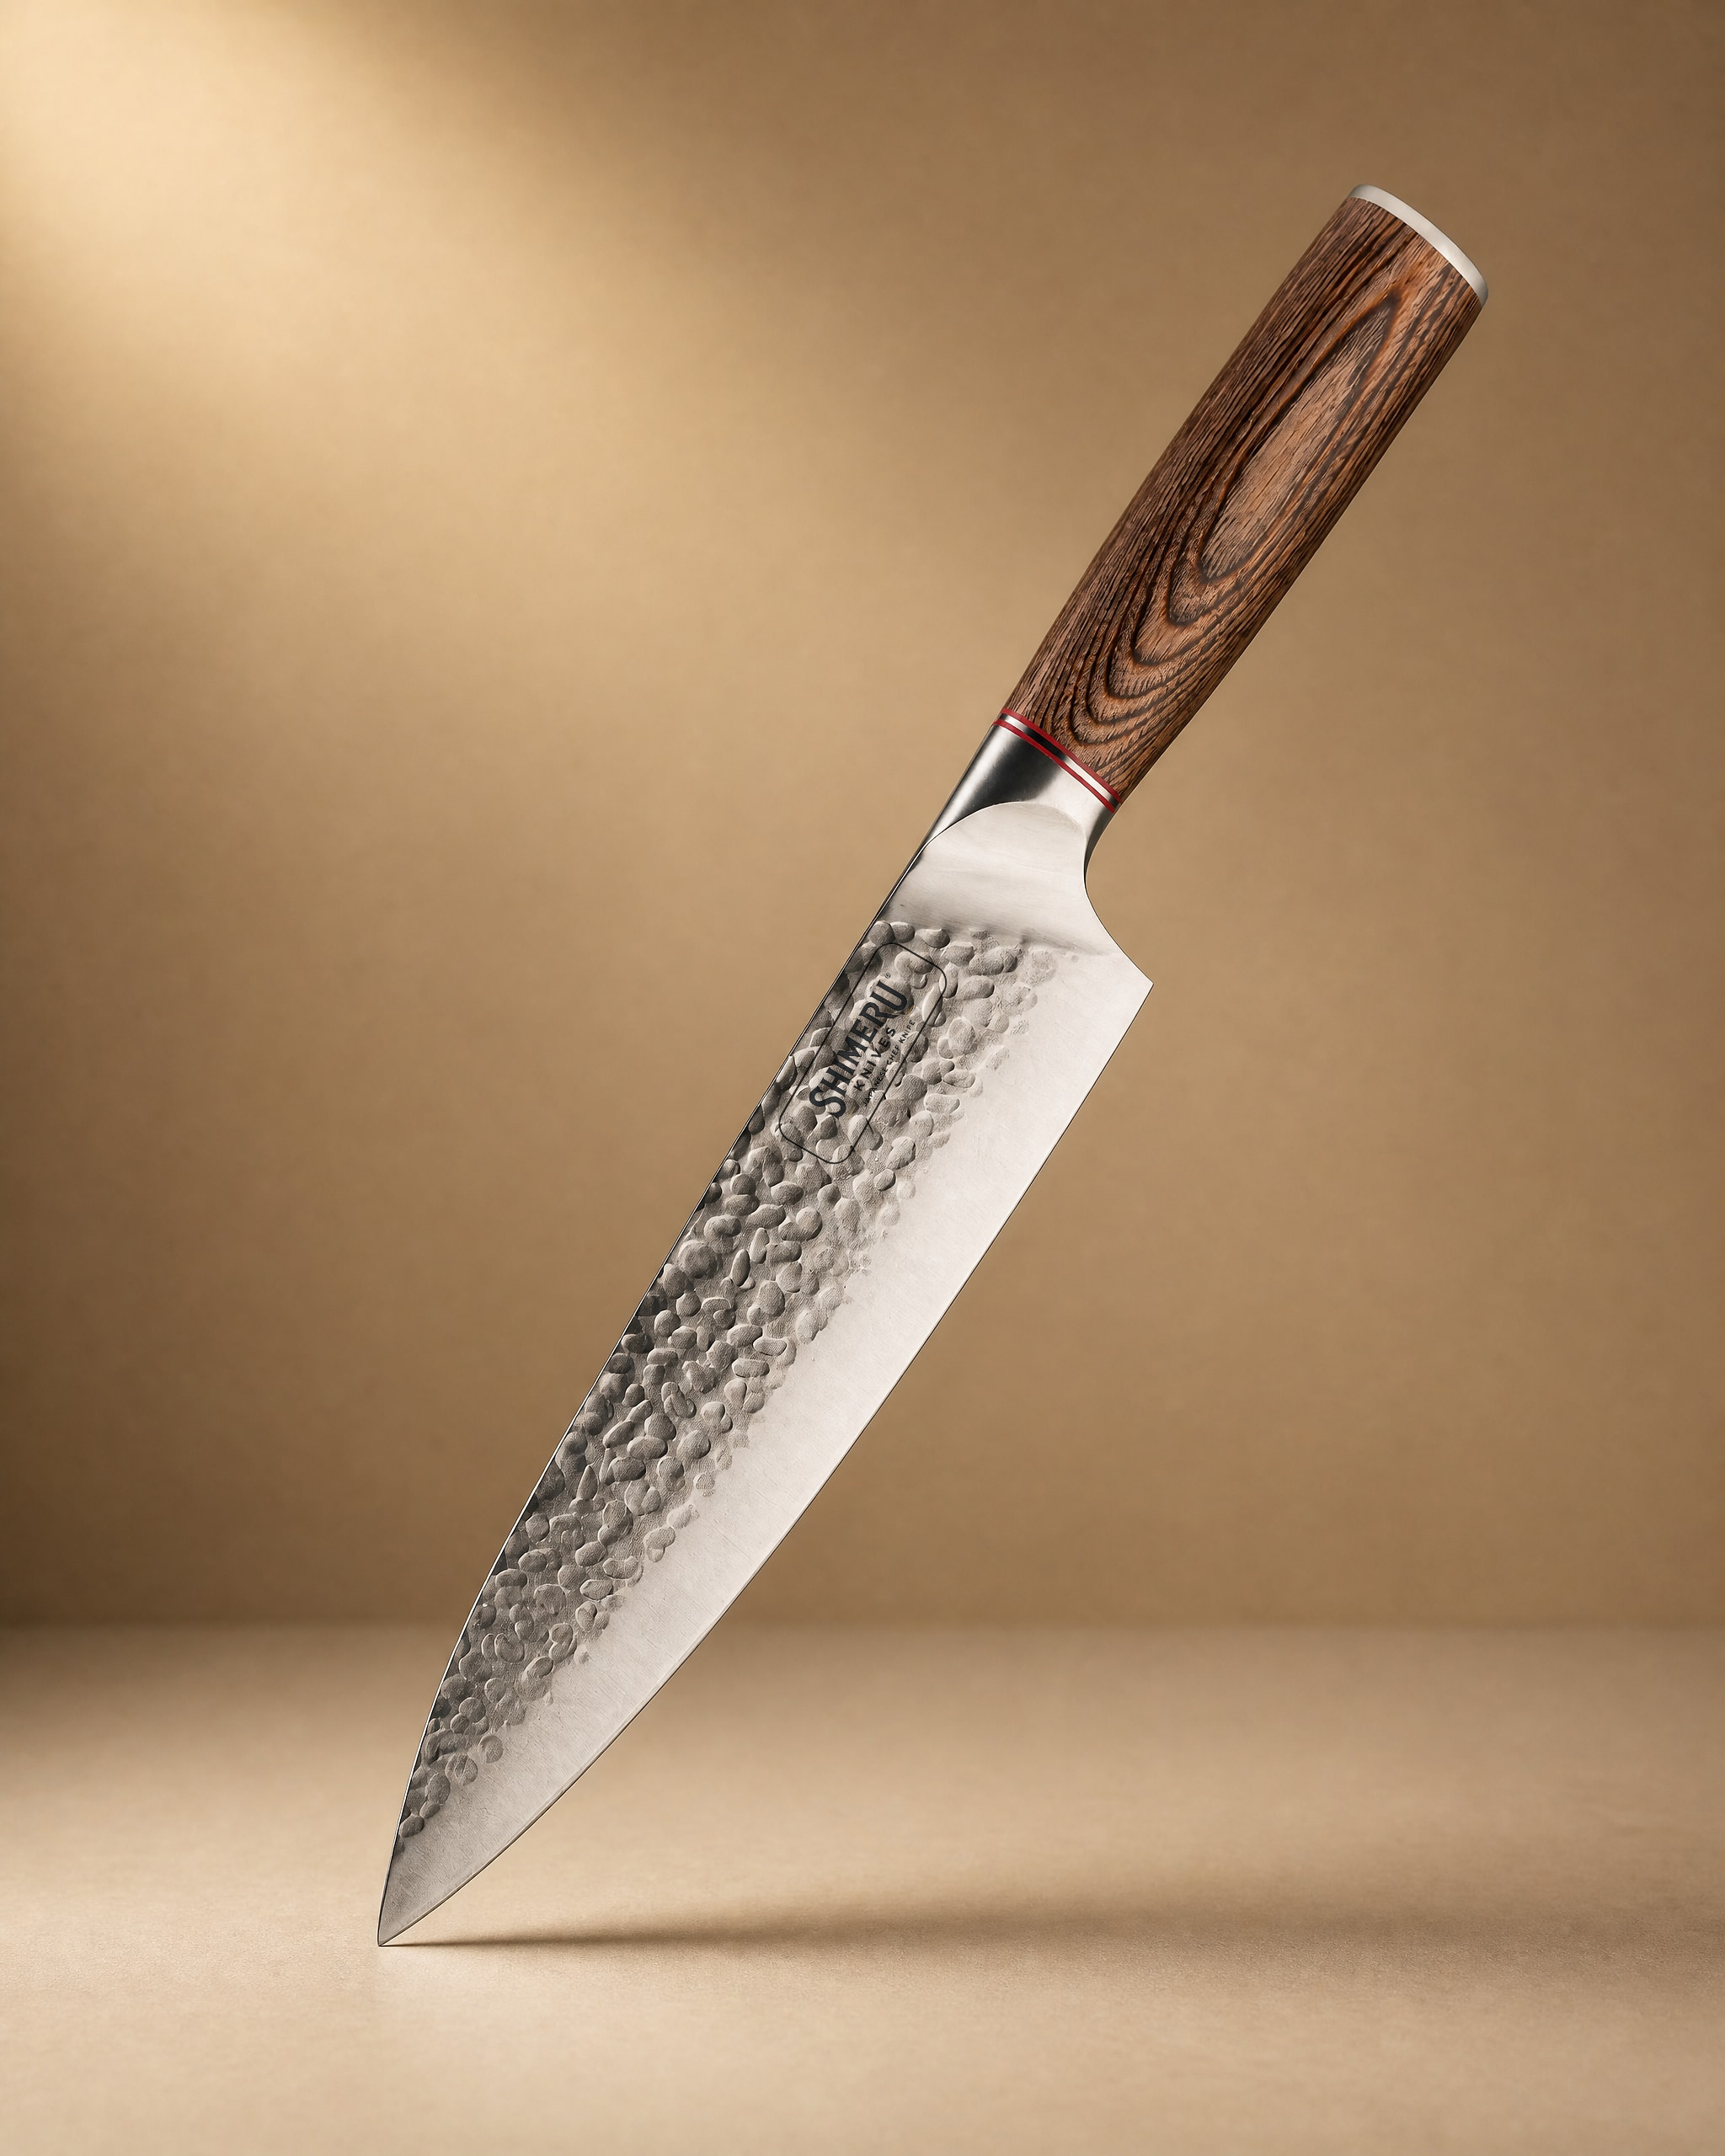 Akan 8'' Gyuto Knife 牛刀£49.99View product → is a sensible all rounder: an 8 inch stainless gyuto with a pakkawood handle, suited to meats, fish, vegetables and fruit. It responds well to a few light passes rather than aggressive grinding.
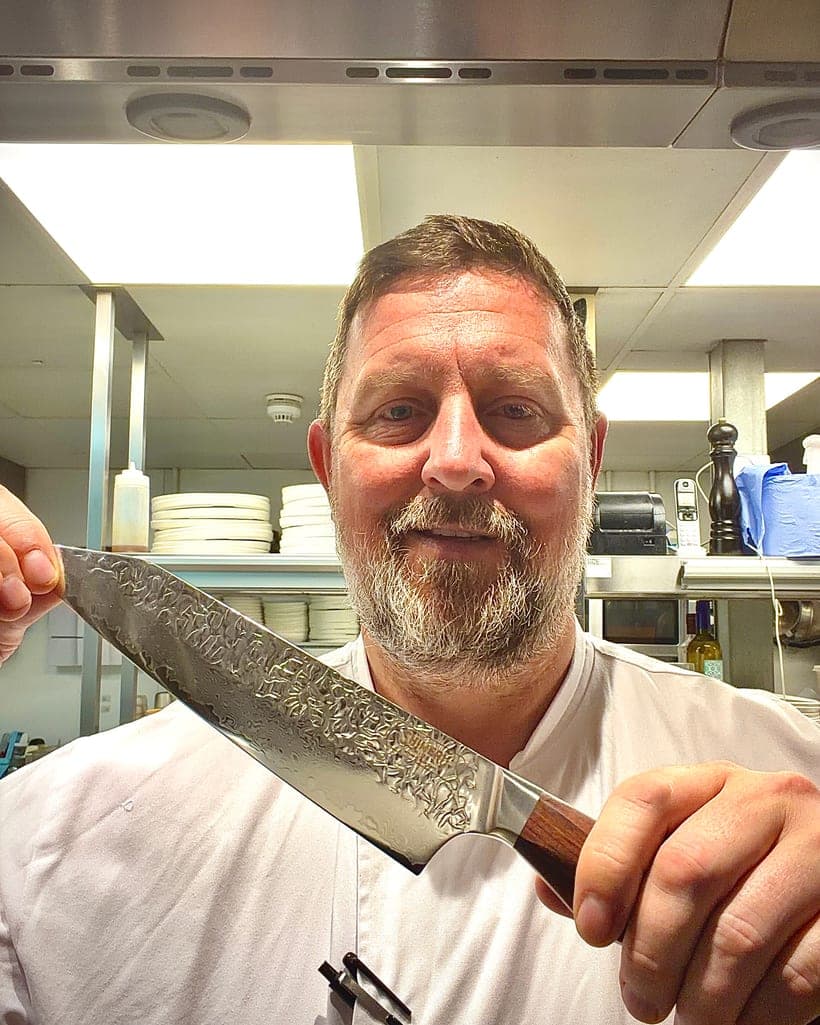
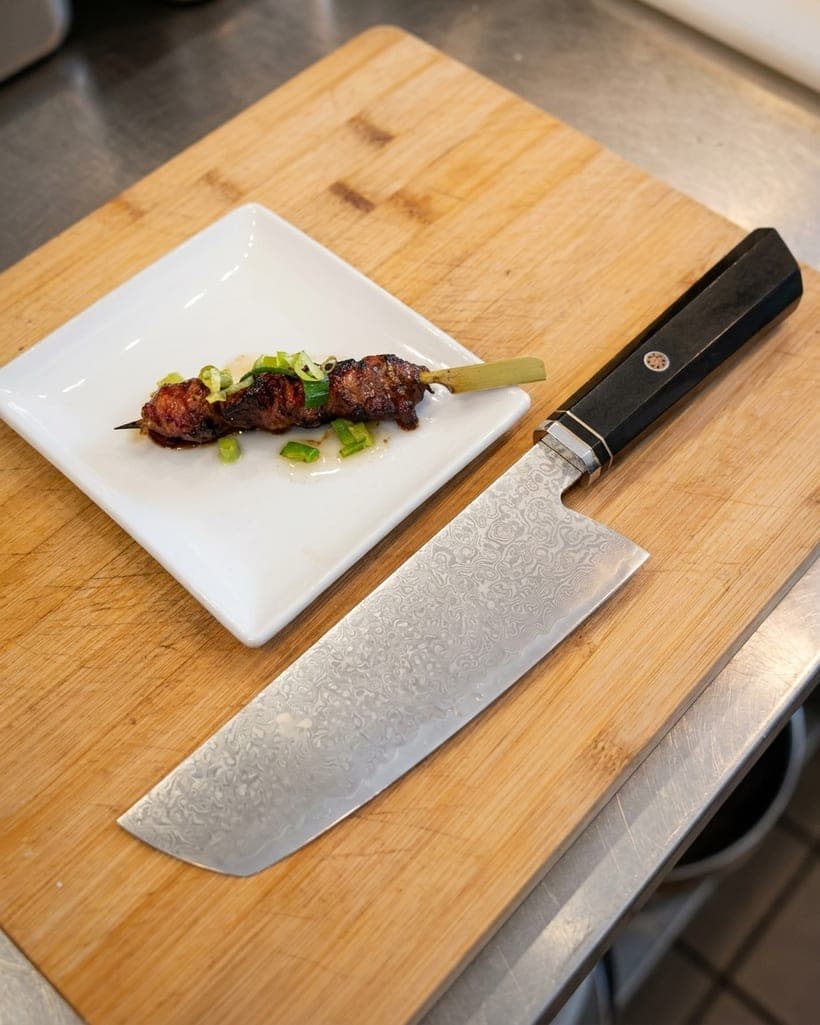
If you do a lot of slicing and chopping and want a blade that glides, 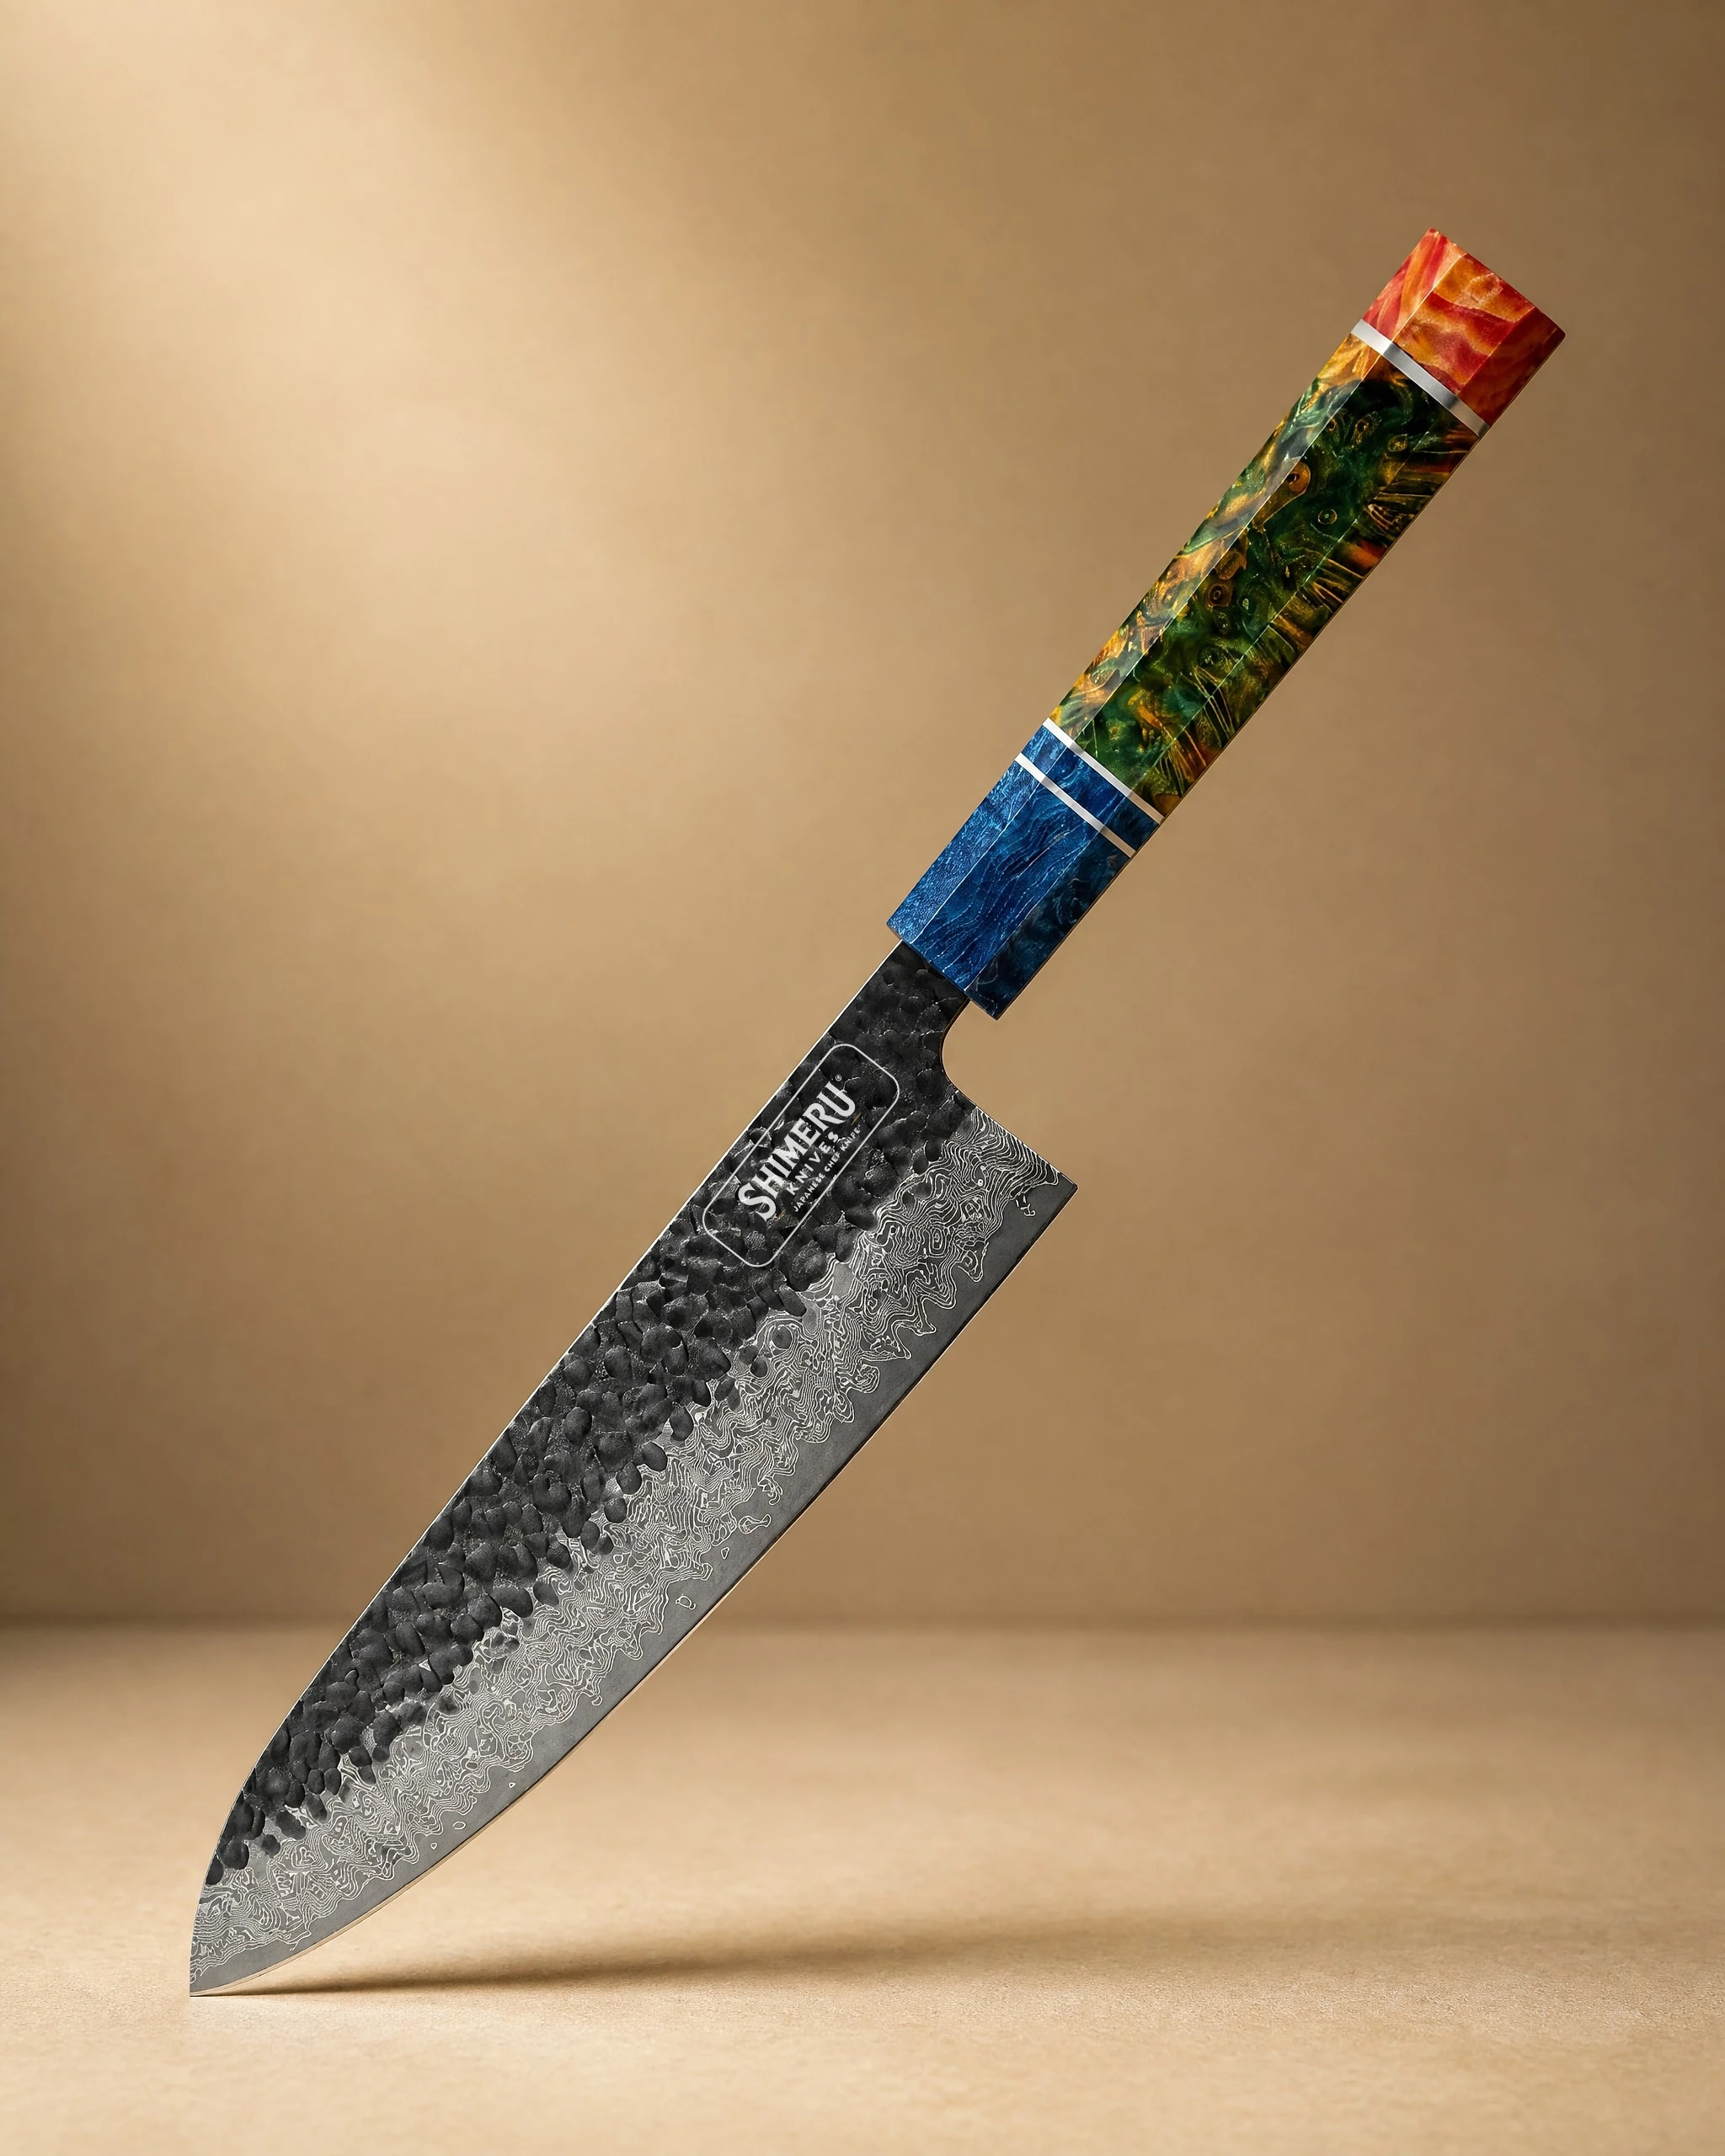 Yoshii 8″ Damascus Steel Gyuto Knife 牛刀£79.99View product → is built for slicing, dicing and chopping, with 67 layer Damascus steel and a wood and copper handle. Layered steel like this rewards a consistent angle and light pressure, so a rolling sharpener or a stone is a better partner than a coarse pull through.
For vegetables, herbs, meat and fish, 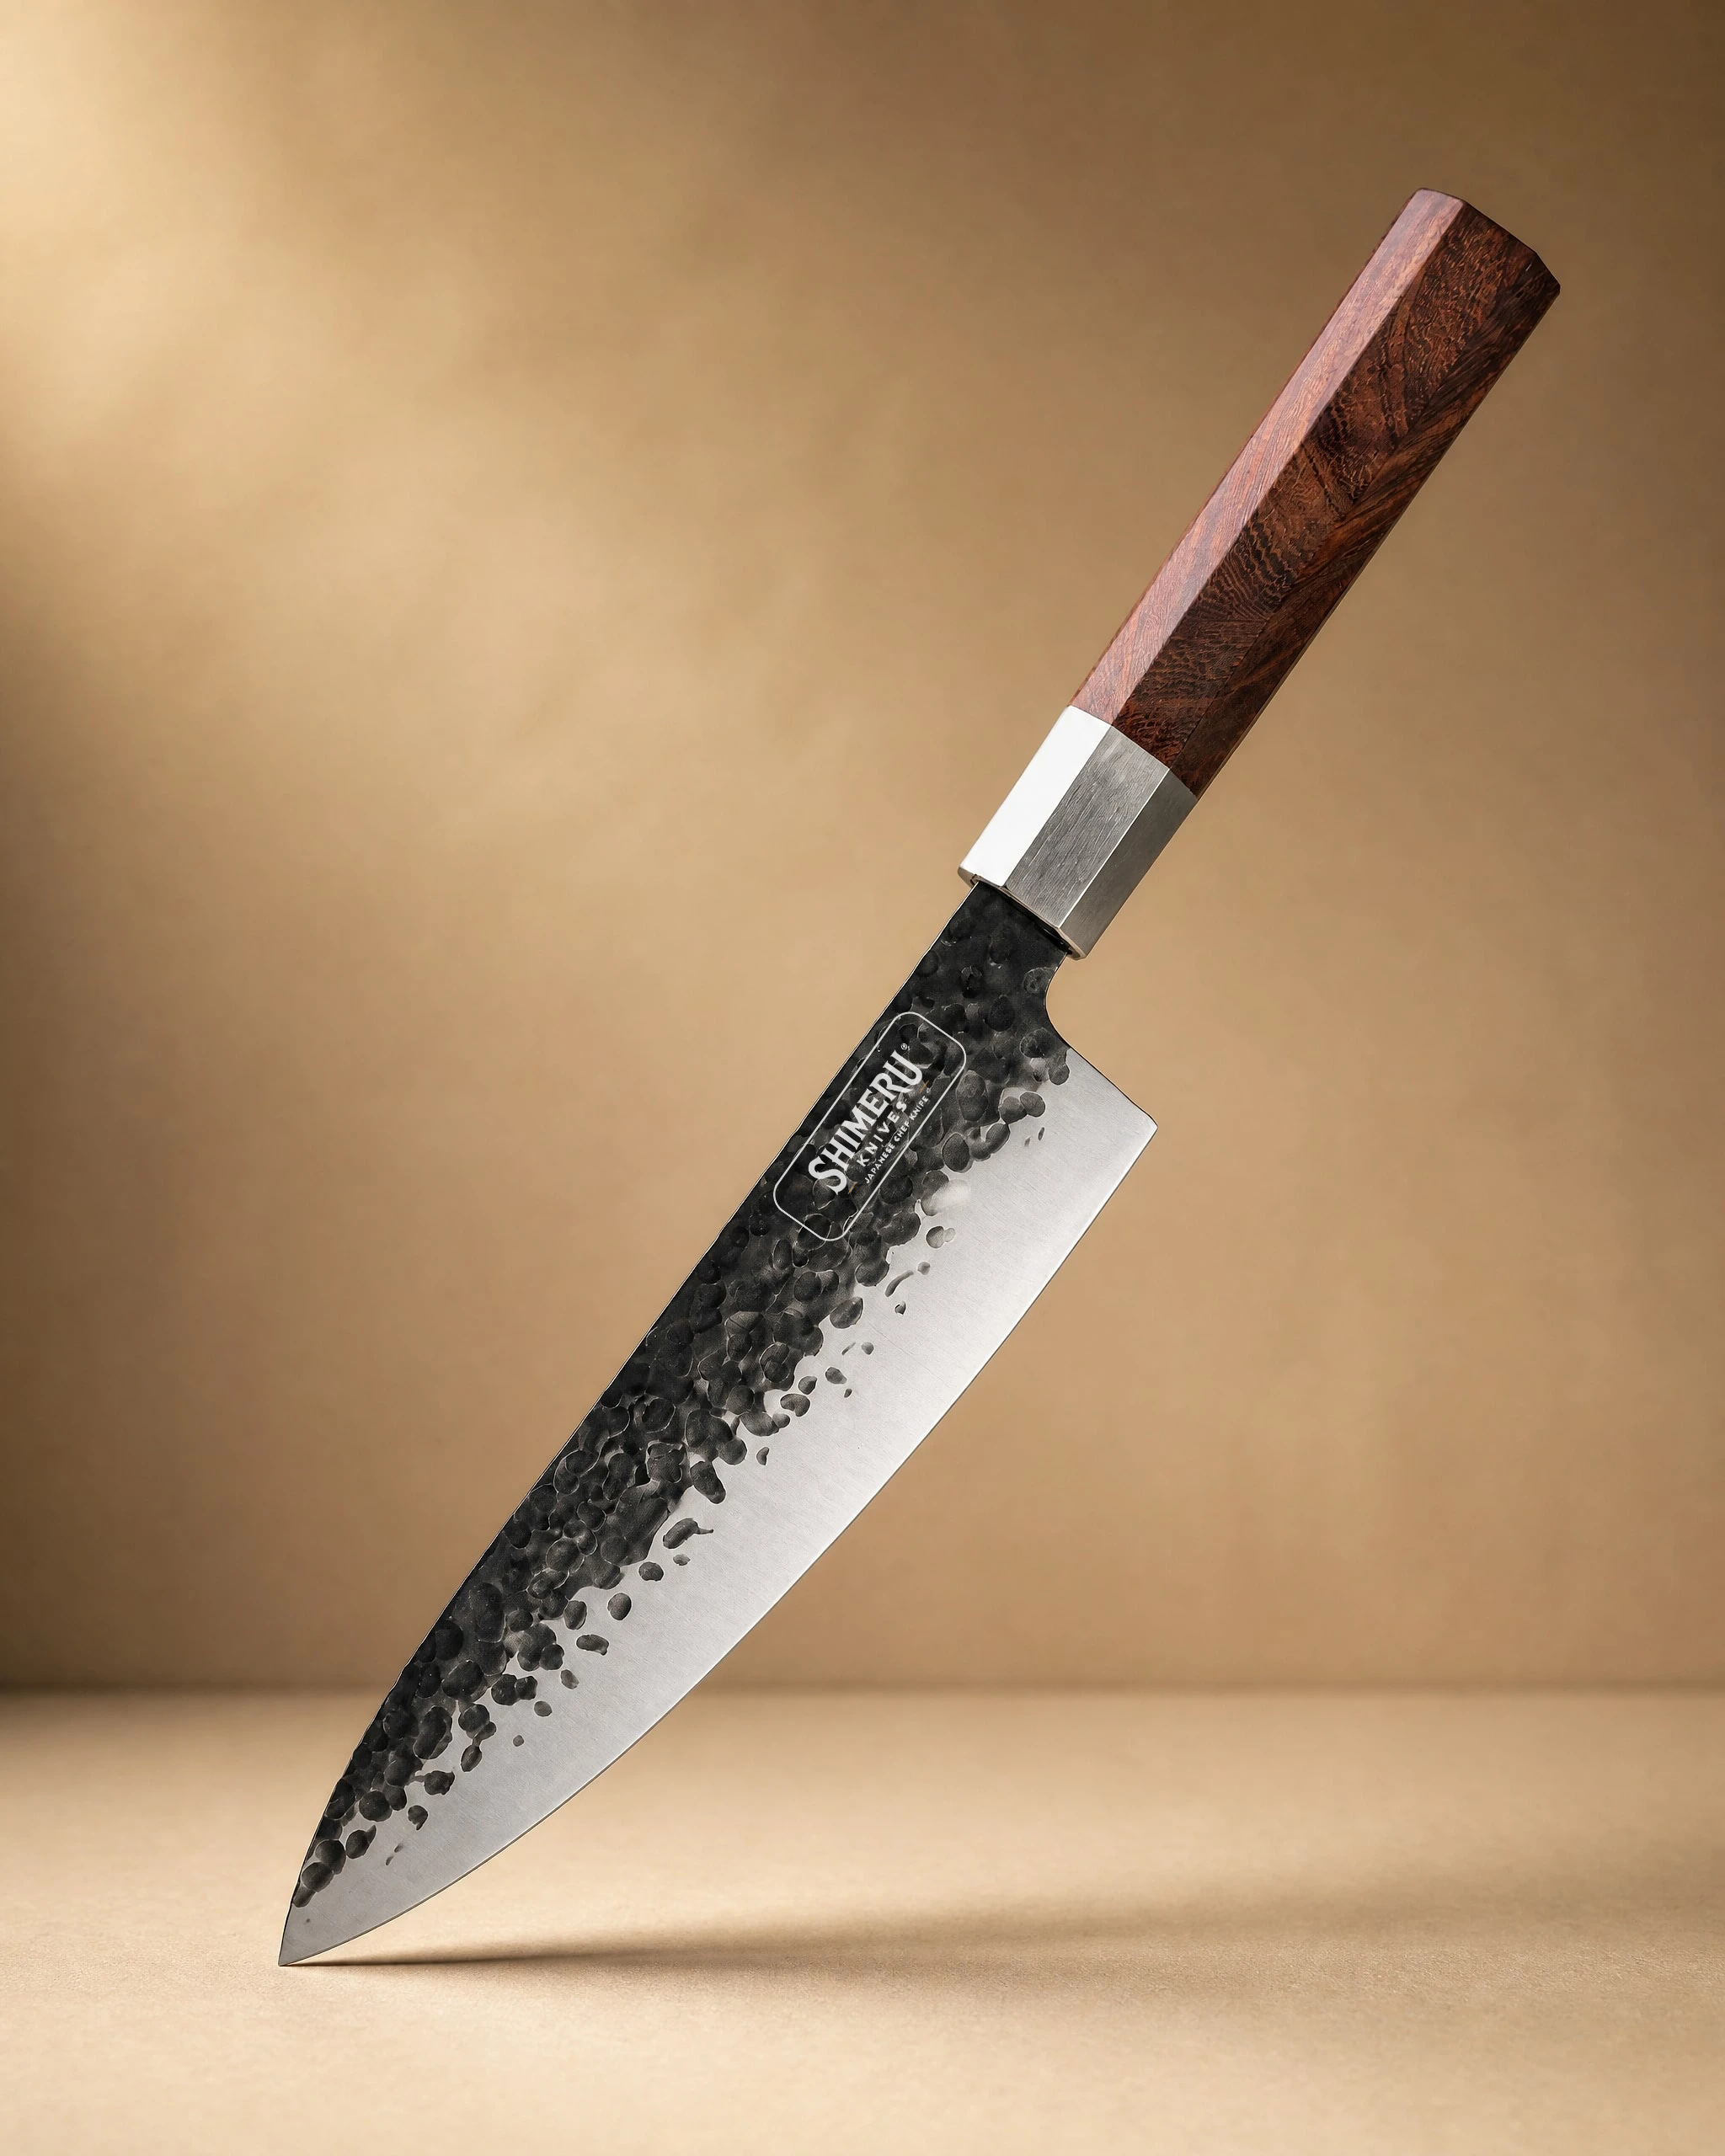 Sendai 8" Steel Gyuto Knife 牛刀£49.99View product → is an 8 inch stainless gyuto with a Mkuruti wood handle, a straightforward blade that suits regular maintenance sharpening.
You can see the full range on our knife shop page, and if you are still deciding what to buy first, the knife guide explains the shapes and what each one is for.
Mistakes That Ruin a Good Edge
- Pressing hard to speed things up, which flexes the edge and removes extra steel.
- Using a coarse slot every week, when a fine slot or a hone would do.
- Stopping halfway through a stroke, which rounds the tip or leaves a flat spot.
- Sharpening at a different angle every time, so the bevel grows wider and the knife cuts worse.
- Sharpening a knife that only needed honing.
A Simple Routine That Works
Hone weekly or whenever the knife starts to drag. Sharpen every few months, or when honing no longer brings the edge back. Use light pressure, count your passes, and finish on the finest abrasive you have. Test on a tomato rather than on your thumb. Wipe the blade dry after every wash, and store it so the edge is protected.
Do that and the sharpener in your drawer stops being a source of frustration and starts being the tool that keeps your knives worth owning.
Photography: Richard Iwaki via Unsplash.


