

Wet Stone Sharpening: How to Sharpen Knives with Water

Sharpening on a wet stone is the oldest and still the most reliable way to bring a dull kitchen knife back to a working edge. It is slower than a pull through gadget, and it asks more of you, but the edge it produces is clean, even and genuinely sharp. A wet stone also removes far less steel than most people expect, which matters if you want a knife to last twenty years rather than two.
This guide walks through sharpening knives with a wet stone from start to finish: choosing the stone, soaking it, holding an angle, raising a burr and finishing the edge. Nothing here requires expensive equipment or natural talent. It requires a stone, some water and twenty minutes of concentration.
Why Water, and Why a Stone
A wet stone, often called a water stone, is an abrasive block used with water instead of oil. The water does two jobs. It carries away the metal particles and stone dust that would otherwise clog the surface and stop the abrasive from cutting. It also keeps the stone cool, which protects the temper of a hard steel edge.
Oil stones work, but water stones cut faster, feel more communicative under the fingers and clean up more easily. The deeper advantage is feedback. A flat stone and a held angle give you a predictable surface, and you can feel where the edge meets the abrasive, hear when contact is right and adjust as you go. That is what makes knife sharpening on a wet stone a skill you can genuinely learn.
Choosing Your First Stone
You do not need a drawer full of grits. Two stones cover almost everything a home cook does: a medium stone around 1000 grit for the real work of forming an edge, and a finer stone around 3000 to 6000 grit if you want a polished edge on a delicate knife. A combination stone with a coarse side and a fine side is a sensible, affordable start.
Buy something at least 200mm long and around 70mm wide so you have room to move. A stone that is too small forces short, scrubby strokes and teaches bad habits. Leave the very coarse grits, 240 and below, for repairing chips and thinning blades. They remove a lot of steel and have no place in routine maintenance.
Soaking, Splash and Go, and a Stable Base
Water stones come in two broad types. Traditional soaking stones sit in a bowl of water for ten to fifteen minutes, until the bubbles stop rising. Splash and go stones need only a splash on the surface a minute before you begin. If you are unsure which you have, soak it. Over soaking a splash and go stone is not ideal, but using a dry soaking stone will glaze the surface and stop it cutting.
Set the stone on something that will not move: a stone holder, a damp cloth or a folded tea towel. Keep a bowl of water beside it and keep the surface damp throughout. The stone should look wet and slightly glossy as you work, never dry and pale. Wash your hands before you start, because metal slurry on your fingers ends up on the handle and eventually on your food.
Finding and Holding the Angle
Most Western kitchen knives are sharpened at roughly 15 to 20 degrees per side. Japanese style blades are often thinner behind the edge and usually sit near 15 degrees. If you are unsure, match the bevel the maker put there: lay the blade flat, then lift the spine until the angle feels like it clicks into place.
Consistency matters far more than the exact number. Pick an angle and hold it for every stroke. Two stacked pound coins under the spine is a rough guide for 15 degrees on a typical blade, but your hand becomes the better gauge once you have done it a few times. Learning to sharpen a knife on a wet stone is mostly the discipline of keeping that angle steady.
The Motion
Hold the knife in your dominant hand, fingers wrapped around the handle, and rest your other hand lightly on the flat of the blade to steady it and feel the angle. Start at the heel, the part of the edge nearest the handle, and sweep towards the tip, lifting the handle slightly as you go so the tip stays in contact.
Use the length of the stone. On a long blade, work in sections: heel to middle, middle to tip. Do not scrub away at one spot. Ten to fifteen passes on one side, then turn the knife and match the count on the other. Count out loud if you have to, because your hands will lie to you about how many you have done.

The Burr, and Why It Matters
As you sharpen one side, the abrasive pushes a tiny continuous curl of steel over the far edge. That is the burr. Run a flat fingertip across the edge from the spine side and it feels like fine roughness. It is the proof that you have reached the apex along the whole length of the blade.
You need the burr running the full edge on one side before you turn the knife over. Turn too early and you will spend the rest of the session chasing an edge you never quite reach. Once you have raised it on both sides, you have a complete edge, and everything after that is refinement. Feel for it with the fingertips flat, moving across the edge rather than along it.
Working Through the Grits and Removing the Burr
Raise the burr on the medium stone, then move to the finer stone and repeat with lighter pressure. The burr will be smaller and harder to feel this time, which is normal. Keep the stone wet and reduce pressure as you finish, until the weight of the blade is doing the work. Light, controlled strokes on a fine stone give a cleaner edge than heavy ones on a coarse one.
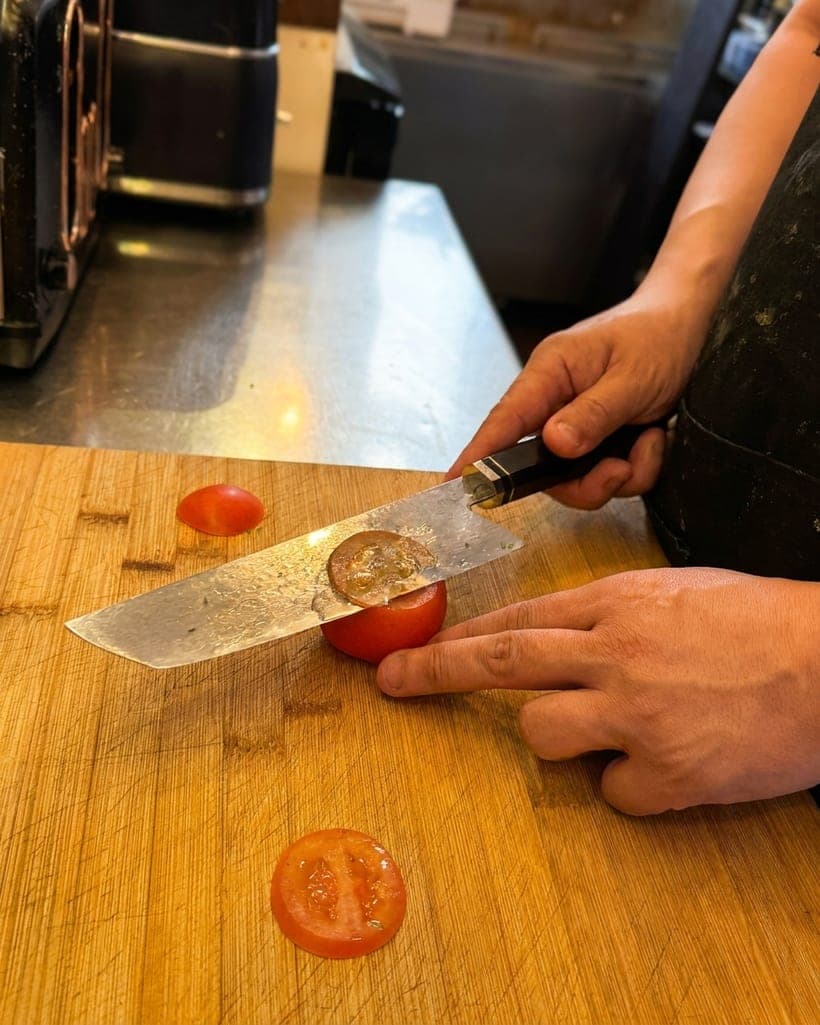
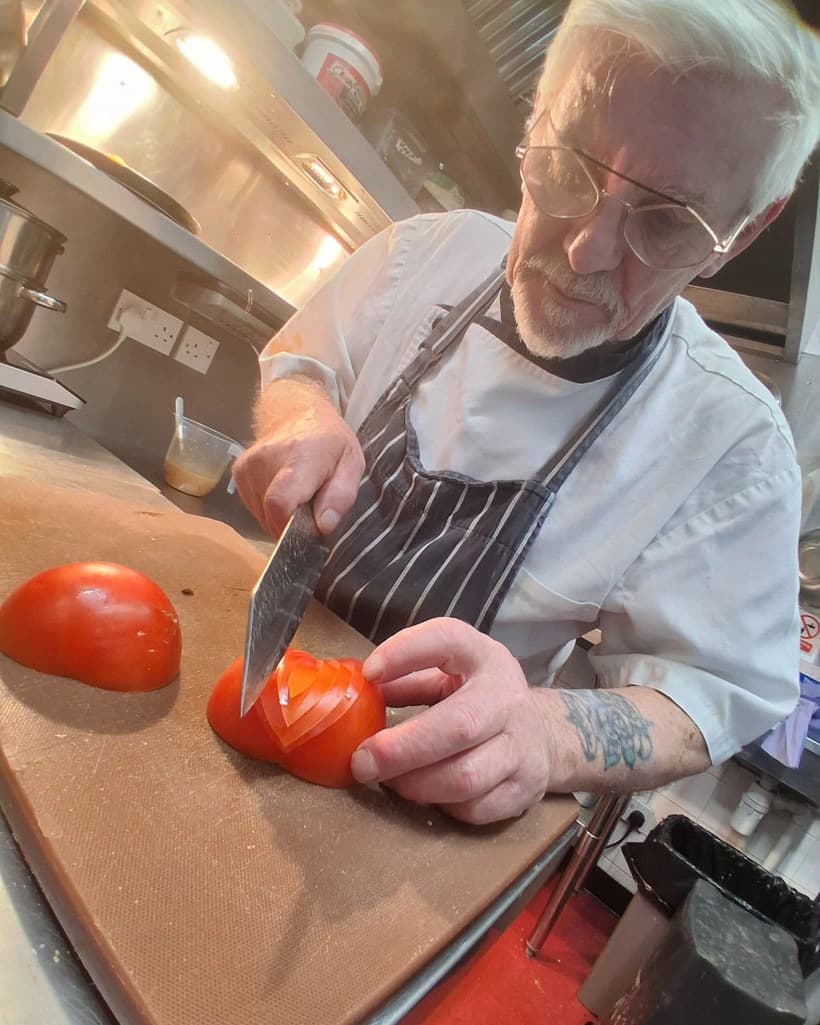
To finish, make a few very light strokes with the edge trailing, which straightens and weakens the burr so it comes away cleanly. Then strop on bare leather or folded newspaper, dragging the blade away from the edge, twenty strokes per side. Test the result on a ripe tomato or a sheet of paper. Do not test it with your thumb.
Which Knives Suit a Wet Stone
Almost every kitchen knife benefits. Harder Japanese steels take a keener edge and hold it, and they respond beautifully to a fine stone. Softer stainless needs more frequent attention but comes back quickly.
A general purpose gyuto is the natural place to start. The 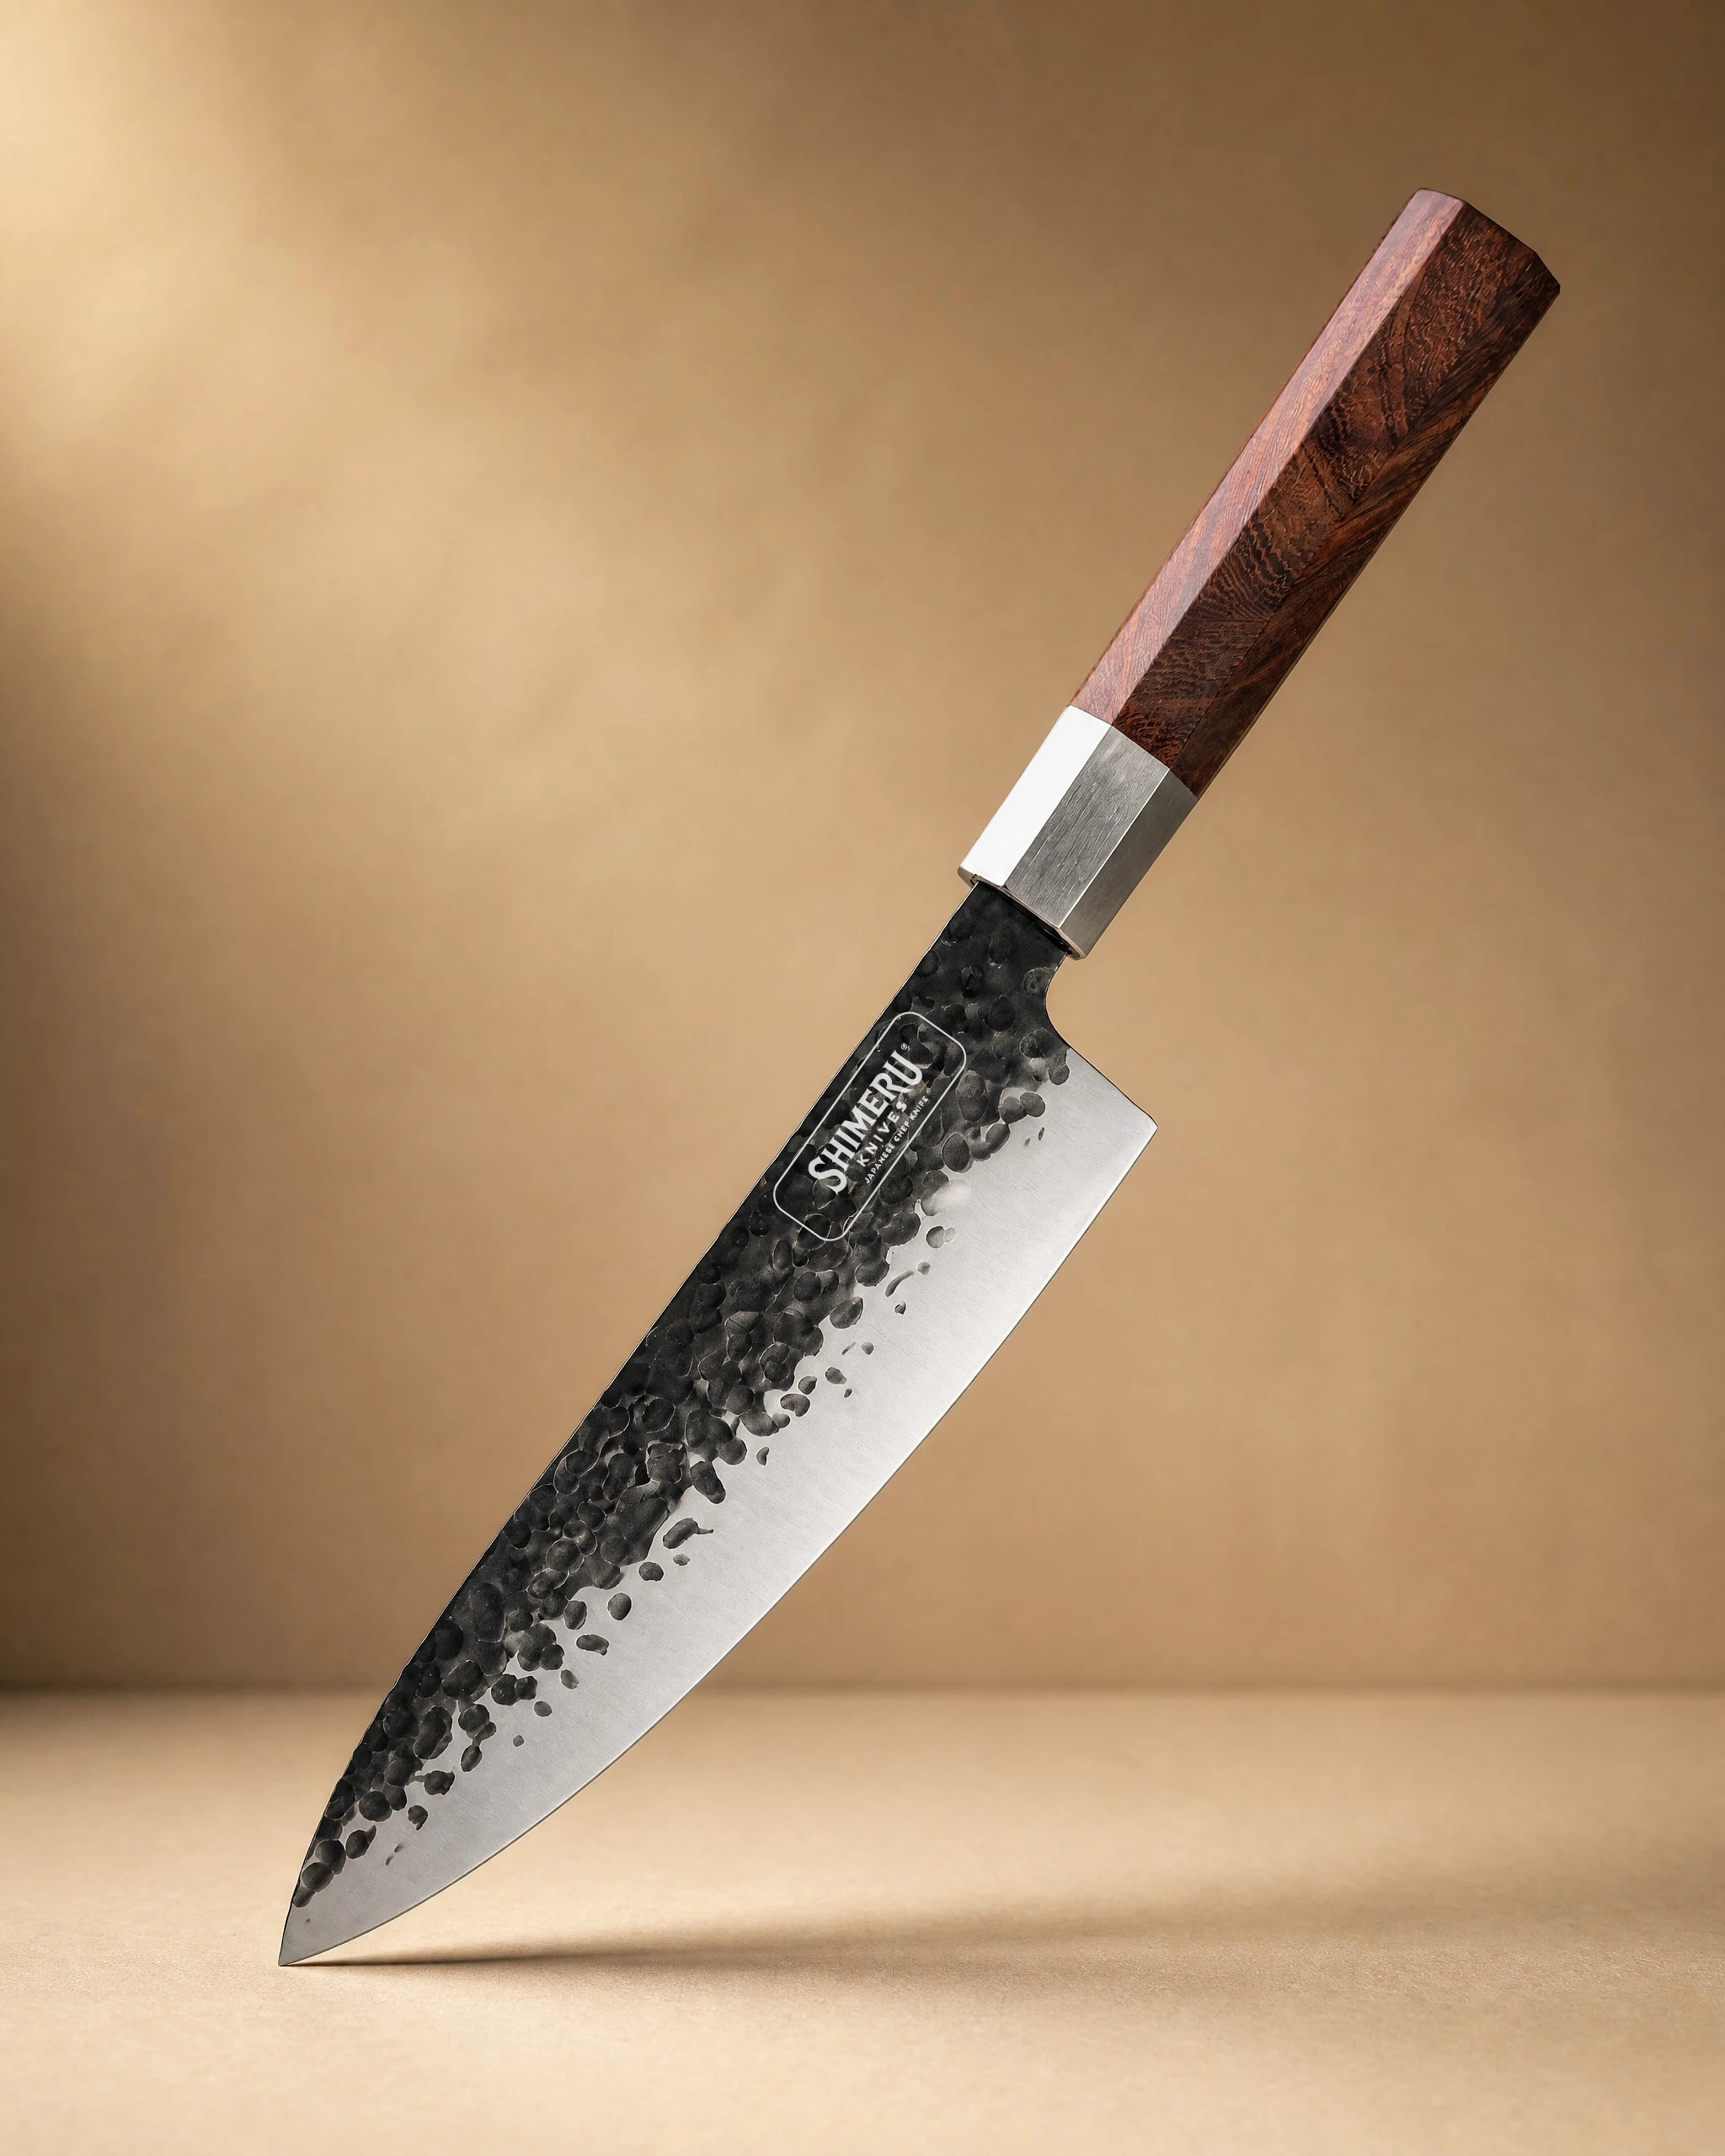 Sendai 8" Steel Gyuto Knife 牛刀£49.99View product → has a stainless blade and a Mkuruti wood handle, and its profile makes it easy to follow the curve of the edge from heel to tip. If you prefer more weight in the hand, the
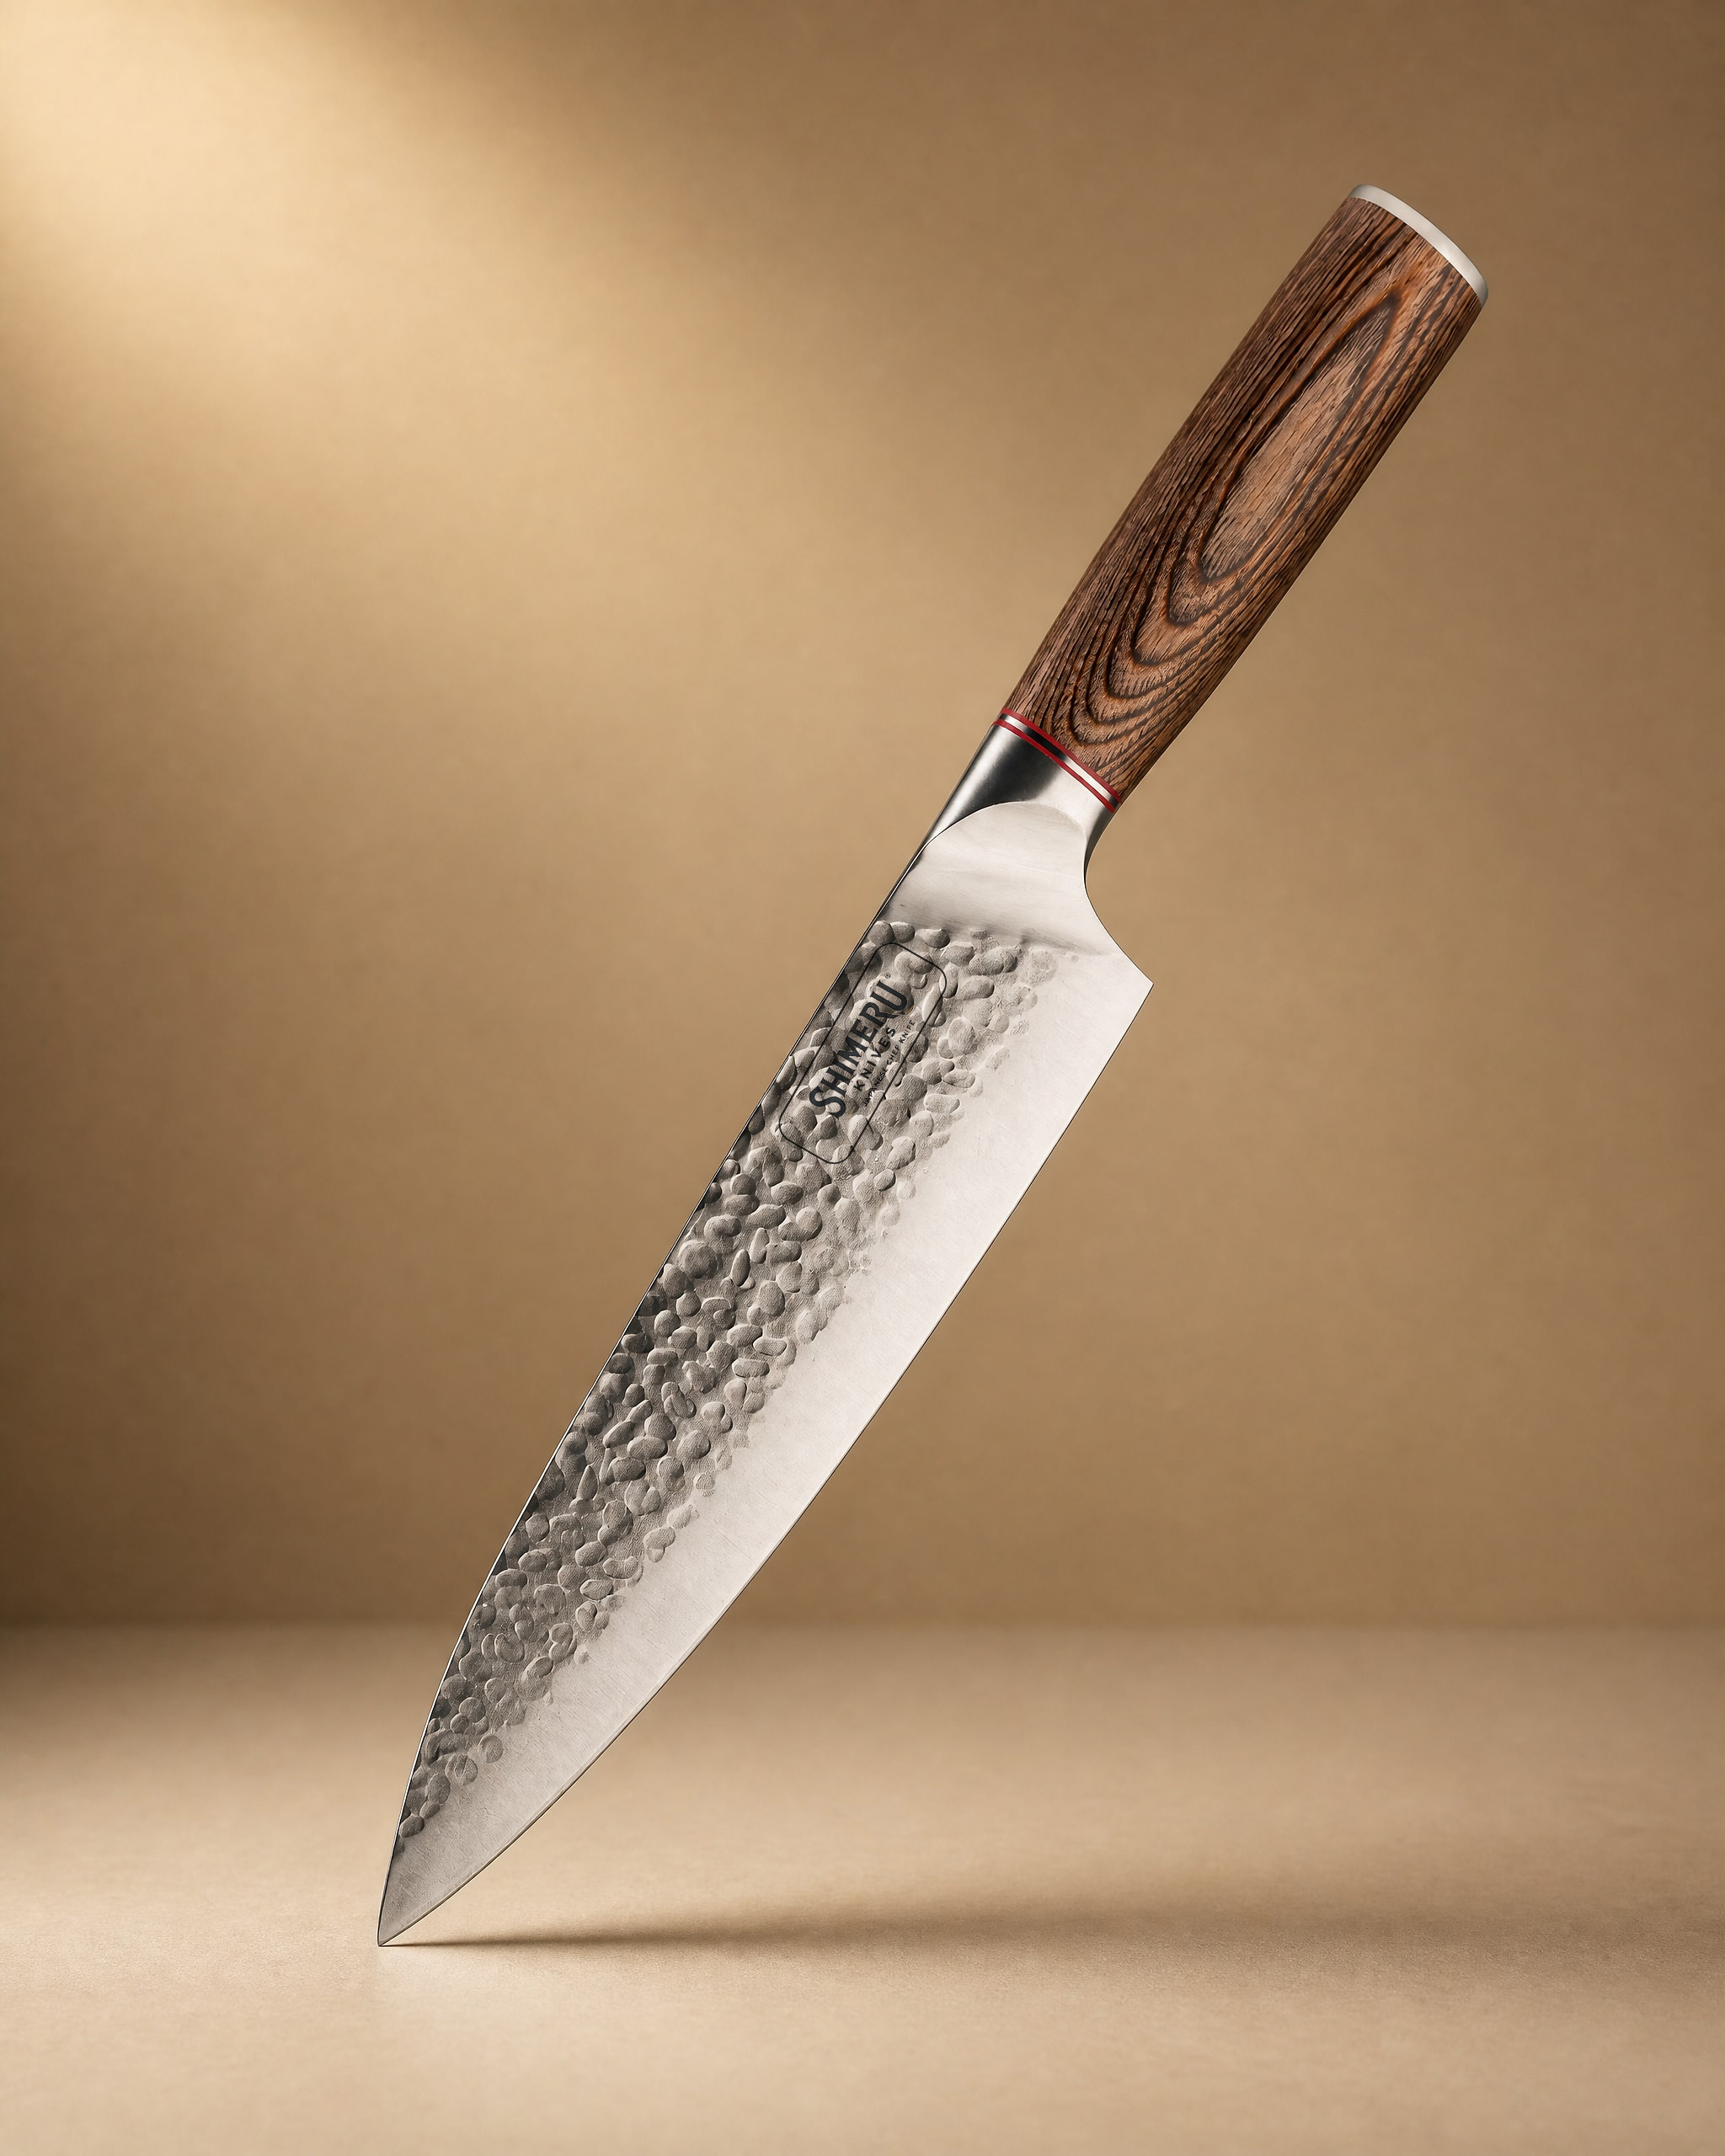 Akan 8'' Gyuto Knife 牛刀£49.99View product → pairs a stainless blade with a pakkawood handle, and its flatter belly sits comfortably on a stone.
Cleavers ask for a different rhythm. The 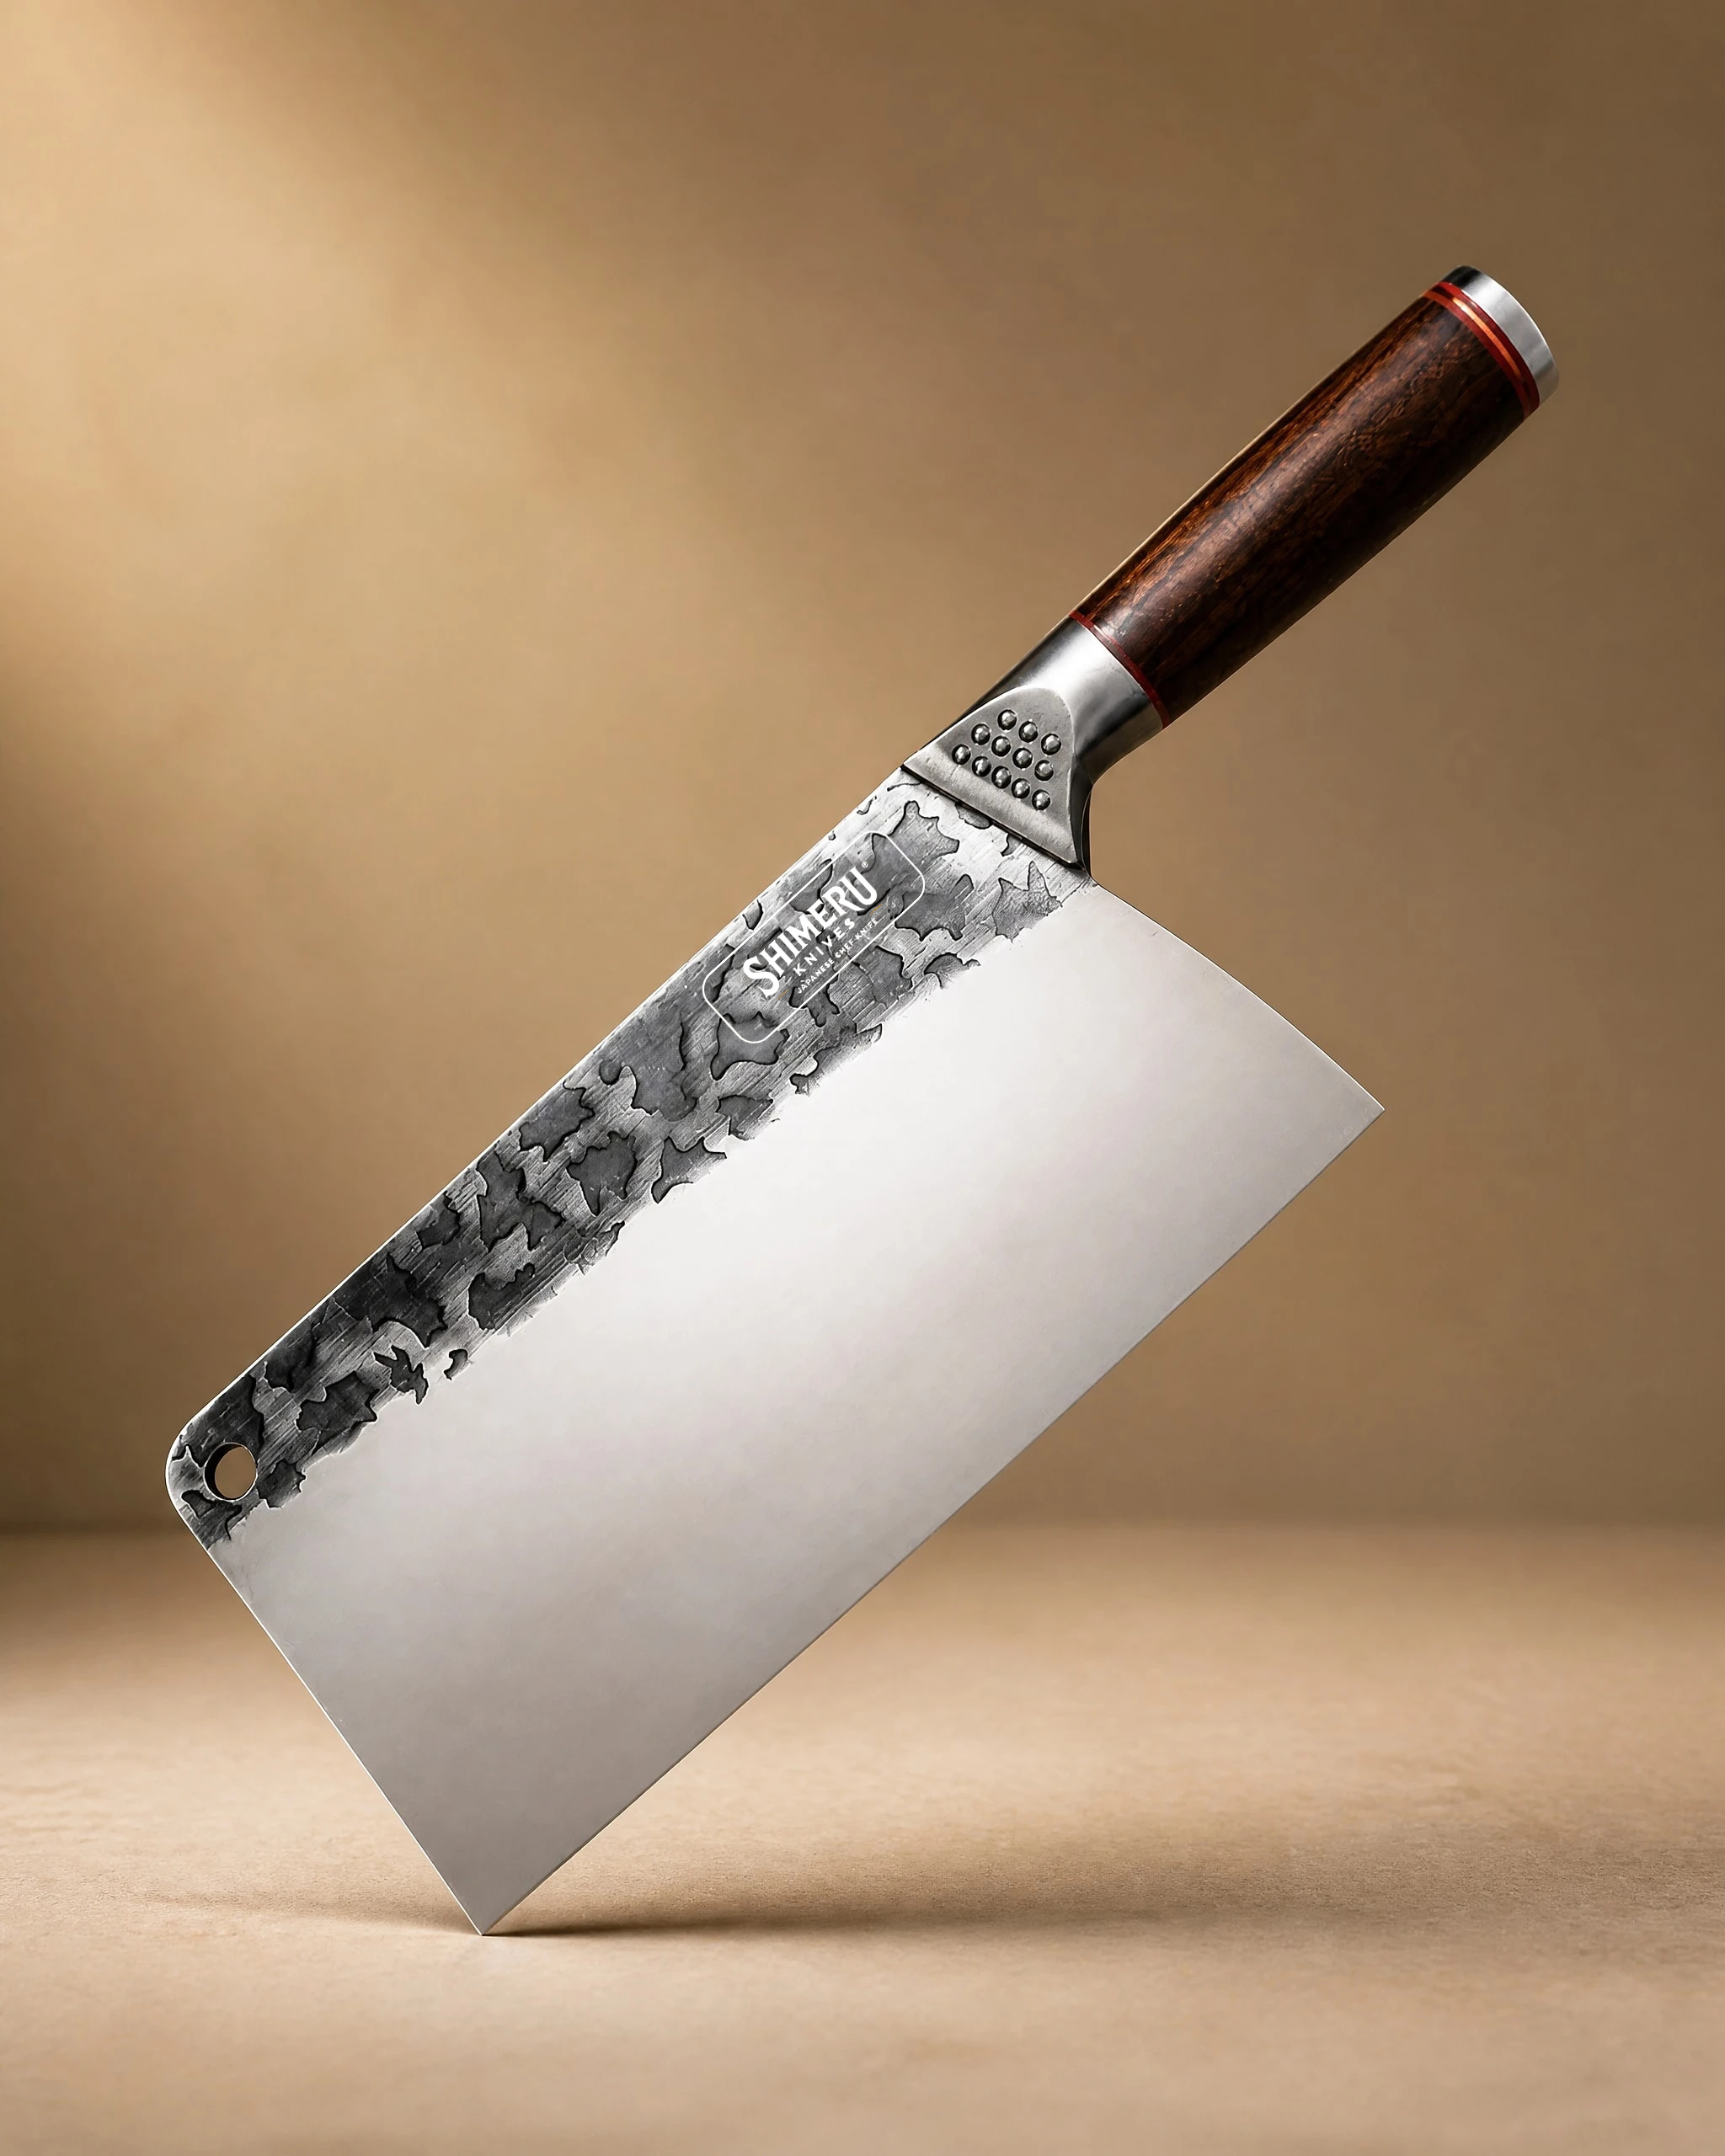 Saba 7" Stainless Steel Cleaver 中華包丁£44.99View product → has a deep blade and a hardwood handle, so you can rest the wide face flat and control the angle with less effort, which makes it a forgiving knife to learn on. If you keep a full set, the
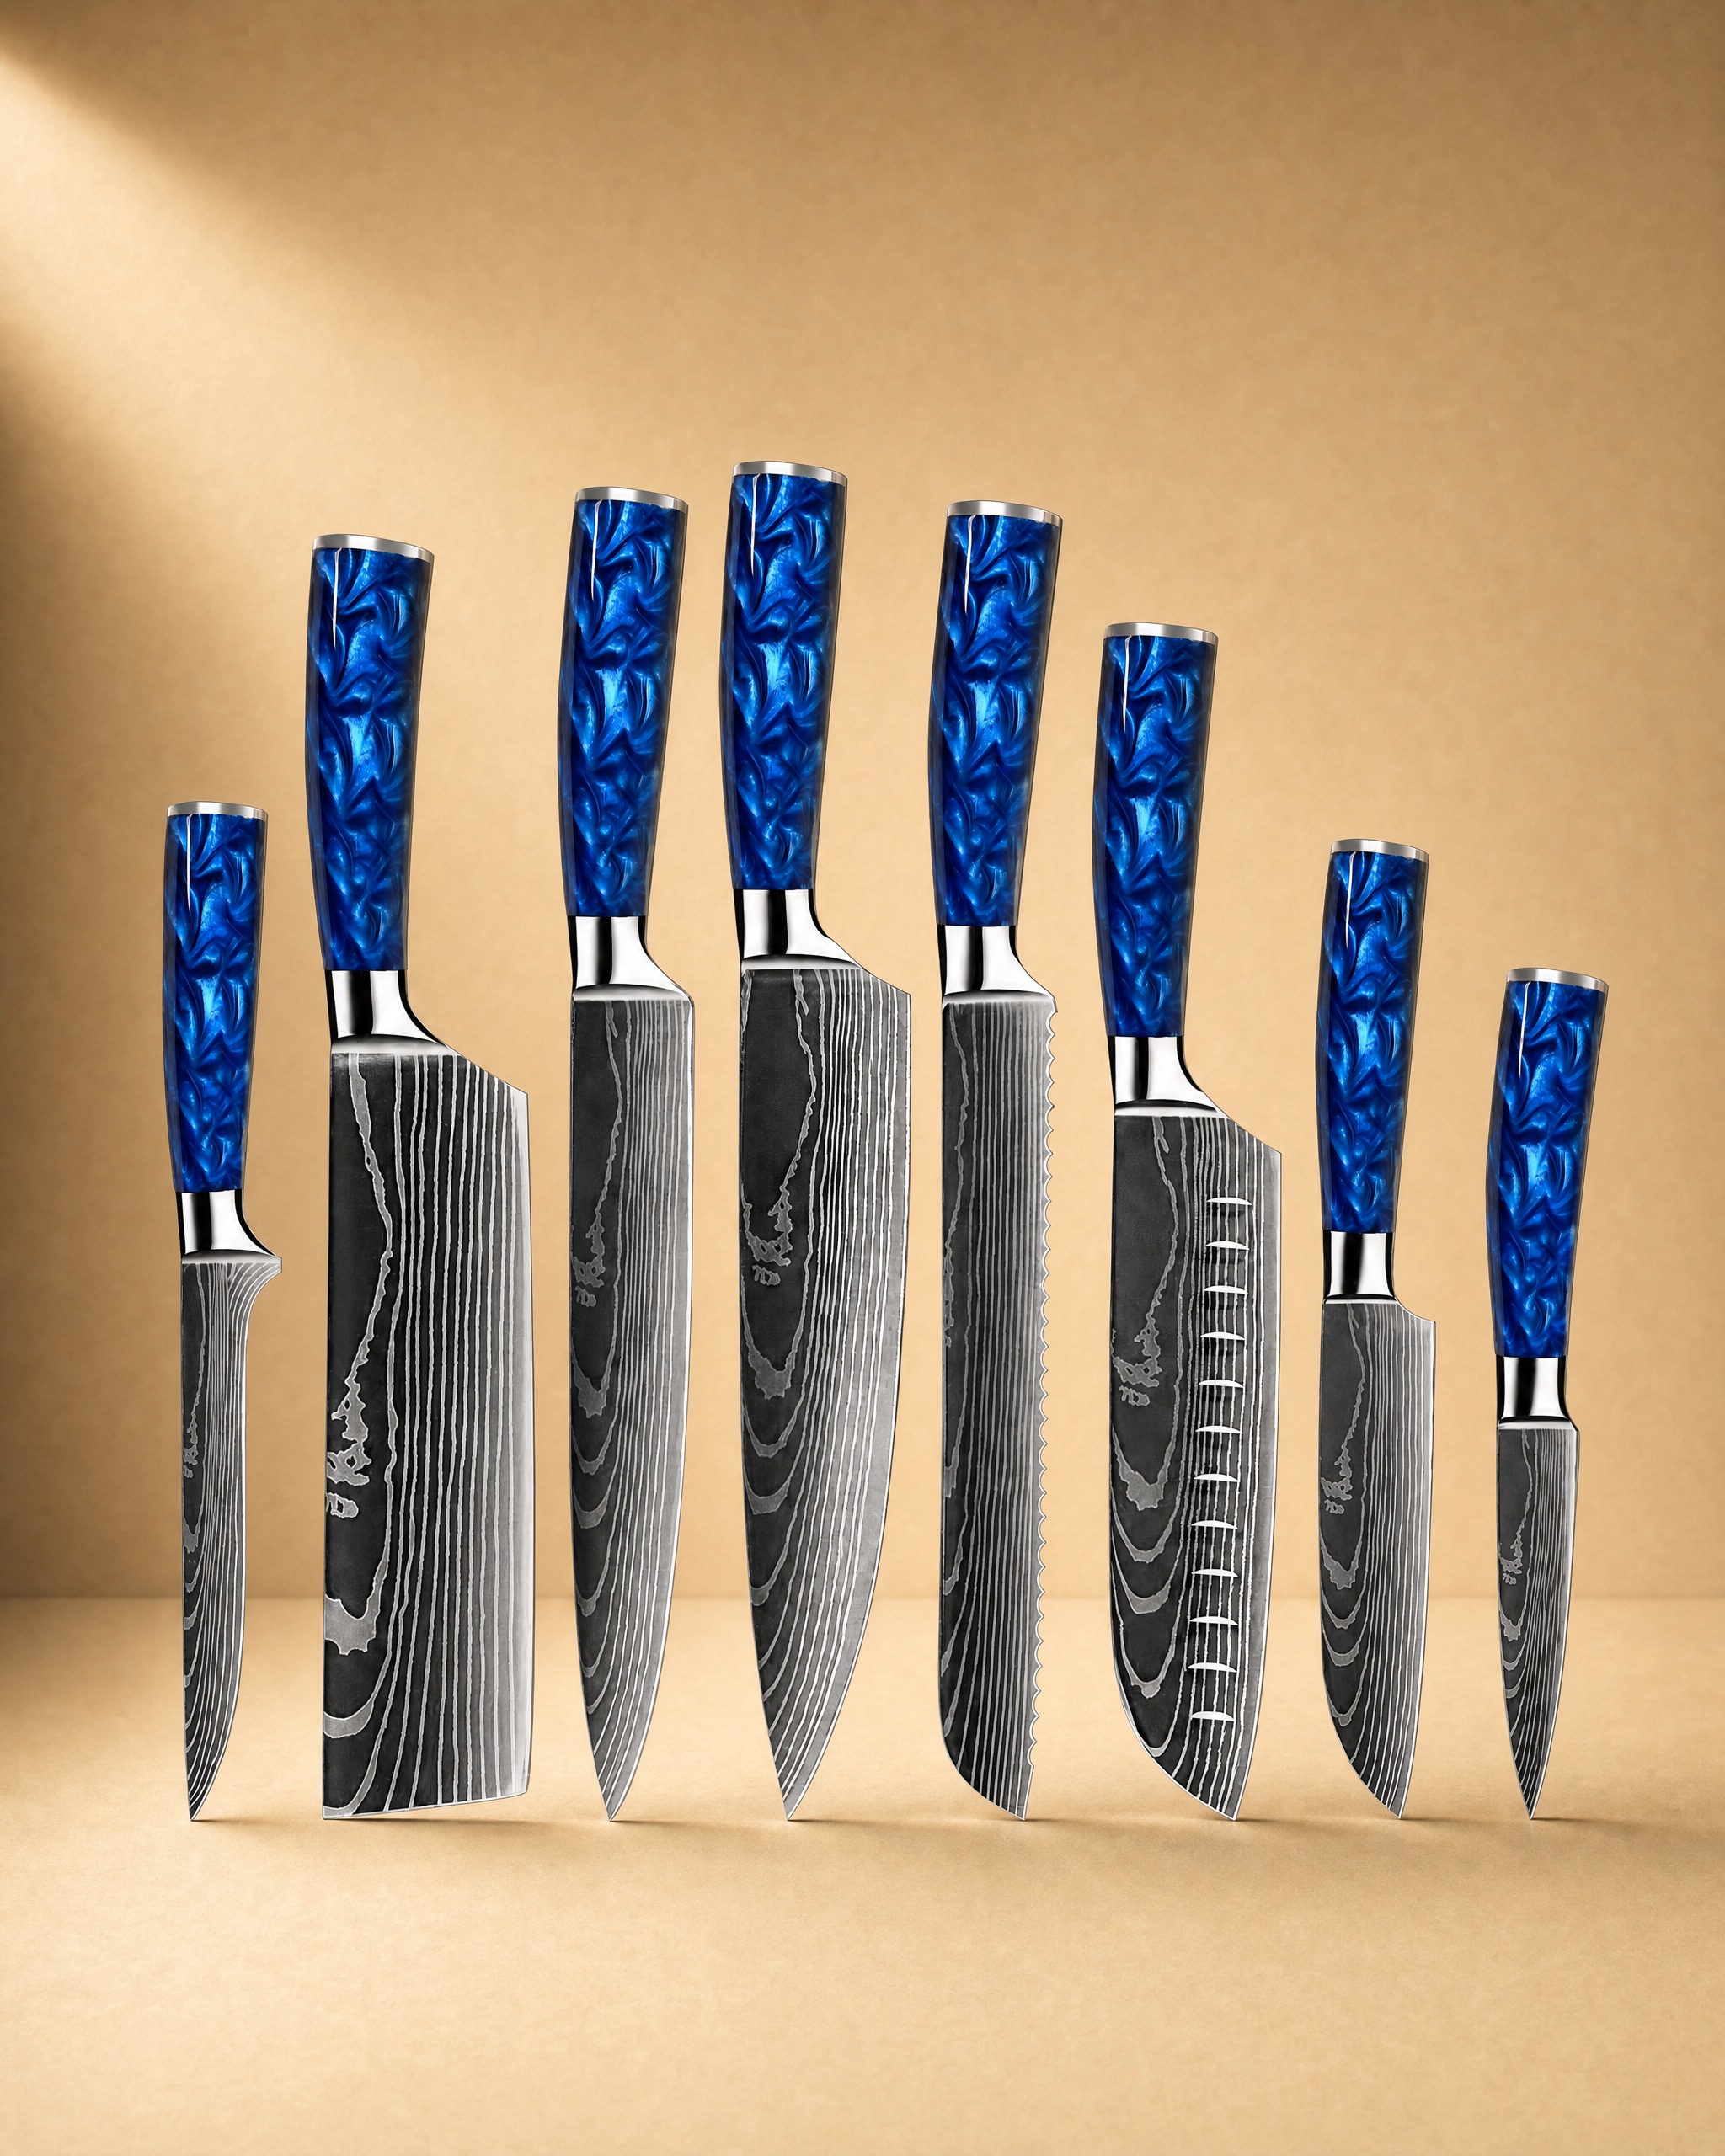 Shinano 信濃川 Damascus Pattern Stainless Steel Kitchen 8 Knife Set£149.99View product → gives you several blades to practise with, and a set is a good argument for learning to sharpen properly rather than reaching for a gadget.
Before you begin, read our knife care guide for the basics of cleaning, drying and storage. If you are still choosing a blade, the knife guide explains which profiles suit which jobs, and the full range is on our product page.
Mistakes, and Looking After the Stone
The common errors are consistent. Working on a dry stone. Turning the knife before the burr is raised. Rocking the wrist so the angle changes mid stroke. Pressing hard in the belief that more force means more sharpening, when it usually means a deeper scratch pattern and a shorter working life for the blade.
Stones wear unevenly, so flatten yours every few sessions. A diamond plate or a sheet of wet and dry paper on a flat tile will do it: rub the stone until the surface is true again. Rinse the stone after use, let it dry slowly away from direct heat, and store it dry unless the maker says otherwise.
A Last Word
Sharpen little and often. Four or five light passes on a fine stone once a week will keep a good knife working better than one heavy session twice a year. Practise on the knife you use most, accept that your first few attempts will be uneven, and expect the improvement to arrive quickly. A wet stone to sharpen knives is a modest purchase, and it is one of the few pieces of kitchen kit that genuinely rewards the time you give it.
Photography: Zhao Wenjie via Unsplash.


