
How to Sharpen Kitchen Knives: A Simple Home Guide

A sharp knife is not a luxury. It is the difference between clean slices and bruised herbs, between a safe cut and a slip. If your tomato squashes or your onion skins slide, the edge needs attention. This guide explains how to sharpen a kitchen knife at home, without expensive equipment or drama.
You do not need to sharpen every day. You do need to understand the difference between honing and sharpening, choose a method that suits your knives, and practise a steady angle. The rest is patience.
Why a sharp knife is safer
A dull edge needs pressure. Pressure makes the blade skid. A sharp edge bites and goes where you aim it. That is why professional kitchens keep their knives sharp and why a steel rod sits on many benches. Sharpening restores the V shape at the edge. Honing realigns it between sharpenings. Both have a place, but they are not the same job.
If you only hone a knife that has lost its edge, you will polish the shoulder of the bevel and never reach the cutting edge. If you only sharpen and never hone, you will remove more steel than necessary. Learn both, and your knives will last longer.
Honing versus sharpening
Honing is maintenance. A smooth steel or ceramic rod realigns an edge that has folded slightly in use. Use light strokes at the same angle as the edge, alternating sides. Five or six passes per side is enough for most home cooks. Do not press hard. The rod is not a file.
Sharpening removes metal. It rebuilds the apex when the edge is rounded, chipped or simply tired. For a home kitchen, a whetstone is the most honest tool. It is slower than a pull through sharpener, but it gives you control. It also leaves a cleaner edge, especially on Japanese knives with thin blades.
What you need
A simple setup is enough. You do not need a rack of stones in different grits to start. One combination stone, water and a stable surface will take you a long way.
- A combination whetstone, usually 1000 grit on one side and 3000 to 6000 grit on the other.
- A bowl of water, unless your stone is splash and go.
- A damp cloth or non slip mat to hold the stone steady.
- A honing rod for between sharpening sessions.
- An angle guide if you are new, or a marked card to help you hold a consistent angle.
Keep the stone flat. Over time, the middle wears down. A flattening plate or a piece of wet and dry paper on a flat surface will restore it. A dished stone cannot give you a straight bevel.
Find your angle
The angle is the angle between the blade and the stone. Most Japanese kitchen knives are sharpened at a narrower angle than European knives, often around 15 degrees per side. Many European knives sit closer to 20 degrees per side. Check the maker's guidance for your knife. If you are unsure, start with 15 degrees for a Japanese style blade and 20 degrees for a heavier European blade.
You do not need to be exact to the degree. You need to be consistent. Pick an angle, lock your wrists, and move the blade across the stone with the same angle on every stroke. An angle guide helps for the first few sessions. After that, your hands learn the position.
Step by step on a whetstone
Soak the stone if it needs soaking. Place it on a damp cloth so it does not slide. Put the coarse side up, usually 1000 grit for a dull edge.
Place the blade on the stone with the edge facing away from you. Raise the spine until you reach your angle. Use your other hand to apply light pressure near the edge. Push the blade forward and across the stone, as if you were slicing a thin layer from the surface. Keep the angle steady. Work from heel to tip in overlapping strokes.
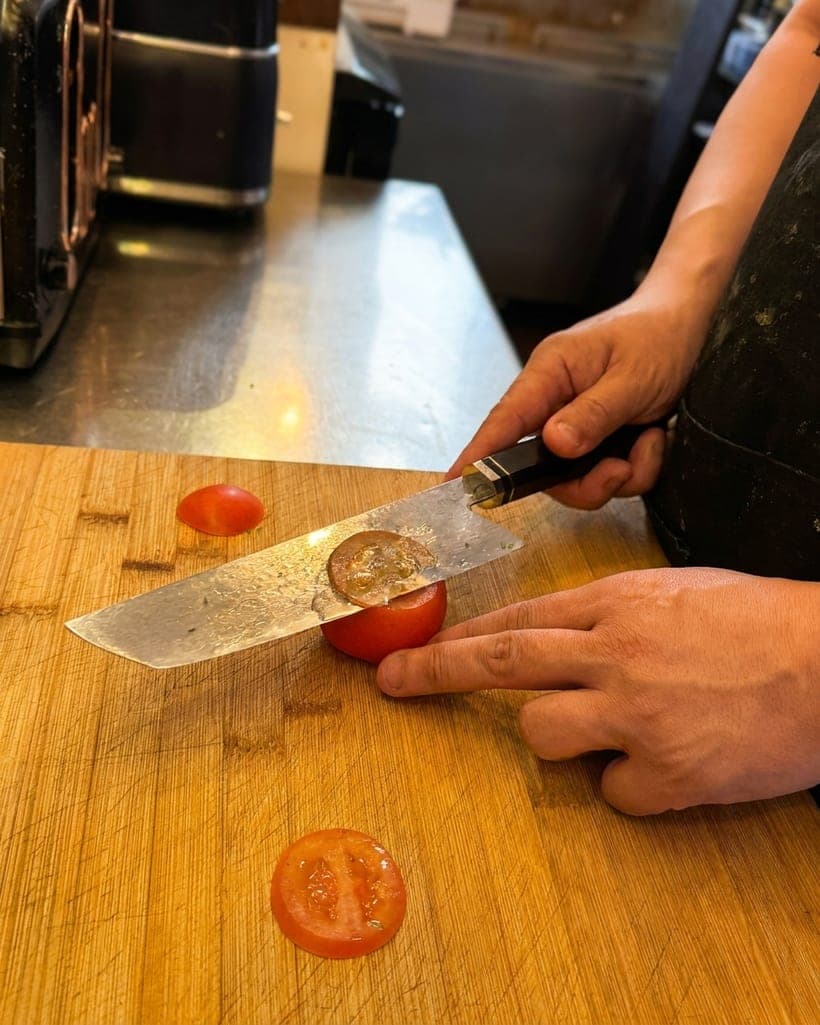
Do the same number of strokes on the other side. Ten to fifteen passes per side is a reasonable start. Then check the edge. If the knife still slides on a tomato, keep going. If you feel a burr along the full length of the edge, you have reached the apex. A burr is a tiny curl of metal you can feel with a light fingertip, moving from one side of the edge to the other. Do not cut yourself checking it. Use the pad of your finger, not the tip, and go slowly.
Once you have a burr along the whole edge, move to the finer side of the stone. Use lighter pressure and fewer strokes. This refines the edge and removes the burr. Five to ten light passes per side is enough. Wipe the blade clean, dry it, and test it on paper or a tomato.

Using a honing rod correctly
Use a honing rod before or after use, not as a replacement for sharpening. Hold the rod vertically with the tip on a folded cloth. Place the heel of the blade against the rod at your sharpening angle. Draw the knife down and across in a smooth arc, finishing near the tip. Alternate sides. Keep the pressure light. A rod should feel like a light correction, not a grinding session.
Do not use a grooved steel on a fine Japanese knife. It can be too aggressive. A smooth steel or a fine ceramic rod is a better match for thin, hard edges.
Pull through sharpeners and electric machines
Pull through sharpeners are quick, but many remove a lot of metal and leave a rough edge. Some use carbide cutters that scrape rather than sharpen. They can be useful for a cheap utility knife, but they are not the best choice for a Japanese kitchen knife with a thin blade. Electric sharpeners vary widely. Some are gentle, many are not. If you use one, read the instructions, use light pressure, and do not expect it to replace a stone for a fine edge.
If you are short on time, a ceramic rod and an occasional stone session will do more for your knife than a weekly pass through a harsh machine.
Sharpening different kitchen knives
A gyuto is the all purpose knife in most Japanese kitchens. It takes a fine edge and rewards a steady 15 degree angle. The Sendai gyuto 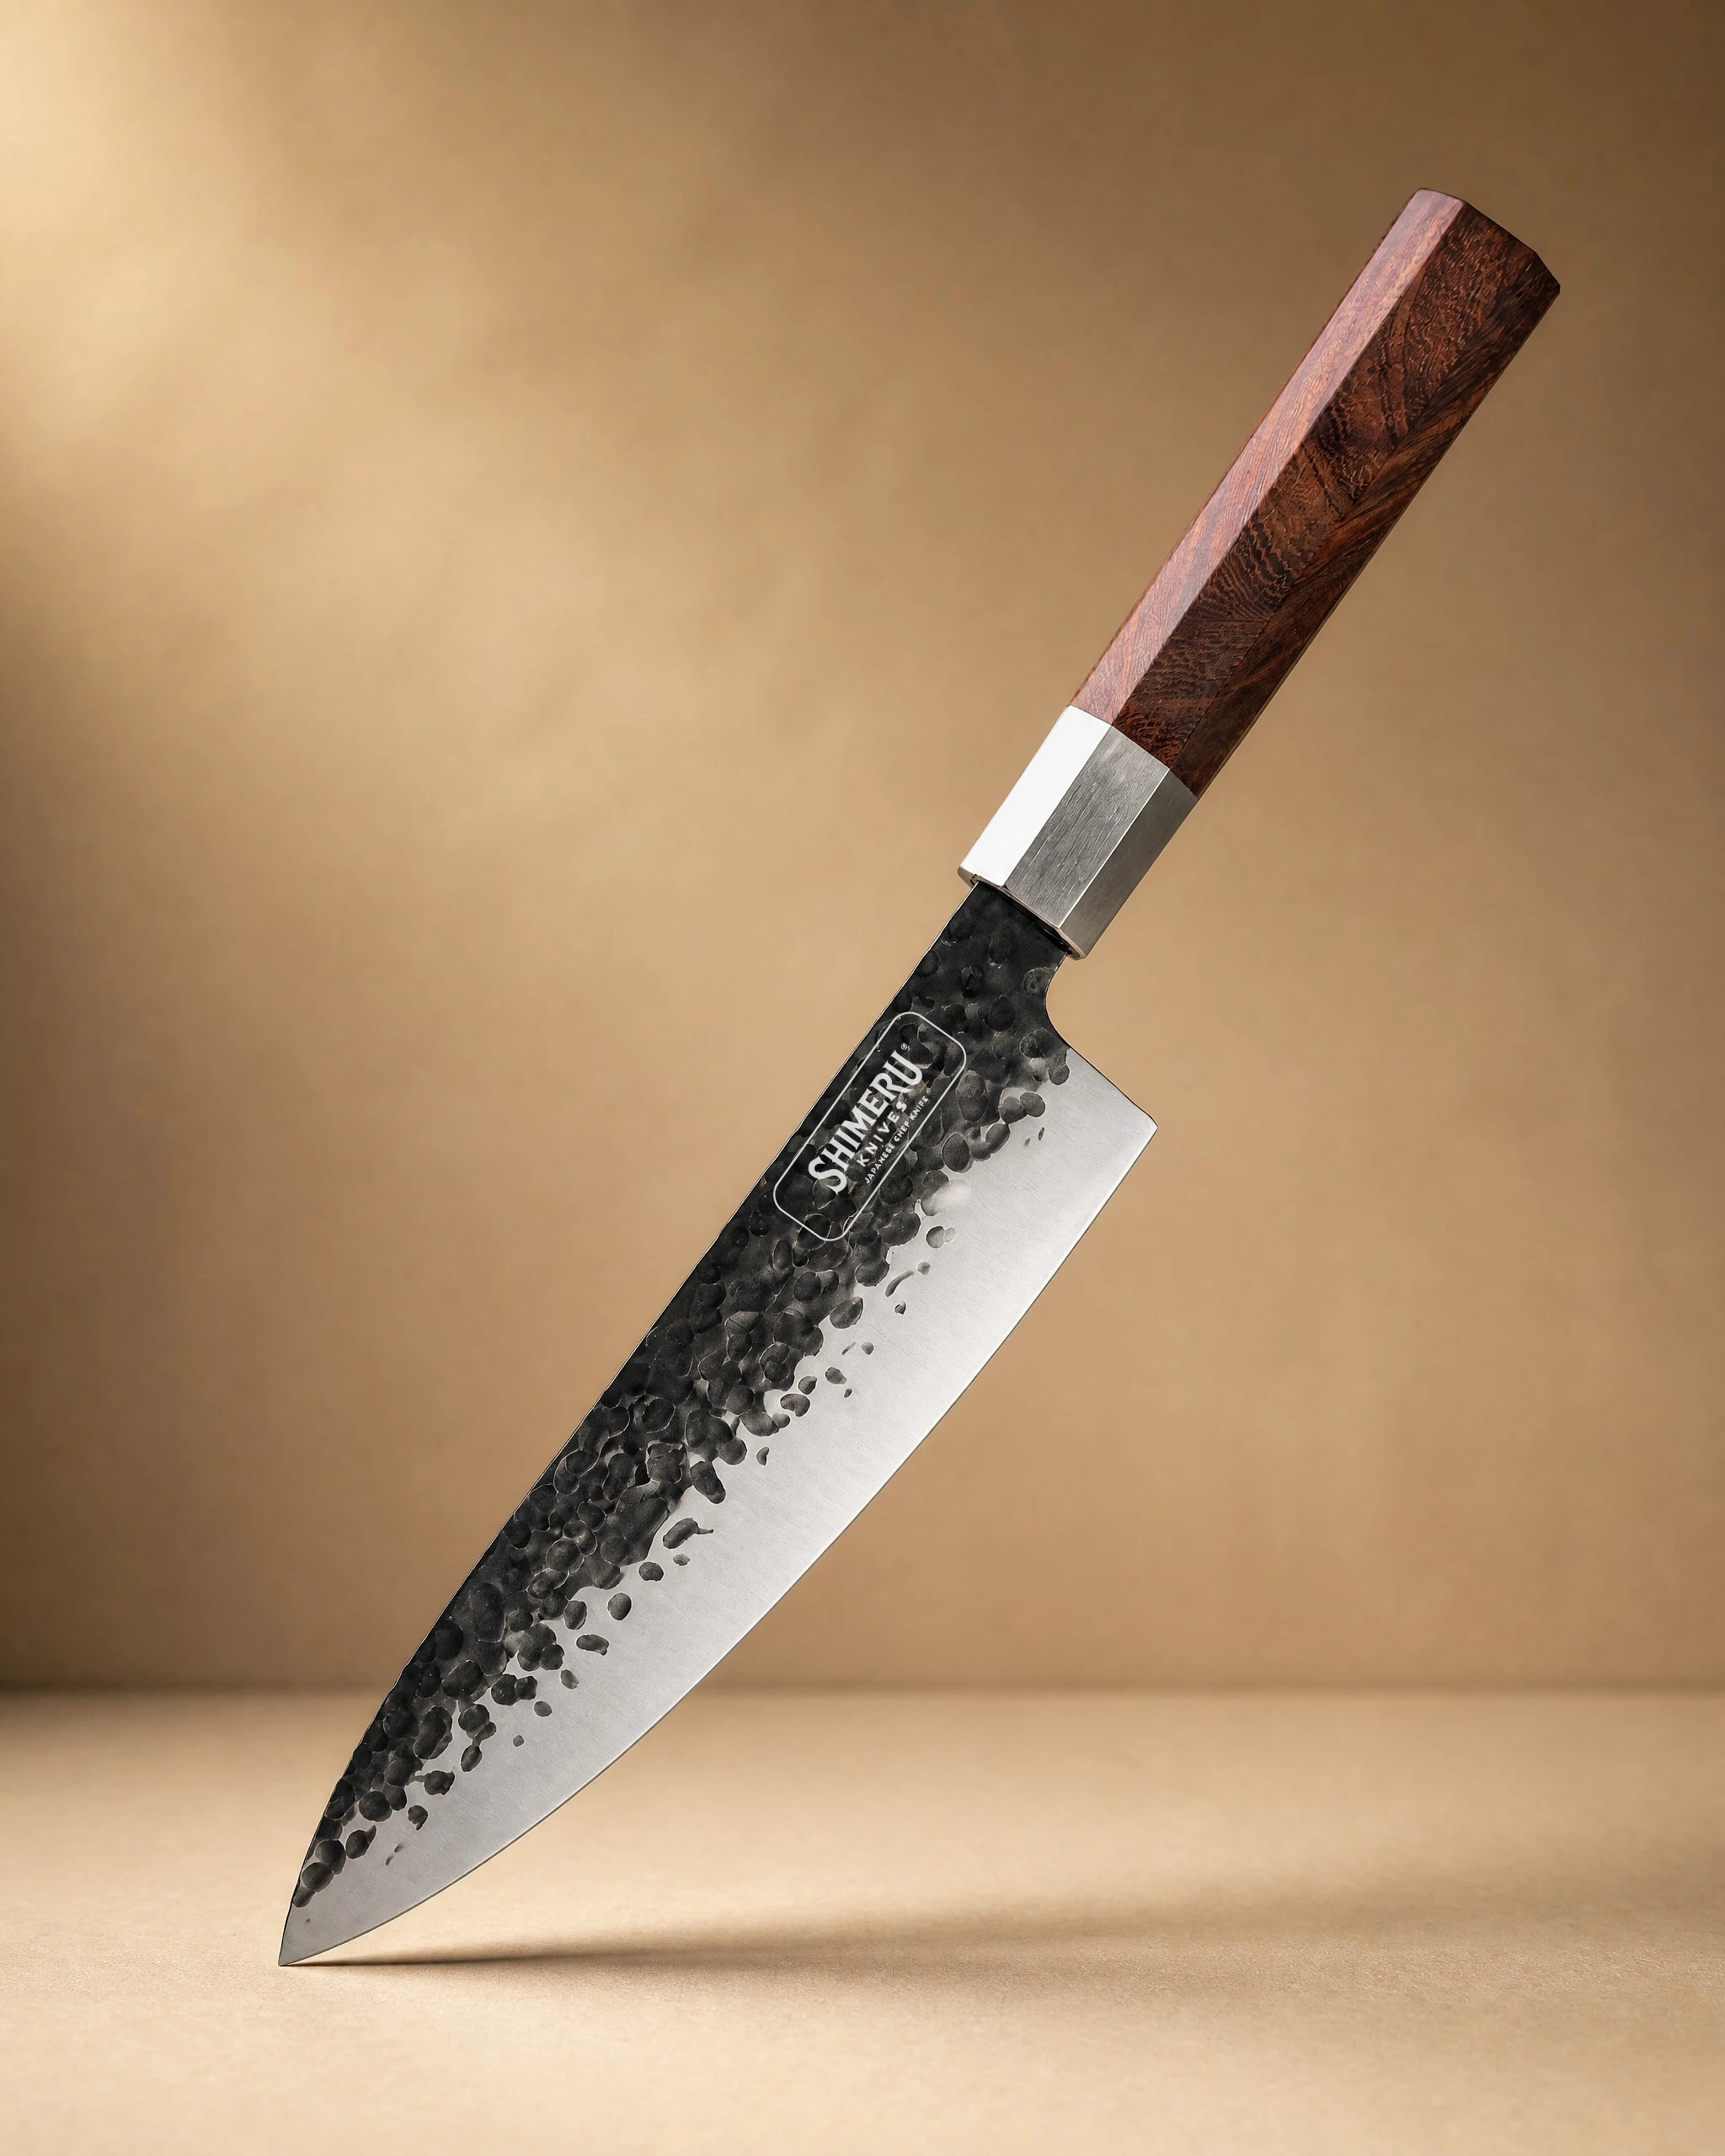 Sendai 8" Steel Gyuto Knife 牛刀£49.99View product → is a sensible place to start for general vegetable, herb, meat and fish prep. Keep it honed and sharpen it when the edge stops biting.
The Akan gyuto 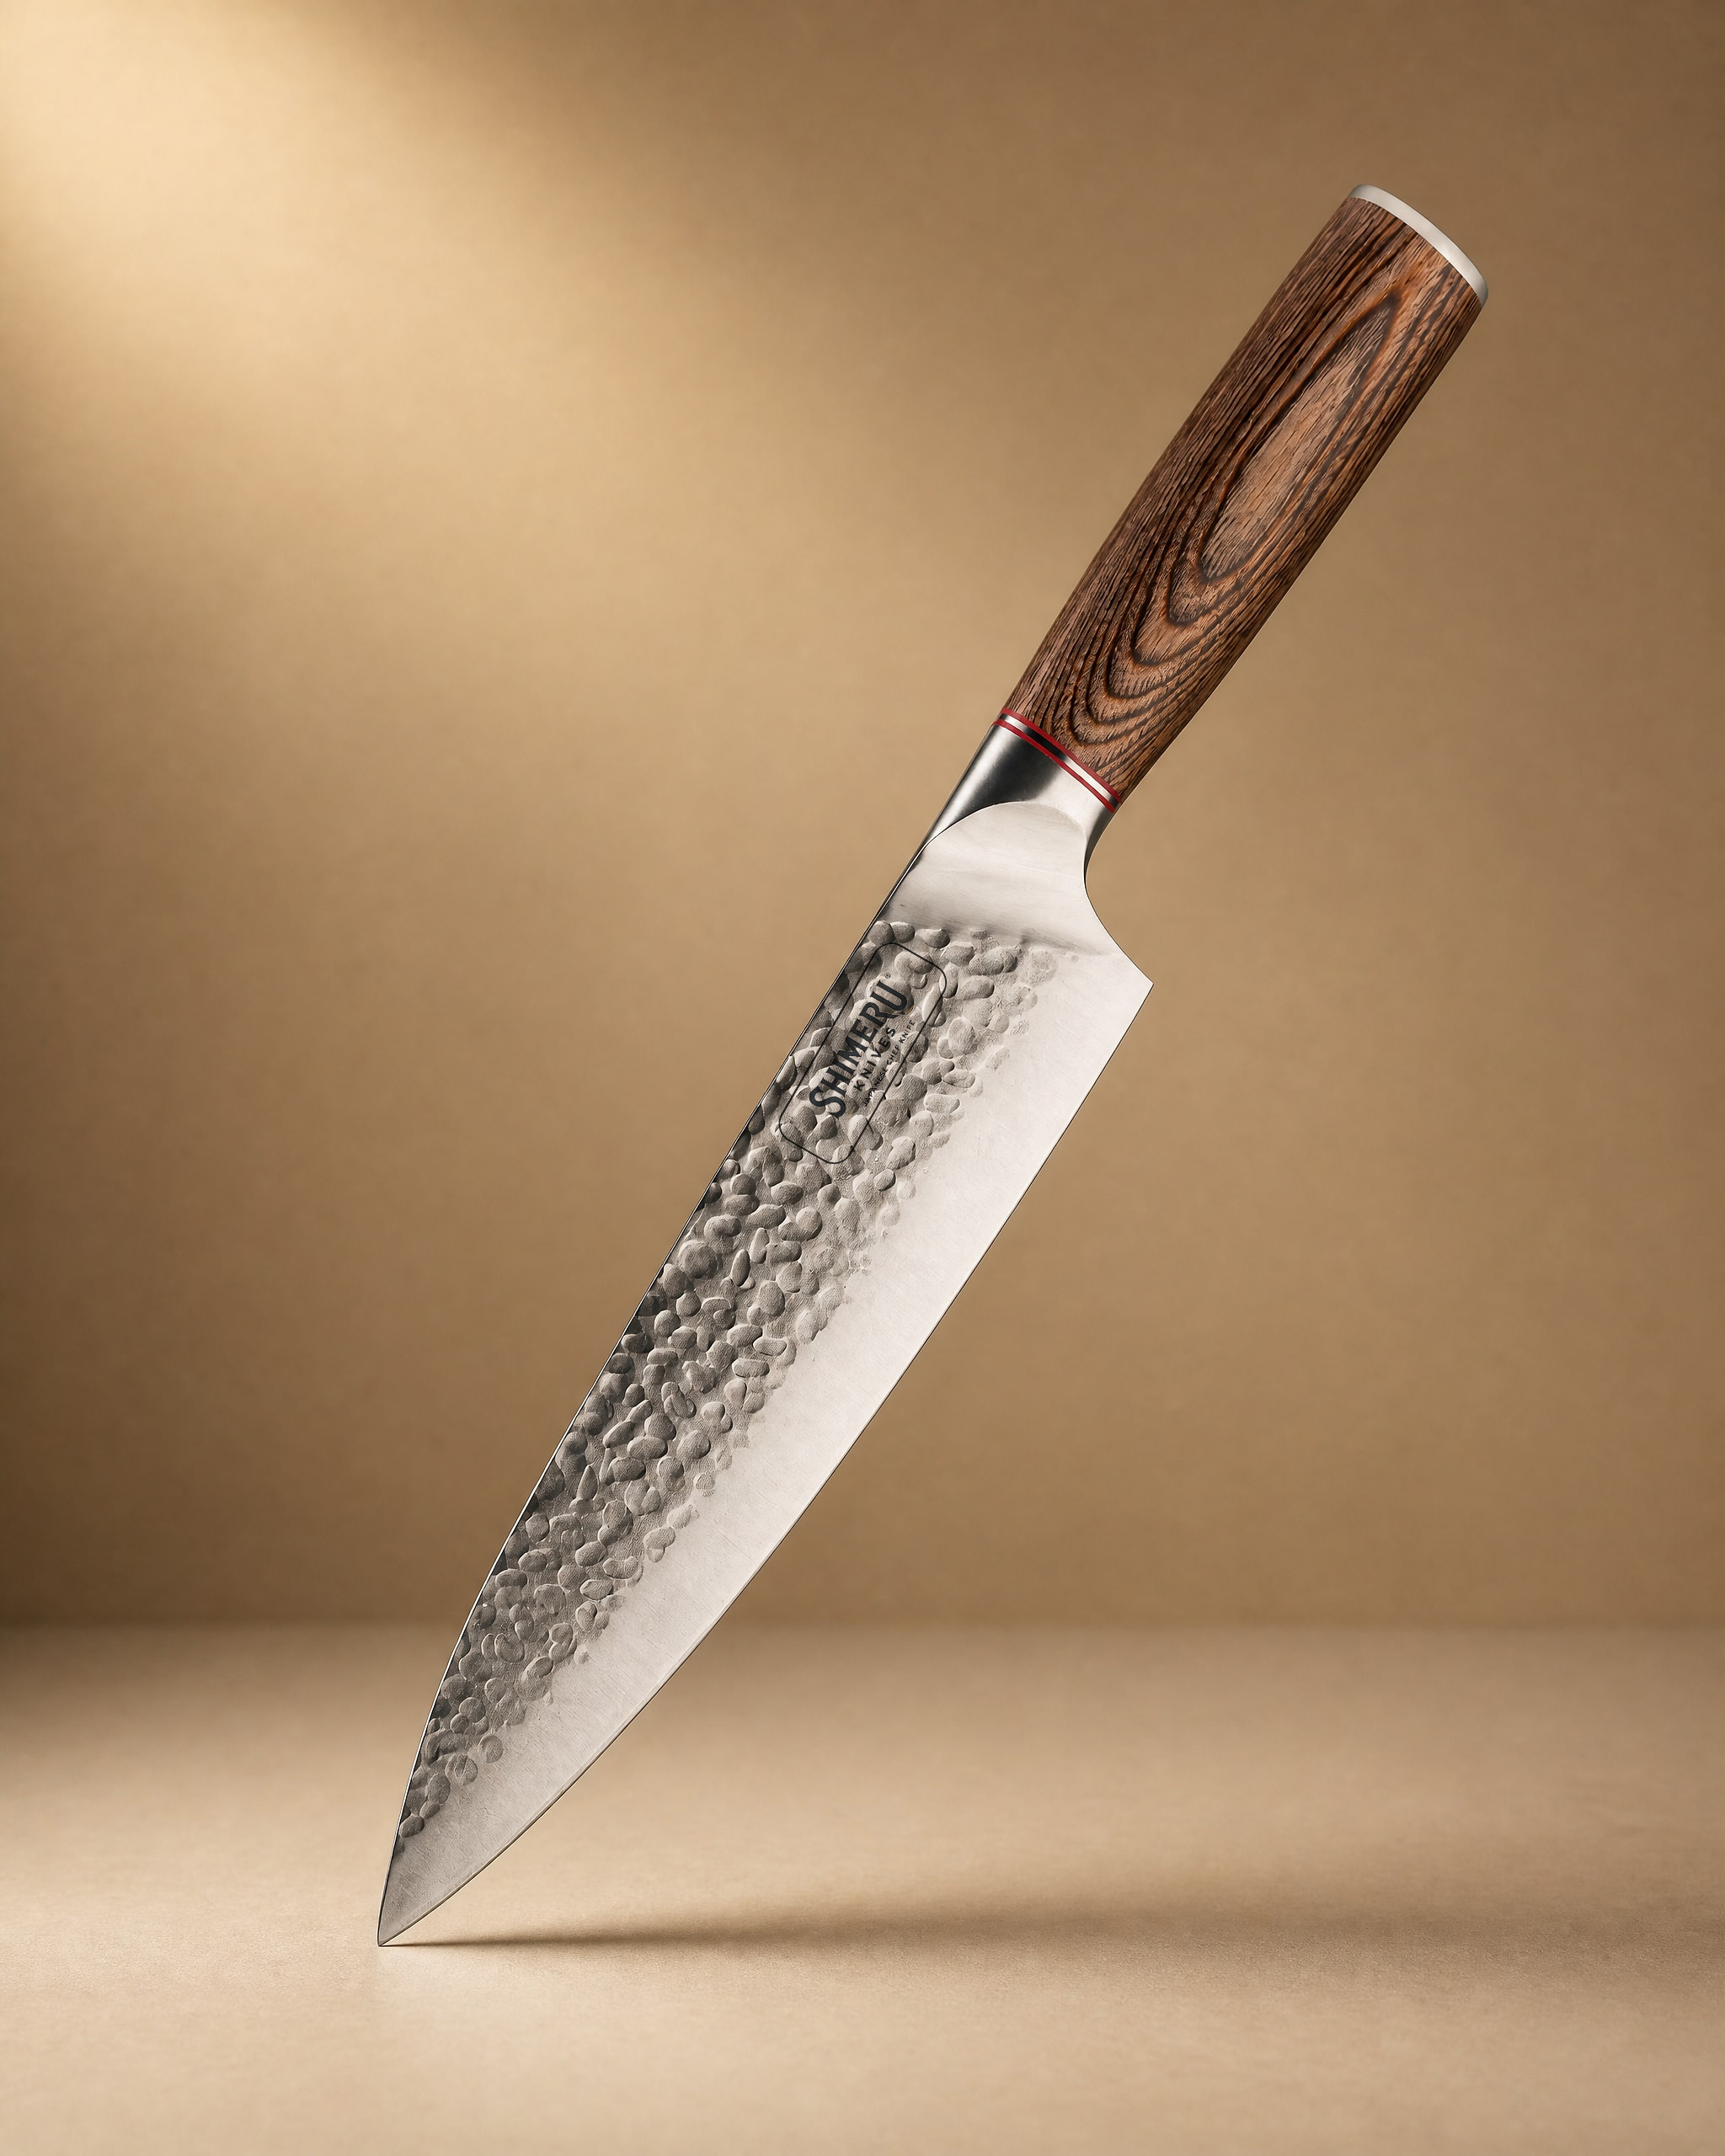 Akan 8'' Gyuto Knife 牛刀£49.99View product → is another good option for the same everyday tasks. Treat it the same way: light honing, regular sharpening, and a clean dry blade after use.
If you want a matched set that stays together, consider the Shinano set 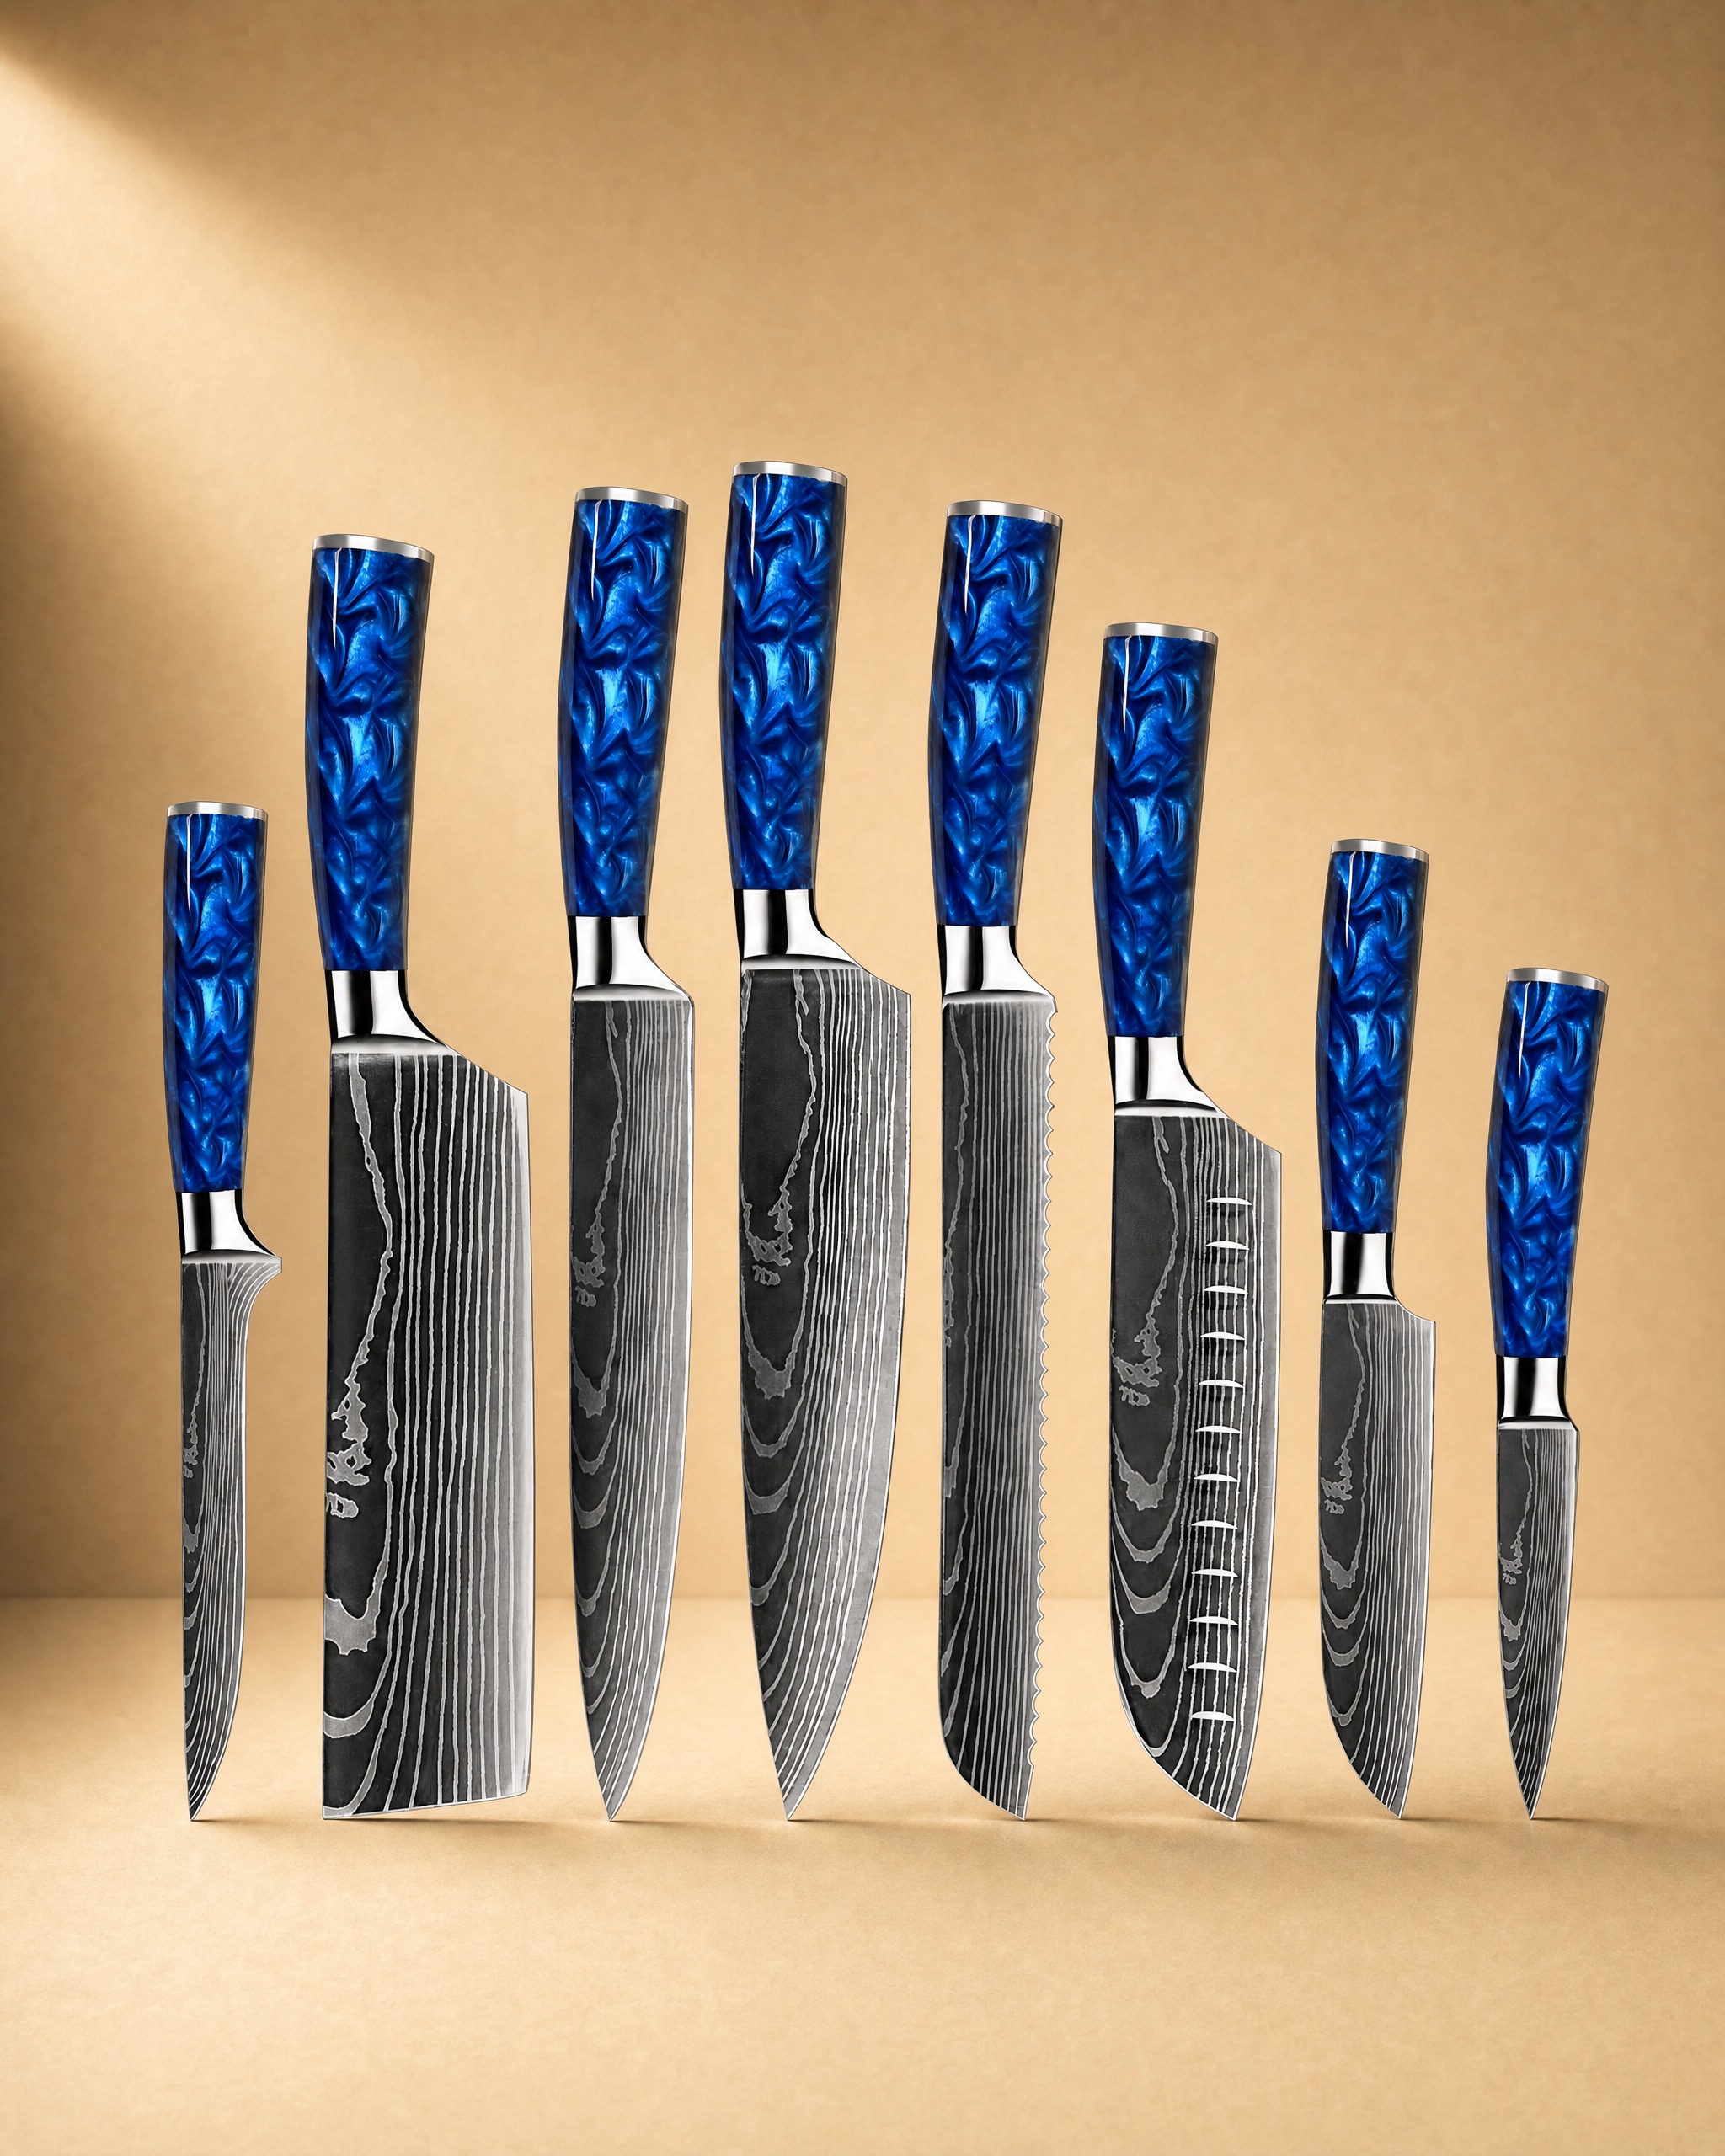 Shinano 信濃川 Damascus Pattern Stainless Steel Kitchen 8 Knife Set£149.99View product →. Sharpening a set is no different, but keep a simple record of which knife needs attention so none of them are neglected.
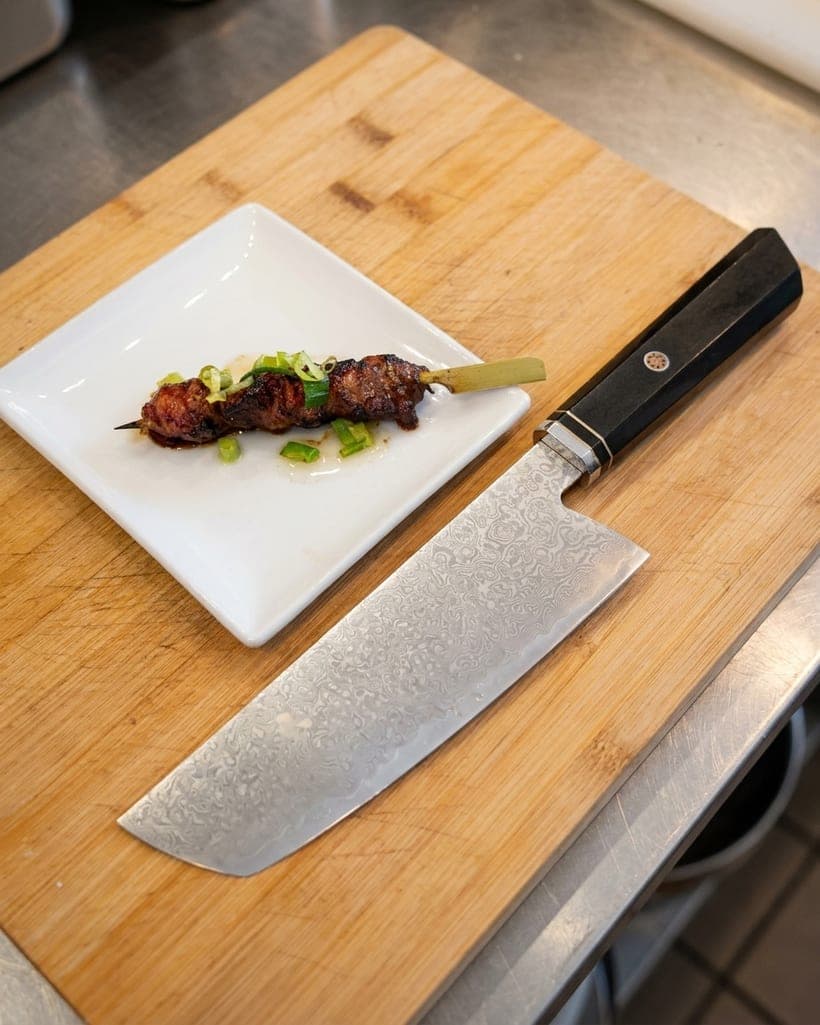
A cleaver needs a slightly different approach. If you do a lot of heavier prep, the Saba cleaver 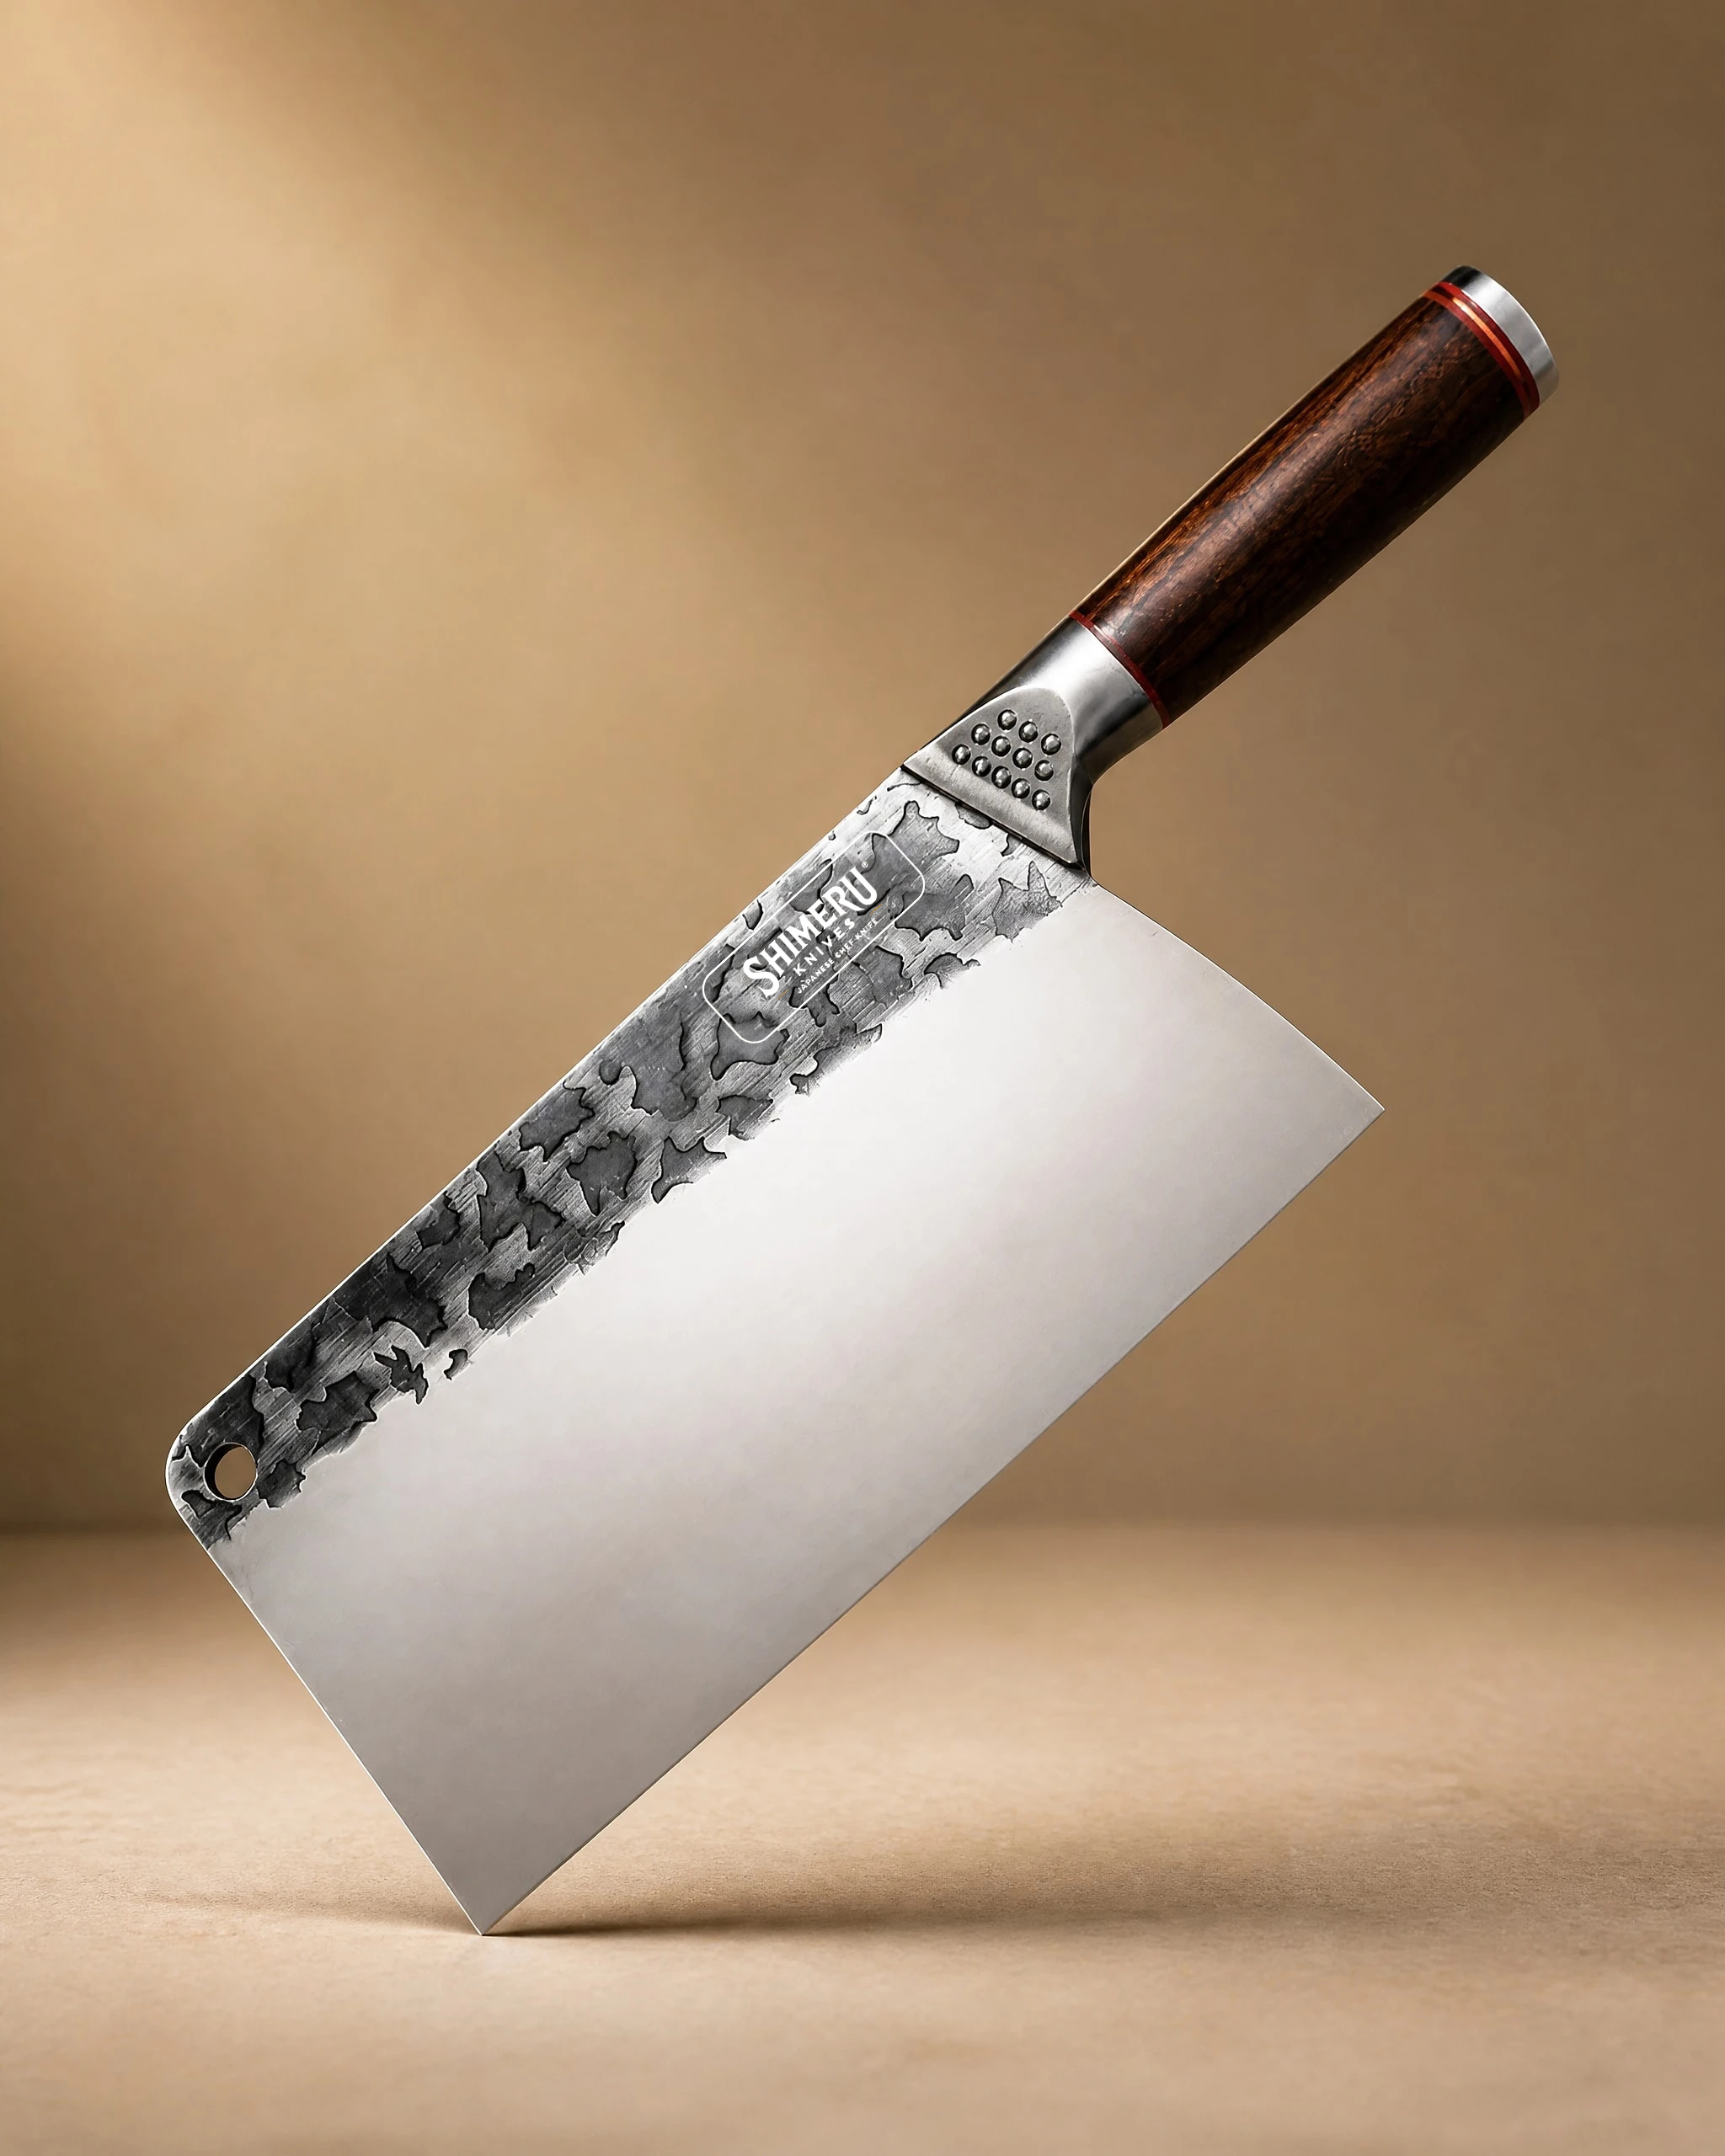 Saba 7" Stainless Steel Cleaver 中華包丁£44.99View product → is the one to consider. Use both hands, keep the angle steady, and work in short sections. Do not force it. A cleaver does not need a razor edge to do its job well, but it does need a clean, even bevel.
Maintenance between sharpenings
Wash and dry your knife by hand. Do not leave it in the sink or run it through a dishwasher. Moisture and detergent are hard on handles and edges. Store it on a magnetic strip, in a block, or in a blade guard. Do not toss it loose in a drawer.
Use a wooden or soft plastic board. Glass and stone boards are harsh on edges. Avoid cutting on plates or in the pan. These small habits keep an edge longer than any gadget. For more on daily care, read our knife care guide.
Common mistakes to avoid
The first mistake is using too much pressure. Let the stone do the work. The second is skipping the burr. If you do not raise a burr along the full edge, you have not sharpened the whole blade. The third is changing angle with every stroke. Pick an angle and keep it. The fourth is forgetting the tip. The tip needs gentle, separate passes. The fifth is sharpening a knife that only needs honing. Check the edge first.
Also, do not sharpen a knife with a damaged handle or a loose bolster. Fix the handle first, or send the knife for repair. A sharp edge on an unsafe knife is not an improvement.
How often should you sharpen
For a home cook, sharpening every four to eight weeks is a reasonable rhythm, depending on use. A knife used daily for vegetables and meat will need more attention than one used twice a week. Hone lightly before use. Sharpen when honing no longer brings the edge back. If you cut a lot of crusty bread, bone or frozen food, expect more frequent sharpening.
If you are still choosing, our knife guide explains the shapes and what they do. You can also browse the full range at our knife shop. Do not buy a knife you are afraid to sharpen. A knife is a tool. It should be used, maintained and sharpened. Start on a cheap knife if you like. Learn the angle, learn the burr, learn the feel of a stone. Then move to your good knives.
Photography: Danilo Rios via Unsplash.


