

How to Sharpen Kitchen Knives: A Simple Guide
A blunt knife is more dangerous than a sharp one. It skids off onion skins, crushes tomato flesh and forces your wrist to do work the edge should be doing. Learning how to sharpen a kitchen knife is one of the few kitchen skills that pays you back every single day you cook. The motion takes fifteen minutes to learn. Keeping it up takes three or four.
What follows is the method we use and recommend: a whetstone, water, patience and a little attention to angle. No gadgets required, though we will cover the ones that genuinely work further down.
Why a sharp edge changes how you cook
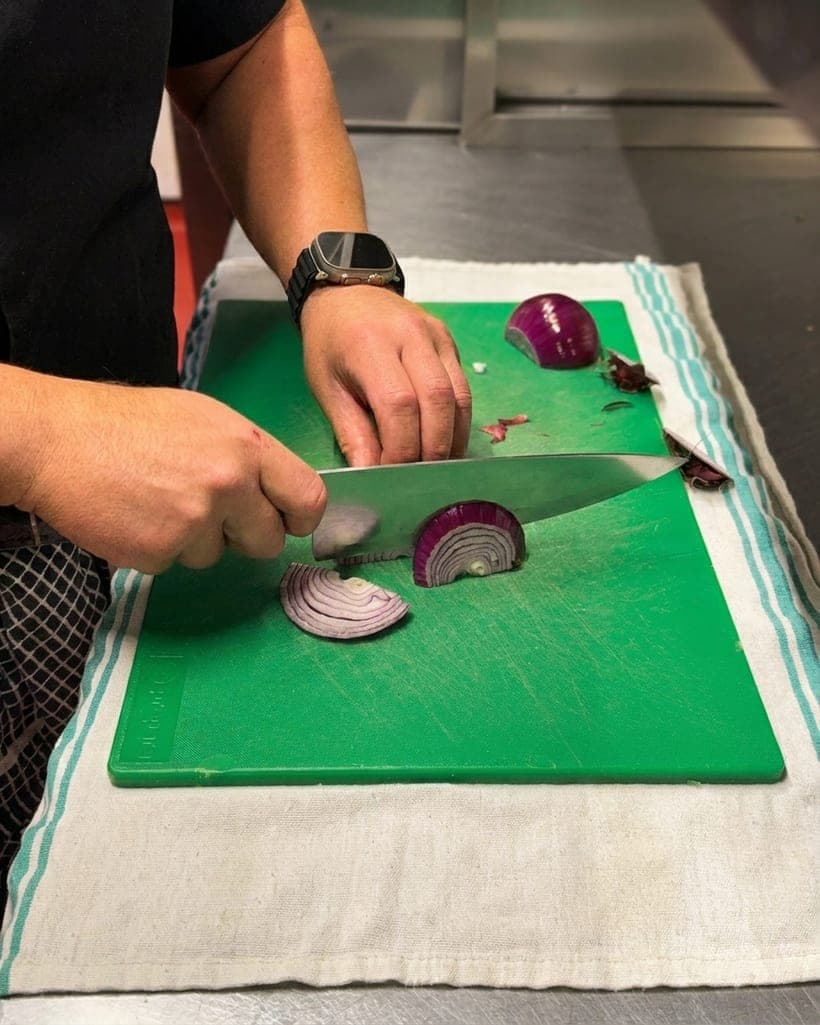
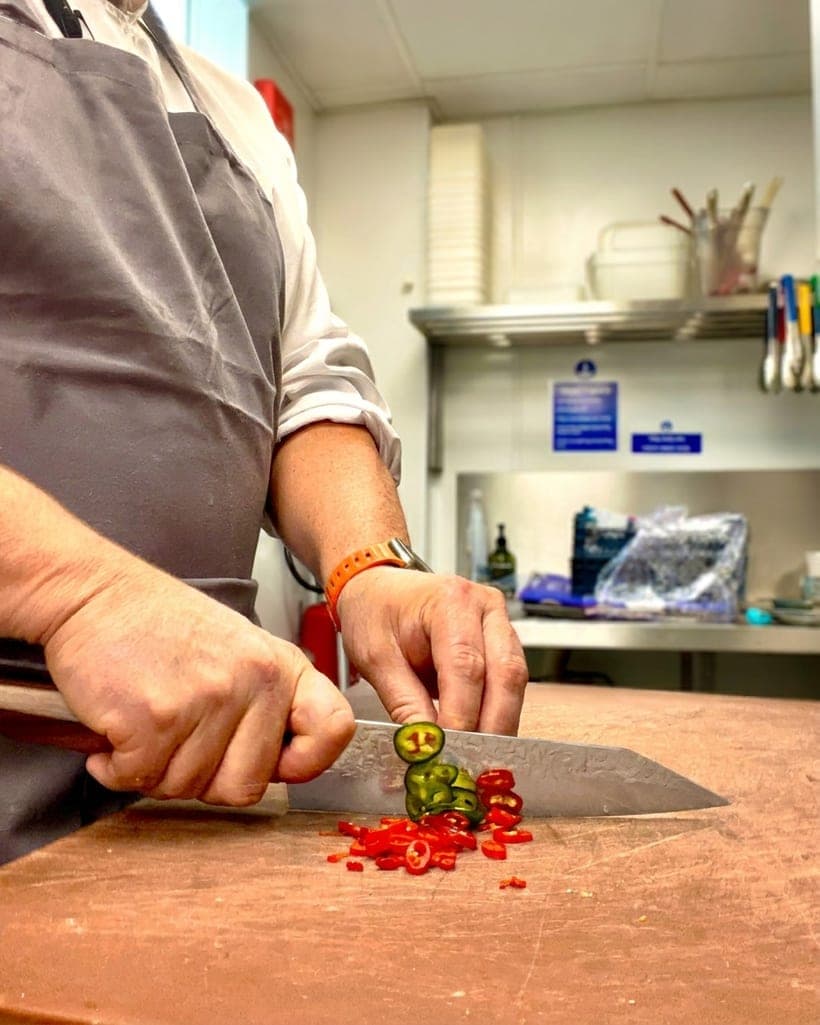
A sharp knife cuts. A dull knife pushes, tears and crushes. Onions bruise instead of slicing, herbs blacken at the cut, and tomatoes collapse under their own skins. If you cook often, a sharp edge also reduces fatigue: less force means less grip tension, and less grip tension means fewer tired wrists and fewer slips.
There is a safety argument as well. Most kitchen cuts happen when a knife fails to bite and then jumps sideways off the food. A sharp edge goes where you aim it.
What you need to sharpen a kitchen knife
The kit is small and lasts for years:
- A combination whetstone, coarse on one side and fine on the other. A 1000 grit side for cutting the edge and a 6000 grit side for refining it suits most home kitchens.
- Water, plus a bowl or sink to soak the stone in.
- A folded towel or a non-slip base to hold the stone steady.
- Optionally, a honing rod for quick touch-ups between sharpening sessions.
That is genuinely all. Diamond plates and powered sharpeners have their place, but they remove metal faster and forgive less.
How to sharpen a cooking knife on a whetstone
Soak the stone. A soaking stone needs ten to fifteen minutes in water, until bubbles stop rising. Splash-and-go stones need only a rinse. Keep a cup of water nearby and add a little as you work so the surface stays wet and the metal swarf lifts away.
Set the stone on the towel, coarse side up, and hold it steady. If the stone slides, you will lose your angle.
Find your angle. This is the part people worry about most, and it is easier than it looks. Lay the blade flat on the stone, then lift the spine until you feel the edge bevel settle onto the surface. Most Japanese knives are ground at roughly 15 degrees per side. European knives sit nearer 20. You do not need a protractor: lift until the gap between spine and stone is about the height of two stacked coins for a Japanese blade, three for a European one.
Keep that angle locked. Your wrist should not move during the stroke. Consistency matters far more than the precise number of degrees.
Which hand does what
Hold the handle in your dominant hand. Place the fingers of your other hand lightly on the flat of the blade near the tip, to keep pressure even. Push the edge across the stone as though you were slicing a thin layer off the surface, starting at the heel and finishing at the tip. Cover the whole length of the blade. Ten passes on one side, then ten on the other, then five and five, then alternate one for one.
Feel for the burr. After a set of passes on one side, run a fingertip across the edge from the spine toward the cutting edge, never along it. You should feel a fine, consistent roughness, a tiny wire of metal turned over. That burr is the signal that you have reached the edge. Do not stop before you feel it along the entire length.
Move to the fine side. Flip the stone and repeat with lighter pressure. The fine grit polishes the edge and removes the burr. Finish with a handful of very light, almost weightless strokes, alternating sides each time. Then strop the blade on a sheet of newspaper or a leather strop, edge trailing, to clean up anything left over.
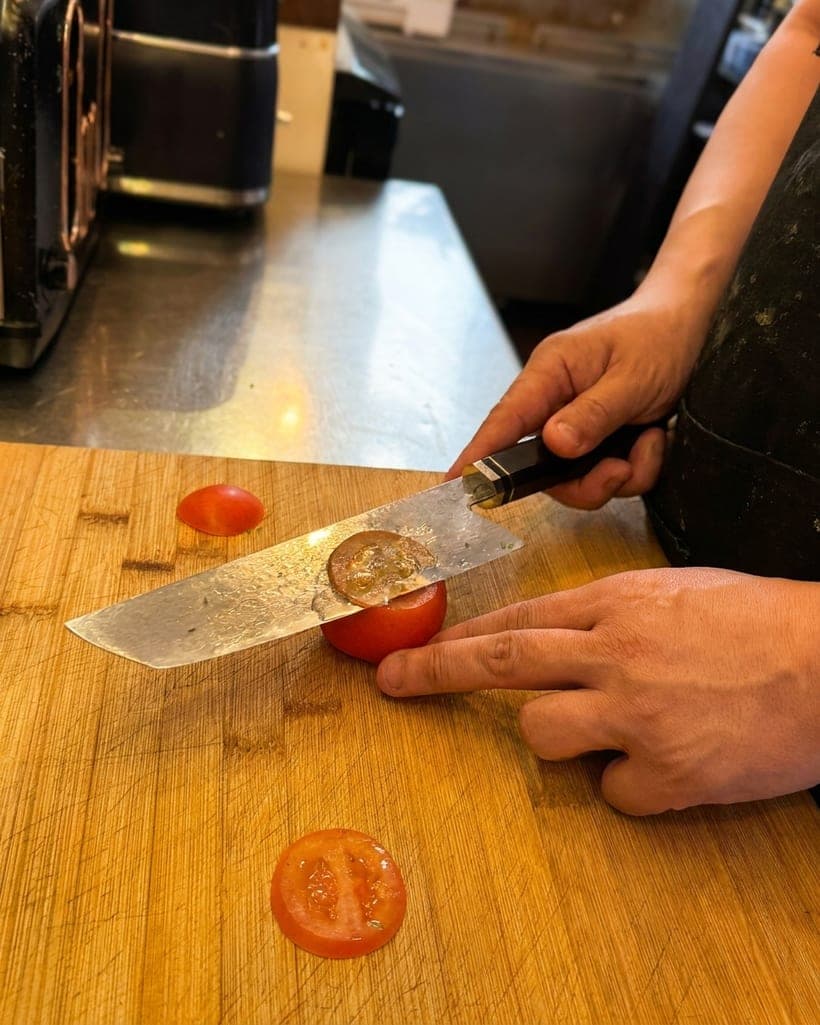
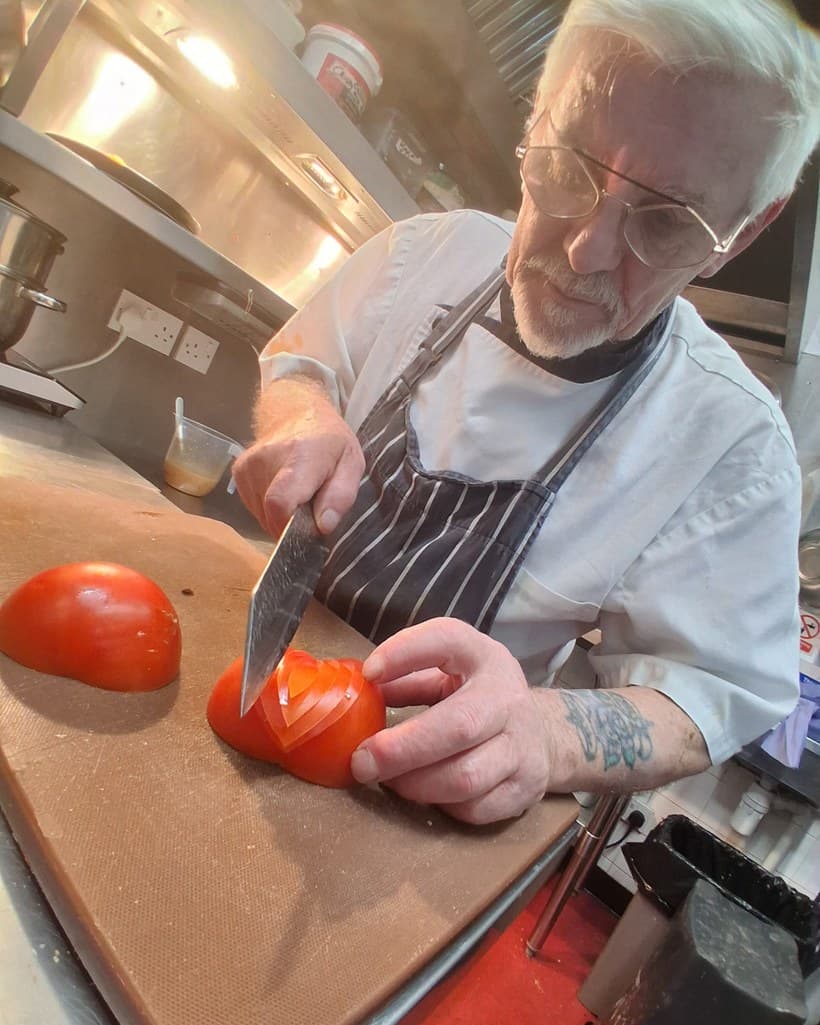
Test the edge on a tomato or a sheet of paper, not on your thumb. If it drags or slides, go back to the coarse side for a few more passes.

Honing and sharpening are not the same thing
A honing rod does not sharpen. It realigns an edge that has folded slightly in use, which is what happens during a normal week of cooking. Ten light passes per side on a rod before you start cooking will keep a good edge going for weeks.
Sharpening removes metal and creates a new edge. Do it when honing no longer brings the knife back: roughly every one to three months in a home kitchen, or sooner if you cook daily on a hard board.
Water stones, oil stones and diamond plates
Water stones cut quickly, stay flat reasonably well and are the easiest to learn on. Oil stones are slower and messier but last a very long time. Diamond plates stay perfectly flat and are excellent for repairing a chipped or very blunt edge, though they leave a scratchier finish and are best used as a first step rather than a final one.
For a first stone, a combination water stone covers the most ground for the least money.
Rolling and pull-through sharpeners
We are honest about this category. Most pull-through sharpeners with carbide blades take off far too much metal and leave a ragged edge that feels sharp for a week and then disappears. A rolling sharpener with a controlled angle is a far better compromise, particularly for a knife you use every day and do not want to learn freehand sharpening on. 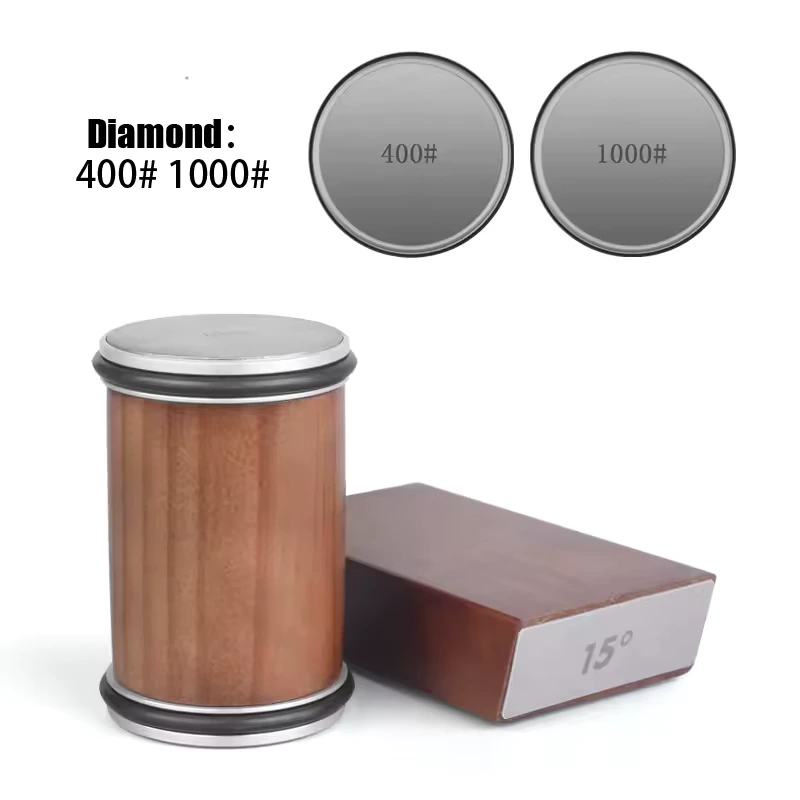 Magnetic Rolling Knife Sharpener£59.99View product → is the model we stock for exactly that job, and it suits anyone who wants a reliable edge without the learning curve.
How often do you sharpen kitchen knives?
It depends on the steel, the board and the knife. A soft stainless blade on a bamboo board will need attention every few weeks. Harder steels hold an edge longer but take more work on the stone. Rotating between two or three knives spreads the wear and means you always have something sharp to hand.
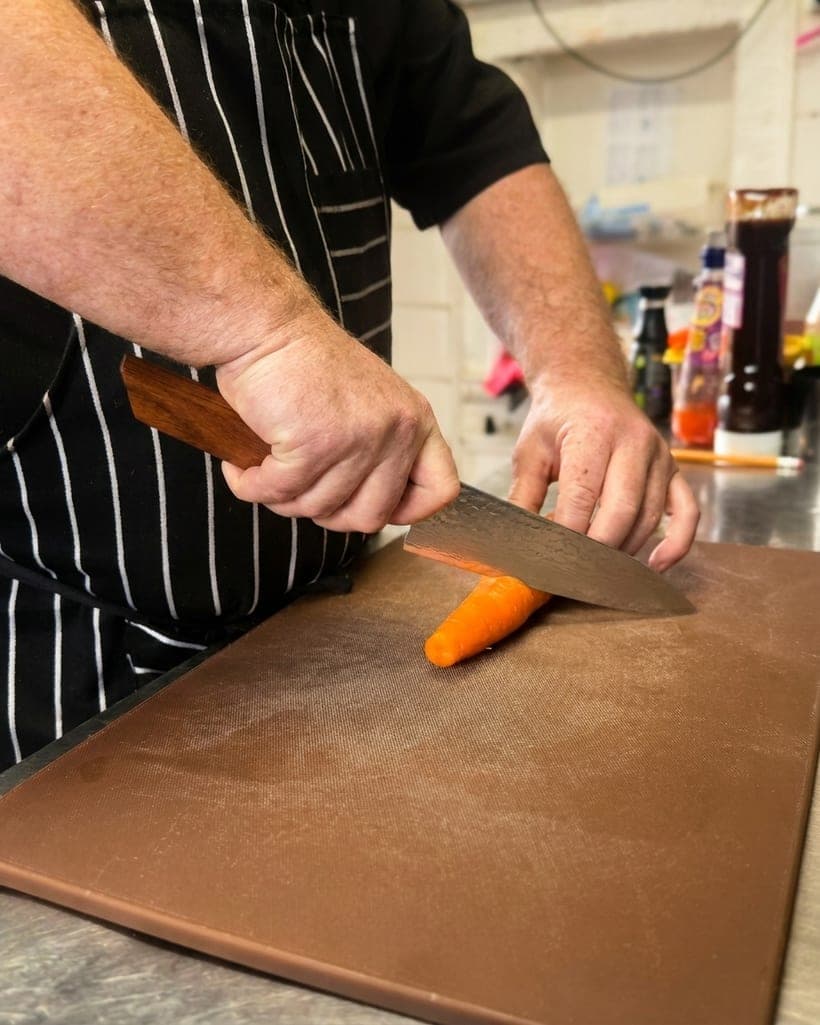
The signs are easy to read. The knife slides on tomato skin. Herbs bruise rather than cut. The blade will not shave a thin slice off a carrot. When you notice any of those, hone first. If honing does not fix it, sharpen.
Knives that are a pleasure to sharpen
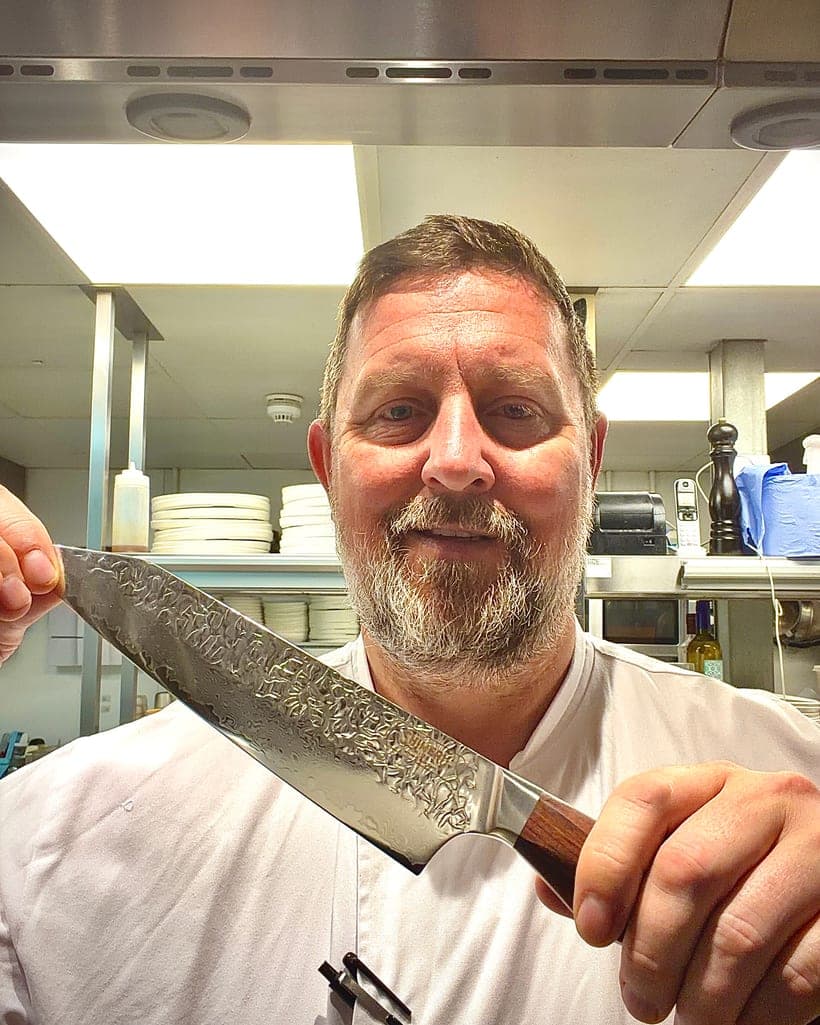
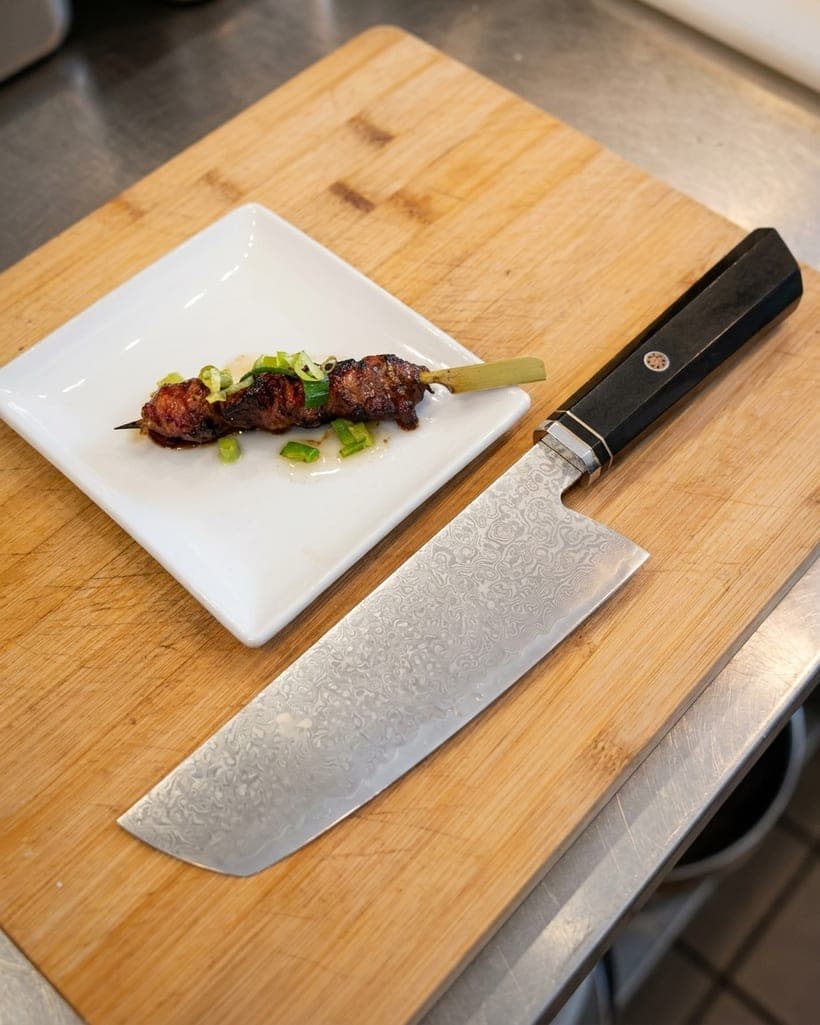
A thin, well-ground blade sharpens quickly and rewards good technique. If you are building a small collection to look after properly, a few shapes cover almost everything. A gyuto is the Japanese equivalent of a chef's knife and does most of the work. The 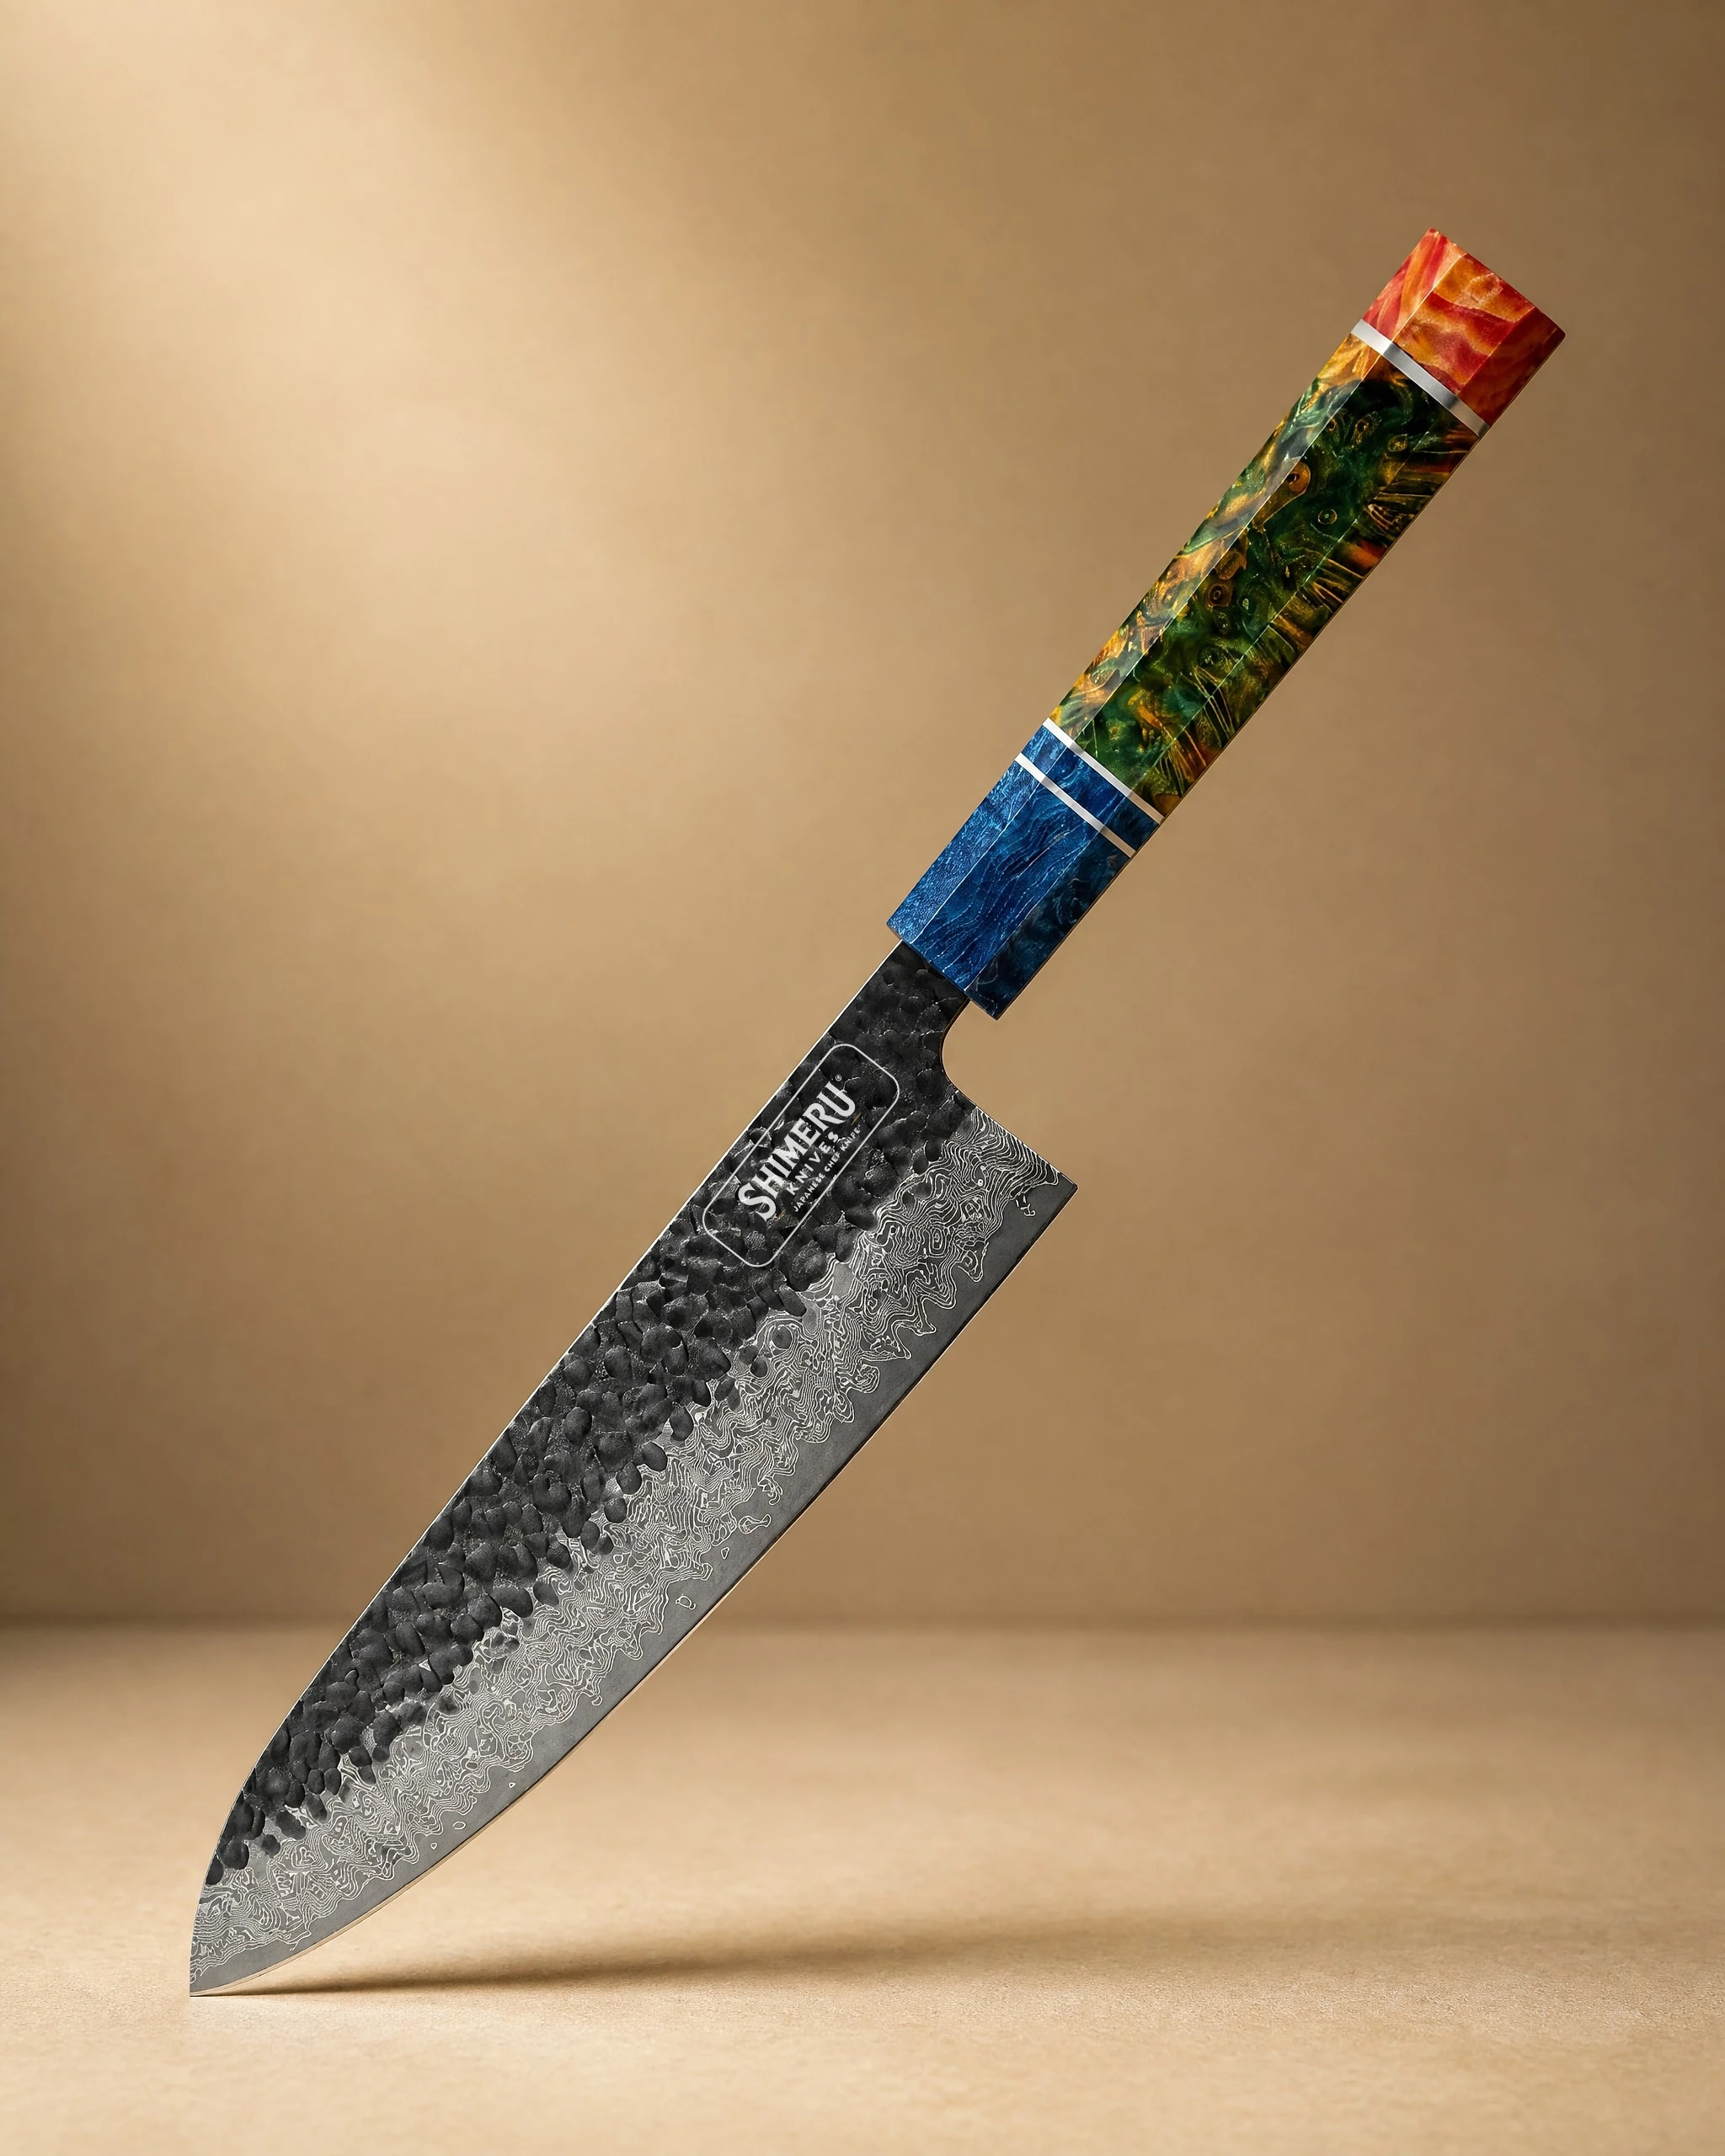 Yoshii 8″ Damascus Steel Gyuto Knife 牛刀£79.99View product → is a fine example, and its Damascus cladding is as much about looks as performance. The
 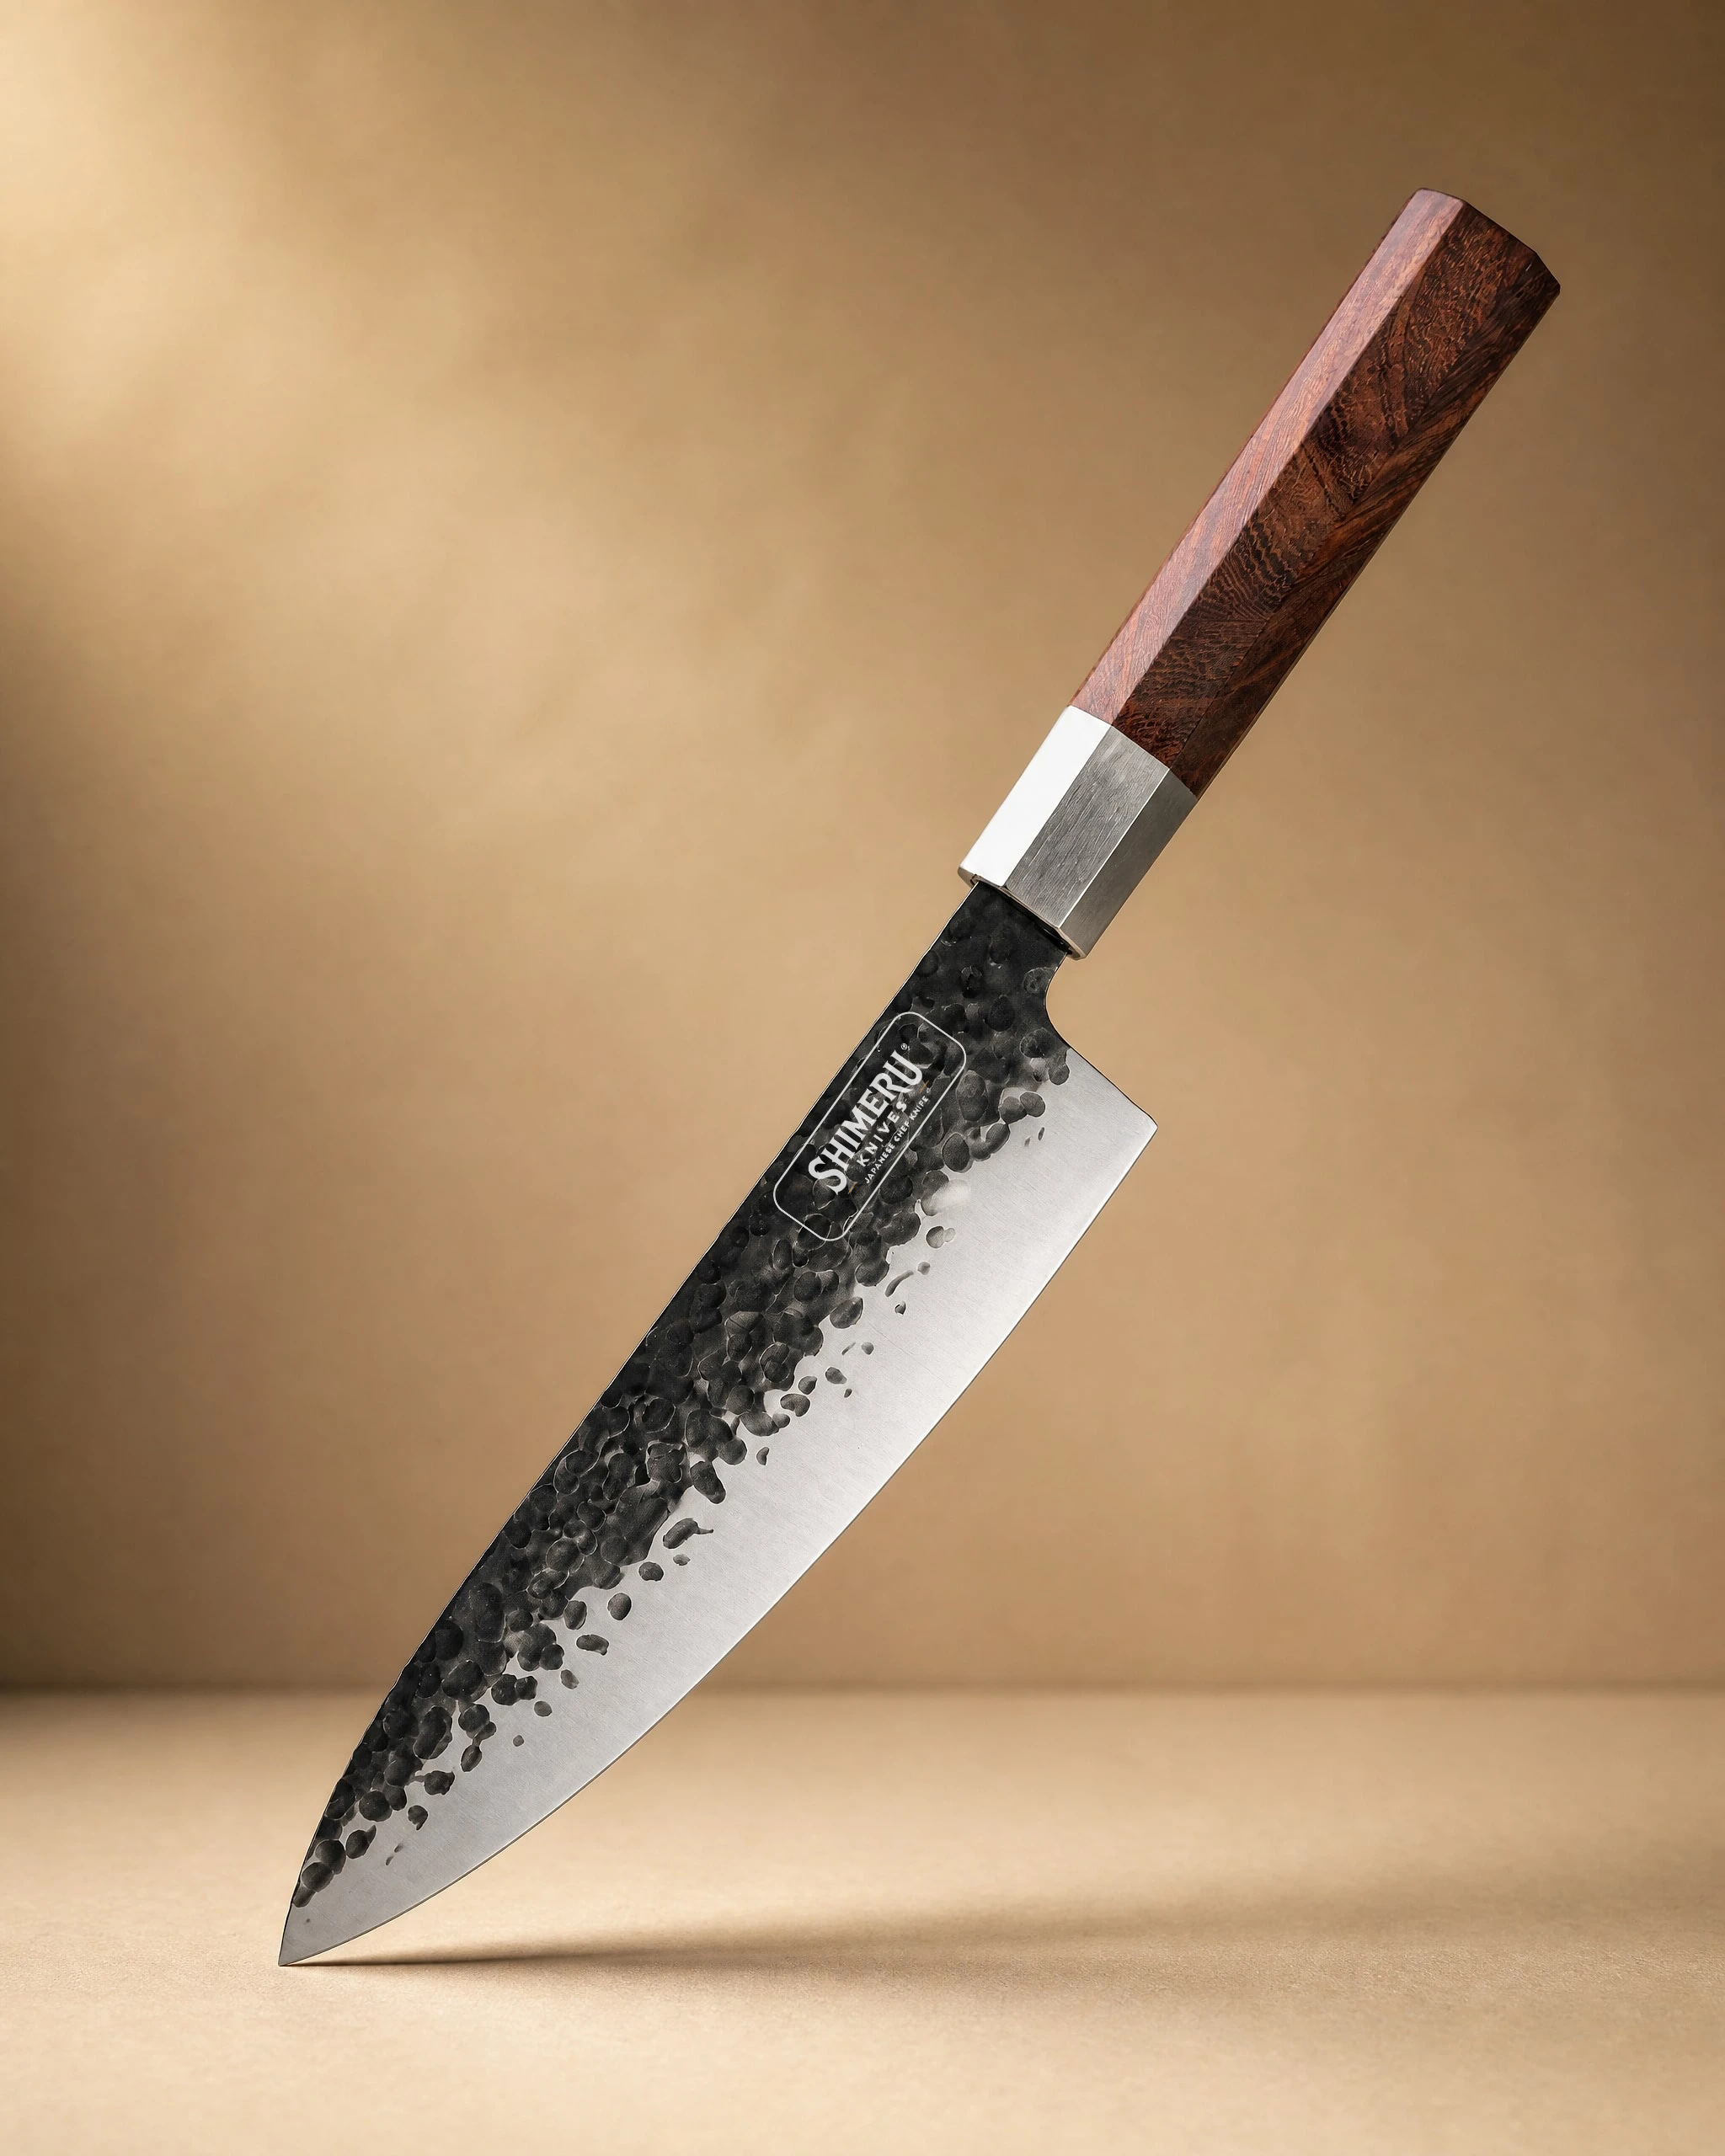 Sendai 8" Steel Gyuto Knife 牛刀£49.99View product → is simpler steel, easy to maintain and forgiving for anyone still finding their angle. If you prefer a shorter blade, the
 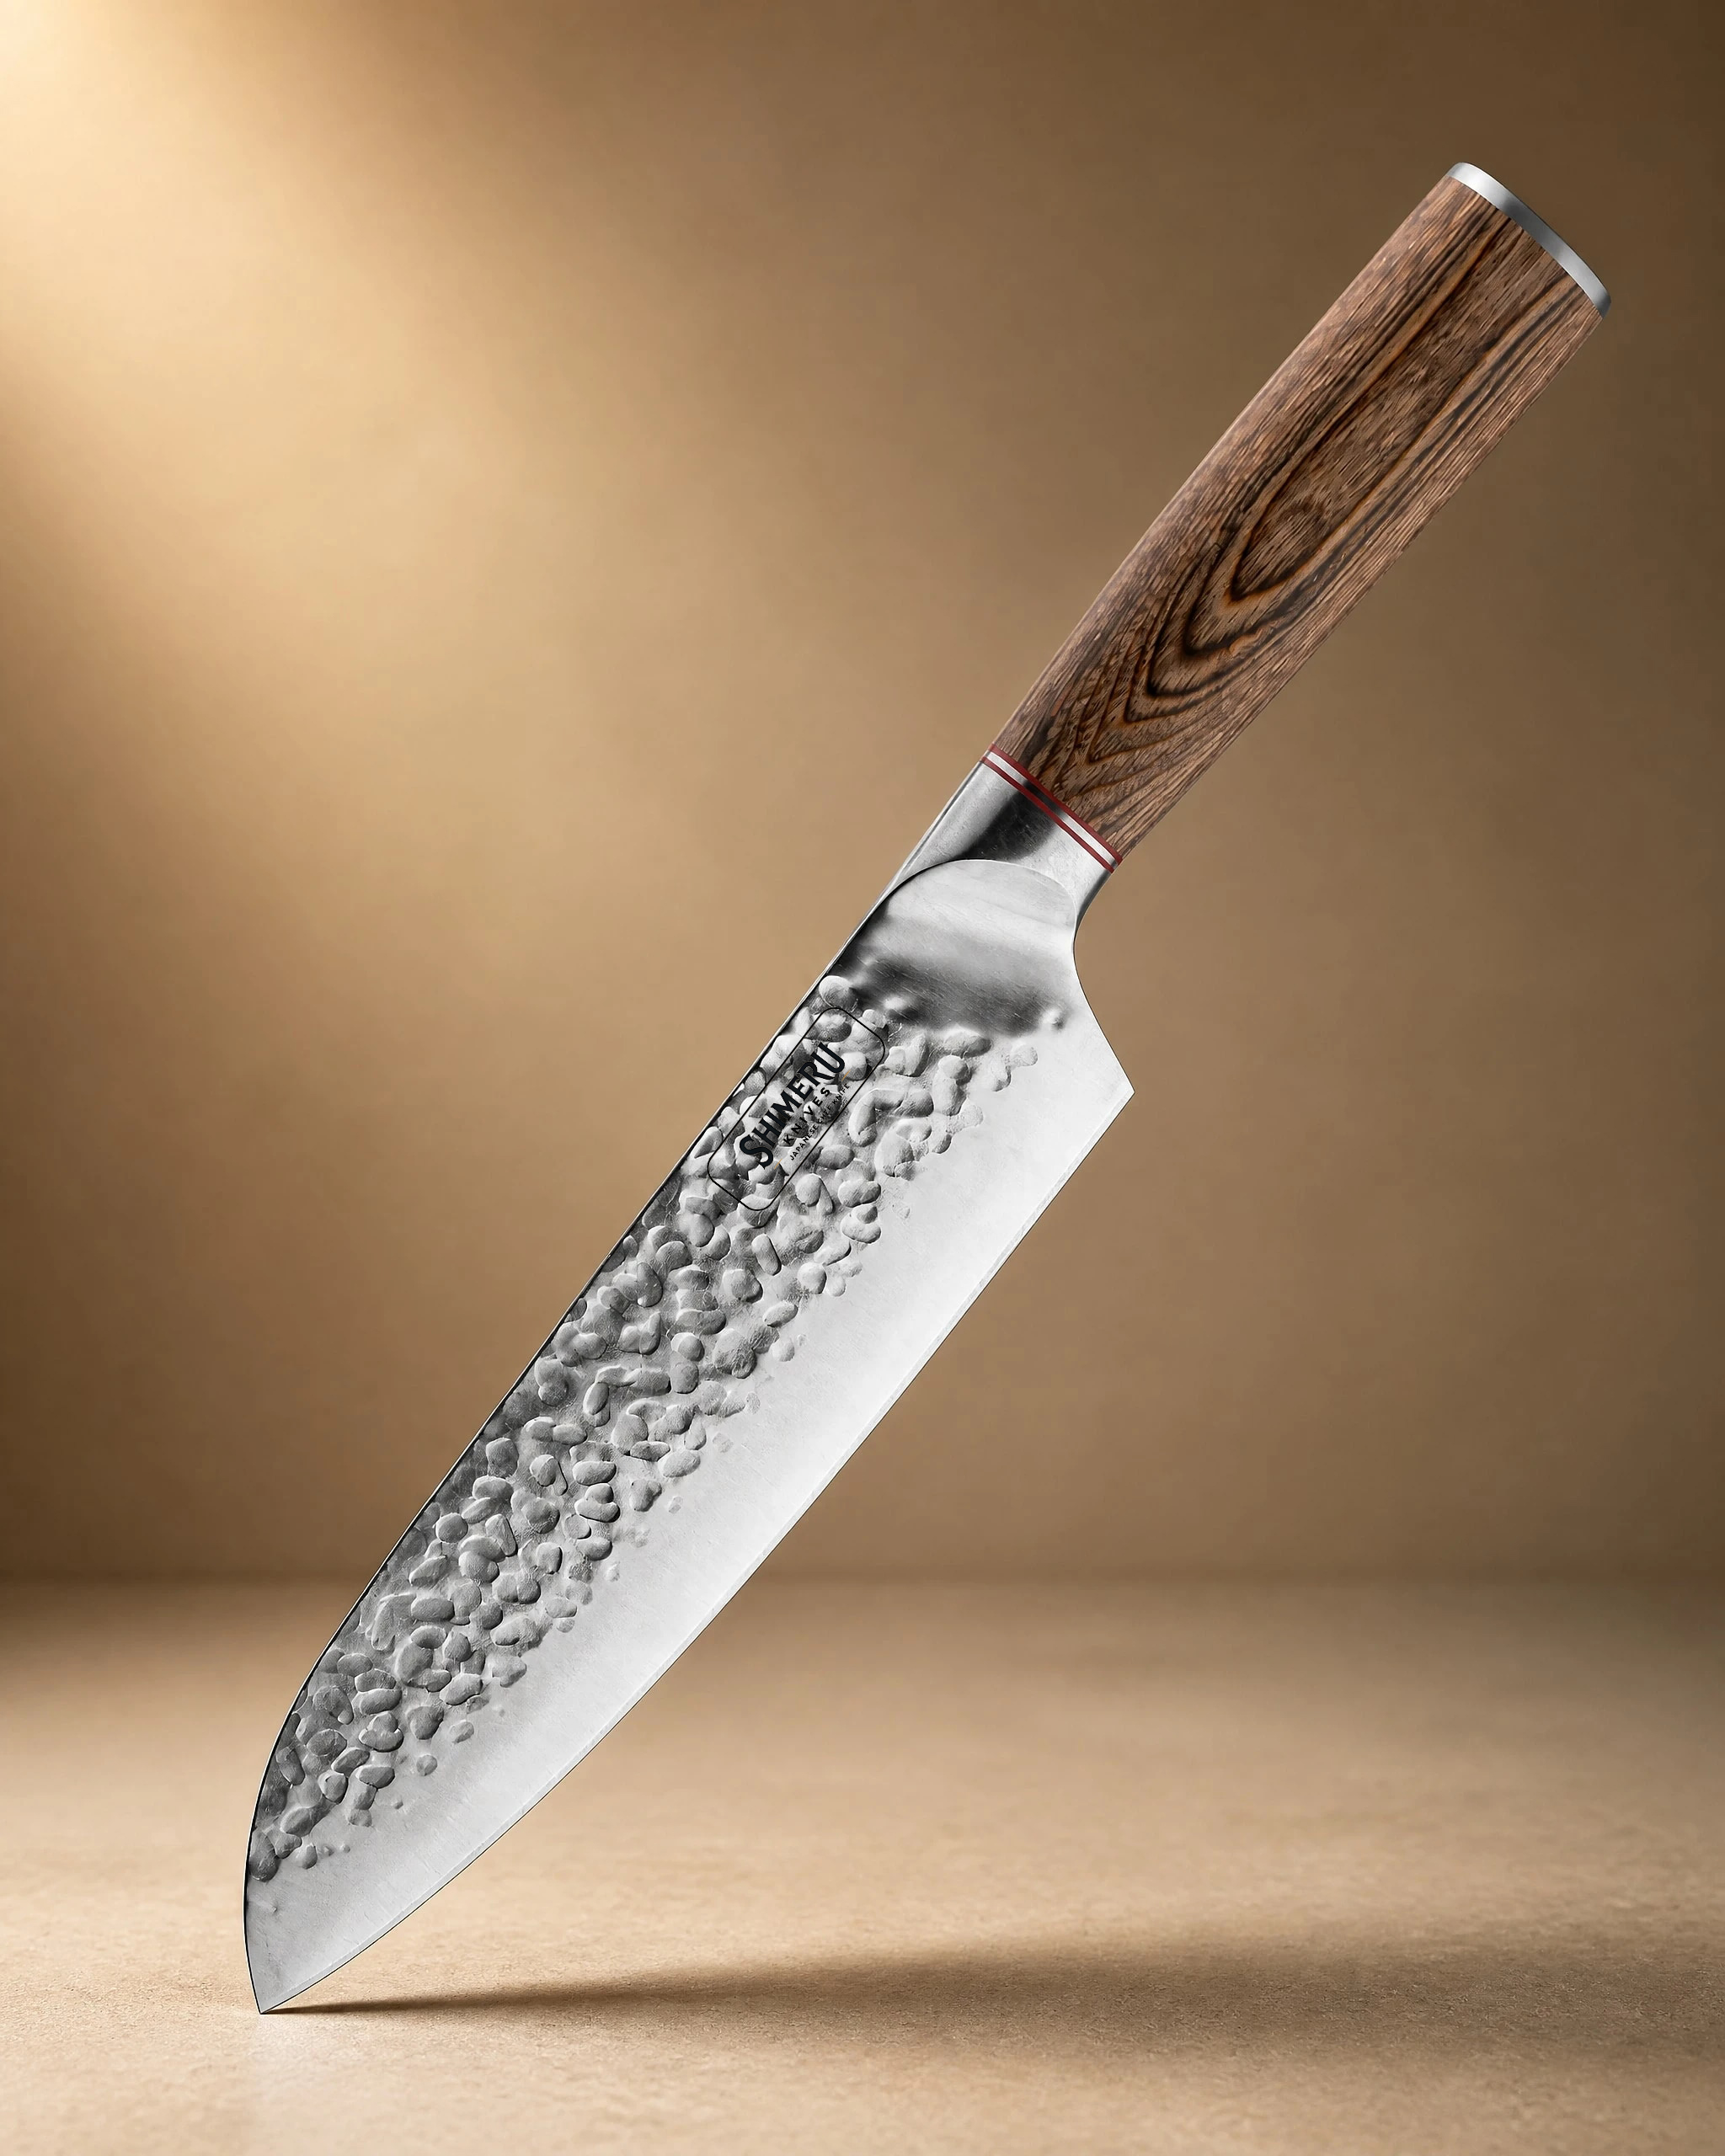 Raikou 6.5" Santoku Knife 三徳包丁£49.99View product → handles slicing, dicing and mincing with a straighter edge profile that many cooks find easier to control than a long gyuto.
Any of those will take a keen edge on a 1000/6000 stone in a few minutes.
Habits that protect the edge
Use a wooden or soft plastic board. Glass, stone and bamboo boards are hard on edges and will roll them quickly. Wash and dry by hand rather than leaving knives in a sink or a dishwasher. Store them on a magnetic strip, in a blade guard, or on a rack where the edge touches nothing. Hone before cooking, sharpen when honing stops working.
Our knife care guide covers storage, rust prevention and handle upkeep in more detail. If you are still deciding what to buy, the knife guide walks through blade shapes and steels, and you can see the full range in the shop.
Common mistakes to avoid
Pressing hard. Pressure does not speed up sharpening. It wears a groove into the stone and rolls your edge. Let the grit do the work and keep the angle steady.
Using one side more than the other. Uneven passes create an uneven bevel, and the knife starts steering to one side as you cut.
Skipping the fine stone. The coarse side creates the edge, the fine side makes it last.
Sharpening when you only needed to hone. You will shorten the blade's life for no reason.
A ten minute routine that works
Hone before every cooking session, two or three light strokes per side. Sharpen on the stone every four to eight weeks if you cook daily. Soak the stone while you prep, work through both grits, strop, test on a tomato, dry the blade, put it away. Fifteen minutes, once a month, and your knives will cut better than the day you unboxed them.
If you would rather start with something that holds its edge well and sharpens easily, browse the range and pick a blade that suits the way you cook. A sharp knife is not a luxury. It is simply a knife that has been looked after.


