


Santoku Knife Sharpener Guide

A santoku is one of the most forgiving knives in a home kitchen and one of the least forgiving to sharpen badly. The blade is broad, the edge is thin, and the profile runs almost flat for much of its length, so a mistake at the stone shows up straight away on the board.
This guide covers the parts that matter: which sharpener suits which santoku, how to hold the angle, when to stop, and how to tell the difference between a knife that needs sharpening and one that only needs a light touch up.
There is no single best sharpener. There is the one that matches your blade, your patience and the amount of damage your cooking does to an edge.
Why a santoku sharpens differently
A santoku is a broad, thin blade with a wide bevel face and a gentle belly that flattens towards the heel. That geometry gives you plenty of steel to rest against a stone, which makes angle control easier than on a narrow, deeply curved blade. It also means the metal directly behind the edge is thin, so the knife cuts well when sharp and feels blunt quickly once the edge rolls.
The knife is usually used for everything: onions, carrots, herbs, cooked meat, the occasional squash. A santoku dulls through repeated board contact along the whole edge rather than through tip work. The heel and the middle take most of the wear, and that is where you should spend most of your sharpening time.
Two habits cause most of the damage we see. The first is a pull-through sharpener with tungsten carbide blades, which removes a lot of steel in a hurry and leaves a thin Japanese edge rough. The second is sharpening only the middle of the blade, which turns a gentle curve into a shallow dip.
Match the sharpener to the blade you actually own
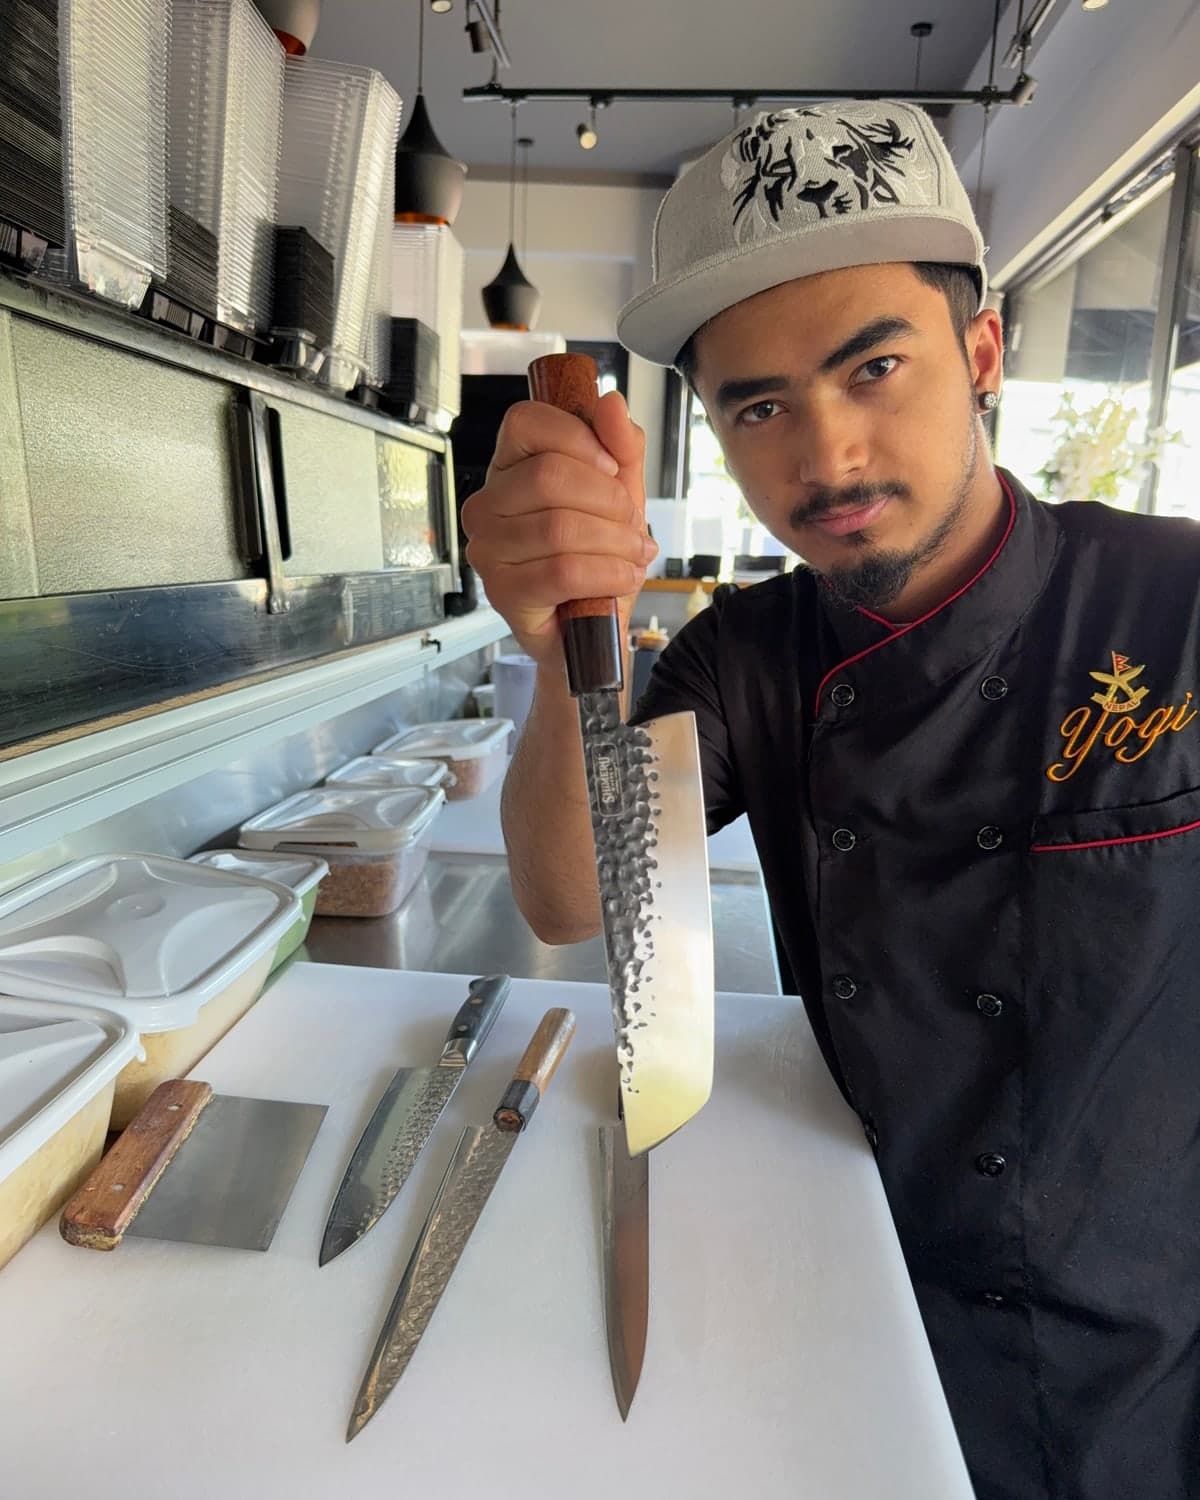
Length and steel both change the answer. A 5 inch santoku such as 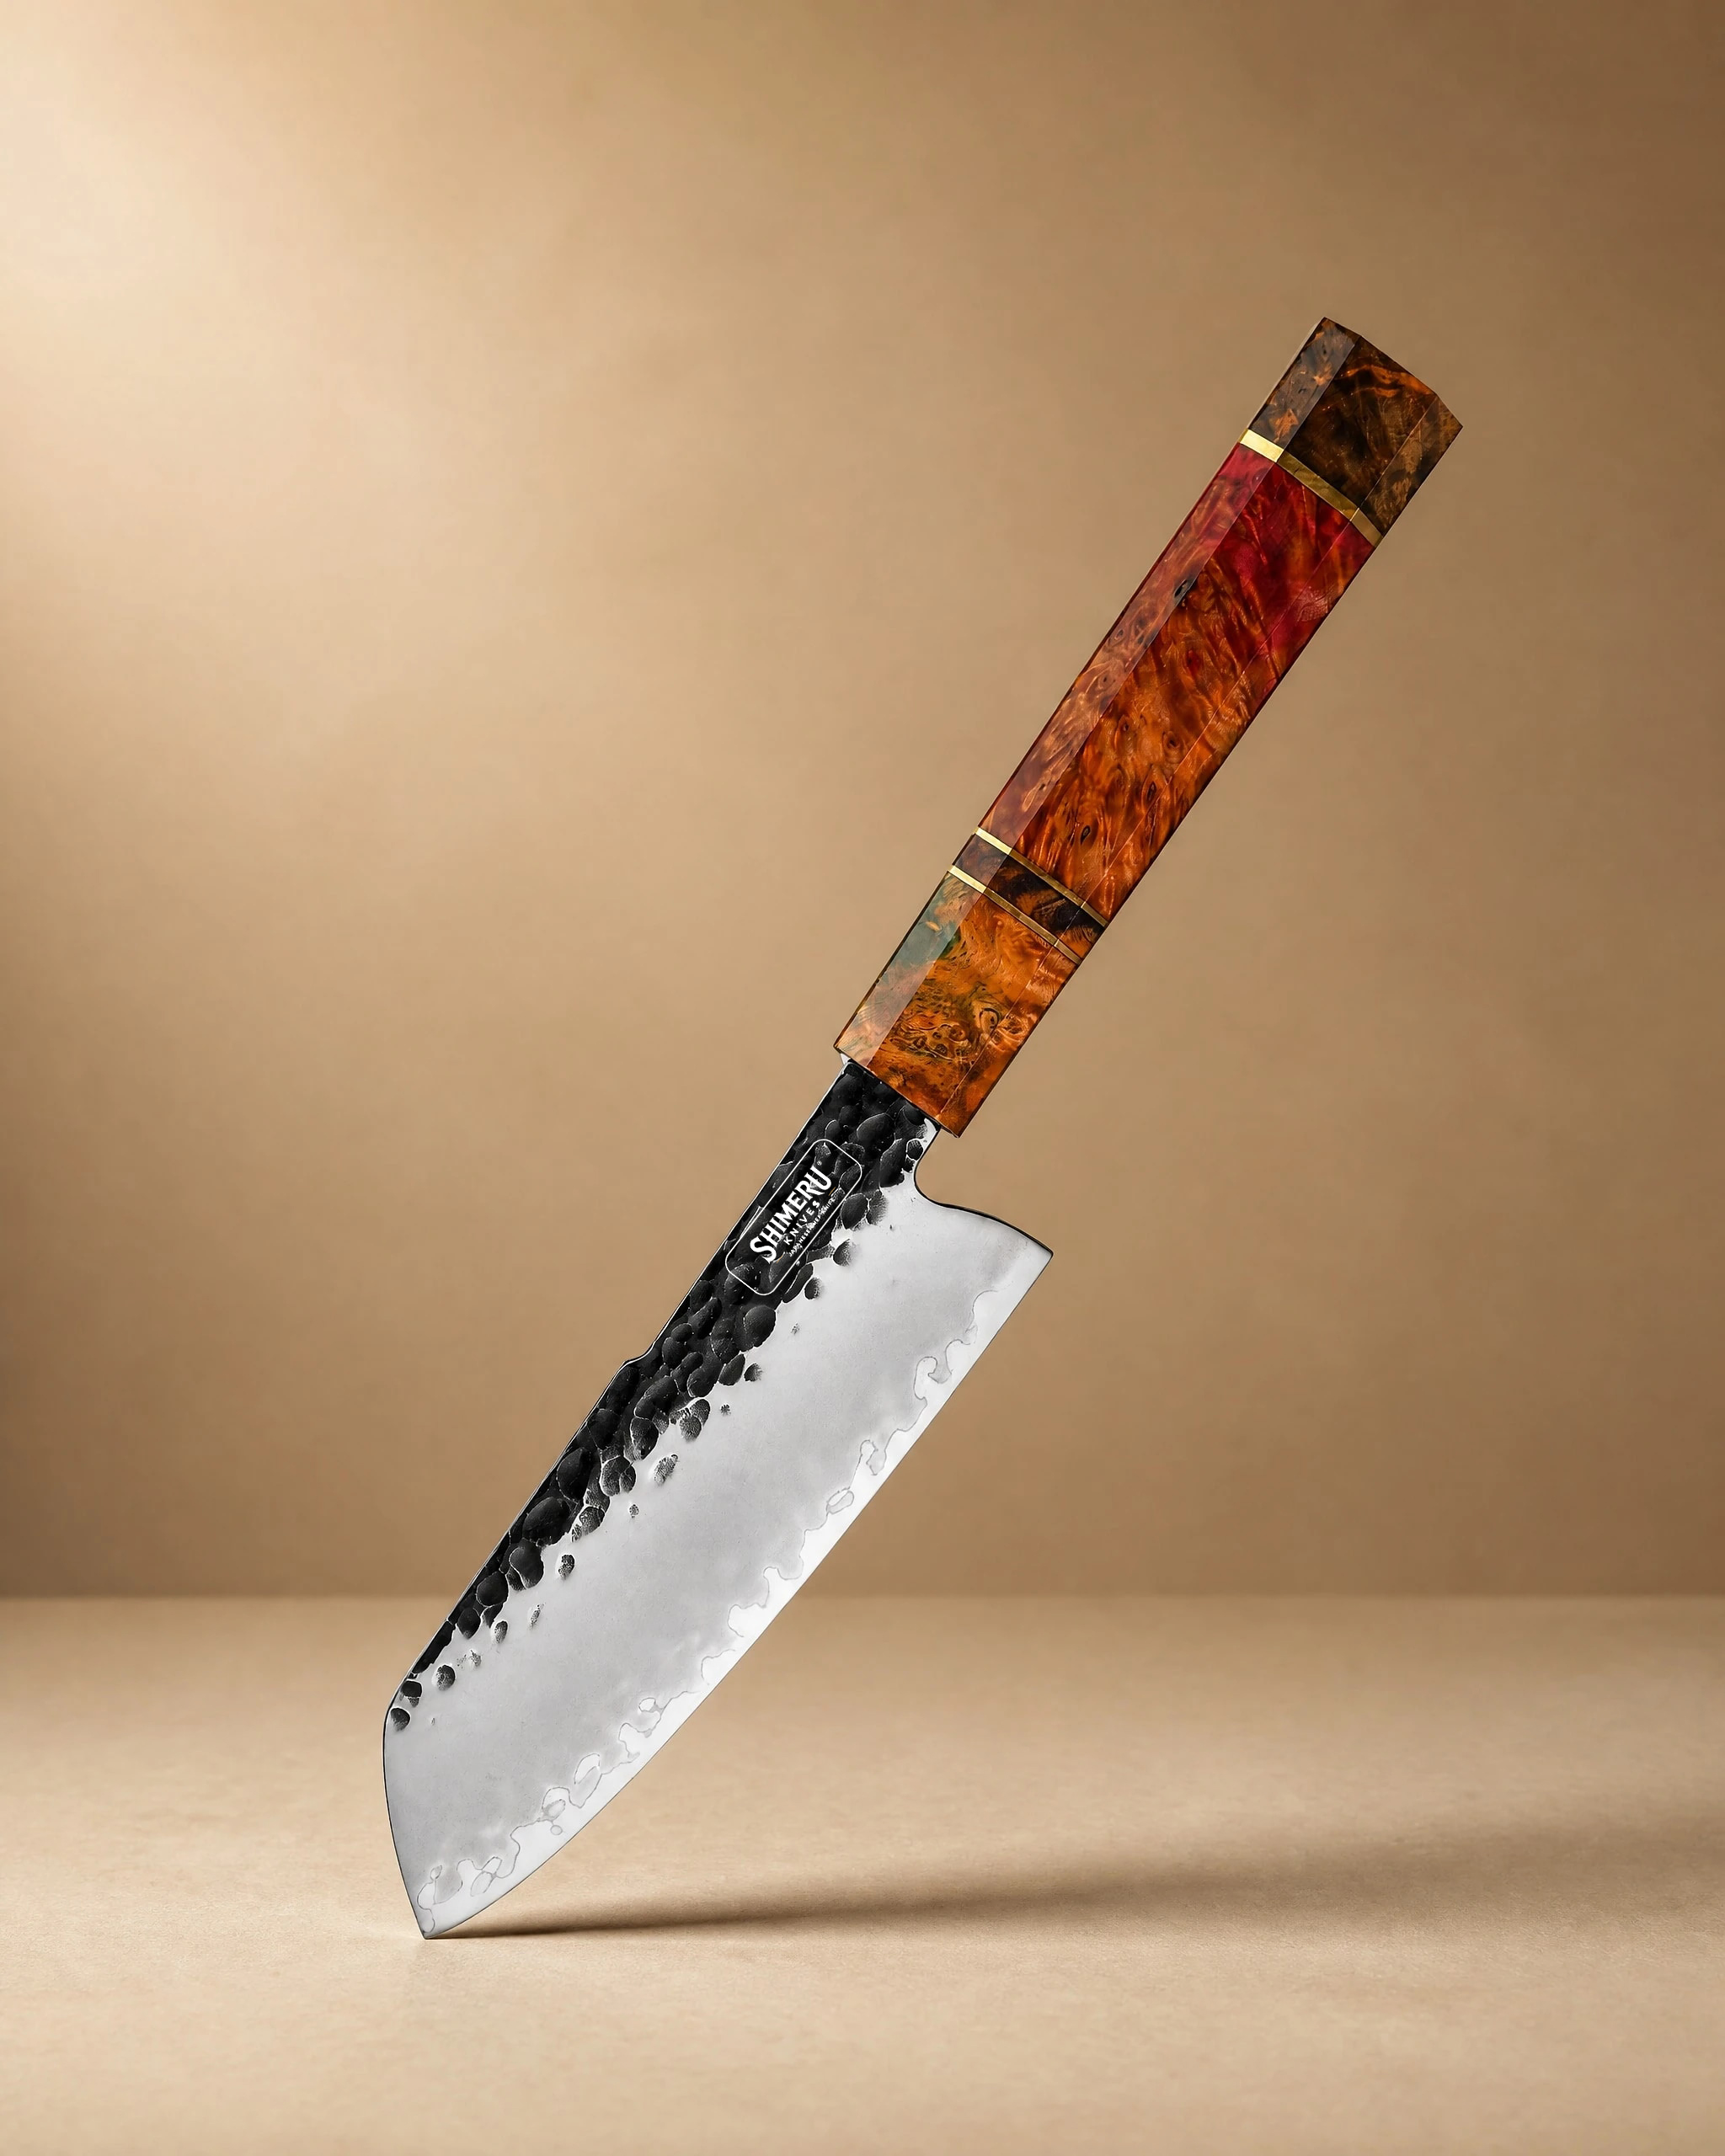 Ishikari 5" Santoku Knife 三徳包丁£64.99View product → has a short edge, so short, controlled strokes matter more than a long stone. It suits a compact whetstone, a ceramic rod used gently, or a guided system with a narrow clamp. The same applies if you have small hands or a small kitchen: a shorter blade is easier to keep flat and steady.
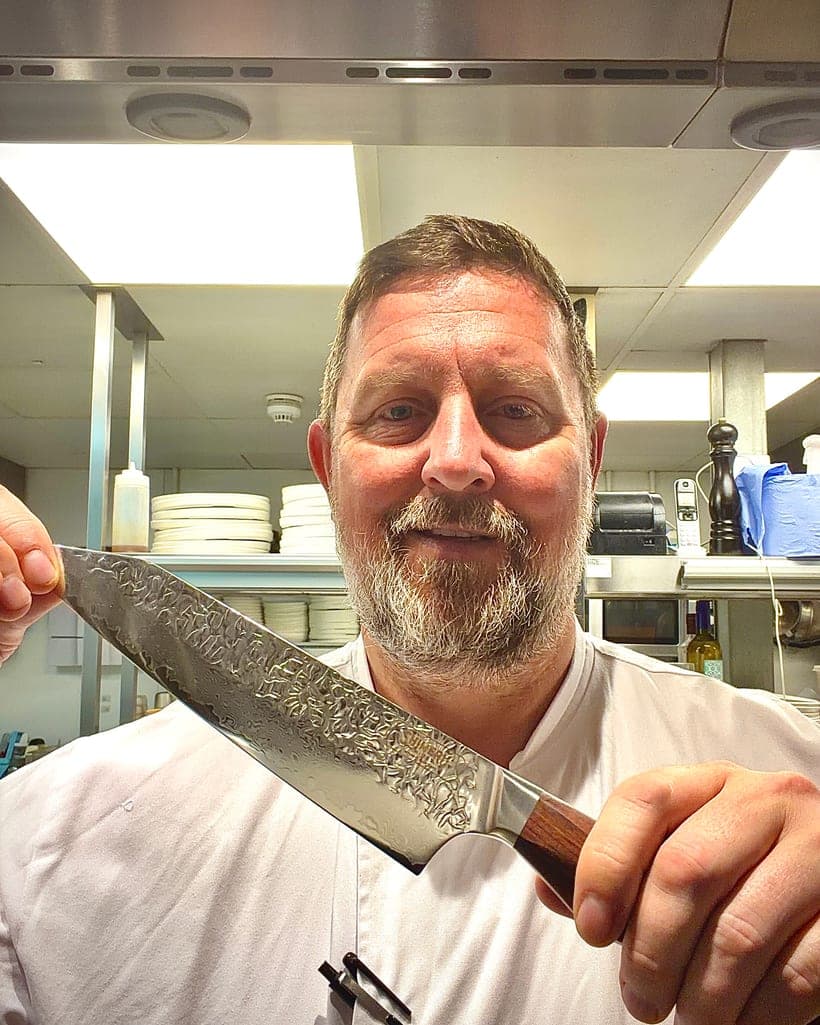
A 7 inch blade gives you more room to work and rewards a full sized stone. 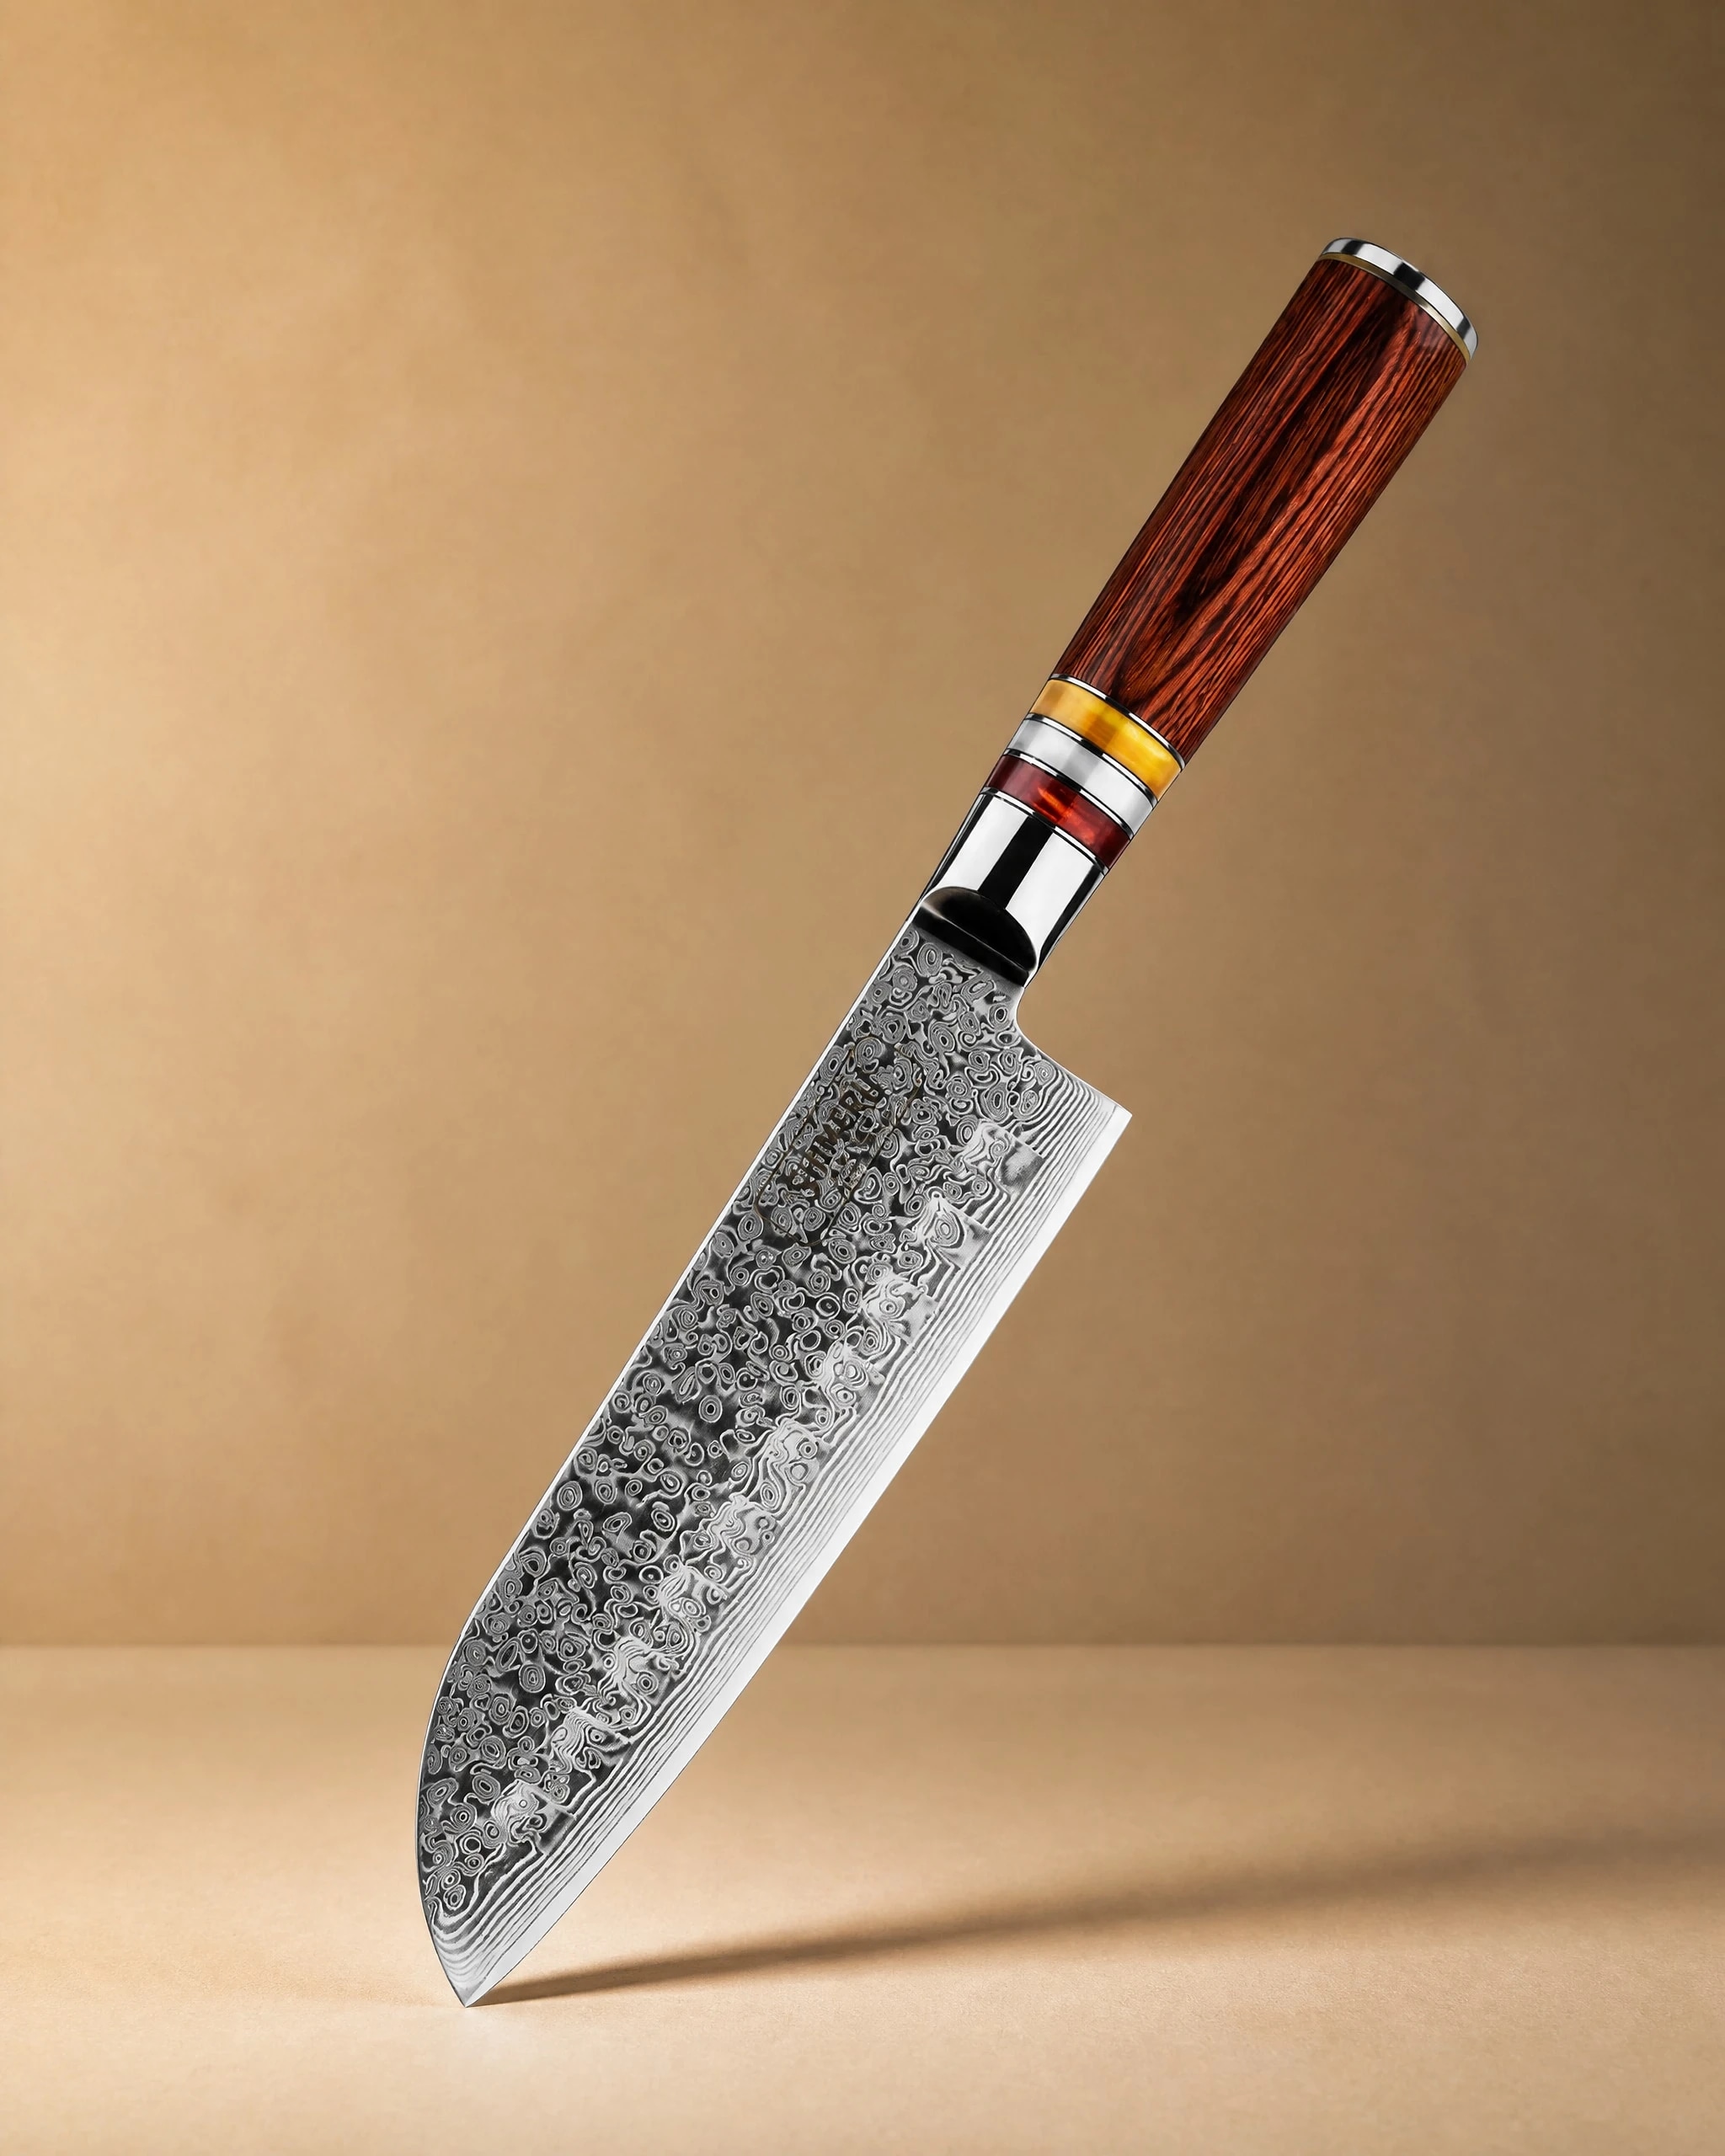 Hikari 光 7" Damacus Steel Professional Santoku Knife 三徳包丁£74.99View product → is built around a VG10 core with 67 layers of Damascus steel, and
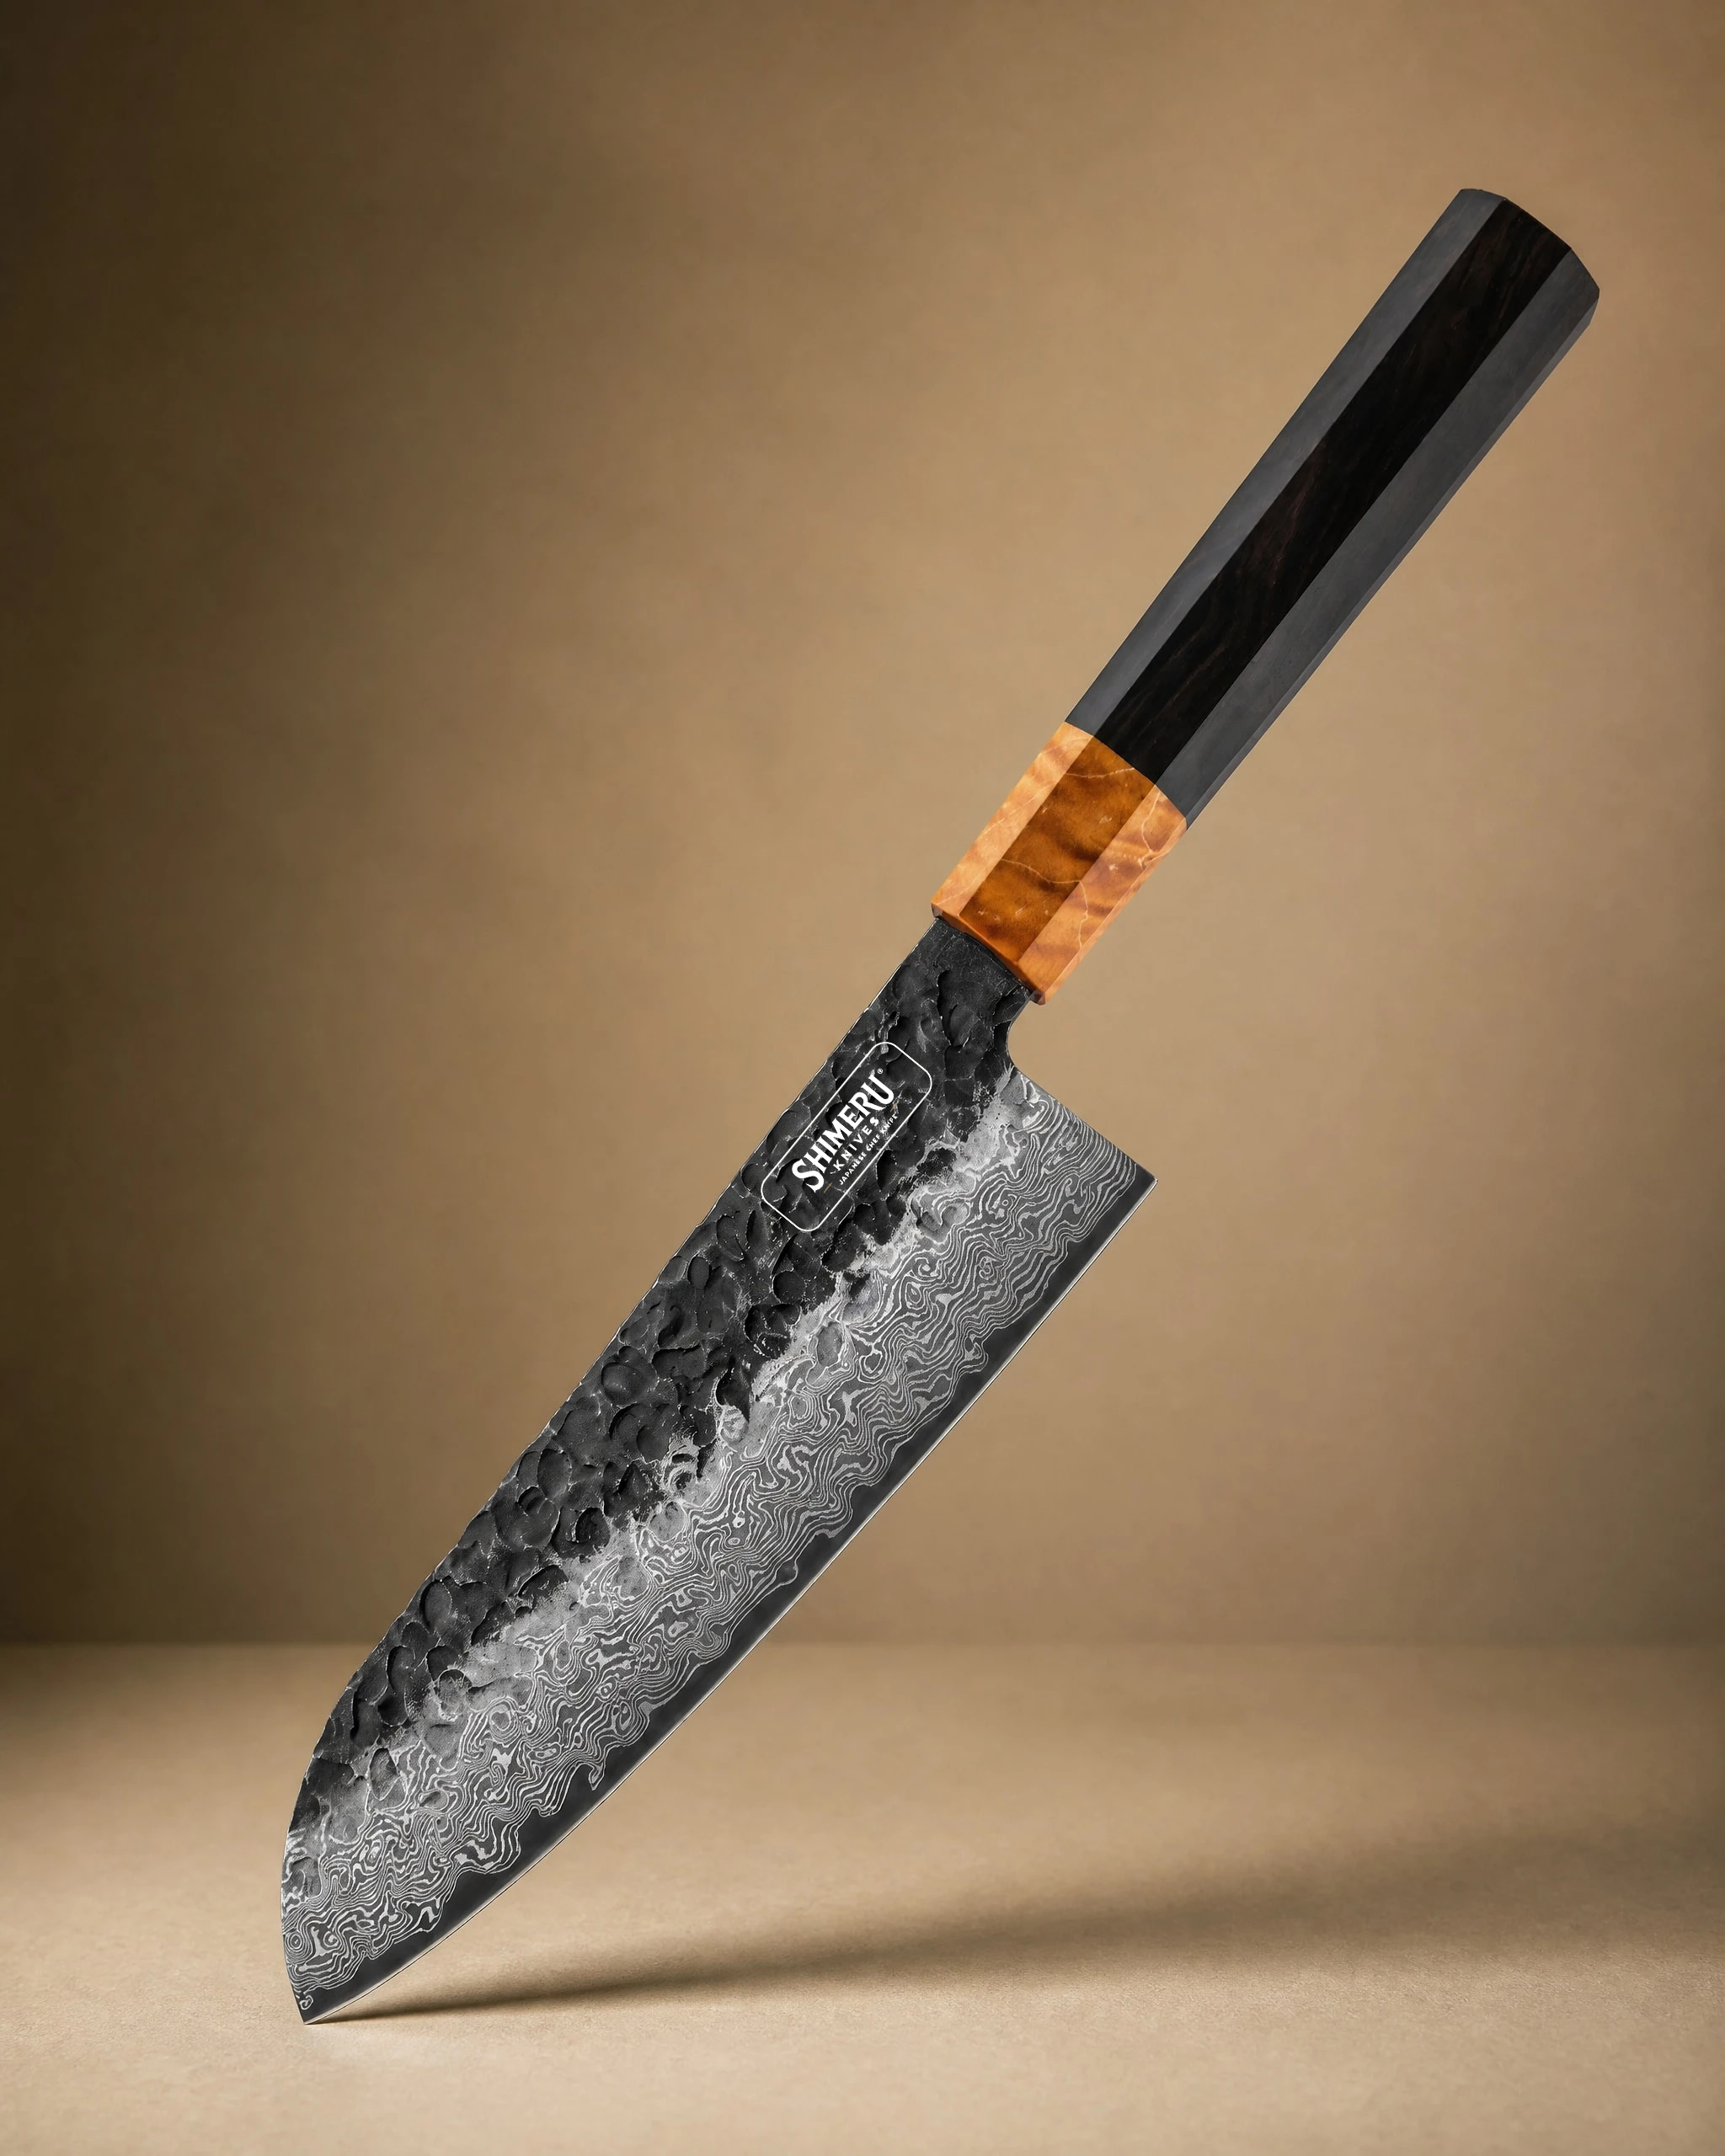 Dark Grain 7" Damascus Steel Santoku Knife 三徳包丁£79.99View product → uses a 67 layer AUS10 Damascus construction. Both are fine grained stainless steels that take a keen edge and hold it well. A hard, thin edge like that does not need aggressive material removal and will not thank you for a carbide pull-through. Use a medium stone, keep the angle consistent, and finish on something finer.
The shape of the tip matters too. 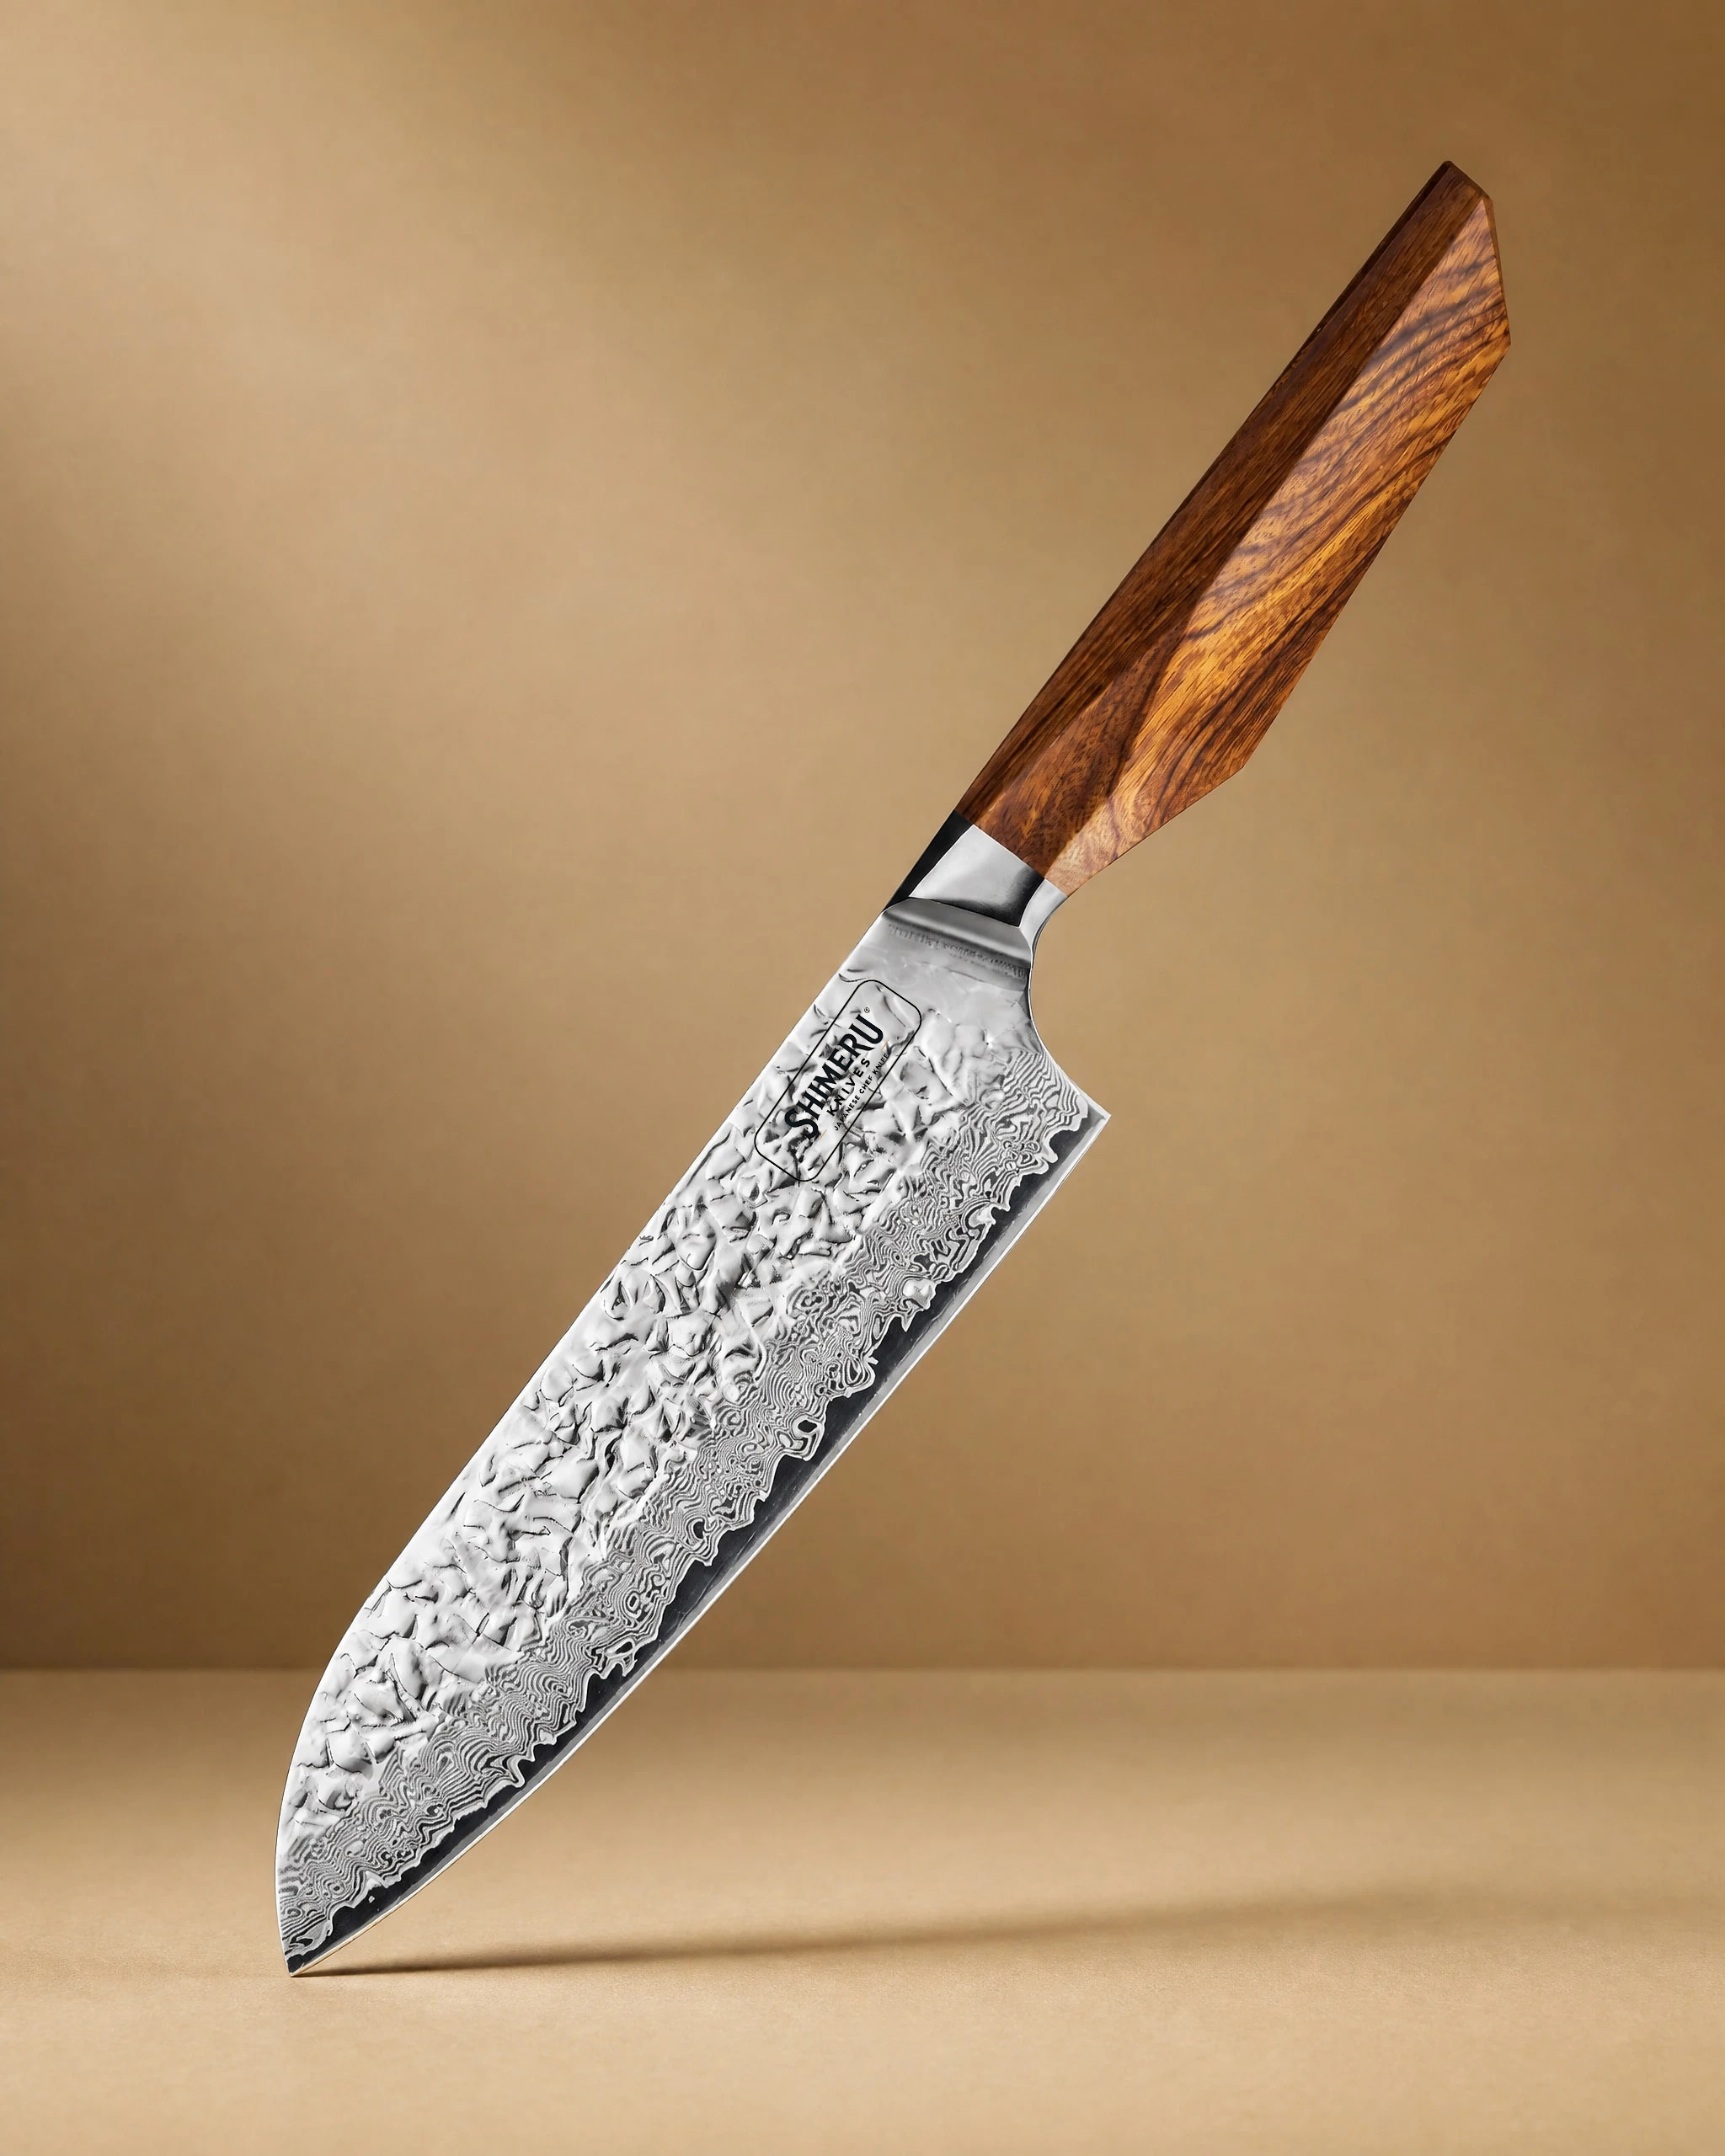 Shikoku 7" Damascus Steel Kengata Santoku 三徳包丁£79.99View product → is a kengata santoku, with an angled tip rather than a rounded one. When you sharpen towards the front of that blade, lift and rotate slightly so the angled section stays flat on the stone. Keep the same wrist angle all the way through and you will round the tip off within a few sessions.
Three ways to sharpen, and what each one costs you
- Whetstones. The most control and the best edge, with the steepest learning curve. A combination stone around 1000 and 6000 grit covers almost everything a home cook needs, and once you are consistent you take off the least steel.
- Ceramic honing rods. Not a sharpener in the strict sense. A fine ceramic rod straightens a slightly rolled edge and buys time between sessions. Light passes at the true angle only; heavy pressure removes steel unevenly.
- Pull-through and guided sharpeners. Fast and forgiving, and the right answer for some people. Carbide cutters are harsh on thin Japanese edges, and ceramic slots set a fixed angle that may not match your blade. A guided system with a stone or diamond plate is the better version of the idea.
If you own one santoku and cook most days, a 1000/6000 combination stone and a light ceramic rod will cover you for years. If you know you will not practise, a guided system with a diamond plate is more honest than a cheap pull-through that slowly eats the blade.
Sharpening a santoku on a whetstone, step by step
Soak a water stone for the time the maker recommends, or splash and go if it is a splash and go stone. Set it on a stable, damp cloth so it does not slide.
Keep the stone flat. A dished stone puts a curve into a blade that has a long flat run, and a santoku shows that curve quickly. Flatten the stone with a diamond plate every few sessions.
Find the angle by laying the blade flat, then lifting the spine until the bevel sits flush on the stone. Most Japanese kitchen knives sit around 15 degrees per side, and a santoku makes this easy to feel because the wide bevel contacts all at once. Lock your wrists and move from the shoulders, not the elbows.
Work in sections along the edge, heel to tip, using the full length of the stone so it wears evenly. Keep the pressure light. On the flat run of a santoku edge that is straightforward. As you reach the belly, lift the handle slightly and rotate the blade so the curve stays in contact. At the tip, finish with short strokes rather than lifting off.
Check for a burr along the whole edge with a fingertip, moving across the edge, never along it. When the burr runs from heel to tip, the first side is done. Flip the knife and repeat, matching the stroke count and the pressure.
Then refine: a few very light passes on a finer stone, alternating sides, to remove the burr and polish the edge. Finish with two or three edge trailing strokes at the same angle, using barely the weight of the blade. Test on a sheet of paper or a ripe tomato, not on your thumb.

Angle control on a wide bevel
The wide bevel on a santoku is your friend. Colour the bevel with a marker pen, take three or four strokes, and look at where the ink has gone. If the ink disappears at the top of the bevel only, your angle is too low. If it disappears at the very edge only, it is too high. Adjust and repeat until the whole bevel cleans up evenly.
Do this once and you will know your angle for that knife for good. It takes five minutes and saves a lot of steel.
How often should you sharpen?
For a home cook using one santoku most days, a full sharpening every six to ten weeks is a reasonable rhythm, with light rod work in between. That is a starting point, not a rule. Three things shorten the interval: a hard or glass board, a heavy hand with the rod, and cutting on the plate instead of the board.
Do not sharpen just because a knife feels slightly less sharp. Try twenty light passes on a ceramic rod first. If the edge comes back, it did not need the stone. If it does not, sharpen properly rather than pressing harder.
Daily habits that keep an edge longer
Use a wooden or soft plastic board. End grain wood is kindest to an edge, and bamboo is harder than it looks because of the silica in the fibres. Wash and dry the knife by hand straight after use, and put it away dry. A dishwasher will ruin a handle and can chip an edge against other items.
Store the knife on a magnetic strip, in a slot, or in its box. Loose in a drawer with other tools is how most chips happen. Our knife care guide covers the full routine.
Choosing a santoku worth sharpening
A knife you can sharpen well is a knife you will keep for years, so buy for geometry and steel rather than for the number of layers in the cladding. Browse the full santoku range to compare lengths and shapes side by side, or look through all our knives if you are still deciding between a santoku and a chef's knife.
If you are unsure which length suits your board and your cooking, our knife buying guide walks through the trade offs. A 5 inch blade is nimble for small prep; a 7 inch blade does more per stroke and leaves more room on the stone. Neither is better, they suit different kitchens.
Learn to hold the angle on one knife before you buy a second. Sharpening is a skill that transfers, and a santoku with a wide bevel is one of the easiest blades to learn it on.
Photography: Richard Iwaki via Unsplash.

