





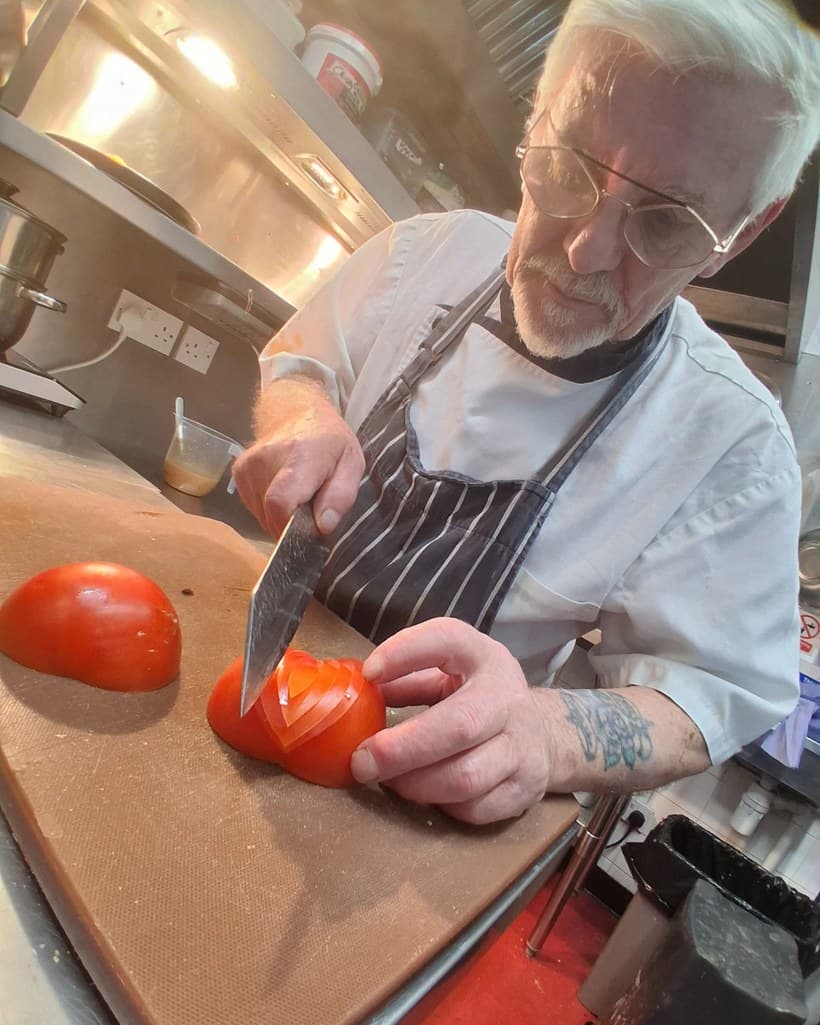
Best Knife Stone Sharpeners for Japanese Blades

Why a stone still beats every sharpening gadget
A pull through sharpener removes metal quickly and leaves a ragged edge behind. An electric machine does much the same, only louder and with less control. A whetstone cuts a clean bevel, takes off only what the edge needs, and lets you decide how refined the finish should be. On a Japanese blade that matters more than on a soft European knife: the hard steel is thin behind the edge, the geometry is deliberate, and a scraper style sharpener flattens the very thing you paid for.
There is a learning curve. Most people need two or three sessions before the angle holds steady and the burr forms predictably. After that, a stone is quicker than digging a machine out of a cupboard, and a good one will outlast several knives. What follows is an honest guide to choosing the best knife stone sharpener for the blades you actually own, including which grits to buy first and which to leave on the shelf.
What separates a good stone from a mediocre one
Four things decide whether a whetstone is a pleasure to use or a source of frustration.
- Grit. The number tells you how coarse the abrasive is. Lower numbers cut faster and leave a toothier edge, higher numbers polish. A 1000 grit stone is the workhorse for kitchen knives.
- Size. Around 200mm long and 70mm wide gives you room for a full stroke and keeps the angle steadier. Pocket stones are for the field, not for a 210mm gyuto.
- Water behaviour. Some stones want a ten minute soak, others only a splash. Neither is superior, but a splash and go stone is easier to live with in a small kitchen.
- Flatness. Every stone dishes in the middle with use. A dished stone cannot produce a straight edge, so budget for a flattening plate or coarse wet and dry paper on a sheet of glass.
Hardness sits behind all of it. A very soft stone feels silky and cuts quickly, but it hollows out fast. A very hard stone stays flat for months and rewards a light hand, though it can skate over hard steel if you lean on it. For Japanese knives with hard cores, a medium hardness stone is the sensible middle ground: forgiving enough for a beginner, flat enough to be accurate.
Which grits to buy, and in what order
Ignore the sets that advertise eight stones from 240 to 10000 grit. Most of that range is decoration. Three stones cover everything a home kitchen needs, and two of them will do for years.
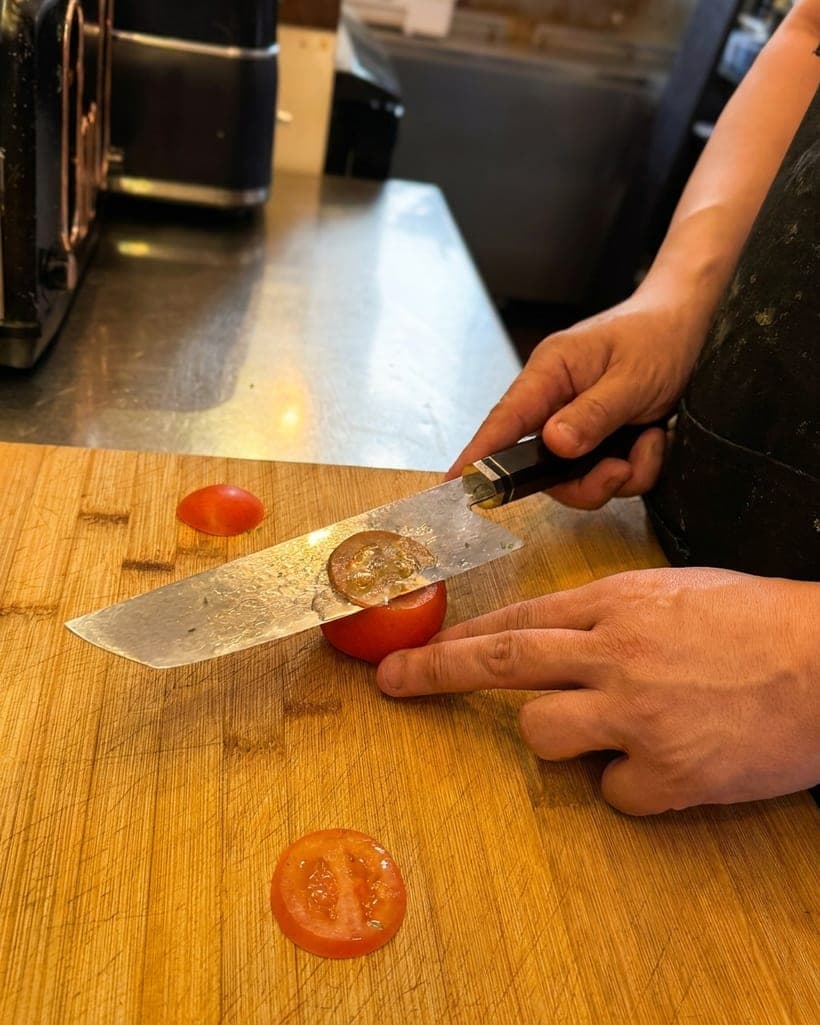
Start with 1000 grit. It is coarse enough to raise a burr on a dull knife in a few minutes and fine enough to leave an edge that bites into a tomato skin. If you buy only one stone, this is it.
Add a 3000 to 5000 grit for refinement. This is the step that makes a gyuto feel effortless through raw fish and soft vegetables, and it is the one most people notice first. It is a luxury rather than a necessity.
Add a coarse 220 to 400 grit stone only for repair: a chipped edge, a knife that has never been properly apexed, or a new blade whose bevel needs setting. Used routinely, a coarse stone takes years off a knife. Keep it for damage.
Between those three you can maintain any kitchen knife indefinitely.
Matching the stone to the knife you sharpen
Different blades ask for slightly different treatment. Spend your money where you use your hands most, because a stone that suits one knife can be tedious on another.
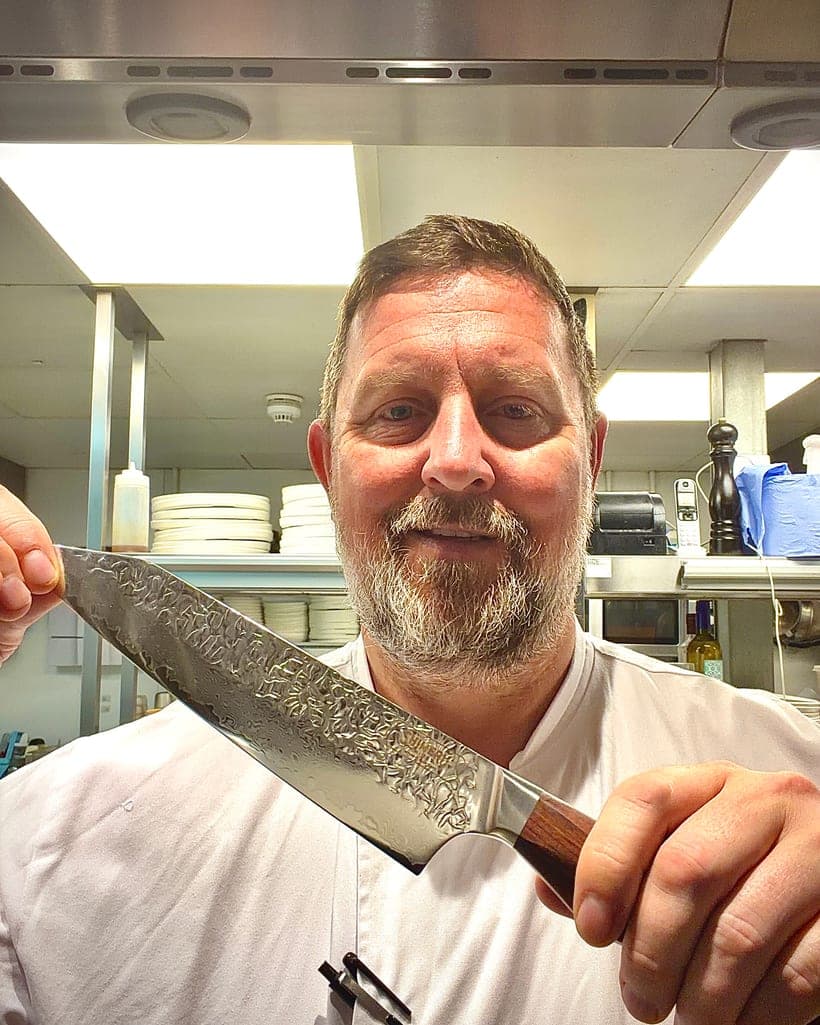
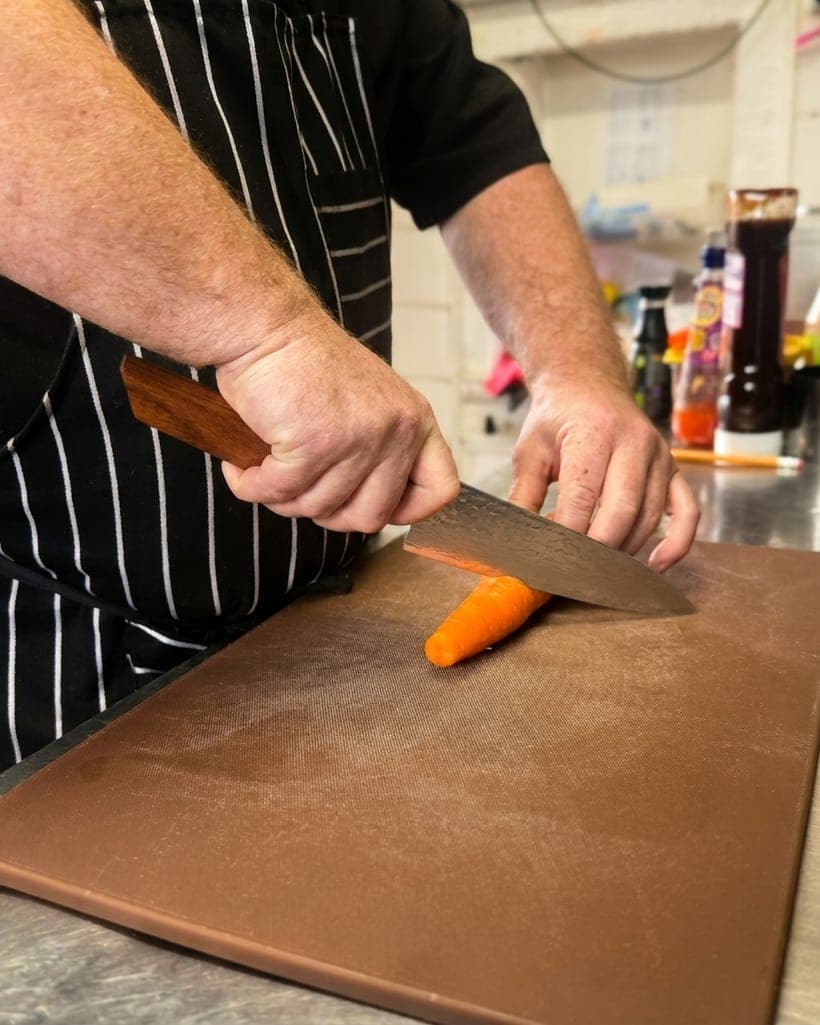
If your main knife is the 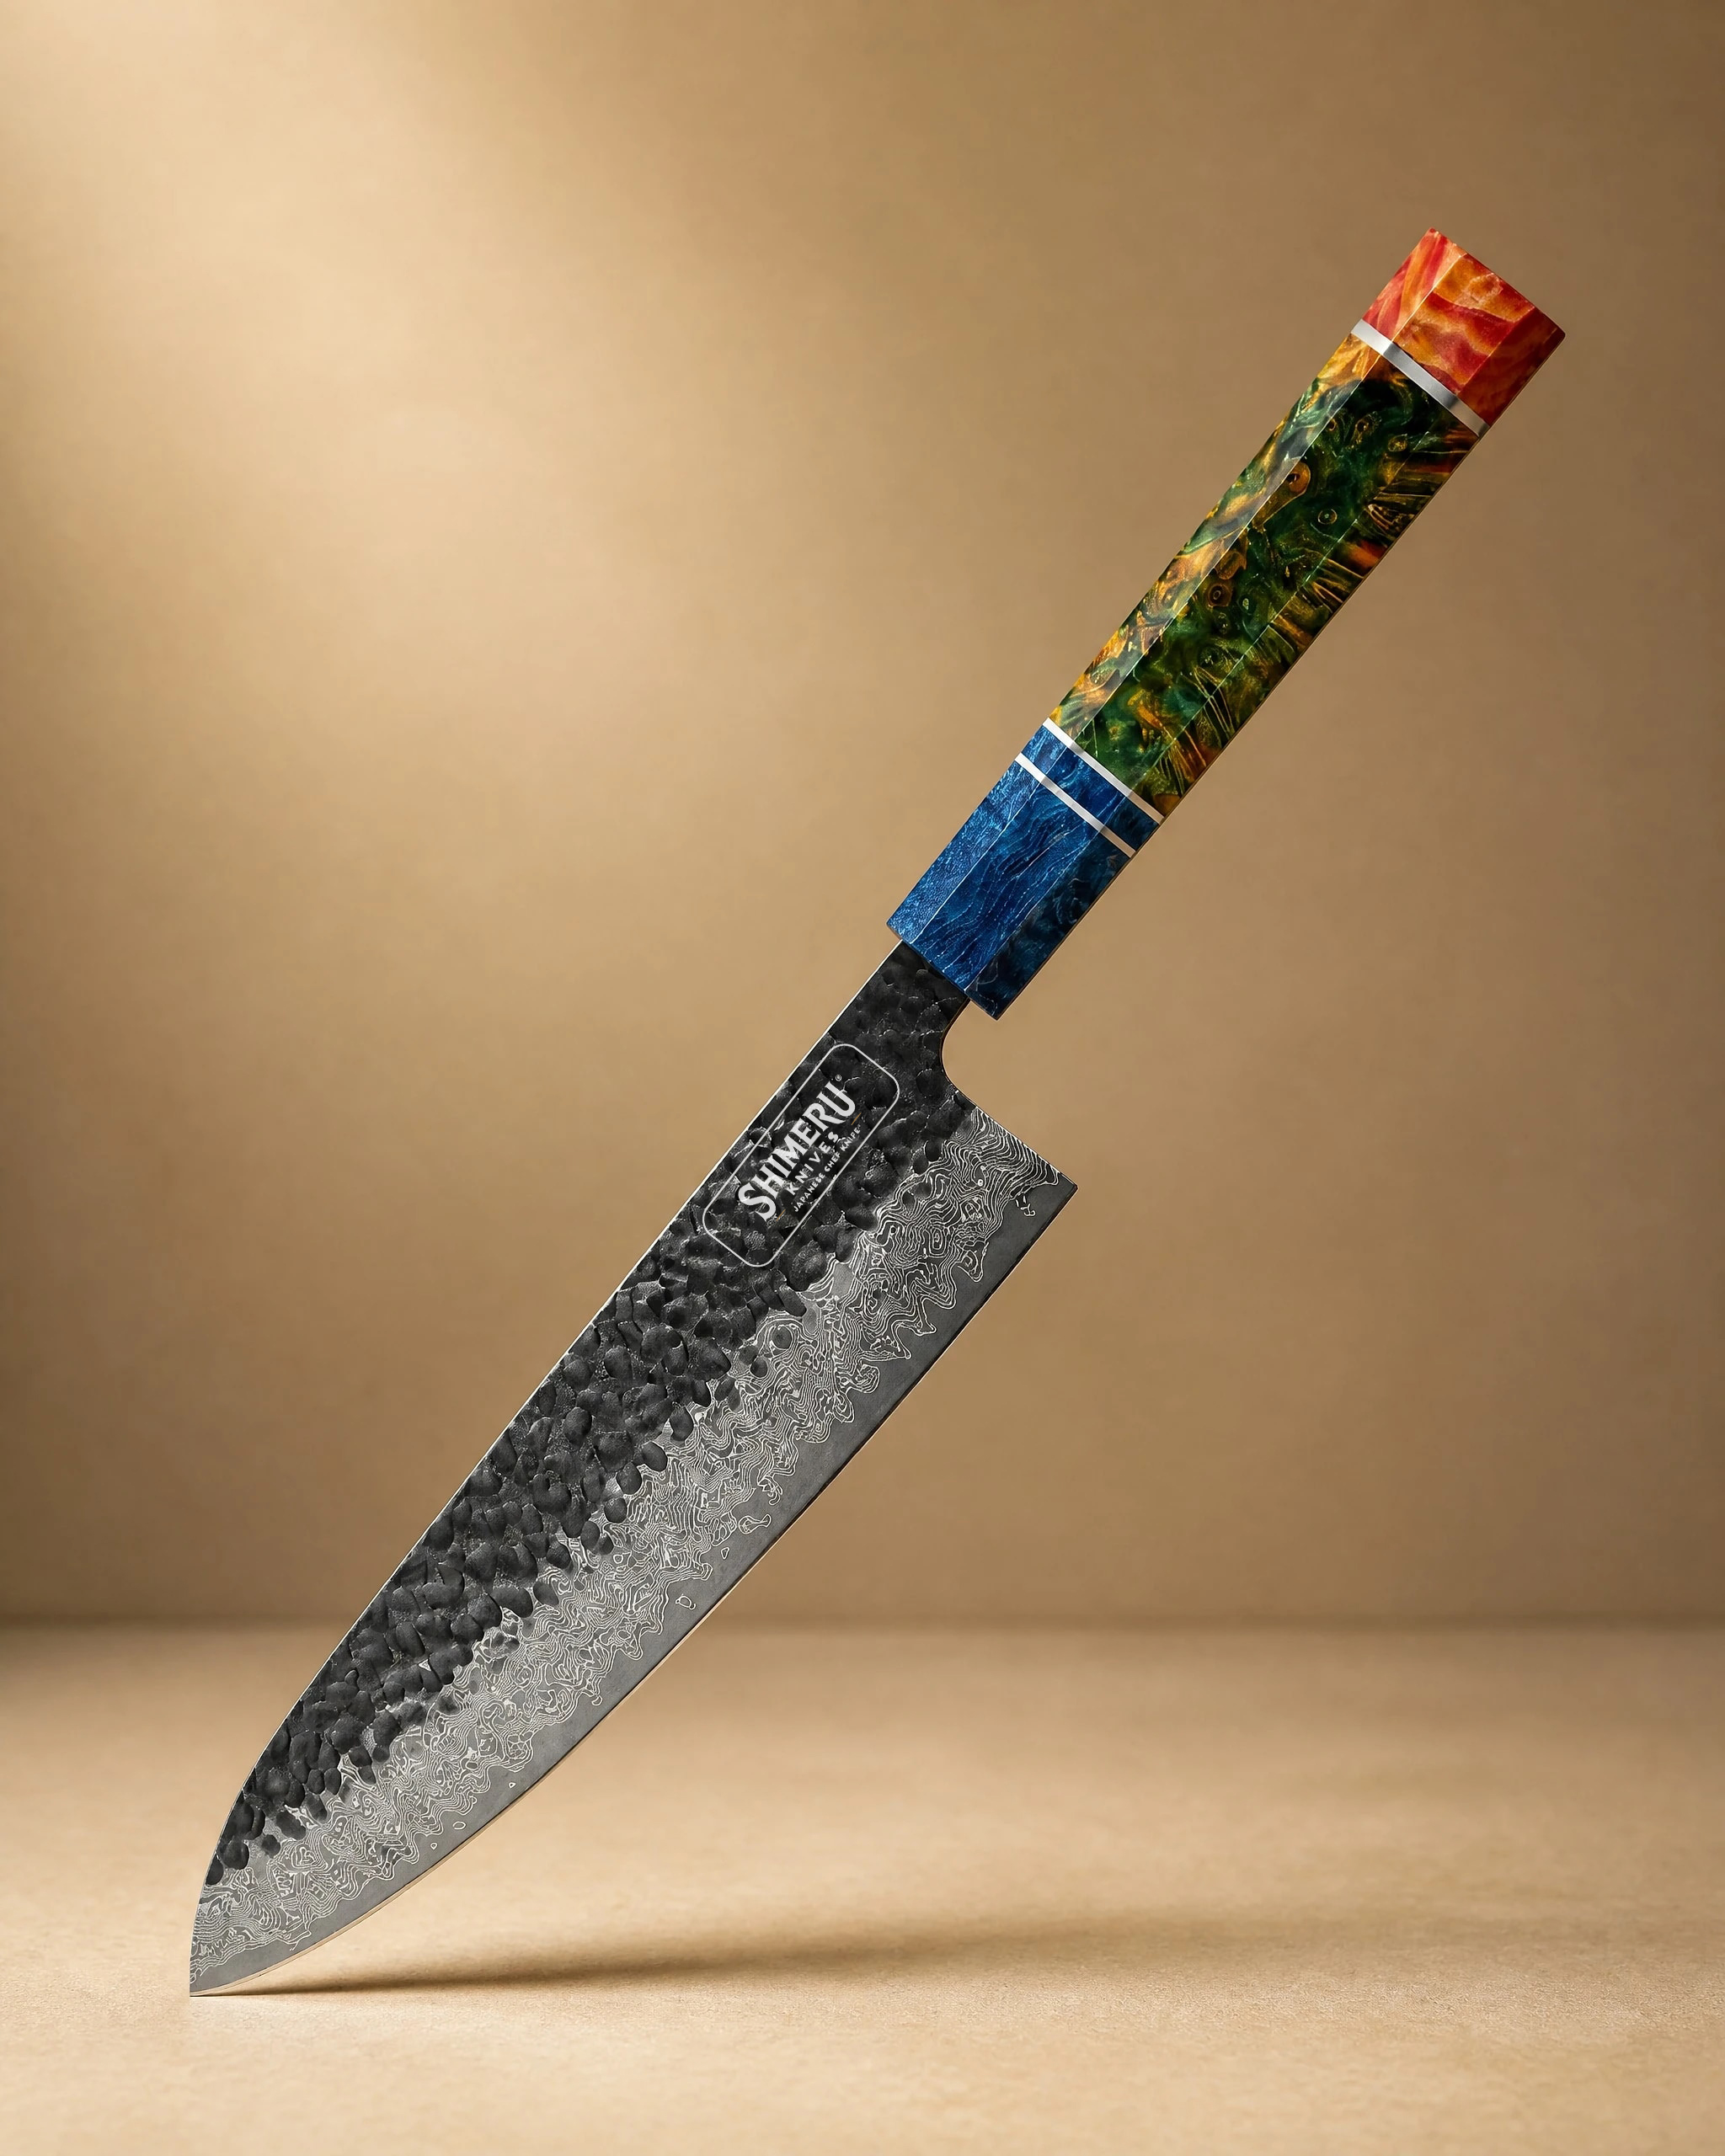 Yoshii 8″ Damascus Steel Gyuto Knife 牛刀£84.99View product →, you are working on a thin blade with a hard core and 67 layers of Damascus cladding. It wants a 1000 grit stone to reach the apex and a 3000 for the finish, both used with light pressure. Heavy work on a coarse stone will thin the cladding long before the core needs it.
The 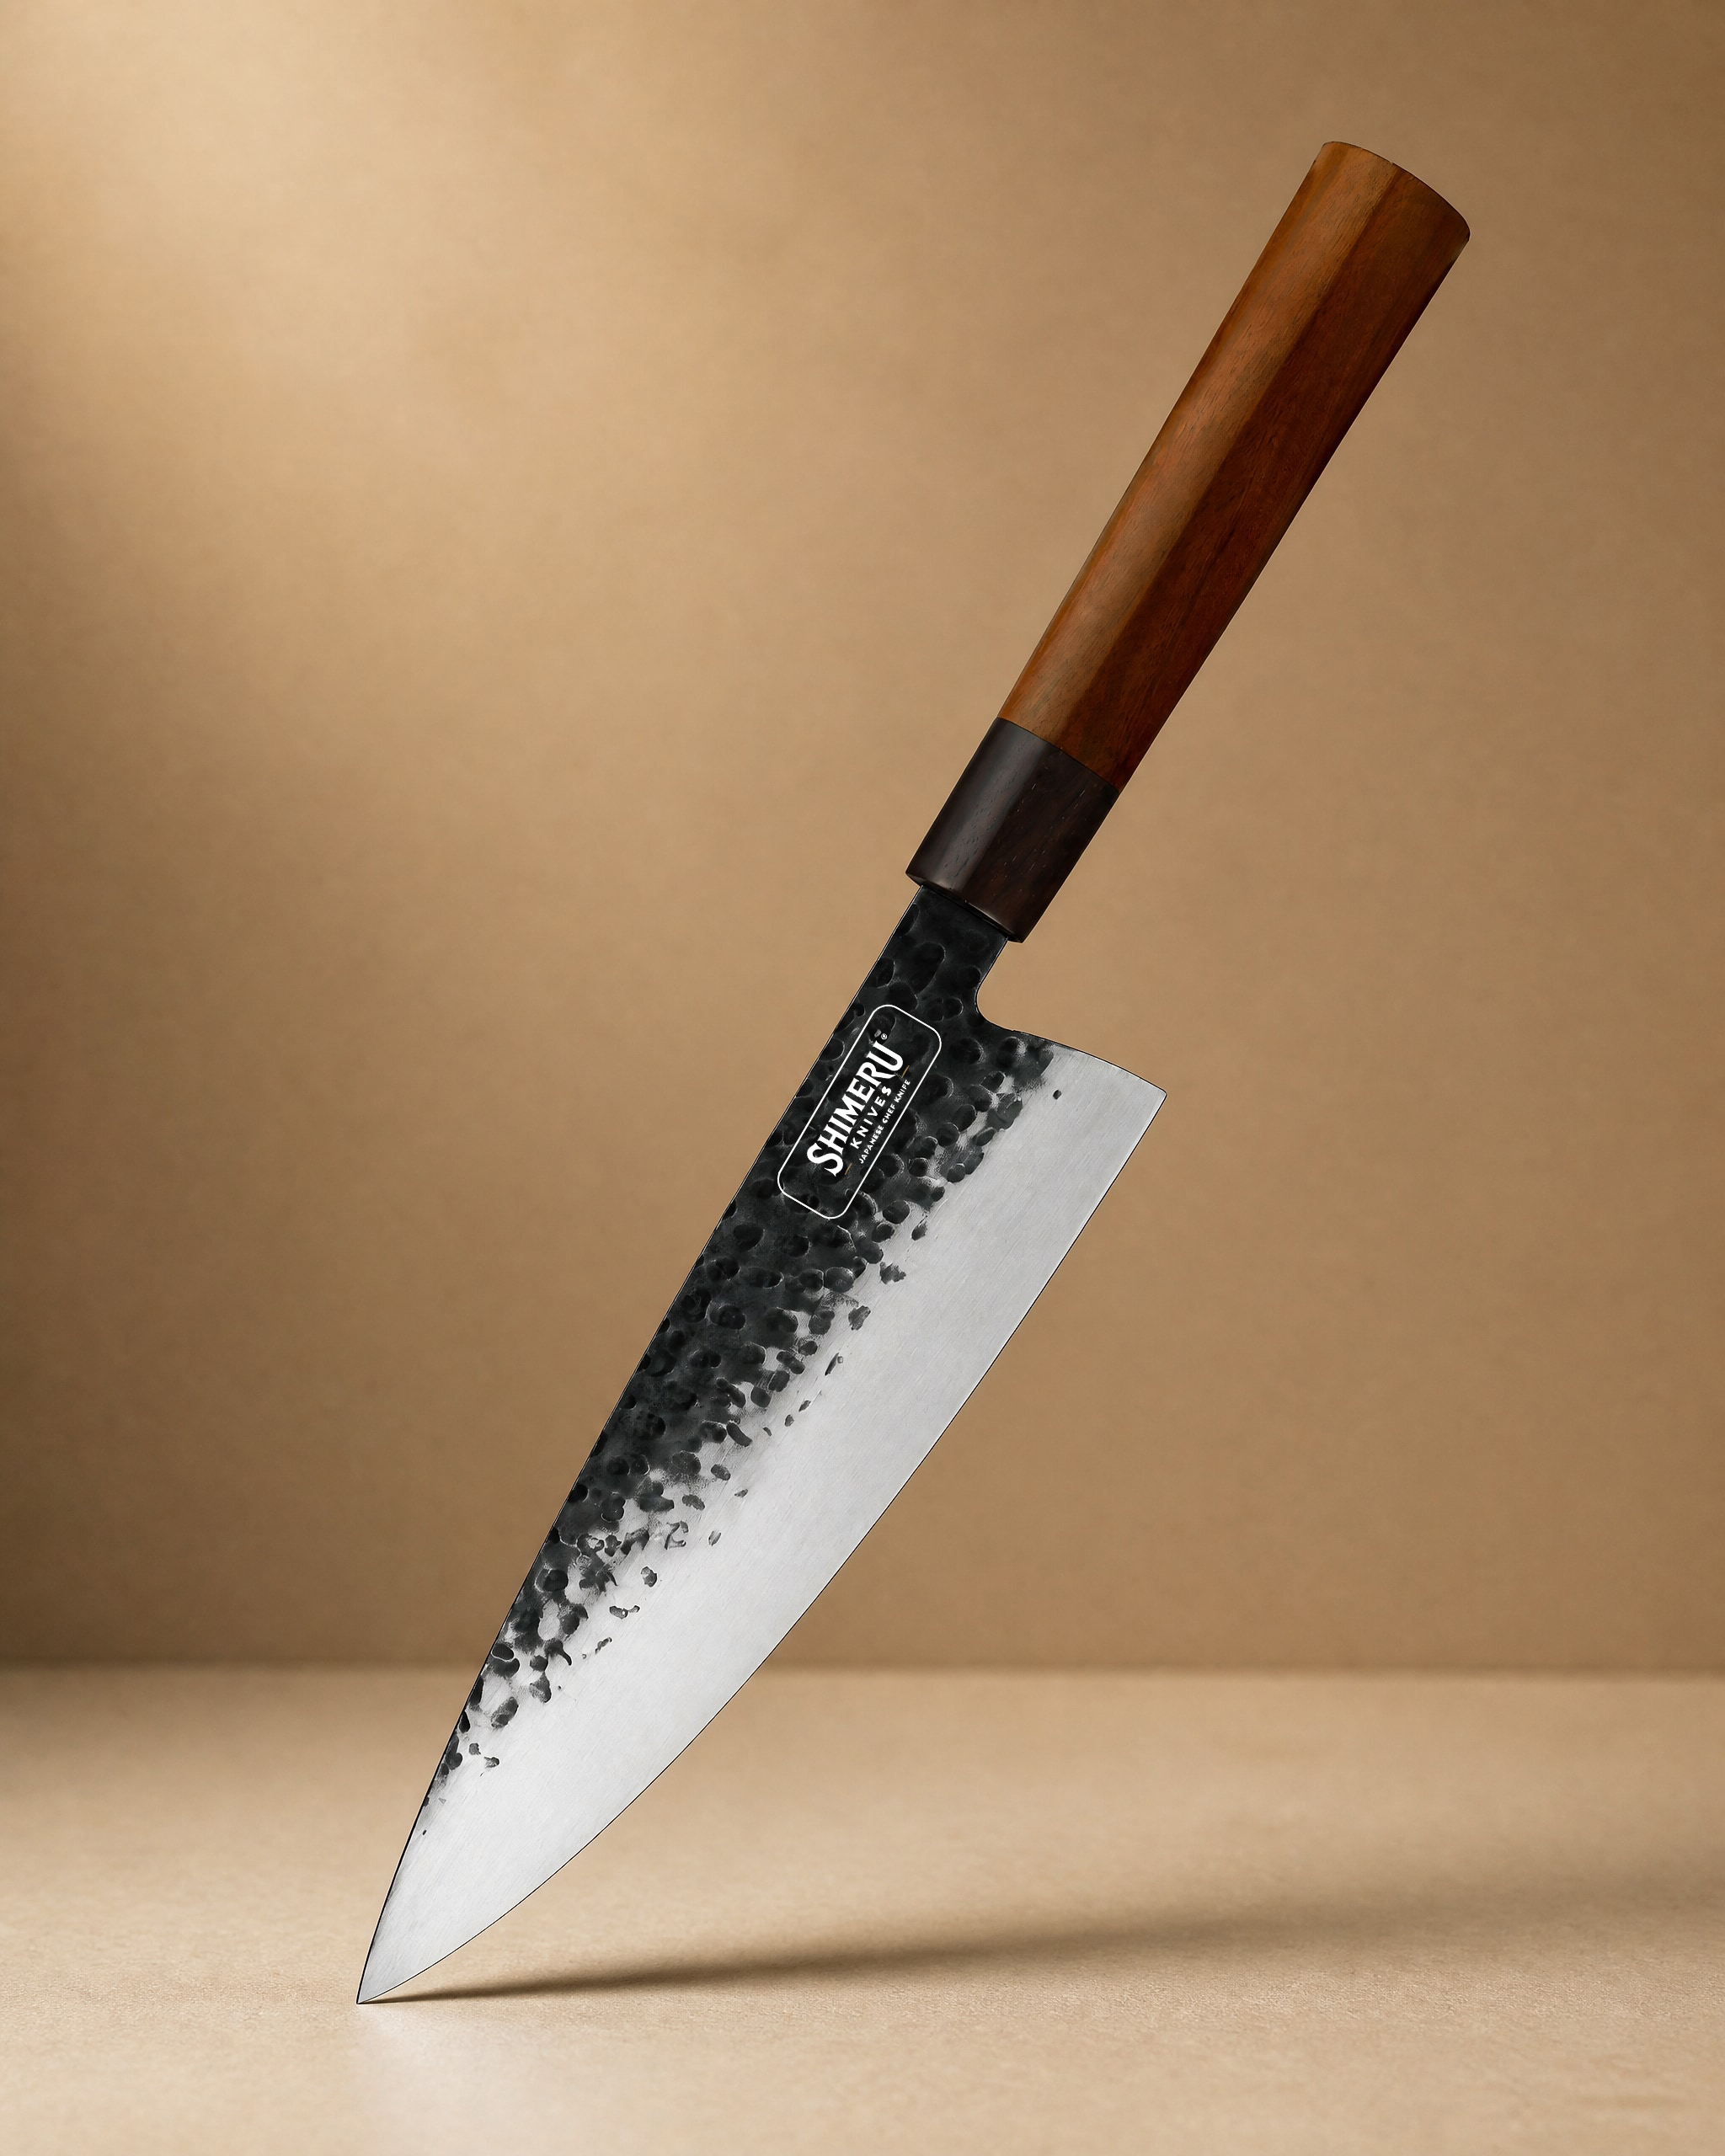 Tokachi 8.5" Gyuto Chef Knife 牛刀£64.99View product → is a longer edge at 8.5 inches, and length is where stone size earns its keep. A 200mm stone lets you run a full stroke from heel to tip, while a short stone forces overlapping passes that make a consistent angle harder to hold.
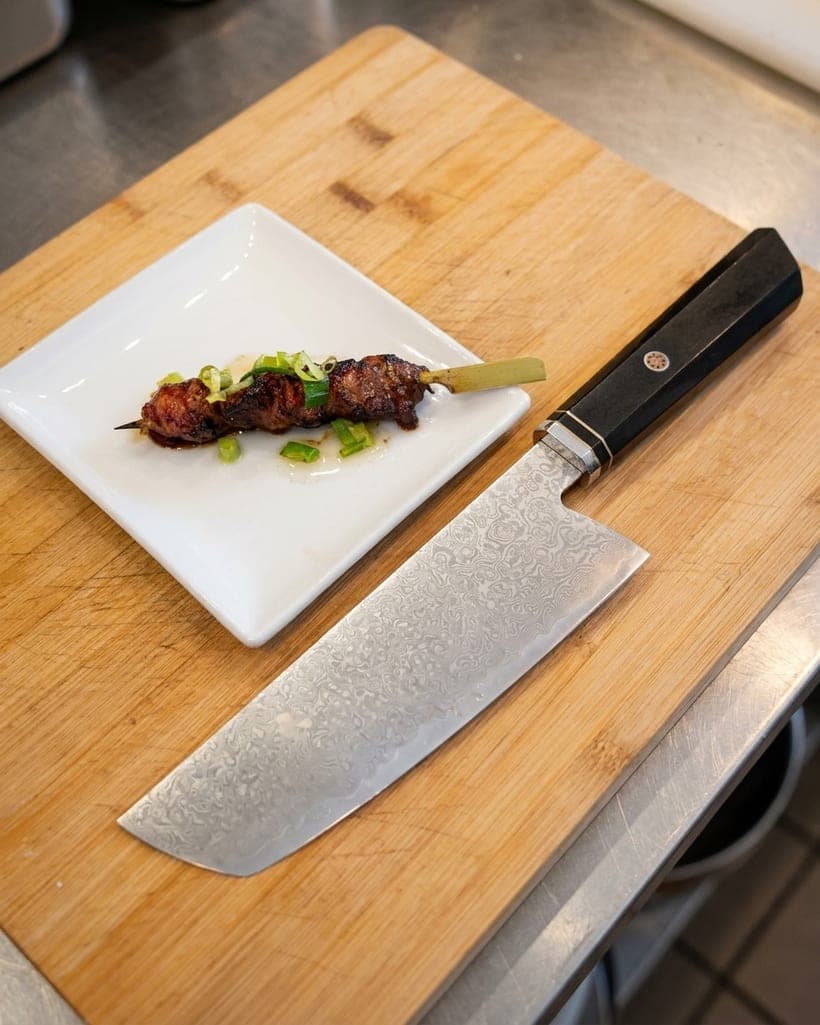
The 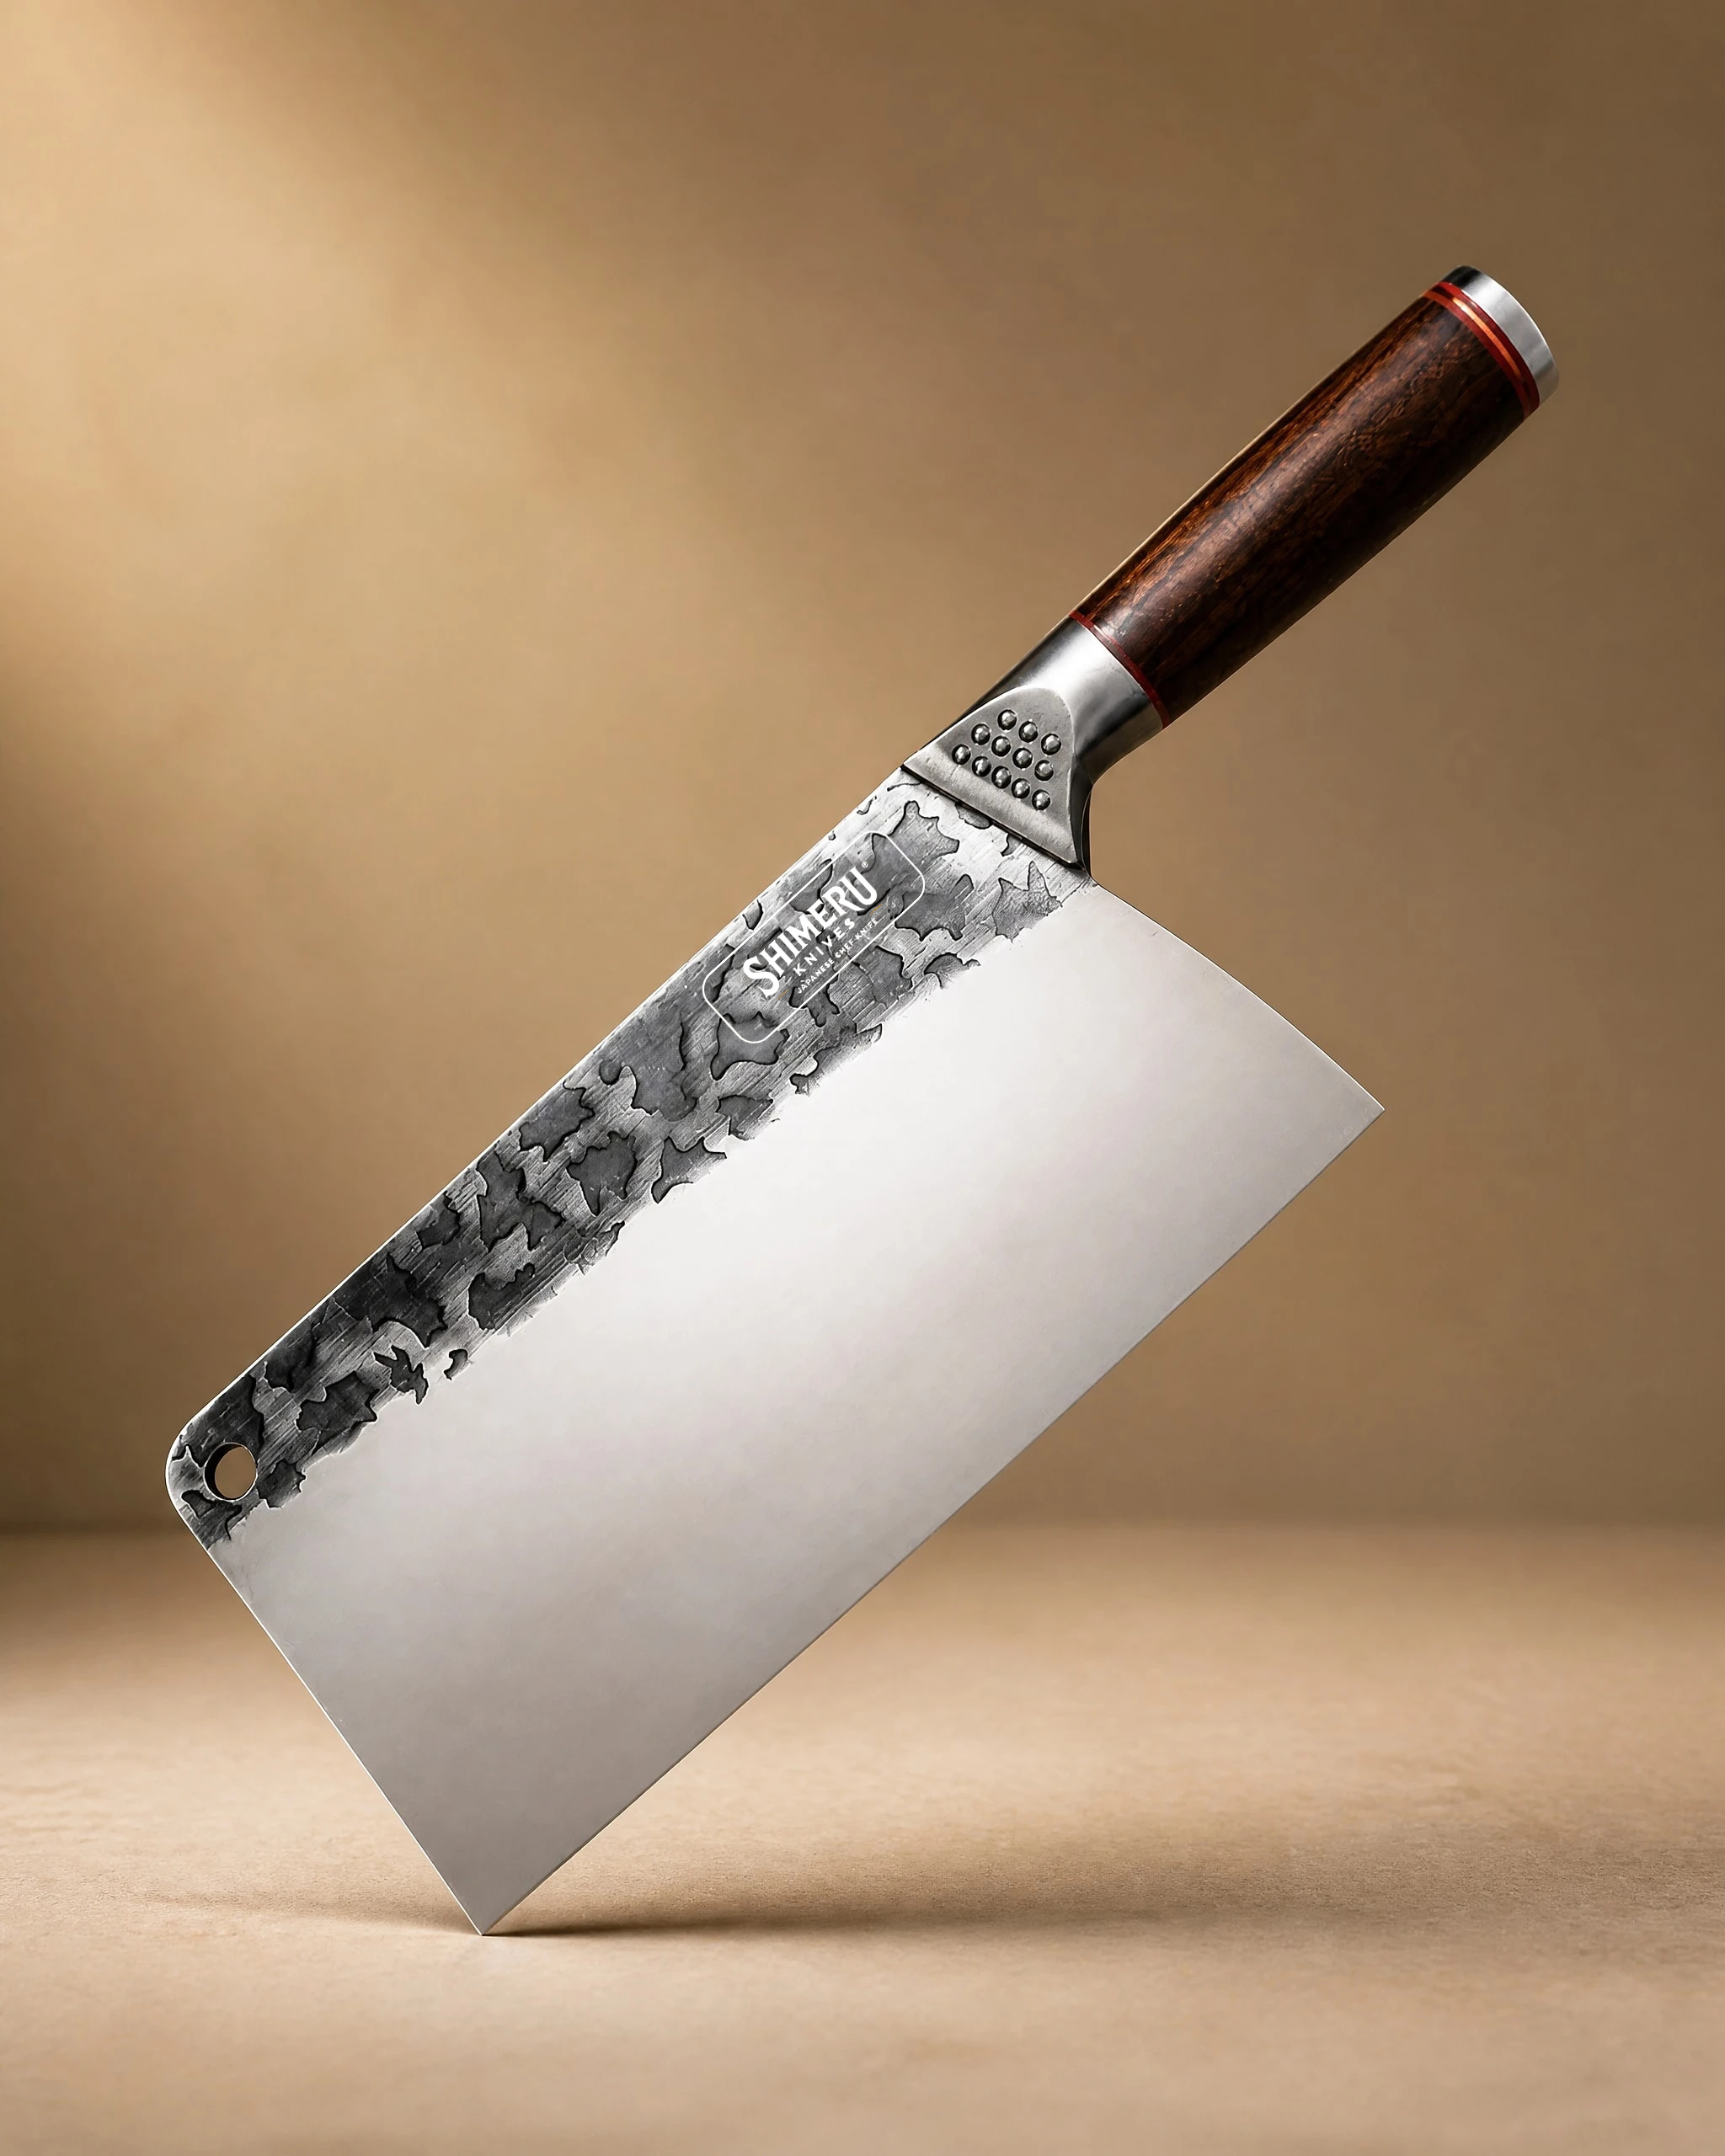 Saba 7" Stainless Steel Cleaver 中華包丁£49.99View product → is a working cleaver for meat, vegetables and herbs. It needs a clean 1000 grit edge, properly deburred, and nothing else. Polishing it to a mirror finish makes it slide through sinew but costs it the bite that makes short work of soft herbs.
If you are looking after the 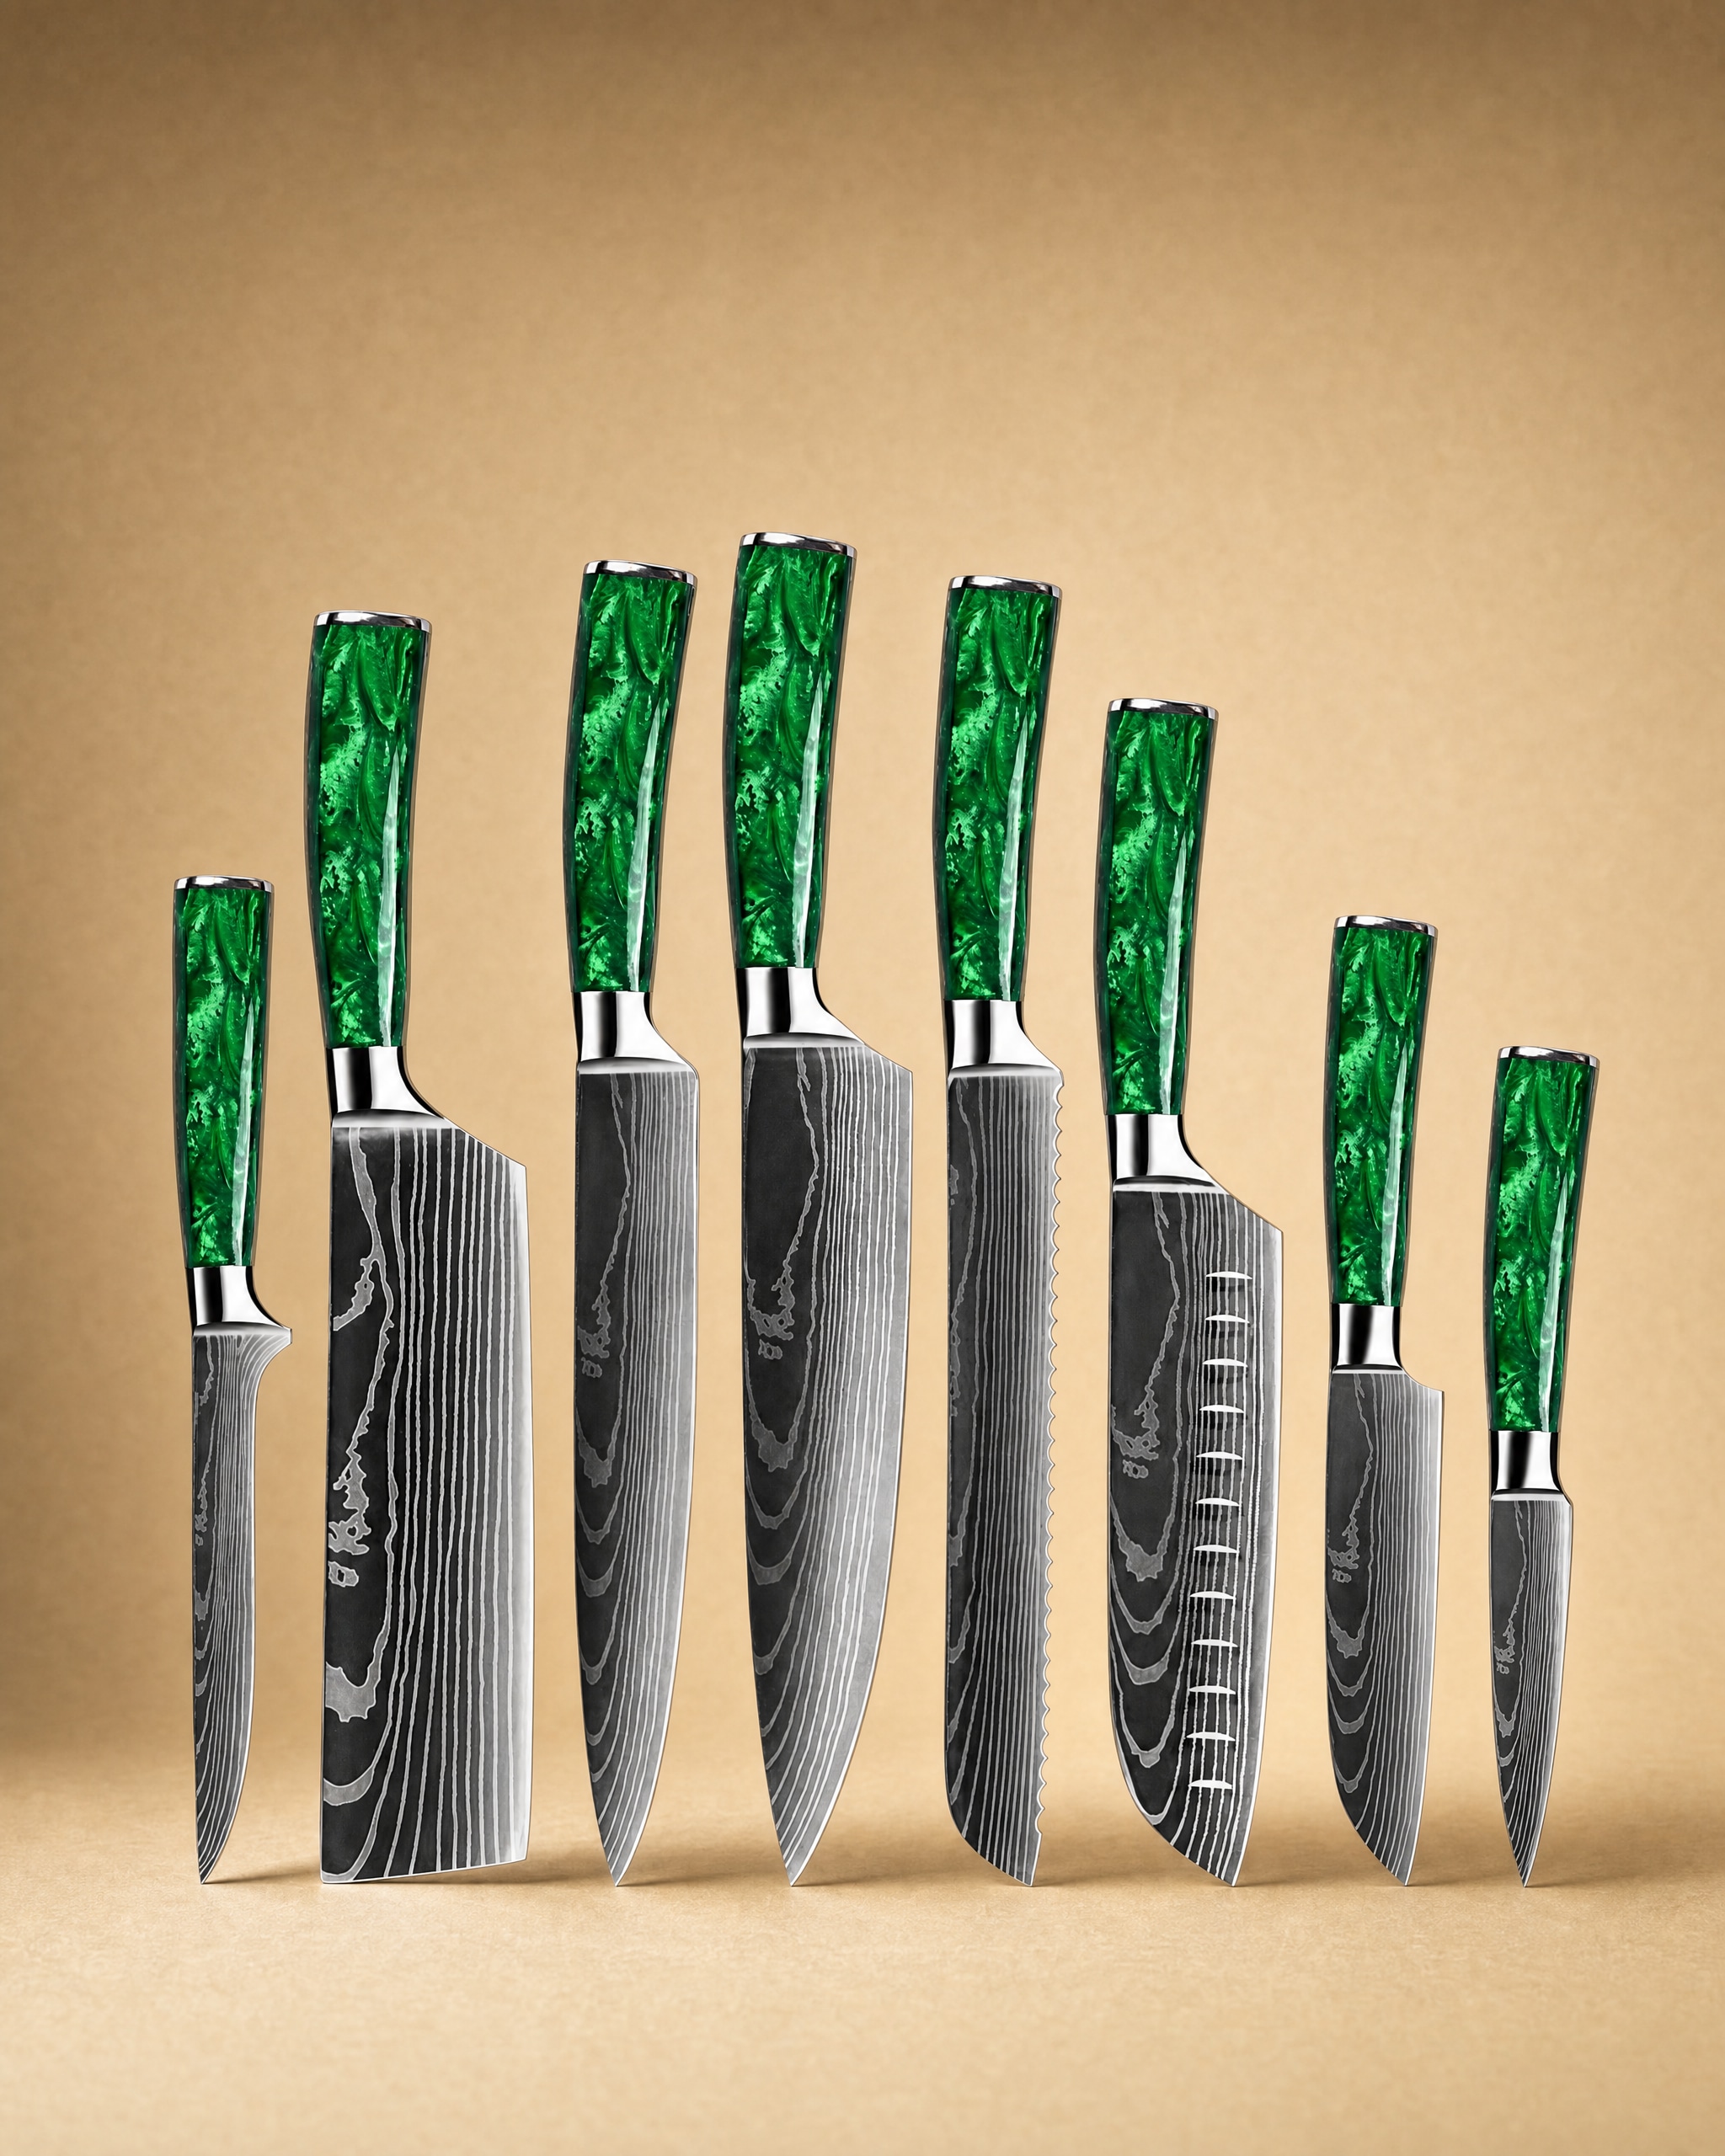 Kitakami 北上川 Damascus Pattern Stainless Steel Kitchen 8 Knife Set£159.99View product →, a set of eight knives, most of your sharpening time will go on two or three of them. One good 1000 grit stone, learned thoroughly, beats a cheap progression of six. Add a finer stone once your edges are consistently better than they were last month.

A routine that works
Soak or splash the stone according to its type and keep water within reach. Mark the bevel with a pencil if you are learning: a couple of strokes will show exactly where the stone is contacting, and the pencil comes off where your angle is right.
Place the stone on a damp cloth so it does not slide. Set the edge on the stone at your angle, roughly the angle the maker ground, and push away from you while keeping both hands on the blade. Use pressure on the push stroke and almost none on the return. Ten passes on one side, then check for a burr by running a fingertip across the edge, never along it.
When the burr runs the full length, turn the knife over and repeat until the burr flips to the other side. Then switch to your finer stone and do half the number of passes with reduced pressure. Finish with a handful of very light, edge leading strokes on each side to remove the last of the burr. Test on newspaper or a ripe tomato: a sharp edge catches and slices cleanly, a wire edge skids.
How often? A knife used daily will want a proper session every four to eight weeks, with quick touch ups in between. A blade that skids on tomato skin or crushes herbs rather than cutting them is telling you it is time. Little and often keeps sessions short and removes less steel across the year.
Keeping the stone flat and clean
A stone that dishes in the middle will round your edge no matter how good your technique is. Check it every few sessions by drawing a pencil grid across the surface, then lapping it on a flattening plate or wet and dry paper on glass until the grid is gone. A flat stone is quieter, cuts more evenly and lasts longer.
Rinse the stone after use and let it dry slowly, away from direct heat. Do not store it sealed while damp. Grit from a coarse stone contaminates a fine one, so rinse between grits and keep the two apart.
What to avoid
Skip pull through carbide sharpeners and electric machines for anything with a thin, hard blade. Skip oil on a water stone, which will clog it. Skip the very cheap combination stones sold with a plastic base: they dish within a month and teach you bad habits. Learning on a poor stone is a false economy, because you will blame your hands for problems that belong to the stone. Do not sharpen a knife to fix something that is really a honing issue; a few light passes on a fine stone or a ceramic rod will often bring an edge back without removing steel.
Finally, resist the urge to buy a very coarse stone for a knife that is merely dull. Dull is not damaged, and most kitchen knives only need a 1000 grit stone and ten honest minutes.
Where to start
If you are buying a stone and a knife together, choose the stone first, because it will still be earning its place in ten years. Our sharpeners and stones section covers what we stock, and the knife care guide walks through the rest of the routine: washing, drying, storage and the difference between honing and sharpening.
If you are still deciding which blade to sharpen first, the knife buying guide explains how steel, length and grind affect both the edge you get and the effort it takes to keep it. You can see the full range in our knife shop. One good stone, used regularly, will do more for your cooking than another knife on the rack.
Photography: Emma Ou via Unsplash.


