
How to Sharpen Serrated Bread Knives

A serrated bread knife is the one knife in most kitchens that never gets sharpened. It still gets through a crust, so it must be fine. Then one morning it crushes a tomato, tears a brioche bun and leaves crumbs across the worktop, and the truth becomes obvious: the edge went dull a long time ago and nobody noticed. Sharpening a serrated knife is a different job from sharpening a chef's knife, but it is not difficult. It asks for patience, the right abrasive and a willingness to work one scallop at a time.
This guide covers the method we use, the tools that genuinely help, and the point at which a serrated knife should be retired rather than rescued.
Why a serrated edge behaves differently
A plain edge, such as the one on a gyuto, meets food along a continuous line. Every millimetre of that line does the same work, and sharpening means restoring a single bevel angle along its whole length. A serrated edge is a row of small curved blades, each one cutting on a point rather than a line. The points take the pressure first, which is exactly why a bread knife keeps biting into a hard crust long after a plain edge would skid across it.
That same geometry makes maintenance awkward. A flat whetstone cannot reach into the scallops. A pull-through sharpener with fixed carbide slots will flatten the teeth, and after a few passes you own a wavy plain edged knife that cuts poorly at everything. The teeth are also thin and fragile. They chip if you cut on glass, they round over if you force them through a frozen loaf, and they dull faster at the tips than in the valleys between them.
Can a serrated bread knife be sharpened?
Yes, with one honest qualification. You can restore the cutting points and the leading edge of each scallop many times over, and the knife will perform well again. What you cannot do at home is re-cut the scallops themselves, which is a job for a machine or a file with a serration jig. Treat this as maintenance rather than restoration. If the teeth are visibly rounded, uneven or chipped down to nothing, sharpening will improve things but it will not return the knife to new.
What you need before you start
You need very little, and none of it is expensive.
- A tapered round diamond rod, sometimes sold as a serration sharpener. The taper matters because it lets you match different scallop sizes.
- A fine ceramic rod, optional, for the final light passes.
- A folded cloth or a non-slip mat to hold the blade steady while you work.
- Warm soapy water and a dry tea towel for afterwards.
If your knife is a Japanese bread knife with a hard, thin serration, keep the pressure light and let the diamond do the work. Hard steel takes a keener point but it also chips more readily, so a slow, controlled stroke beats a fast, heavy one every time.
Sharpening a serrated bread knife, step by step
Work at a bench, in good light, with the knife lying flat on the cloth and the handle towards you. Never hold the blade in the air while you sharpen it. If the knife will not sit still, dampen the cloth slightly.
Find the angle. It is already there on the knife: the factory bevel on the front of each scallop. Lay the diamond rod into a scallop and match that angle rather than inventing your own. On most bread knives this sits somewhere around fifteen to twenty degrees per side, but read it from the blade instead of trusting a number.
Now sharpen one scallop at a time. Insert the tapered rod into the first scallop near the heel, press gently and sweep the rod along the curve of the tooth, following its shape from one point, down through the valley and up to the next point. Use three to five light strokes per scallop, then move along the blade. Keep the rod moving. Holding it still in one spot will gouge a flat into the curve.
Count as you go. It is easy to lose your place on a long blade with forty or more scallops, and an uneven job leaves some teeth sharp and others blunt. Work from heel to tip, and if you lose count, start the row again rather than guessing.
When every scallop has had the same treatment, check your work. A serrated knife should grip the skin of a tomato and pull through a crust without pressure. If some sections skate and others bite, go back to those sections only.
Removing the burr from the flat side
Sharpening the front of the scallops pushes a fine burr through to the flat side of the blade. It feels rough if you drag a fingertip along it, and it will fold over the first time you cut. To remove it, lay the blade almost flat on a fine stone, or use a ceramic rod held at a shallow angle, and make two or three very light passes along the flat side. Light is the operative word. You are not sharpening the flat side, you are only knocking the burr off. Then wash the blade, dry it thoroughly and put it away.

If you do not own a diamond rod
A strip of fine wet and dry paper wrapped tightly around a wooden dowel or a bamboo skewer will do a decent job. The abrasive cuts, the dowel matches the curve, and the cost is a couple of pounds. Change the paper when it glazes over, because worn abrasive polishes rather than sharpens.
How often should a bread knife be sharpened?
Less often than a chef's knife and far more often than most people manage. A serrated blade used at home for a few loaves a week will want a light touch up once or twice a year. A knife in a busy kitchen may need it every few weeks. Between sharpenings, a few passes on a ceramic rod through the scallops will keep the points keen without removing much metal.
Two habits do more harm than any amount of sharpening. Cutting directly on stone, glass or ceramic worktops dulls and chips the teeth faster than anything else. Storing the knife loose in a drawer lets the points knock against other cutlery. A wooden board and a magnetic strip or a blade guard solve both problems for good.
Where sharpening stops helping
There is a point where effort stops paying. If the teeth have been flattened by years of pull-through sharpeners, if several scallops are chipped away to stubs, or if the tips have been rounded so far that the knife no longer grips a crust, replacement is the sensible answer. A bread knife is not an expensive item to renew, and a knife that smears rather than slices makes every breakfast worse.
When you do replace it, buy something with enough length to cut a large loaf in one stroke and a handle that suits your grip. The 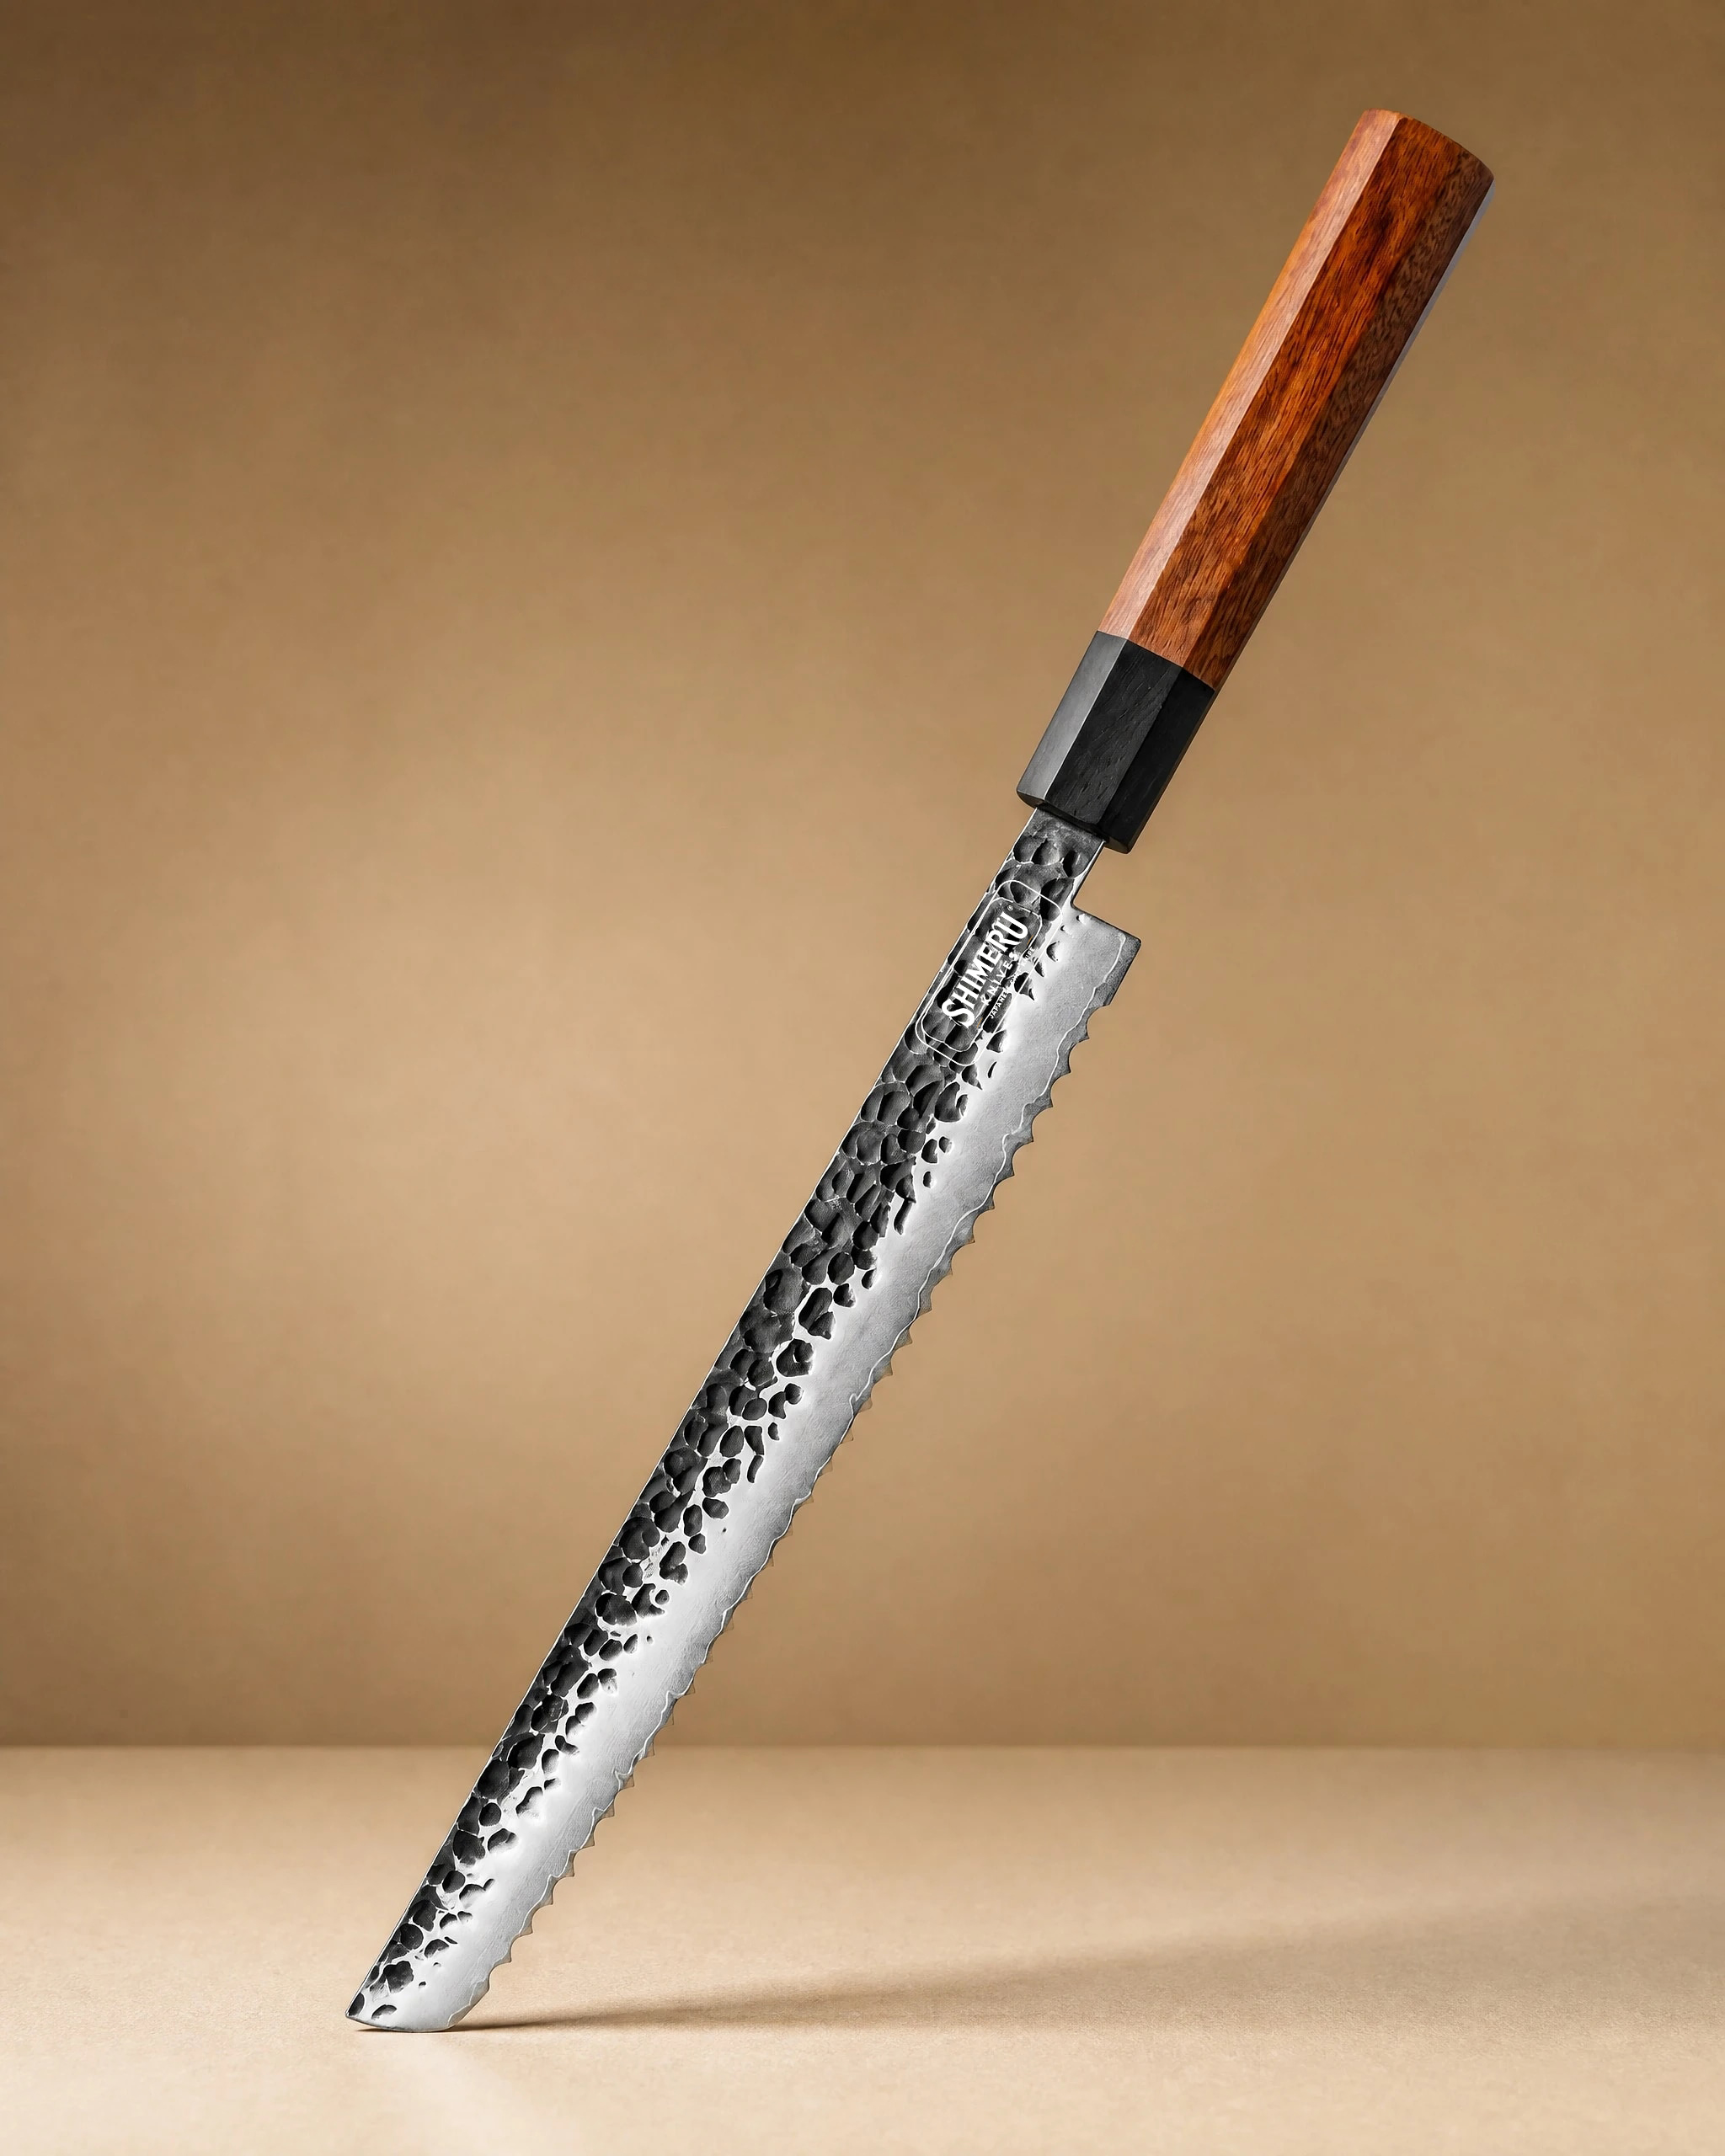 Rumoi 10" Japanese Bread Knife パン切りナイフ£59.99View product → is the sort of bread knife we would point you towards.
Serrated knives that are not bread knives
The same method works on tomato knives, steak knives, cake knives and the serrated utility knife that lives in a drawer and gets used for everything. The only change is scale. Smaller scallops need a finer rod and a lighter hand, and the very fine serrations on a tomato knife benefit from attention on the flat side more often than a bread knife would.
Do not aim for a polished, razor sharp feel on a serrated knife. The cutting action comes from the points, so a slightly toothy edge that grabs is the correct result. Chasing a mirrored finish will only thin the teeth and shorten the knife's life.
Keeping plain edges in order too
Serrated knives are a special case. The rest of your kitchen knives are not, and they take a fraction of the time. A rolling sharpener such as the 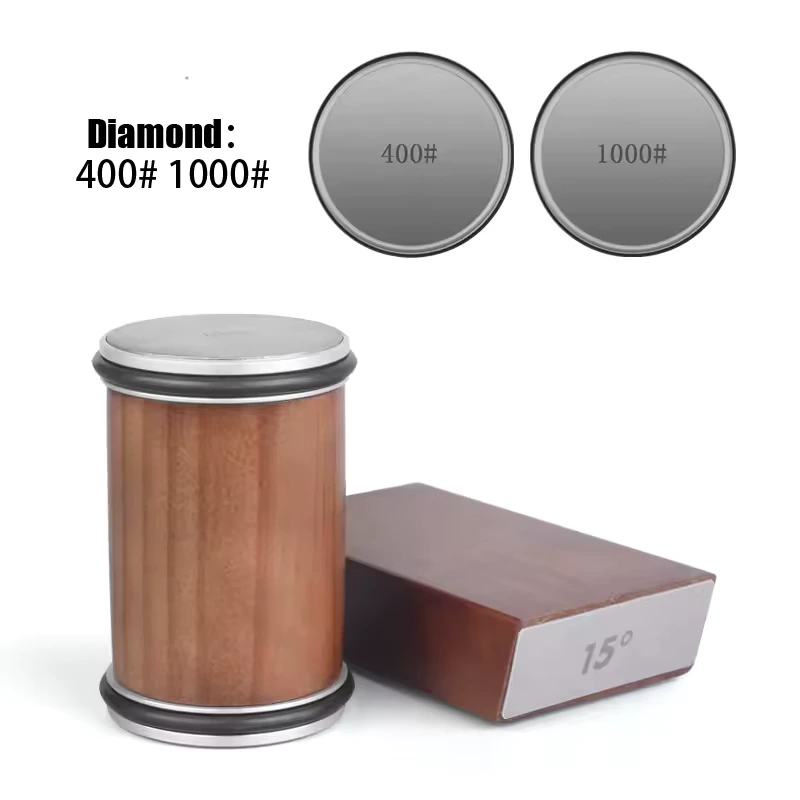 Magnetic Rolling Knife Sharpener£59.99View product → is a straightforward way to keep plain edged knives in working order at home, with a consistent angle and no learning curve. It will not restore the scallops on a bread knife, because the geometry is simply different, but it will keep your everyday knives sharp enough that you reach for them instead of the bread knife for jobs it was never meant to do.
Storage, board choice and rust prevention matter as much as sharpening. Our knife care guide covers them in detail.
If you would rather not sharpen a serrated knife at all
That is a fair position. Many people buy a good bread knife, use it well and accept that it will eventually be replaced rather than sharpened. If that is you, spend the money on a good one in the first place and treat it kindly: wooden board, blade guard, hand wash and dry.
If you slice mostly soft bread, sandwiches and cake, a long plain edged knife will often do the job and is far easier to look after. A gyuto will cut cleanly through a brioche or a sandwich loaf and can be sharpened on a stone or a rolling sharpener in a couple of minutes. The 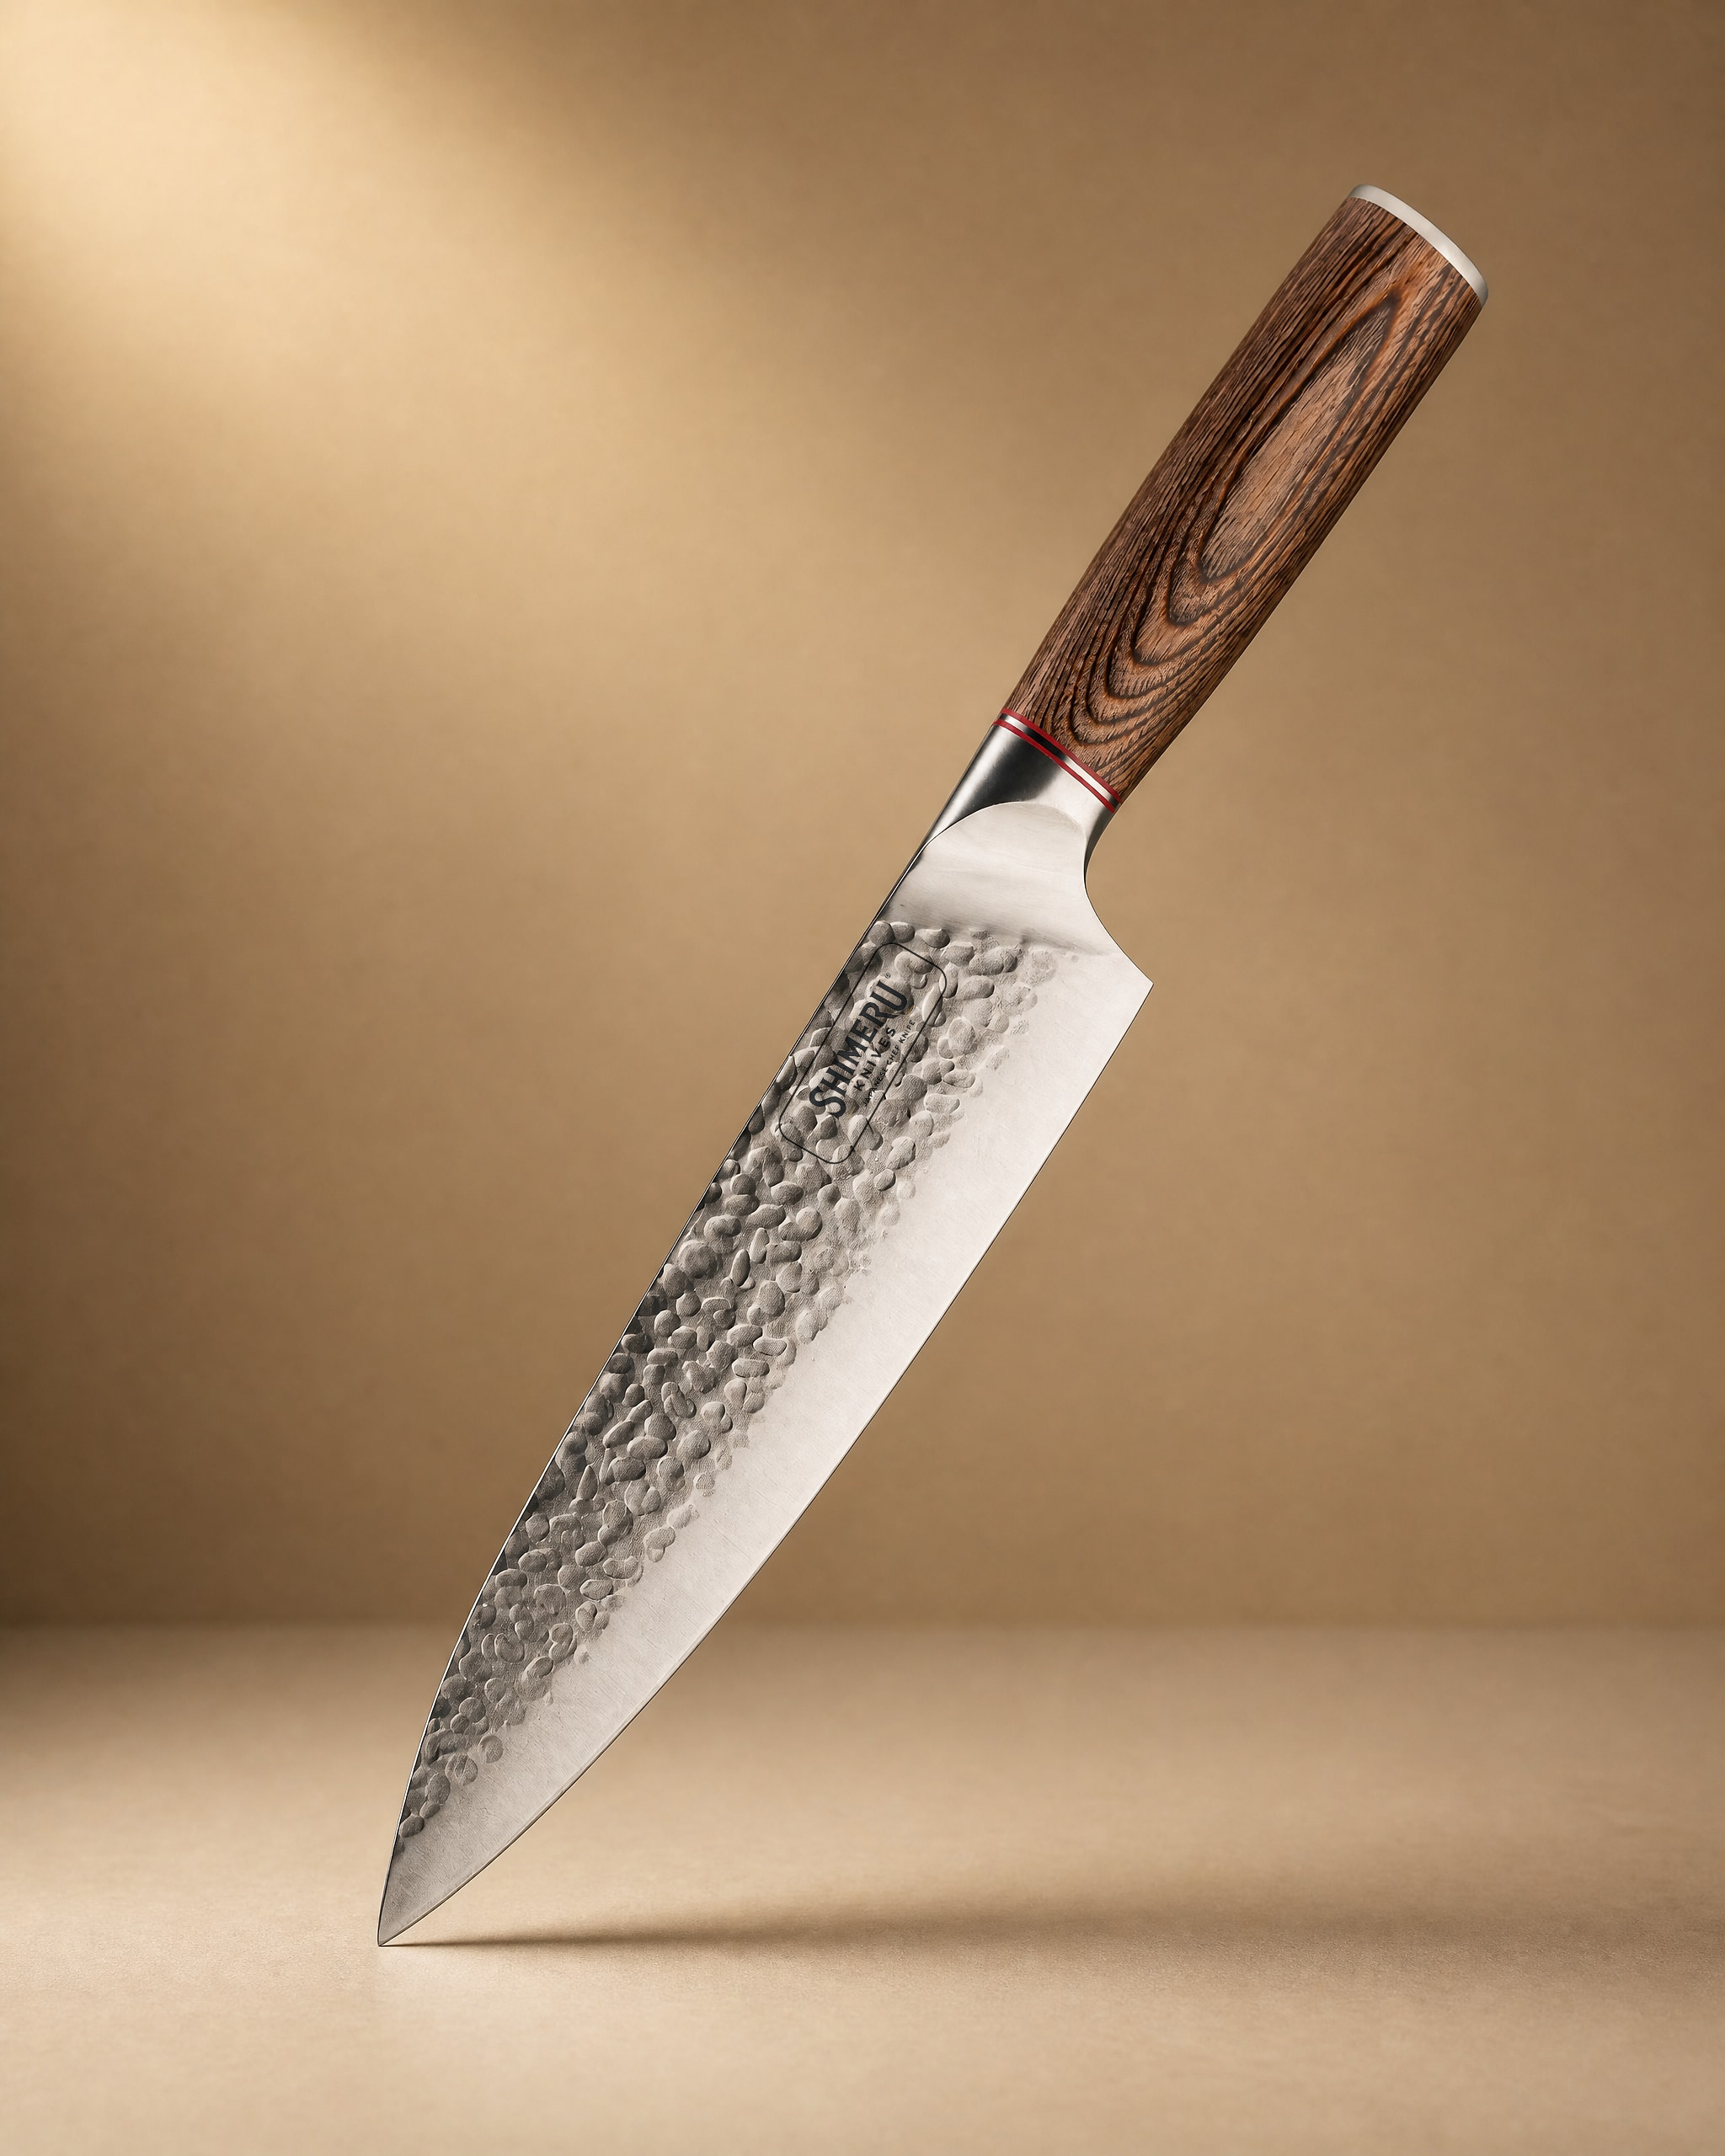 Akan 8'' Gyuto Knife 牛刀£49.99View product → is a solid everyday choice, and the
 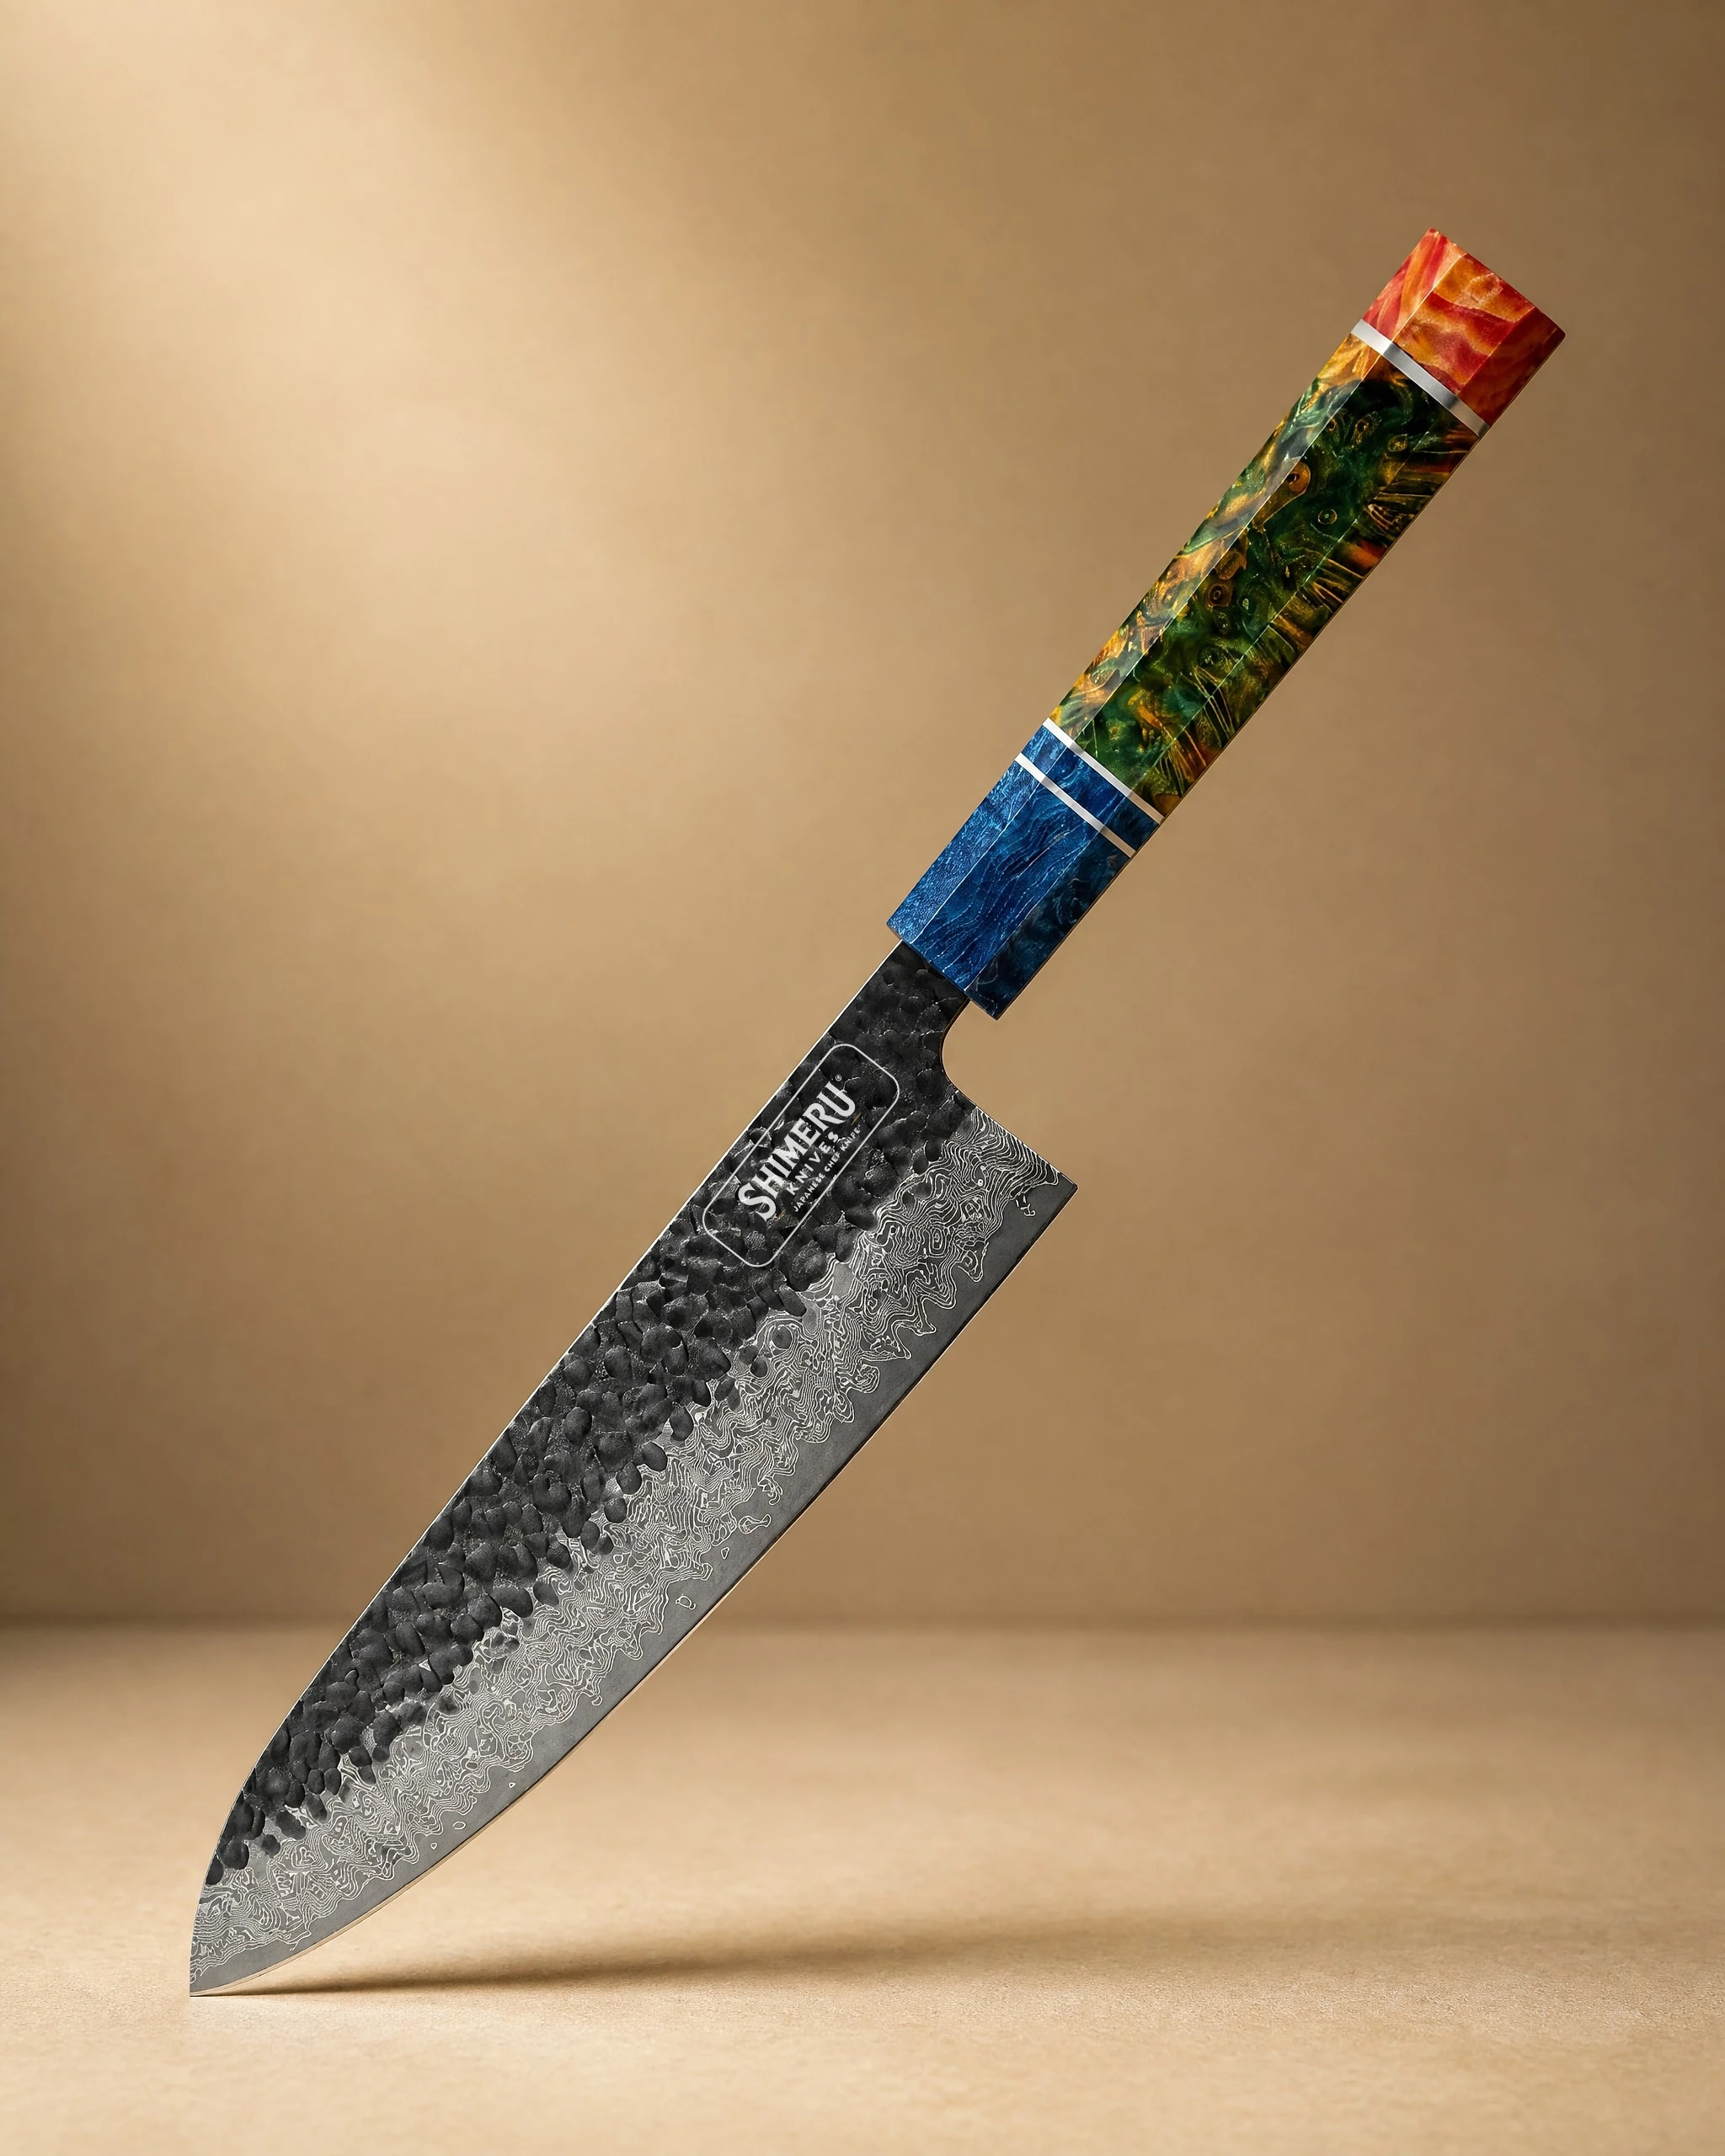 Yoshii 8″ Damascus Steel Gyuto Knife 牛刀£79.99View product → is the same idea with more character on the board.
You can see the full range in our knife shop, and if you are unsure which shape suits the way you cook, our knife guide walks through the main Japanese profiles and what each one is for.
The short version
Match the factory angle, sharpen one scallop at a time with a tapered diamond rod, keep the strokes light and even, remove the burr from the flat side, then clean and dry the blade. Do it once or twice a year in a home kitchen, or every few weeks if you bake daily. Store the knife so the teeth cannot knock against anything, and cut on wood. If the teeth are flattened beyond recovery, replace it and look after the new one from the first loaf.
Photography: Sergey Kotenev via Unsplash.


