

How to Sharpen a Knife with a Whetstone

Why a whetstone, and not a gadget
A whetstone takes a little learning and gives back a lifetime of sharp knives. If you have bought your first Japanese knife, or you are simply tired of replacing dull supermarket blades, a whetstone knife sharpening stone is the most honest tool you can own. It removes steel slowly and predictably. It lets you decide the angle. It will outlast every pull through gadget in the drawer.
Pull through sharpeners scrape a fixed edge onto the blade, usually at a steeper angle than a kitchen knife needs. They work for a week or two, and they eat steel the whole time. A stone is different. Because it is flat, each pass is a straight line of contact, so the abrasion happens exactly where you want it. You are in charge of how much metal leaves the edge.
What you actually need
You do not need a dozen stones or a rack of gadgets. One good combination stone and a way to keep it flat will sharpen every knife in a normal kitchen.
- A combination water stone, 1000 grit on one side and 6000 on the other. This covers routine sharpening and finishing.
- A flattening plate, or a sheet of wet and dry paper on a flat tile, to keep the stone true.
- A damp towel or rubber mat, so the stone does not slide while you work.
- A deep tray of water, big enough to soak the stone completely.
- A marker pen, for finding the angle on the first attempt.
Understanding grit
Grit is a number that tells you how coarse the abrasive is. Lower numbers cut faster and leave a rougher edge. Higher numbers polish and refine. For kitchen knives the useful range is narrow.
220 to 400 grit is for repairing chips and resetting a badly dulled bevel. It removes metal quickly, so use it rarely. 1000 grit is the workhorse: this is where the edge is actually created. 3000 to 6000 grit refines that edge and polishes the bevel. 8000 grit and above is for enthusiasts and for knives used for very fine slicing, and it is not necessary for a home cook.
If you only ever own one stone, make it a 1000. If you own two, make the second a 6000. That pair will take a Gyuto from blunt to shaving sharp in ten minutes.
The angle is the whole skill
Sharpening is not about pressure or speed. It is about holding one angle, consistently, for hundreds of passes. A Japanese Gyuto is usually ground to about 15 degrees per side. Many Western knives sit closer to 20. The exact number matters far less than keeping it steady, because a wobbling hand rounds the edge over instead of forming it.
To find your angle, colour the cutting edge with a marker pen, then take two or three light passes on the 1000 grit. Look at the bevel. If the ink has gone from the very edge, your angle matches the existing grind. If ink remains at the edge, you are too shallow: raise the spine a little. If ink has gone from higher up the blade, you are too steep: lower it.
Holding the knife and the stone
Put the stone on the damp towel, coarse side up, and place it at the front edge of your worktop. Hold the knife with your dominant hand on the handle, thumb resting lightly on the spine near the bolster. Put the fingers of your other hand flat across the blade, spread out along its length. Those fingers apply pressure and, just as importantly, they tell you whether the blade is sitting flat.
Soaking and setup
Soak the 1000 grit side in water for ten to fifteen minutes, until bubbles stop rising. The 6000 side usually needs only a splash. A dry stone glazes over and stops cutting, so keep the surface wet throughout. If a grey slurry builds up, that is normal and useful. Add water rather than wiping it away.
Step one: raise a burr on the near side
Start at the heel of the blade and work in sections about 3 cm wide. Place the edge on the stone at your chosen angle and push the blade forward and slightly across, as though you were slicing a thin layer off the stone. Then draw it back. Use light pressure, roughly the weight of your hand, and let the stone do the work.
Give each section six to eight passes, then move along the blade until you reach the tip. When you have covered the whole edge, return to the heel and repeat. After a few rounds, check for a burr. Run a fingertip across the edge, from the spine side towards the cutting edge, at a right angle to the blade. Do not slide your finger along the edge. On a properly sharpened side you will feel a fine, consistent ridge that catches your skin. That ridge is the burr, and it tells you the two bevels have met.
Step two: match it on the far side
Turn the knife over and sharpen the other side with the same angle, the same section by section rhythm, and the same number of passes. Then check for a burr again on the first side. It should have flipped. If it has not, the second side needs more work. Do not move on until you can feel the burr run the full length of the edge, heel to tip.
Step three: refine on the fine grit
Now move to the 6000 side, which should be damp but not soaked. Use much lighter pressure, barely more than the weight of the blade. Do five passes per side, then three, then one, alternating sides each time. This sequence removes the burr and polishes the bevel without rounding the edge. If you are sharpening a softer Western knife, you can stop at the 1000 and strop on leather instead. Harder Japanese steel rewards the finer finish.
Step four: remove the burr completely
The burr is the enemy of a durable edge. If you leave it, the knife will feel sharp for one meal and then fade. Draw the edge through a piece of soft cork or a folded newspaper a few times, then take three or four very light, edge trailing strokes on the 6000, finishing with a pass on each side. All of it does the same job: it fatigues and snaps off the thin metal rather than folding it over.
Step five: test it honestly
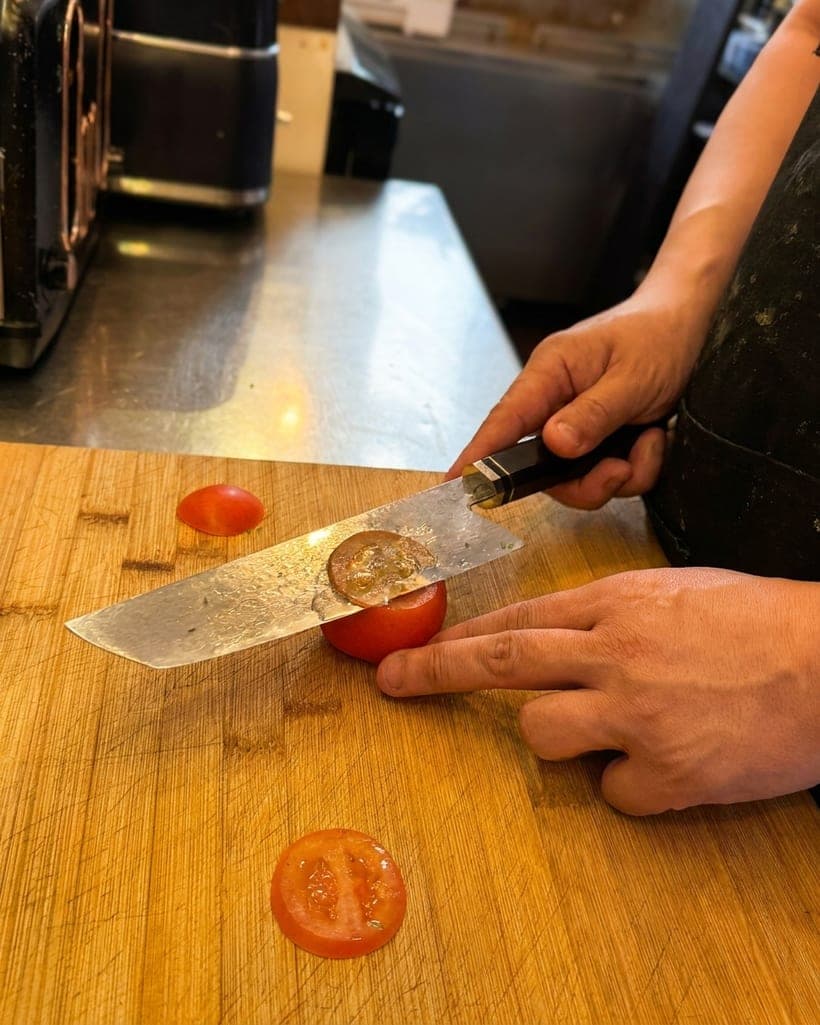
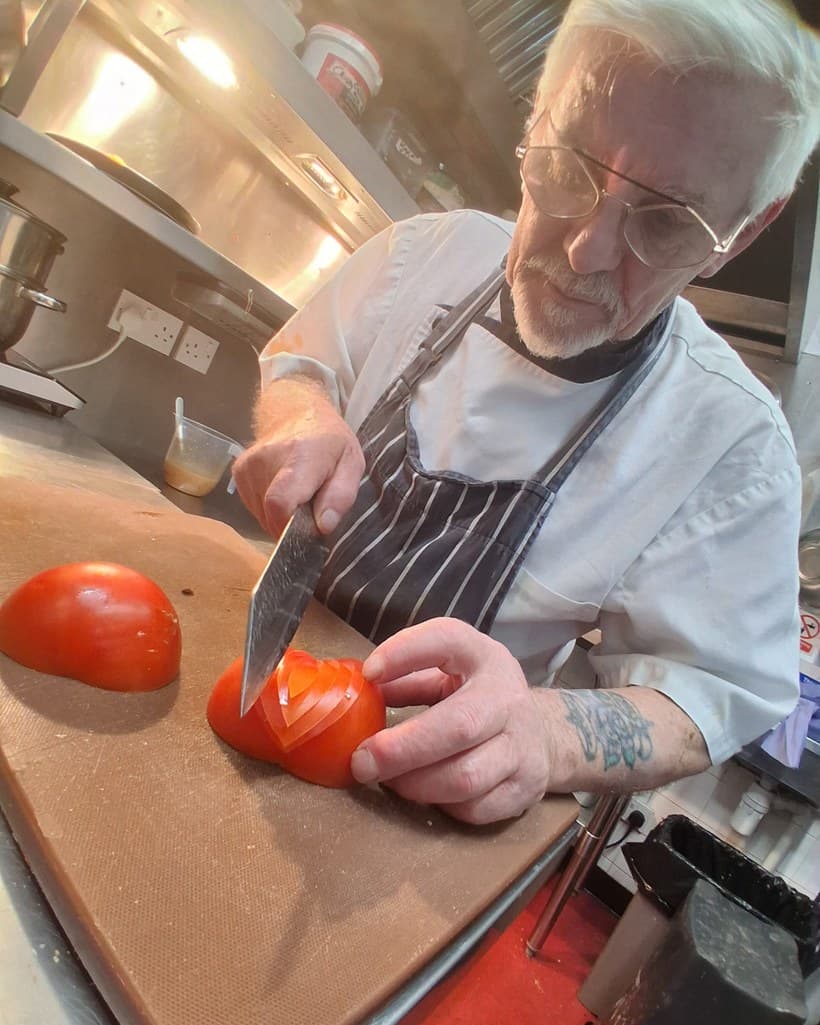
Hold a sheet of newspaper by one corner and slice downwards. A well sharpened kitchen knife will cut cleanly, with almost no tearing and no snagging. If it drags in one spot, that section needs a few more passes on the 1000 before you refine again. A tomato is the other fair test: a sharp knife breaks the skin with its own weight and almost no pressure. A knife that slides across the skin is not sharp, however it looks.
How often should you sharpen?
For a home kitchen, a full sharpening every two to three months is plenty, with a few light passes on the 6000 in between. The heavier the use, the more often you return to the 1000. Two habits matter more than frequency. First, dry the blade after every wash. Second, store it somewhere it cannot knock against anything, because most chips come from a drawer, not from the board. Our knife care guide covers the daily side of this in more detail.
The knife underneath the edge
Sharpening only reveals what the blade already is. A thin, hard, well ground knife takes a keener edge and holds it longer, which is why Japanese knives respond so well to stones. If you are sharpening a Gyuto, the geometry does most of the work for you.
The 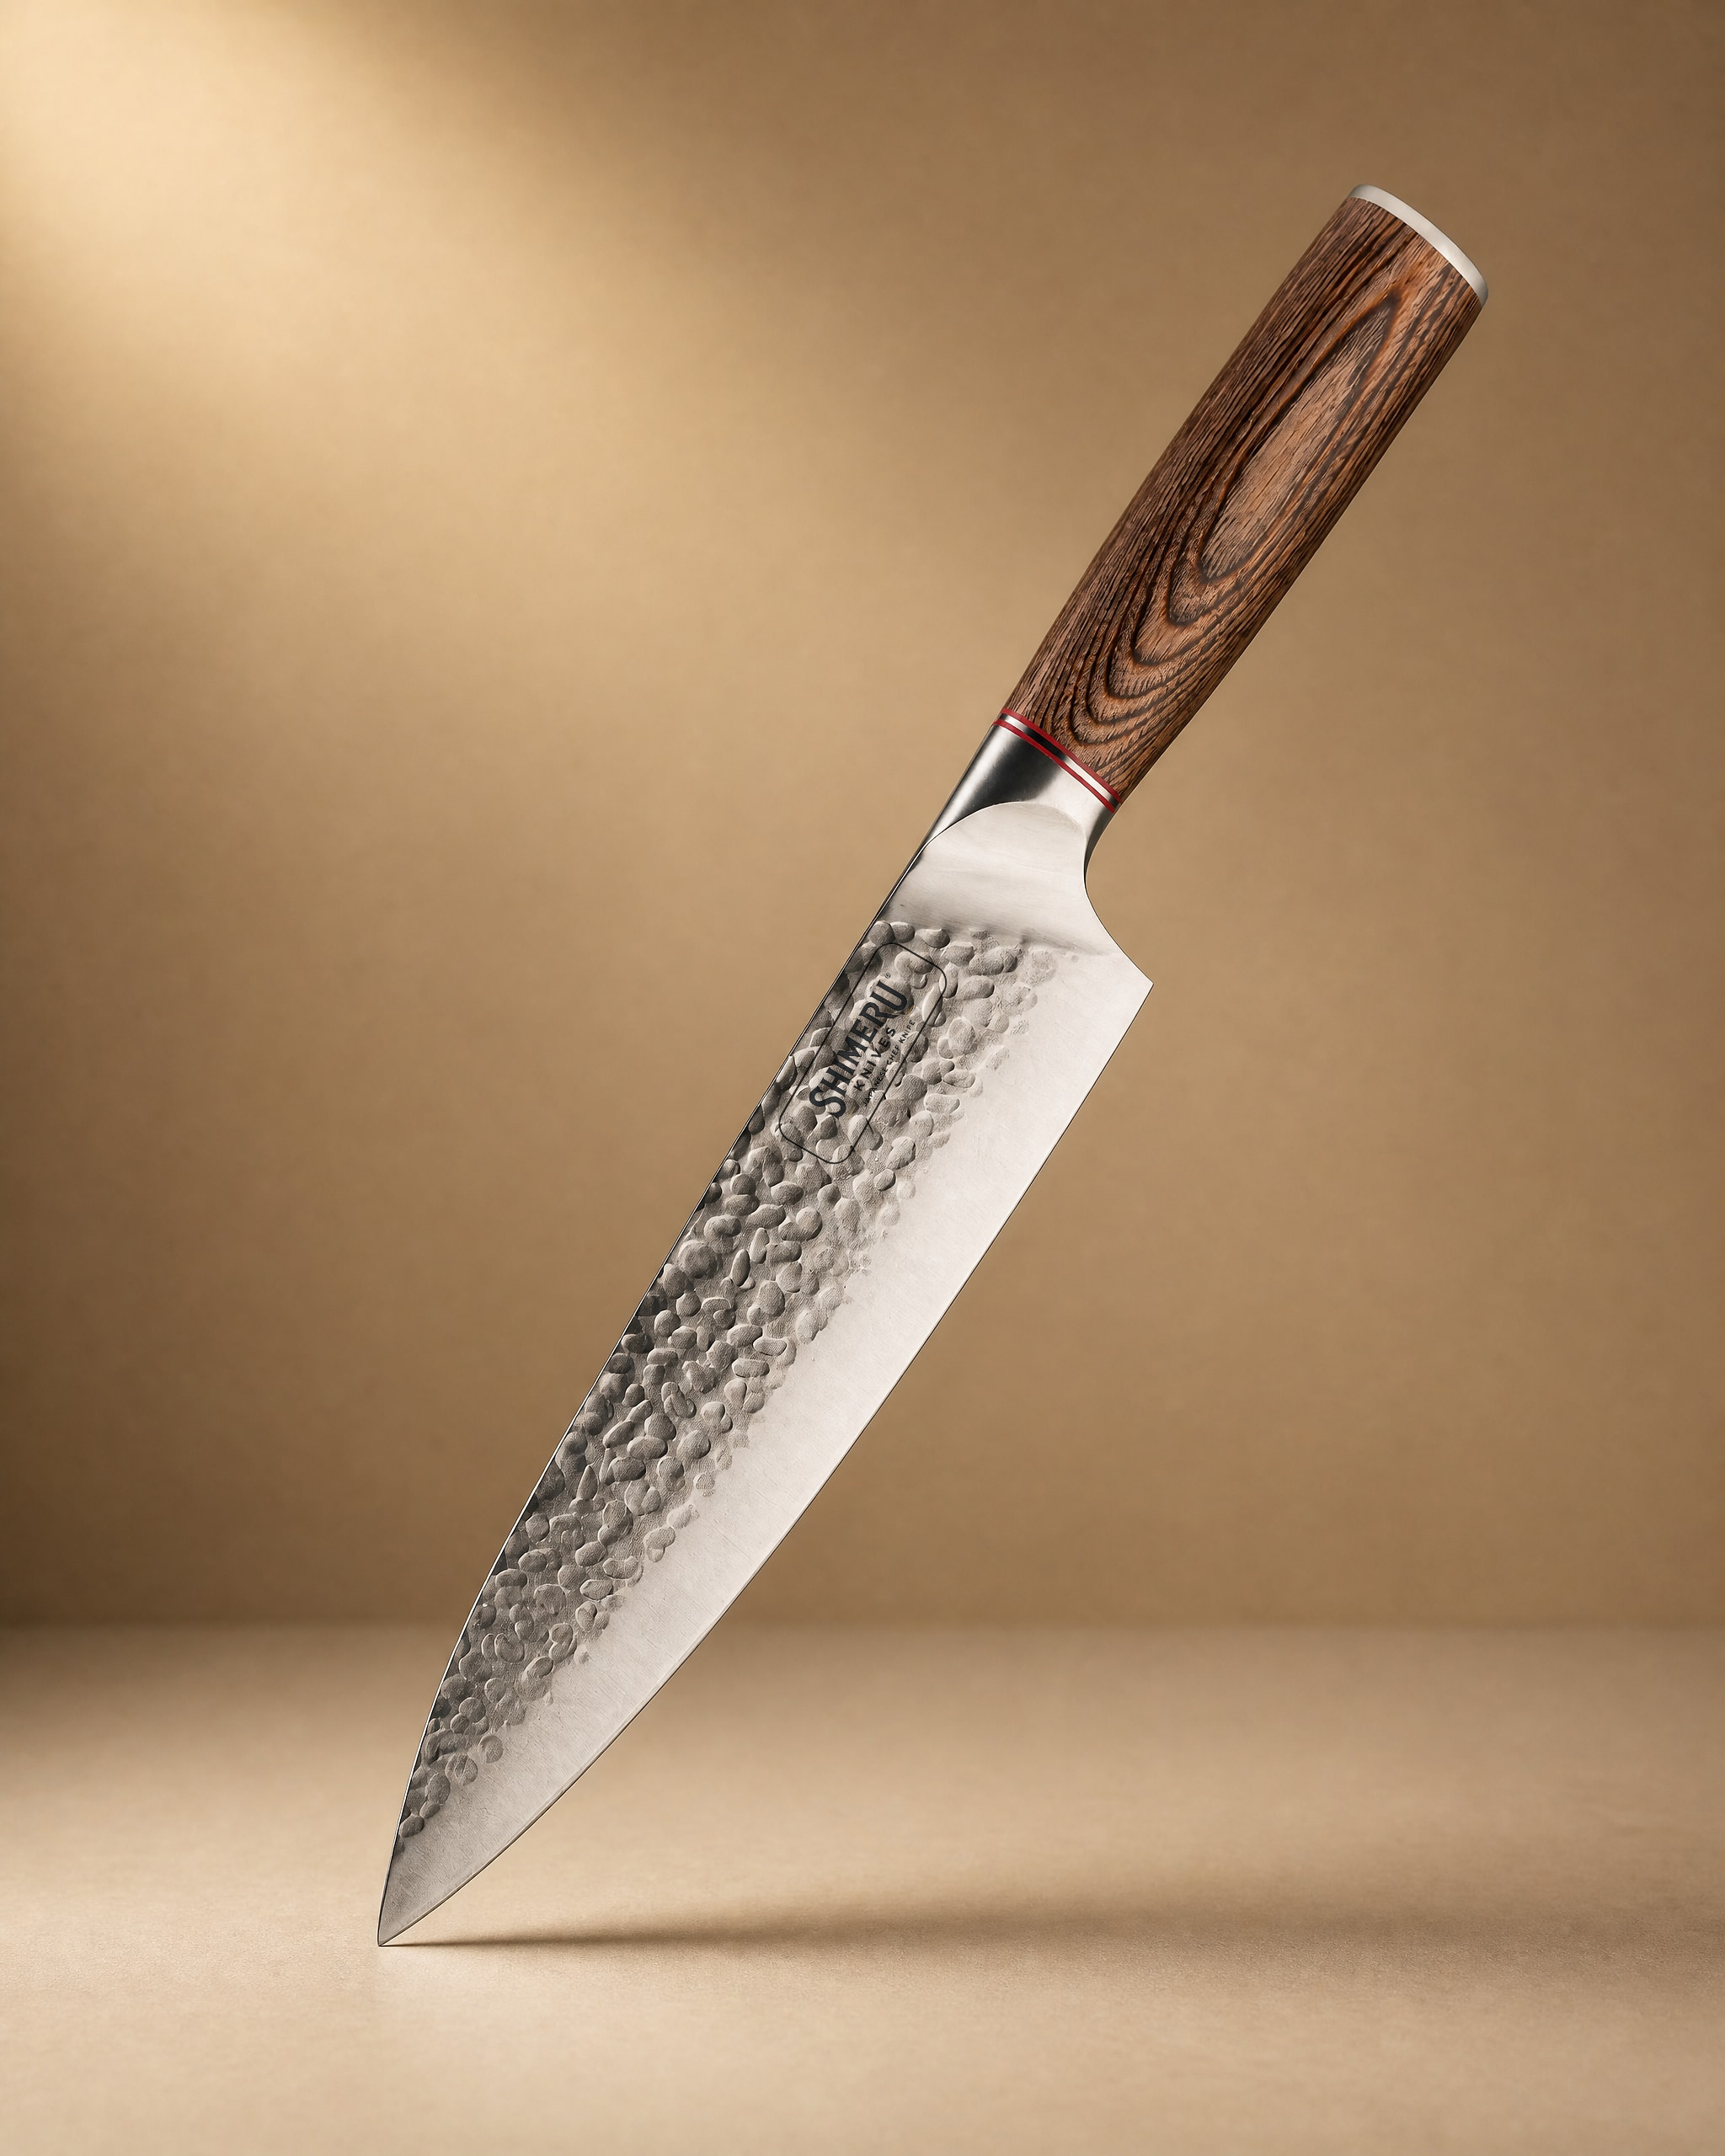 Akan 8'' Gyuto Knife 牛刀£49.99View product → is a good place to start: an 8 inch stainless Gyuto with a Pakkawood handle, forgiving enough for a first whetstone and happy with meats, fish, vegetables and fruit. If you want something with more presence, the
 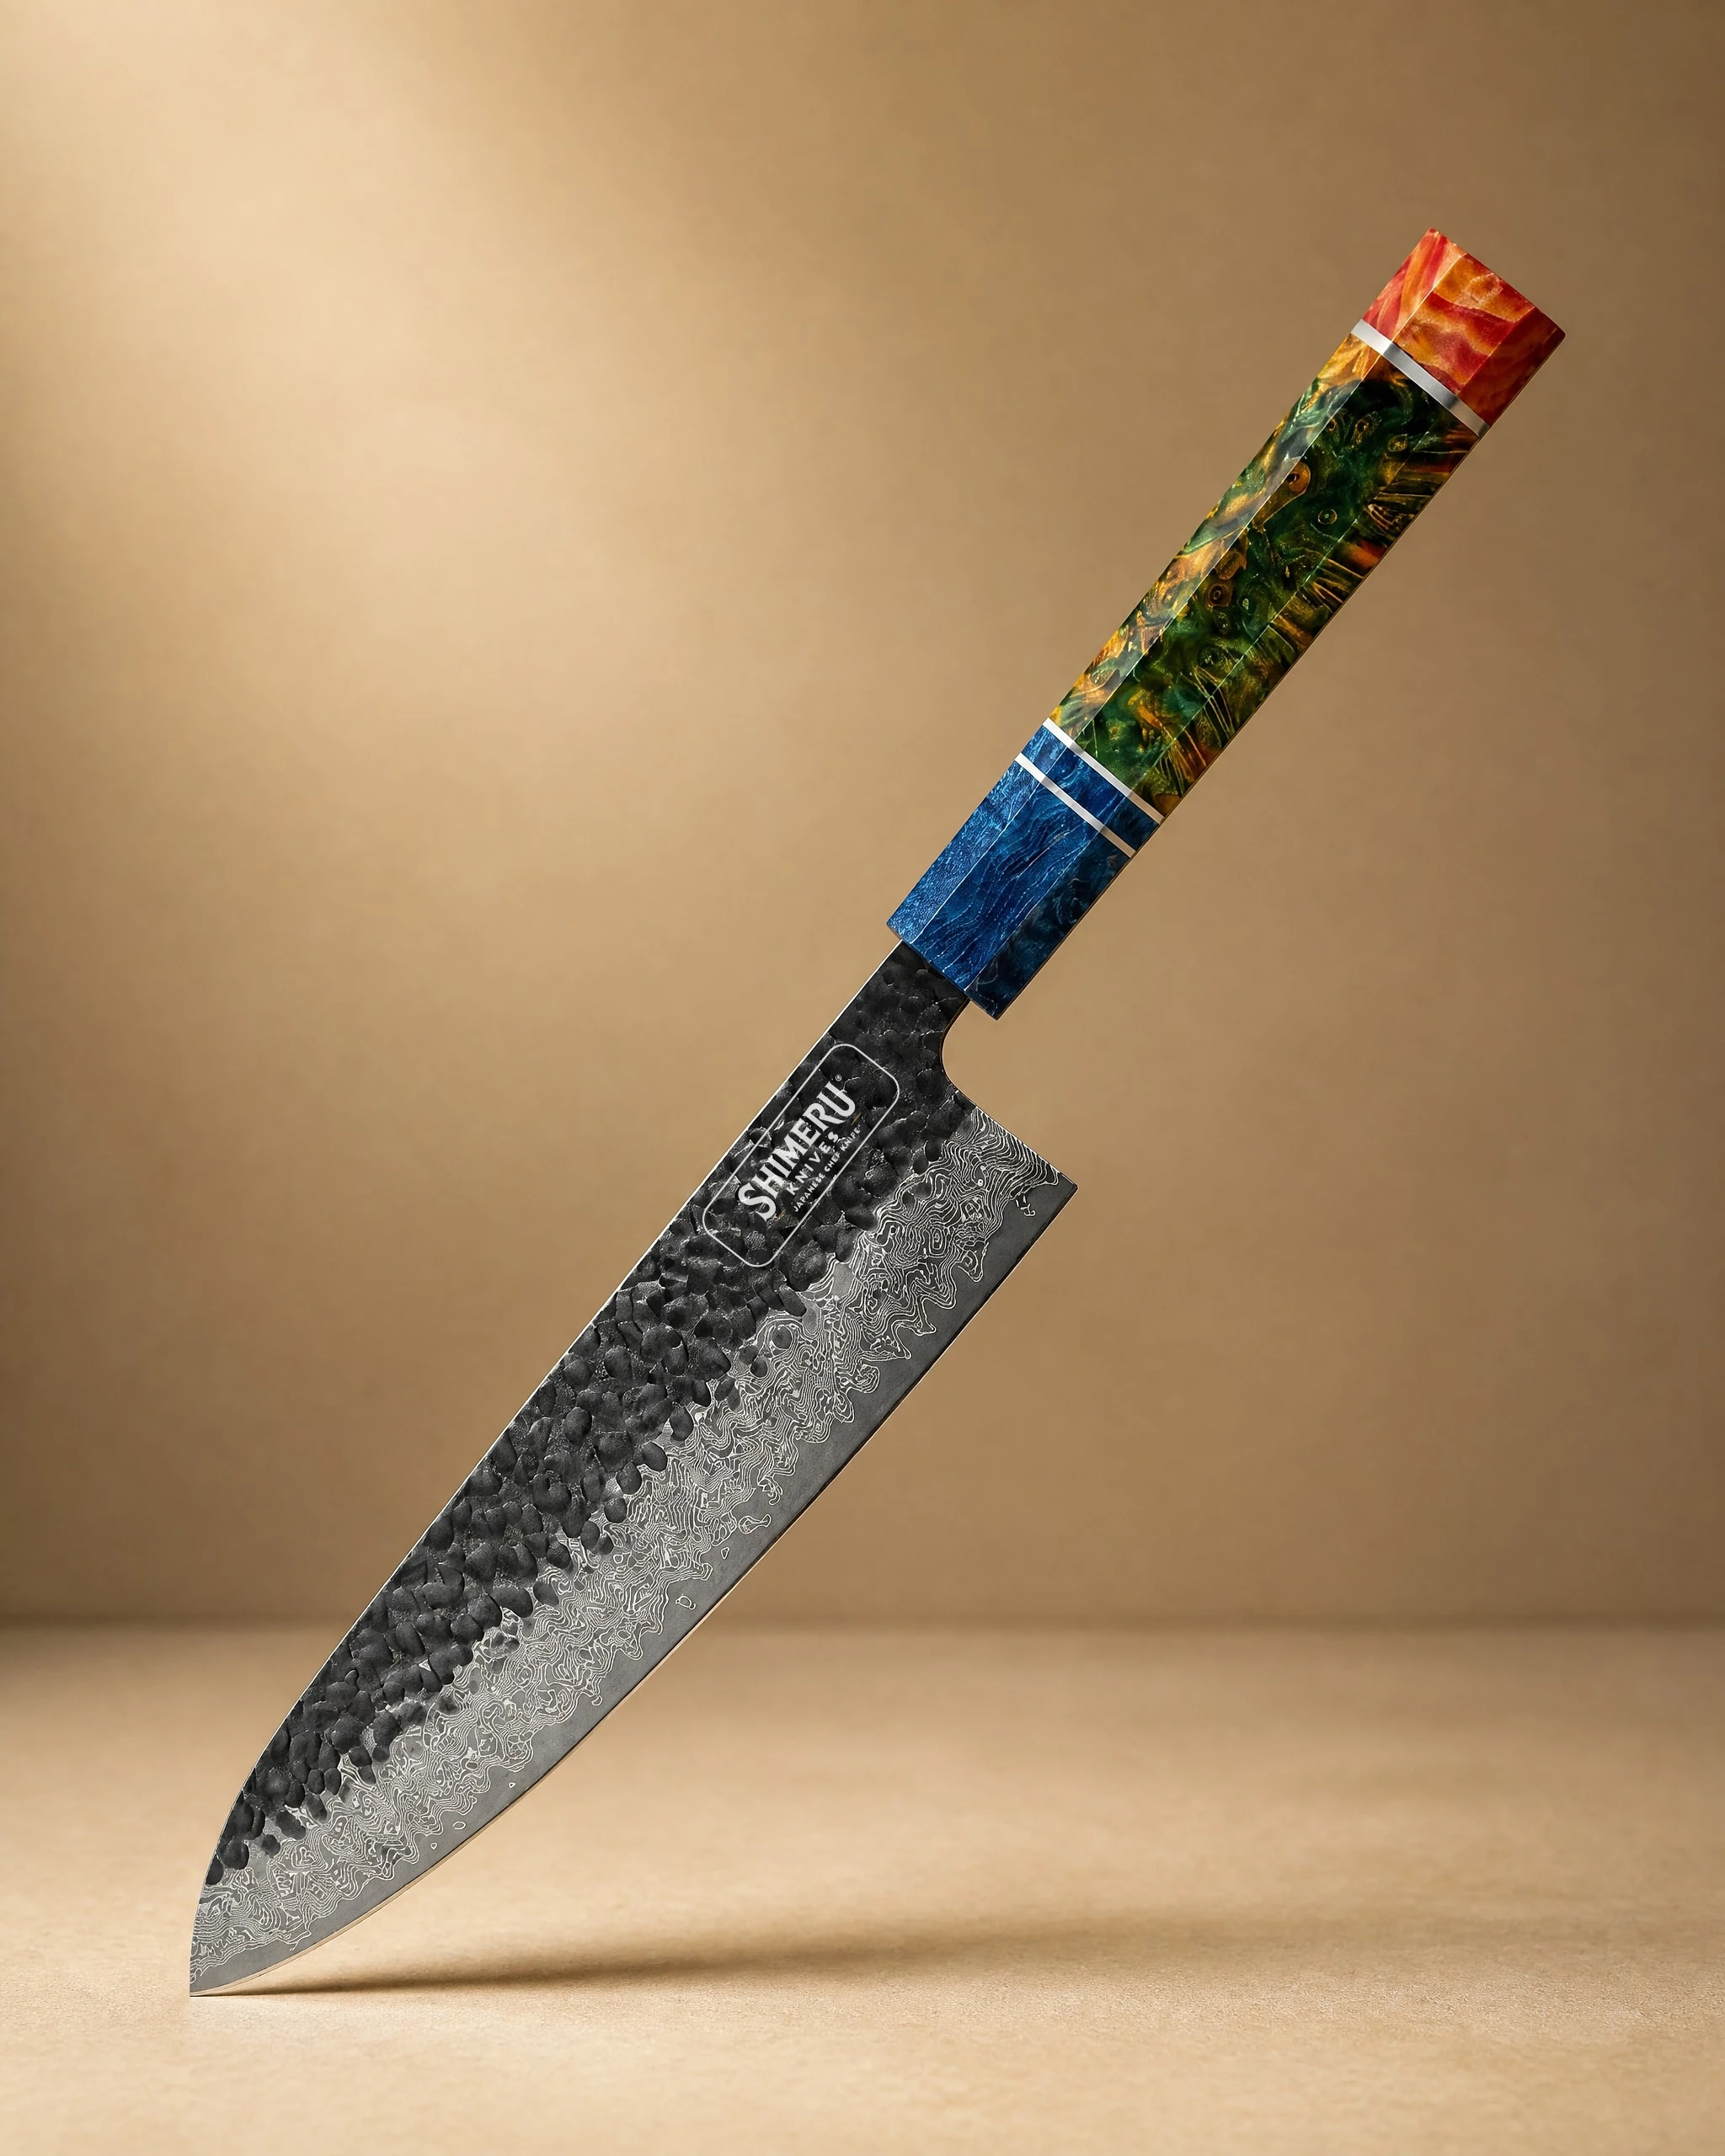 Yoshii 8″ Damascus Steel Gyuto Knife 牛刀£79.99View product → uses 67 layer Damascus steel with a wood and copper handle, and it suits slicing, dicing and chopping. The
 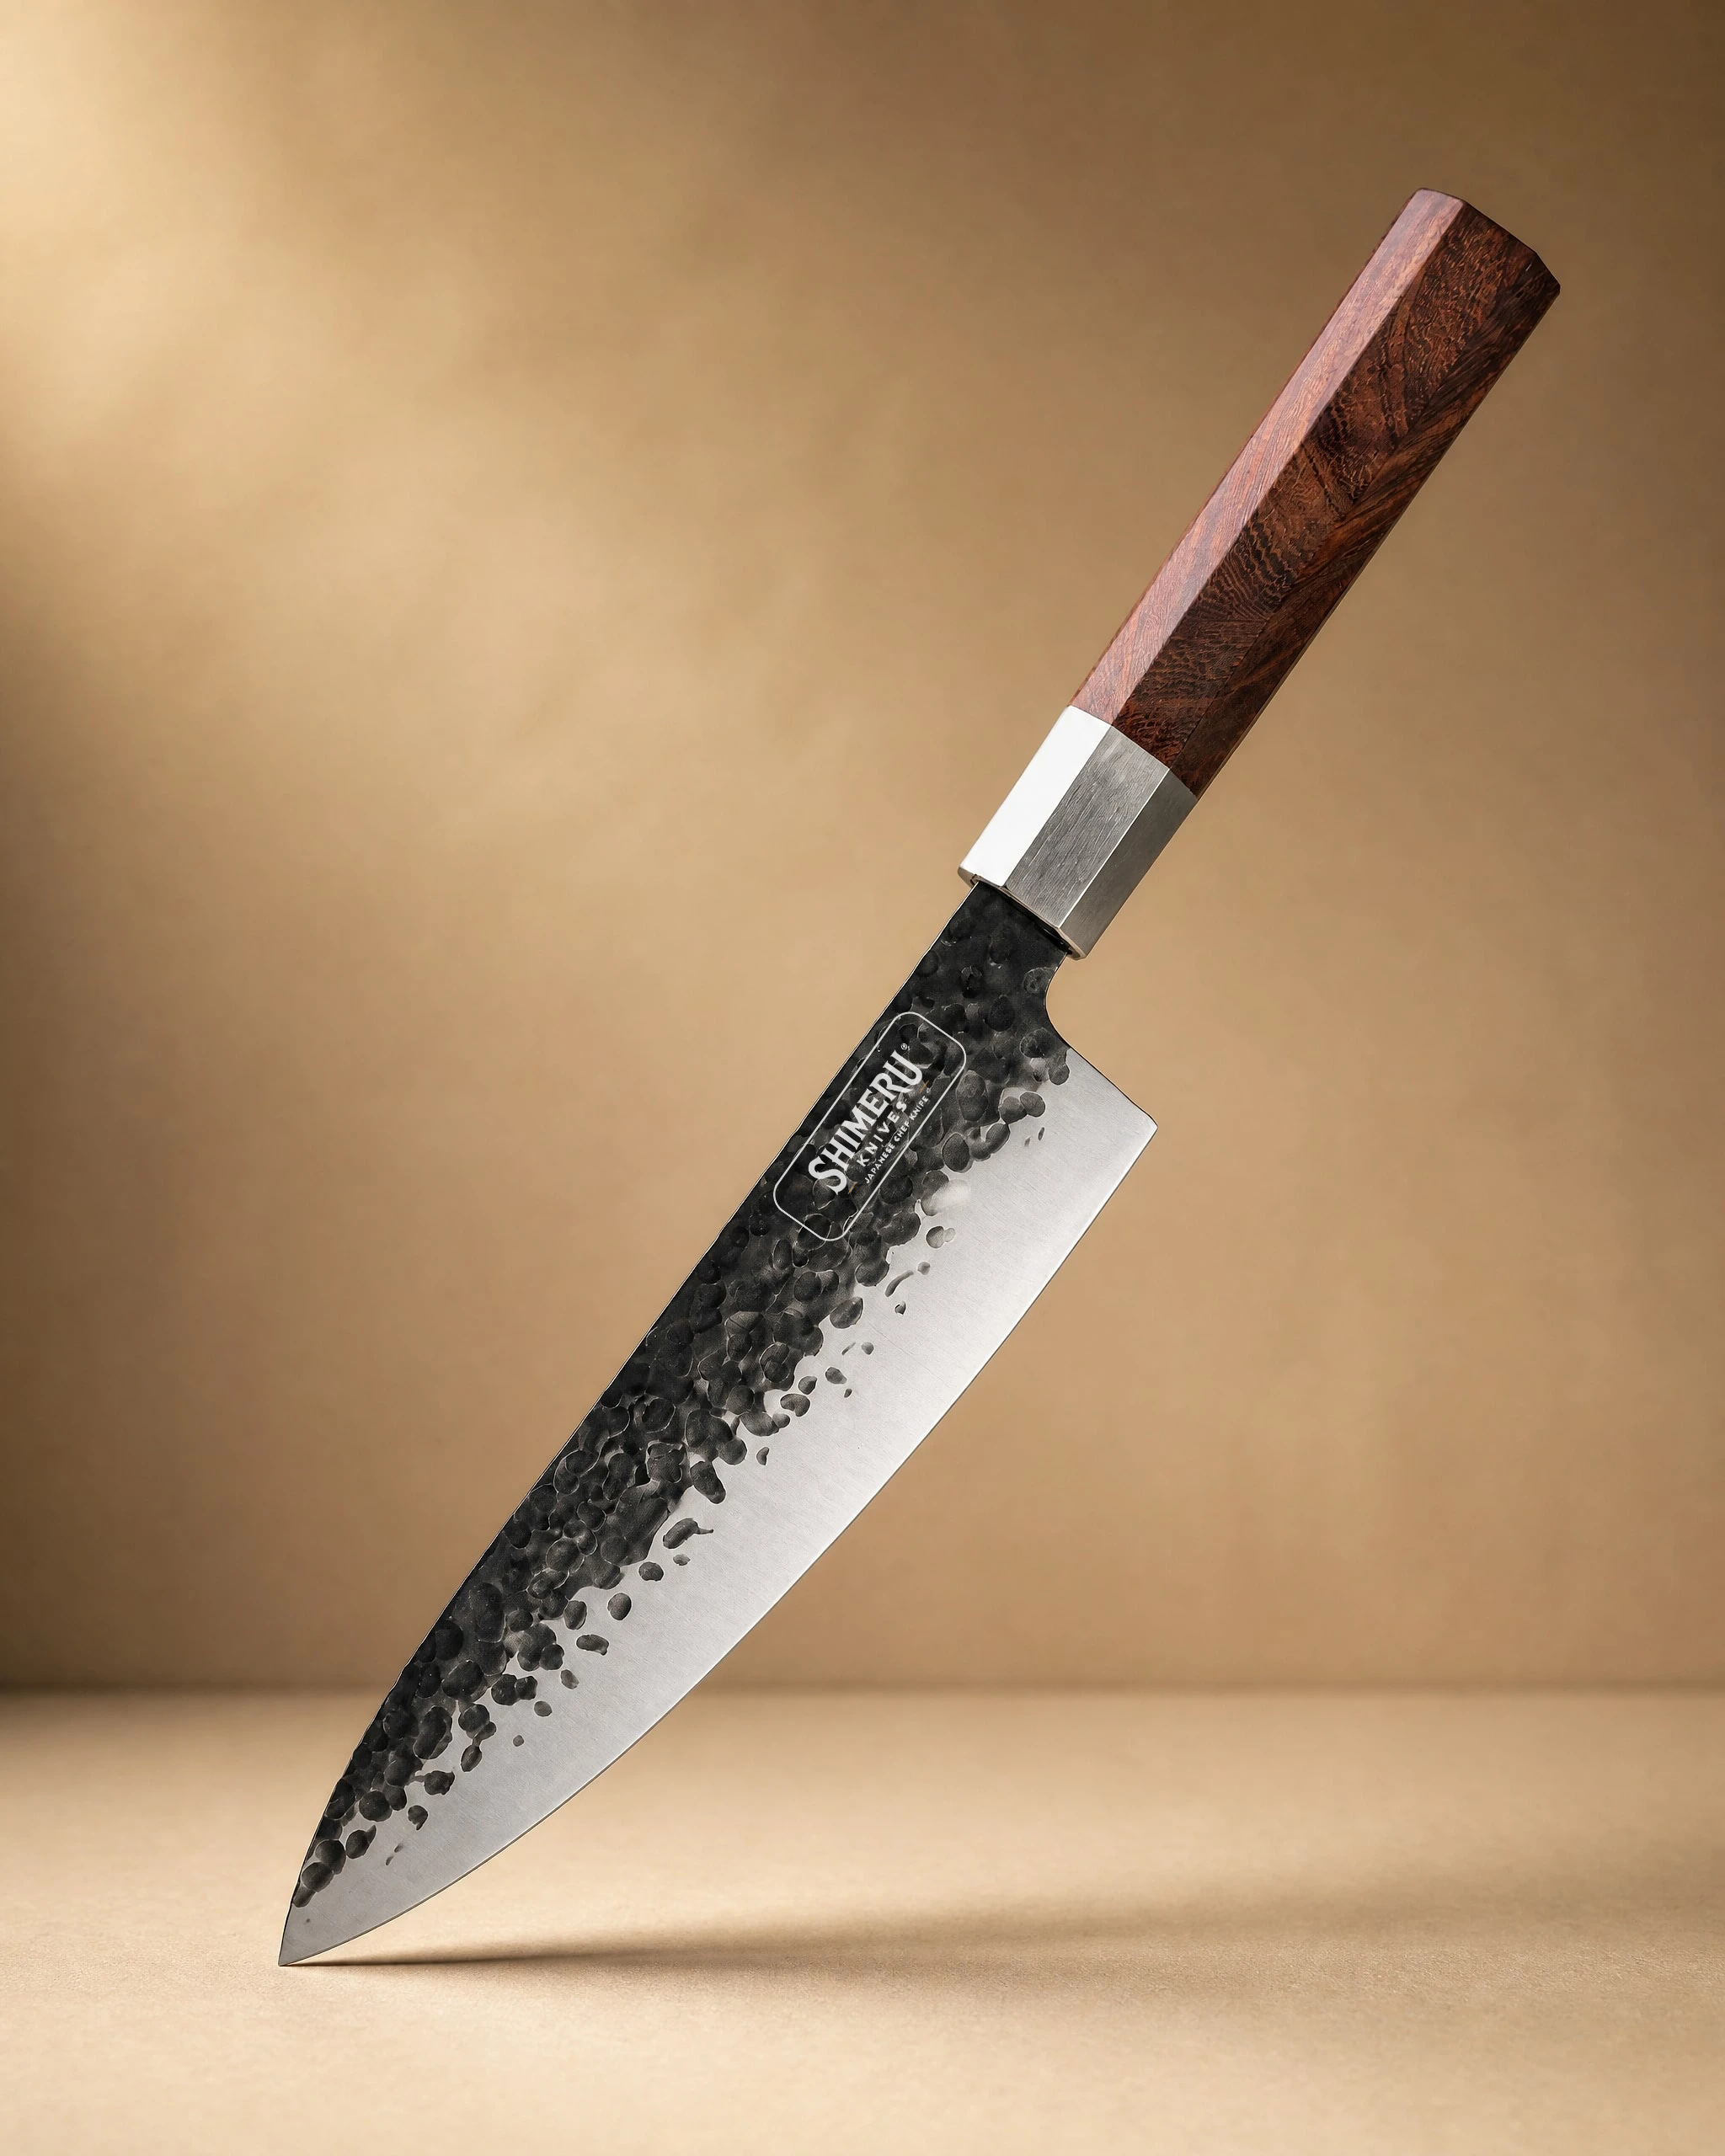 Sendai 8" Steel Gyuto Knife 牛刀£49.99View product → is the practical all rounder, an 8 inch stainless Gyuto with a Mkuruti wood handle that handles vegetables, herbs, meat and fish without fuss. If you are still deciding what suits your cooking, our knife guide walks through the shapes and steels, and you can see the whole range on the knives page.
If you would rather not learn the angle
Whetstone sharpening suits people who enjoy the process and want full control. It does not suit everyone. If you want a repeatable edge without soaking a stone or judging an angle by eye, the 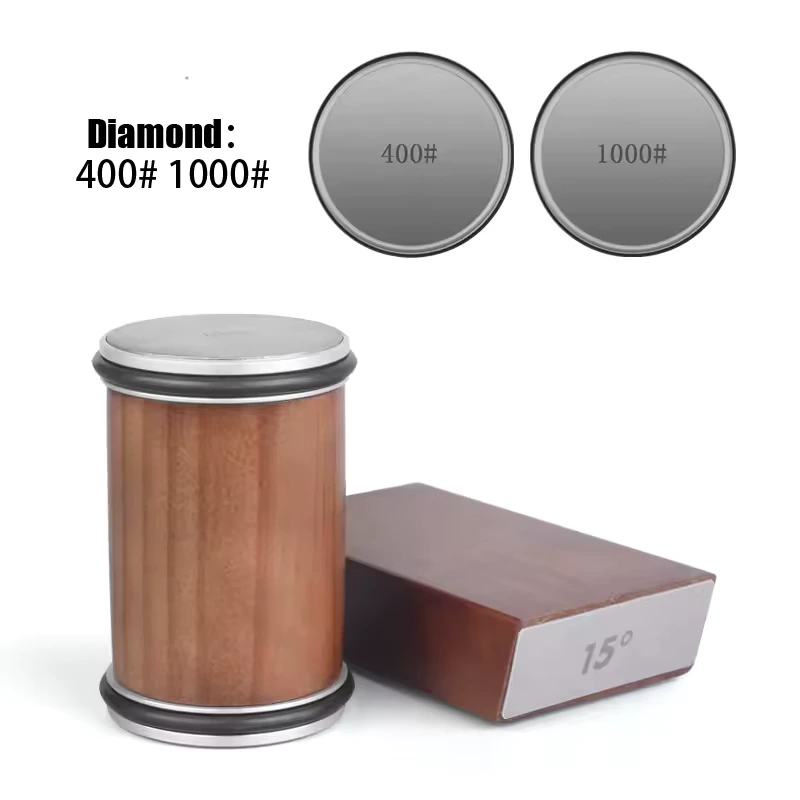 Magnetic Rolling Knife Sharpener£59.99View product → holds the blade magnetically at a fixed angle and rolls the abrasive across it. It is honest about what it is: a shortcut that gives a consistent result, not a lesson in feel. Many customers keep one for quick touch ups and a stone for the real work, which is a perfectly sensible arrangement.
Start with one stone
Buy a 1000 and a 6000. Practise on a knife you do not mind scratching. Sharpen for ten minutes a week for a month and the angle will become muscle memory. After that, a dull knife stops being a problem and becomes a ten minute job at the end of the day.
Photography: Đào Hiếu via Unsplash.


