


How to Sharpen a Japanese Chef Knife

A Japanese gyuto will take a keener edge than almost any other knife in a home kitchen, and it will hold that edge if you keep to a sensible routine. The trade off is that a thin, hard blade rewards a light touch and punishes a heavy one. Learn the fundamentals once, and sharpening becomes a ten minute job rather than a chore.
What follows is the method we use on our own knives. If you are still deciding which blade to buy, our guide on how to choose a knife is the better place to start.
Why a Japanese knife sharpens differently
Most Western kitchen knives use softer steel and a thicker blade with a bevel of roughly 20 degrees per side. That combination is tough and forgiving: the edge rolls rather than chips, which is why a honing rod works on it.
Japanese gyuto are different. The steel is harder, the blade is thinner behind the edge, and the bevel is usually closer to 15 degrees per side, sometimes less. This geometry is what makes a gyuto slice rather than split, but it also makes the edge more fragile. Hard steel resists wear and does not bend gracefully, so a careless scrape or a twist through a joint can chip it.
None of this makes Japanese knives difficult to sharpen. It makes them precise to sharpen. The stone does the work, and your job is to hold a steady angle and stop before you have removed more steel than necessary.
What you actually need
You do not need a drawer full of equipment. A simple setup used properly beats a large one used badly.
- A combination water stone, 1000 grit on one side and 3000 to 6000 on the other
- A coarse stone, 300 to 400 grit, for chips and thinning
- A stone holder or a damp cloth to stop the stone sliding
- A bowl of water and a way to keep the stone wet
- A flattening plate, or coarse wet and dry paper on glass
- A marker pen, for checking your angle
- A leather strop, or a folded newspaper, for finishing
Choosing a Japanese knife sharpening stone
Water stones cut faster than oil stones and leave a cleaner edge, which is why they are the standard for Japanese knives. Grit numbers tell you how fine the abrasive is, not how good the stone is.
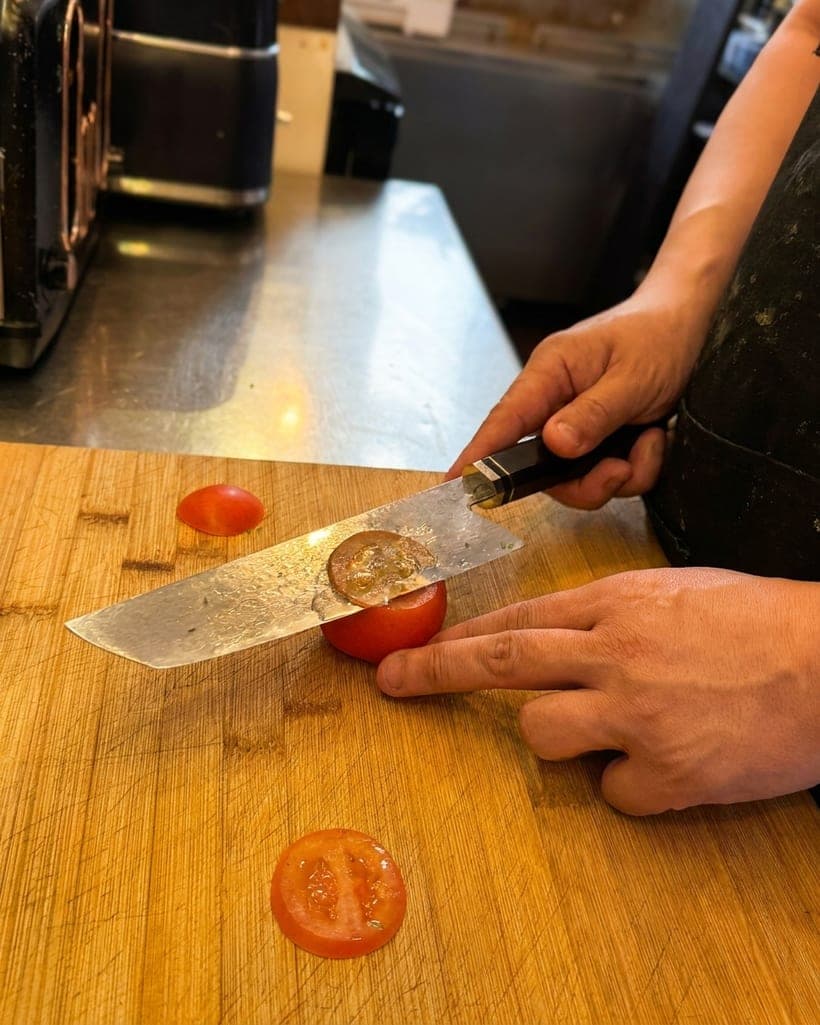
A 1000 grit stone is the workhorse. It removes metal at a reasonable pace and leaves an edge that will slice a tomato cleanly, which is the edge most home cooks actually want.
A 3000 to 6000 grit stone refines that edge. It polishes the bevel, reduces the toothiness left by the coarser stone, and suits slicing and delicate work. Going finer than 6000 is optional. A mirror polished 10000 grit edge is lovely to own and rarely more useful in a kitchen than a good 3000 grit finish.
A 300 to 400 grit stone is for repair: chips, badly rolled edges, or thinning a blade that has grown thick behind the edge over years of sharpening. Use it sparingly. Every stroke on a coarse stone removes steel you cannot put back.
Soaking varies. Traditional stones need ten to twenty minutes in water, until the bubbles stop. Splash and go ceramic stones need only a quick rinse. Keep the stone wet while you work: a dry water stone glazes over and stops cutting.
Finding the angle
The correct angle is the one the knife was ground with. On most gyuto that is between 10 and 15 degrees per side, though some makers use a slightly wider bevel for durability.
Do not guess it by eye. Colour the bevel with a marker pen, place the blade on the stone at what feels like the right angle, and make one or two light strokes. Look at where the ink has gone. If it has lifted from the very edge only, you are too shallow and the blade is resting on the shoulder of the bevel. If it has gone from the shoulder, you are too steep. Adjust until the ink comes away evenly along the whole bevel, then keep that angle.
Raising a burr
Sharpening is not about grinding the blade thin. It is about meeting two bevels at a clean apex. The proof is the burr, a fine strip of steel that forms on the opposite side of the edge once the two bevels meet.
Start on the 1000 grit side. Place the edge on the stone facing away from you at your established angle. Use your free hand to keep light, even pressure near the edge, and push the blade away in a gentle arc, as though slicing a thin layer from the top of the stone. Let the abrasive do the cutting.
Work in sections along the blade rather than in one long sweep. This keeps the angle consistent and stops you rounding the tip. After eight to ten passes, check the far side of the edge. Run a thumbnail very lightly from the spine towards the edge, never into it. If the burr is there, the nail will catch. If you feel nothing, do a few more passes.
When the burr runs along one side, turn the knife over and repeat until it forms on the other side too. At that point the edge is fully sharpened. Everything after this is refinement.
Working up through the grits
Move to the finer side of your combination stone. Reduce your stroke count sharply: five to ten light passes per side, alternating, is usually plenty. You are not removing much metal here, just polishing the bevel and reducing the burr. Keep the angle identical, because lifting the spine on a smoother stone is the easiest way to undo your work.
Removing the burr and finishing
The burr has to come off. Left in place, it folds over on the first cut and the knife feels dull again within minutes.
Use very light edge leading strokes on the fine stone, five per side, alternating. Edge leading means the edge goes first, as though shaving a sliver from the stone. Then strop on leather or folded newspaper, drawing the edge across the surface as if stroking a paintbrush. Ten passes per side at least, with no downward pressure beyond the weight of the knife.
Test the edge on a sheet of paper held in the air. A sharp gyuto will slice through it with no tearing and no pressure. If it drags, strop again before you go back to the stone. Very often the strop is the only thing missing.
Do not use a honing rod on hard steel
A steel rod realigns a rolled edge on a soft Western knife. On a hard gyuto there is nothing to realign, and the rod can chip the edge instead. When the knife feels tired between sharpenings, strop it or take it back to the fine stone for a few strokes.
How often should you sharpen
For home cooking, a touch up on the 3000 to 6000 grit stone every four to eight weeks and a full session on the 1000 grit two or three times a year will keep most gyuto in excellent order. Professional kitchens sharpen far more often, which is one reason pro knives lose height over the years.
What you cut on matters as much as how often you sharpen. End grain wood and soft plastic are kind to an edge. Glass, ceramic and stone boards will blunt any knife within a few meals. For boards, storage and cleaning, see our knife care guide.
Knives that sharpen well
A gyuto is the best first Japanese knife: long enough for most jobs, thin enough to enjoy, and predictable on a stone.
The 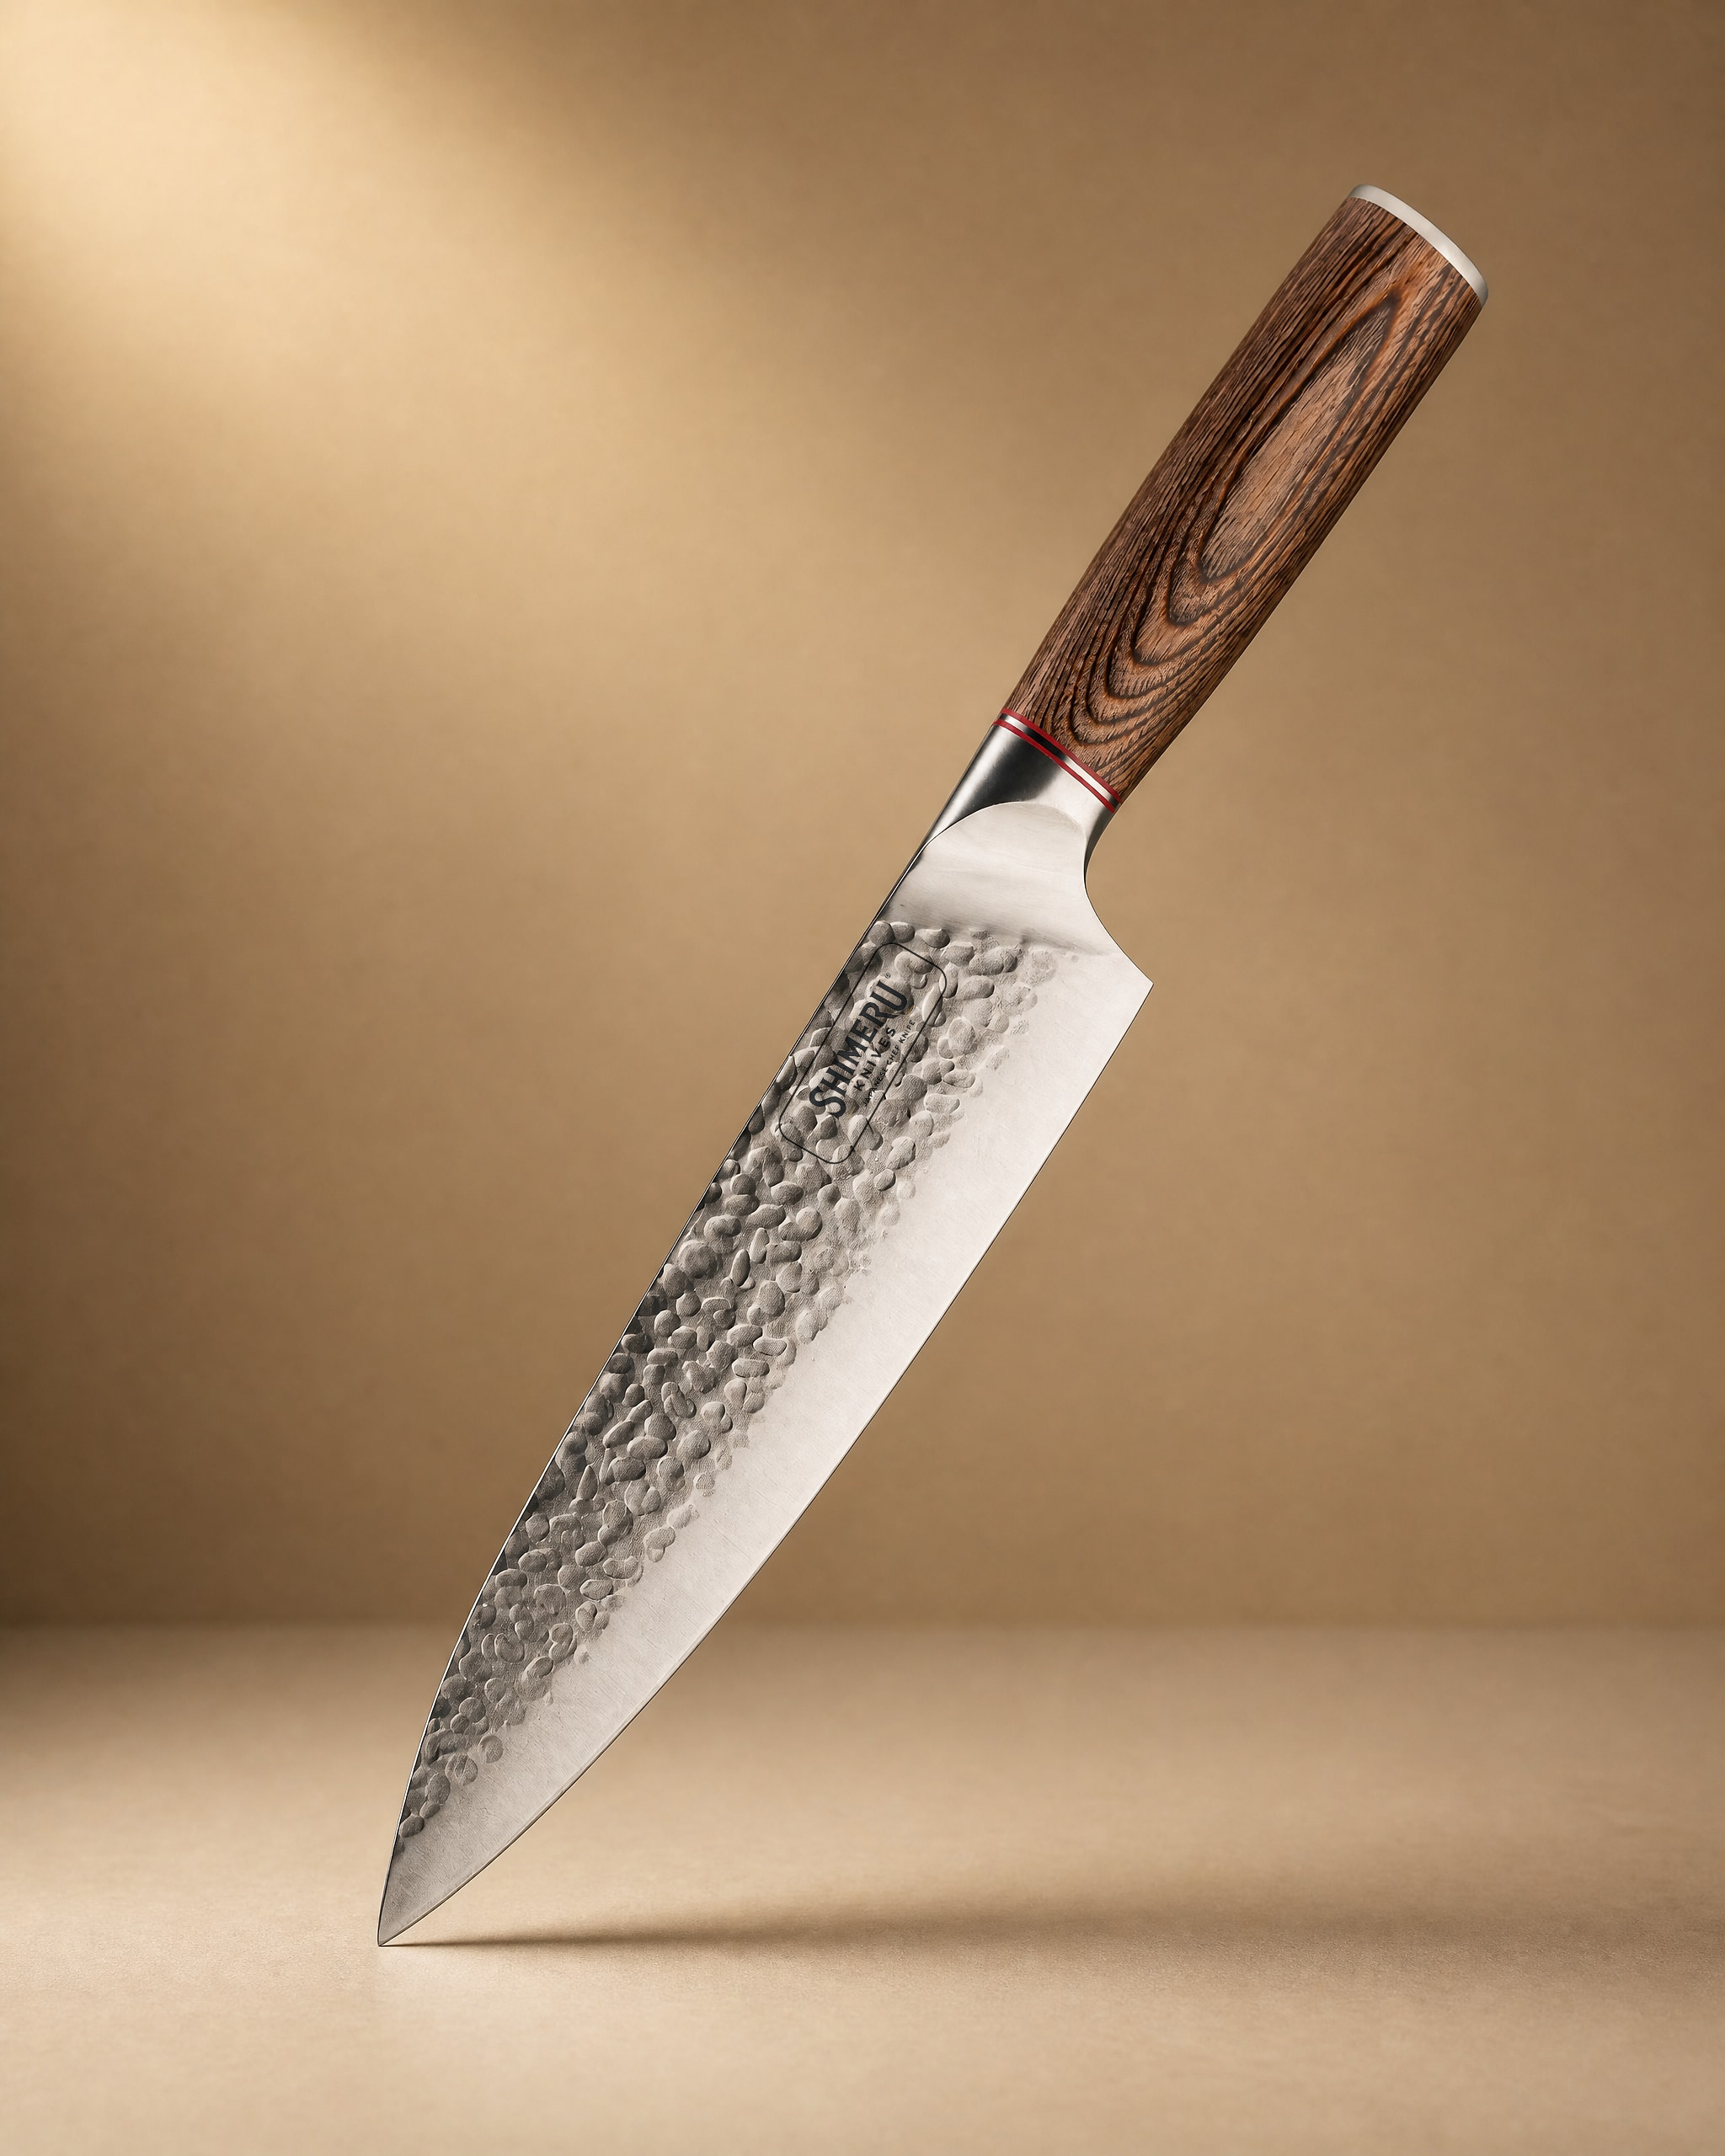 Akan 8'' Gyuto Knife 牛刀£49.99View product → is a sensible starting point. An 8 inch stainless gyuto with a pakkawood handle, it handles meat, fish, vegetables and fruit, and the stainless blade is forgiving while you are still building your stone technique.
If you want a little more length, the 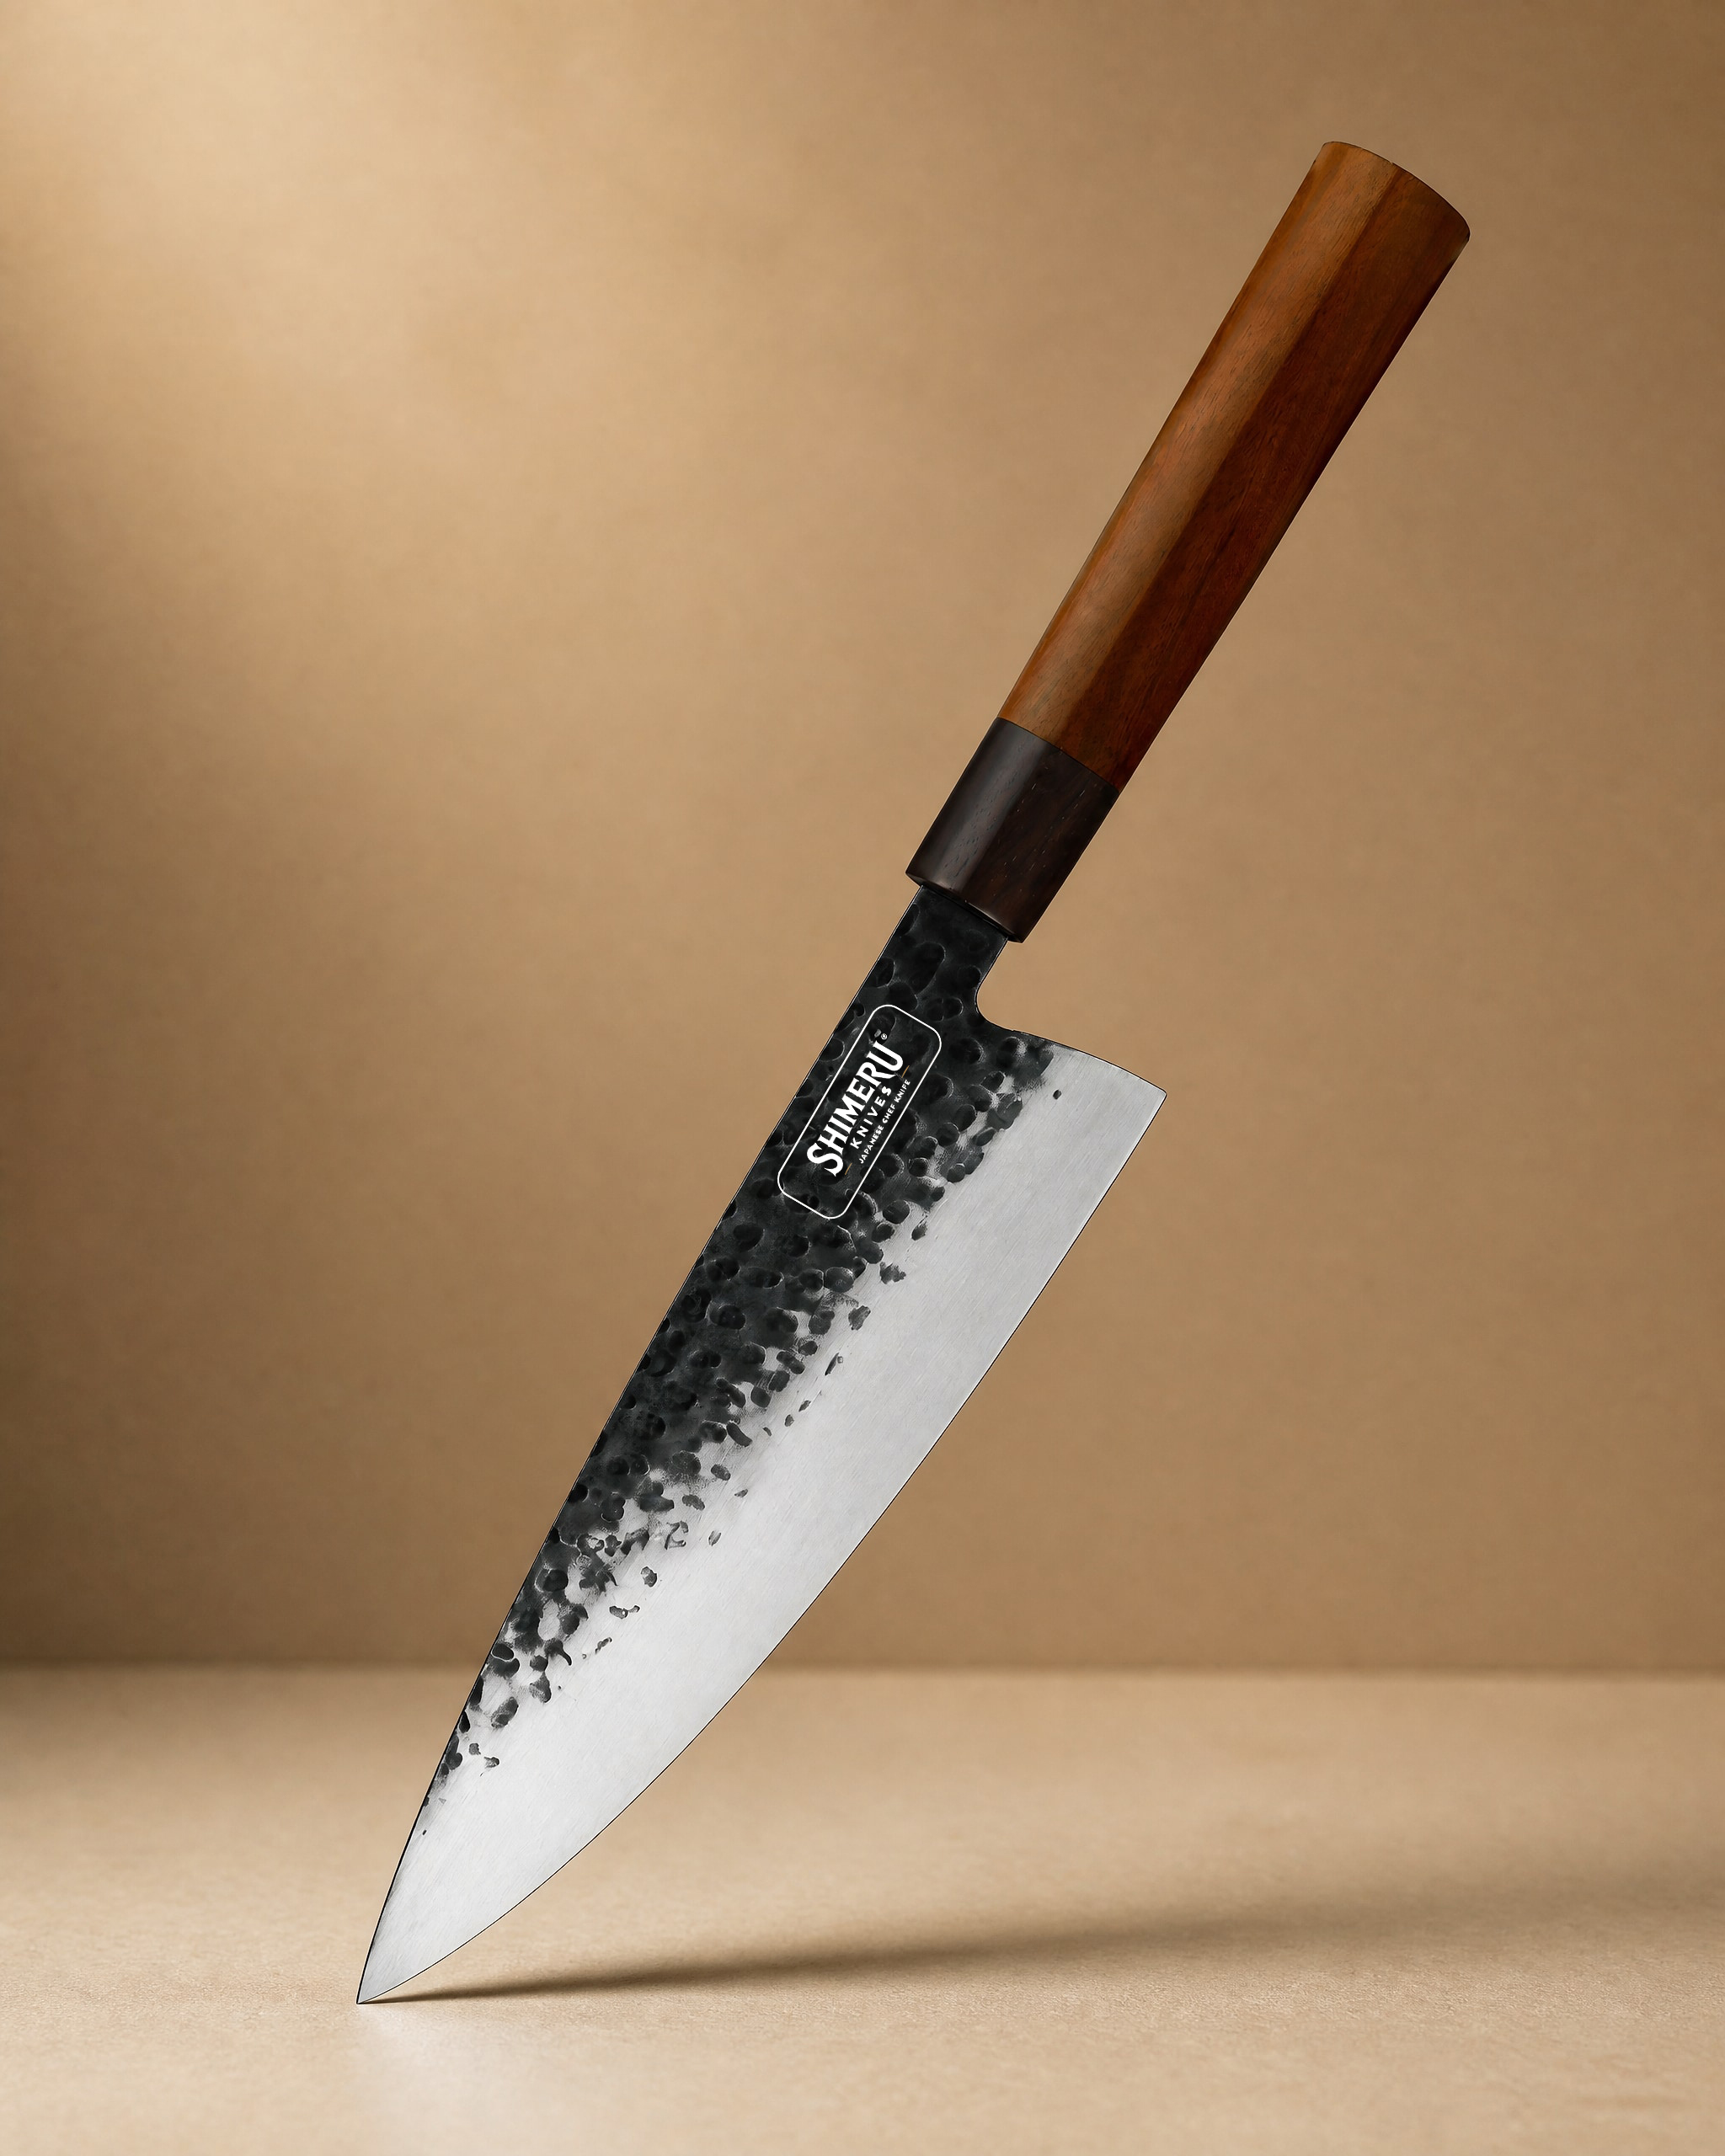 Tokachi 8.5" Gyuto Chef Knife 牛刀£59.99View product → runs to 8.5 inches with a Mkuruti wood handle and suits vegetables, meat and fish. The longer blade gives you more room on big onions and cabbage.
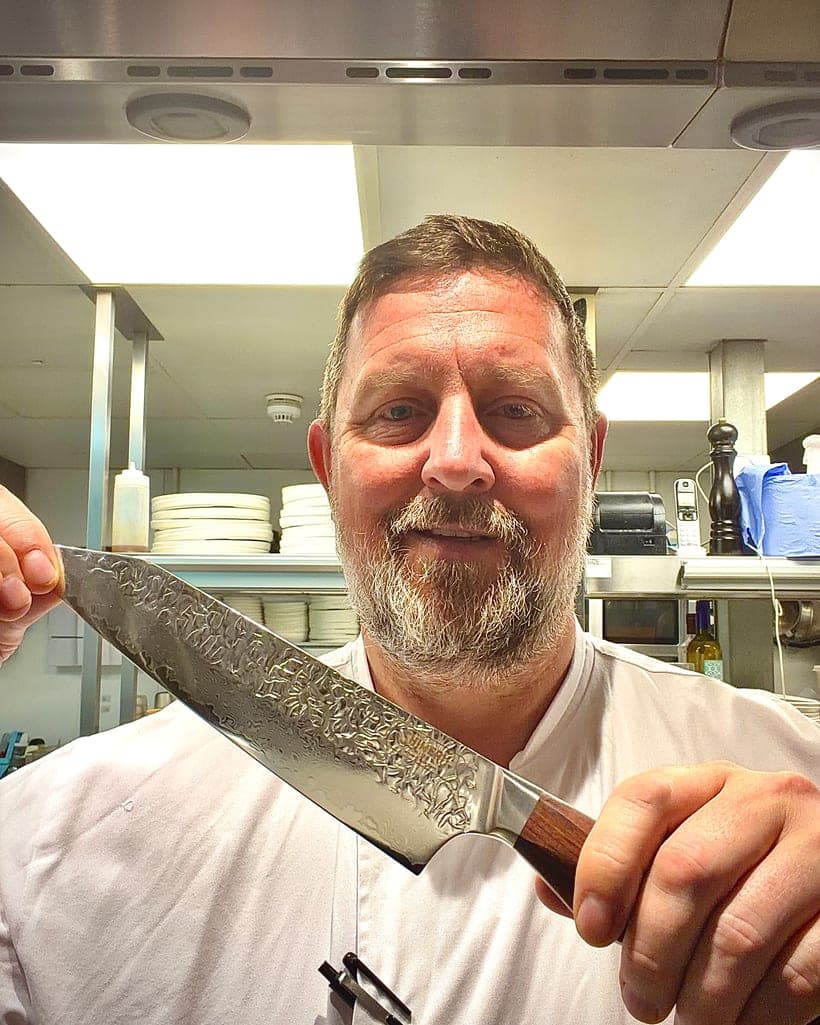
For more visual presence, the 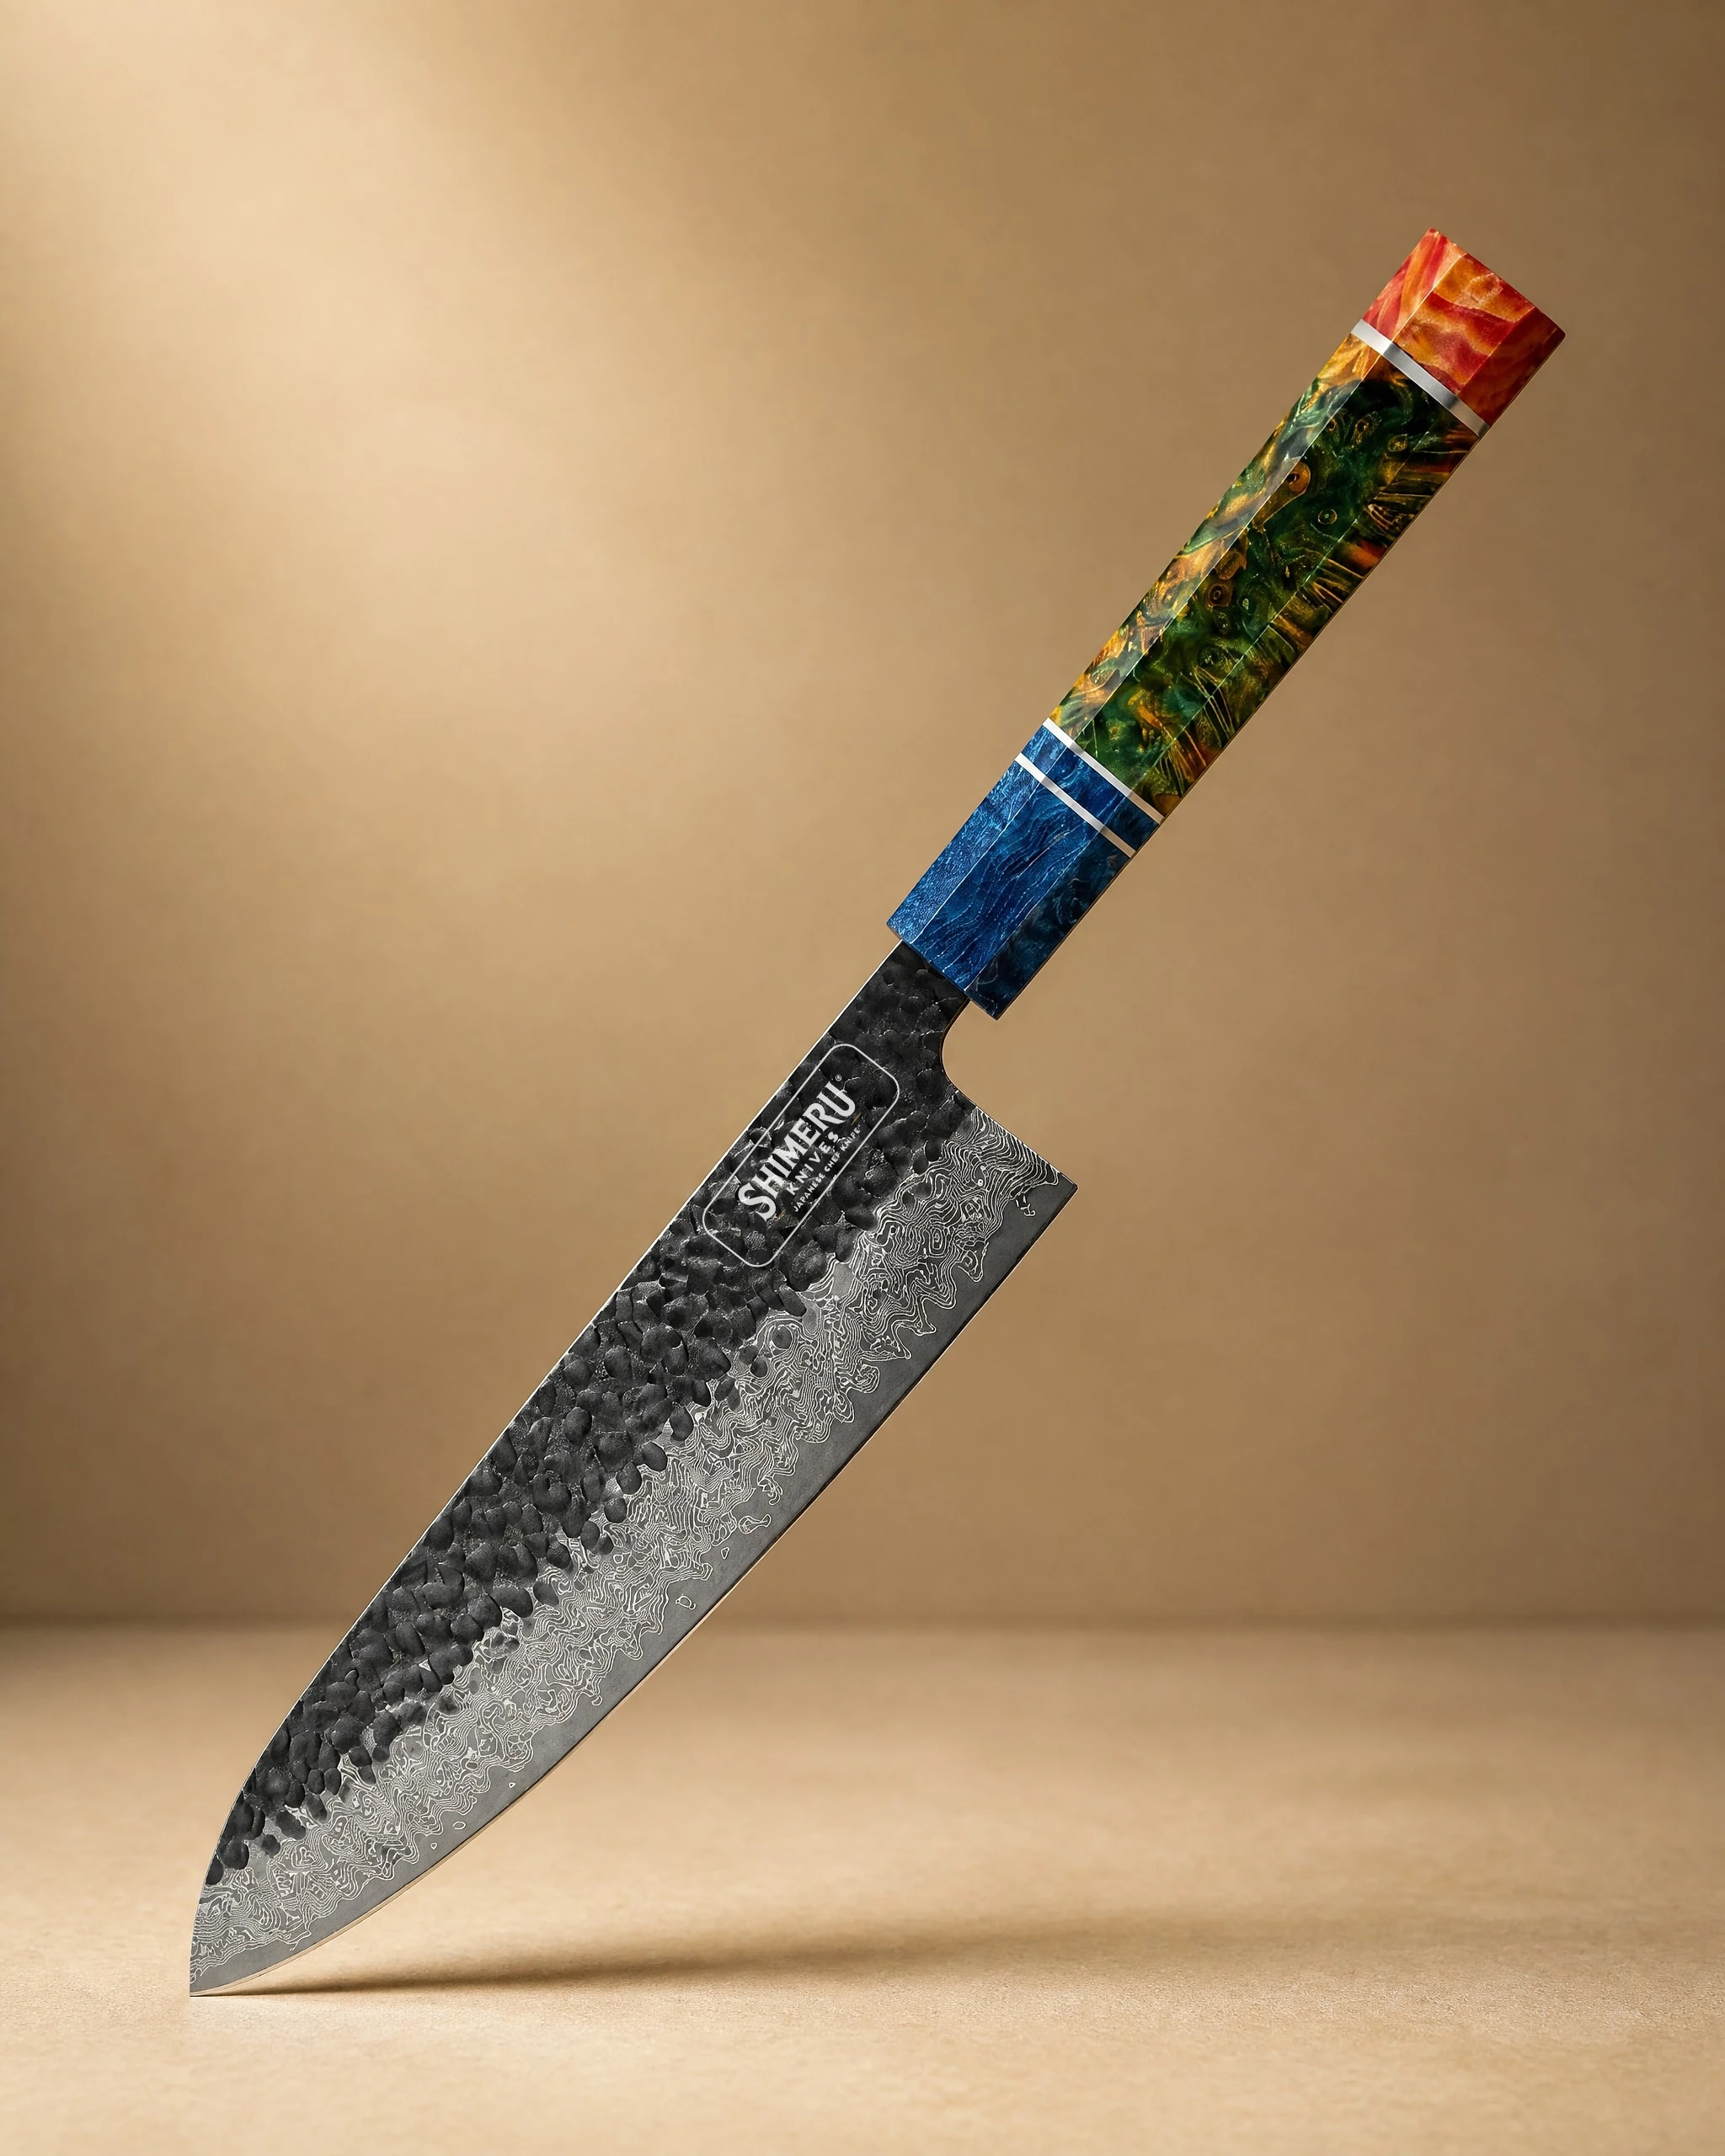 Yoshii 8″ Damascus Steel Gyuto Knife 牛刀£79.99View product → is a 67 layer Damascus gyuto with a wood and copper handle, built for slicing, dicing and chopping. The
 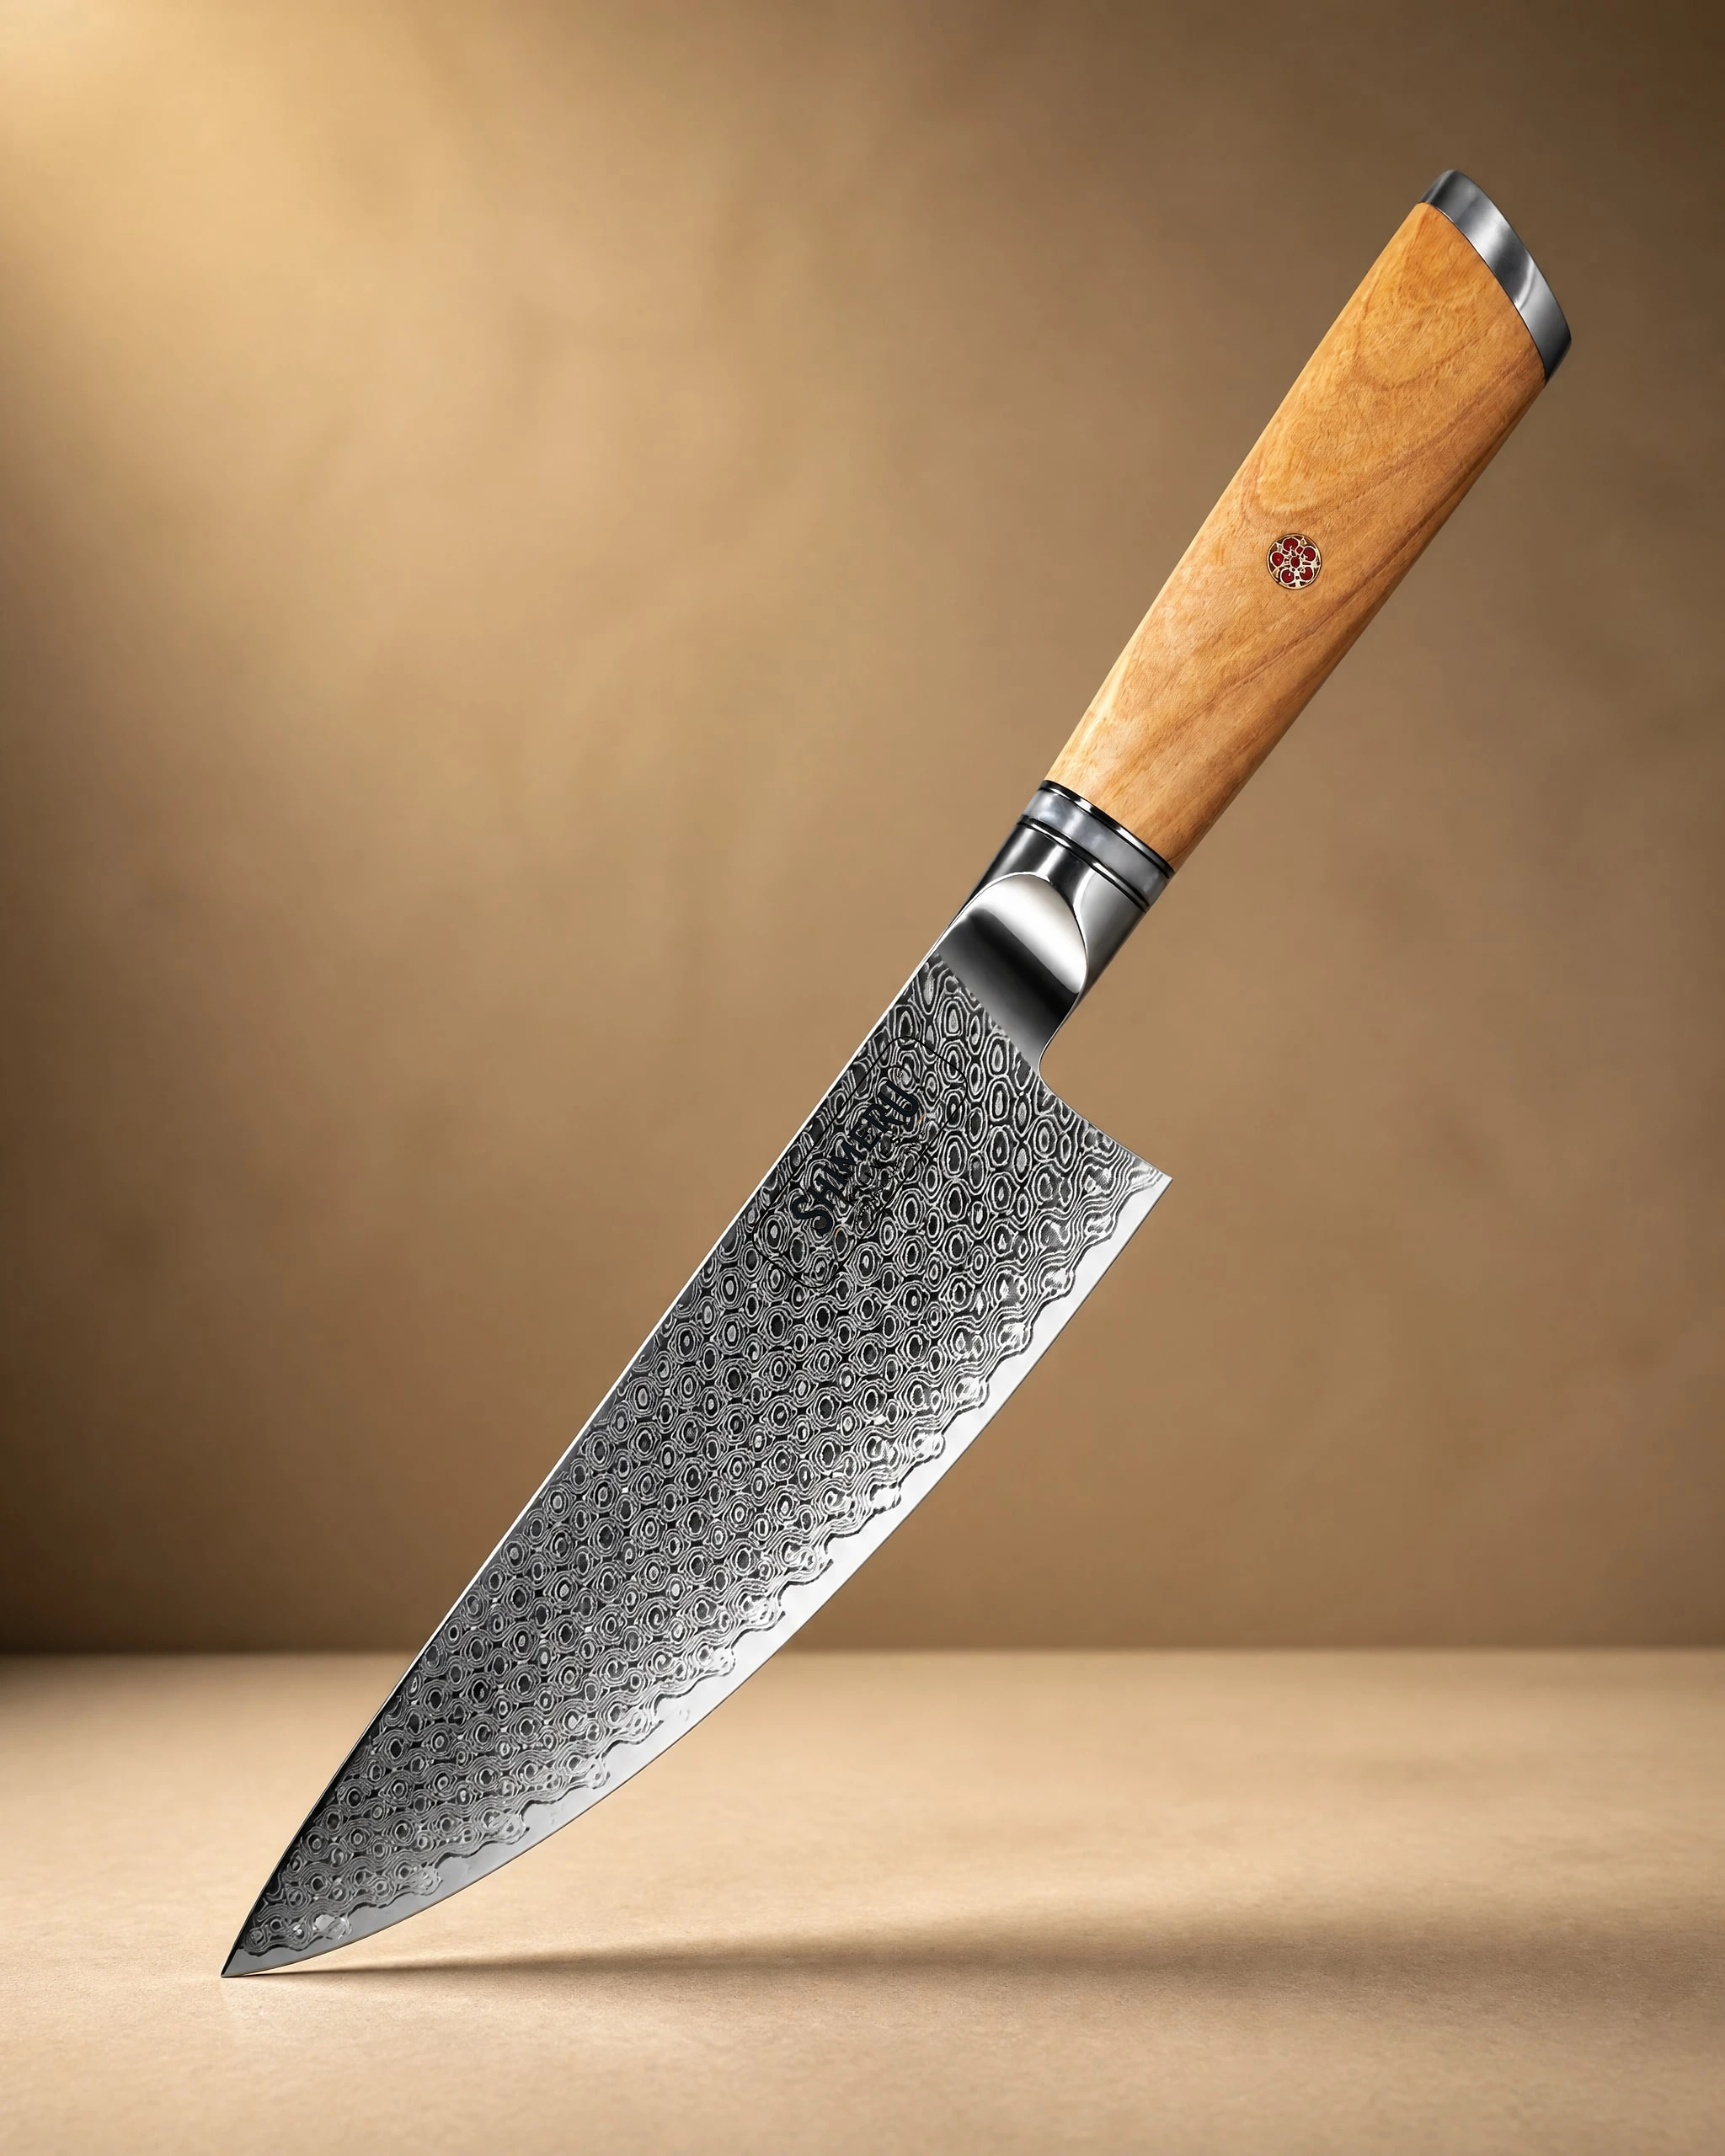 Maruyama 8'' Damascus Steel Gyuto Knife 牛刀£79.99View product → uses 73 layers of Damascus steel with an olive wood handle and suits sliced vegetables, carved meats and chopped herbs.
All four sharpen on the same 1000 and 6000 combination stone. Browse the gyuto range to compare them, or see all our knives if you are open to a santoku or a petty.
Common mistakes
Pressing too hard is the most common. It does not sharpen faster, it only wears the stone and the blade.
An inconsistent angle is next. Two strokes at 15 degrees and two at 25 round the bevel and produce an edge that feels sharp but fades quickly.
Finishing before a burr has formed on both sides is the third. You have polished the shoulder of the bevel, not the edge.
A neglected stone is the fourth. A hollowed stone cannot sharpen a flat bevel.
Keeping the edge for the long term
Sharpening a Japanese chef's knife takes an evening to learn and years to refine, but you only need the first evening. Find the angle with a marker pen, raise a burr on both sides, refine on the fine grit, strop the burr away. Ten minutes, once a month, keeps a gyuto cutting better than anything you could buy new.
Look after the blade as well as the edge and it will last decades. Dry it after washing, store it where nothing hard can touch the edge, and cut on a board that gives a little.
Photography: Richard Iwaki via Unsplash.

